Step 2: Marble Painting
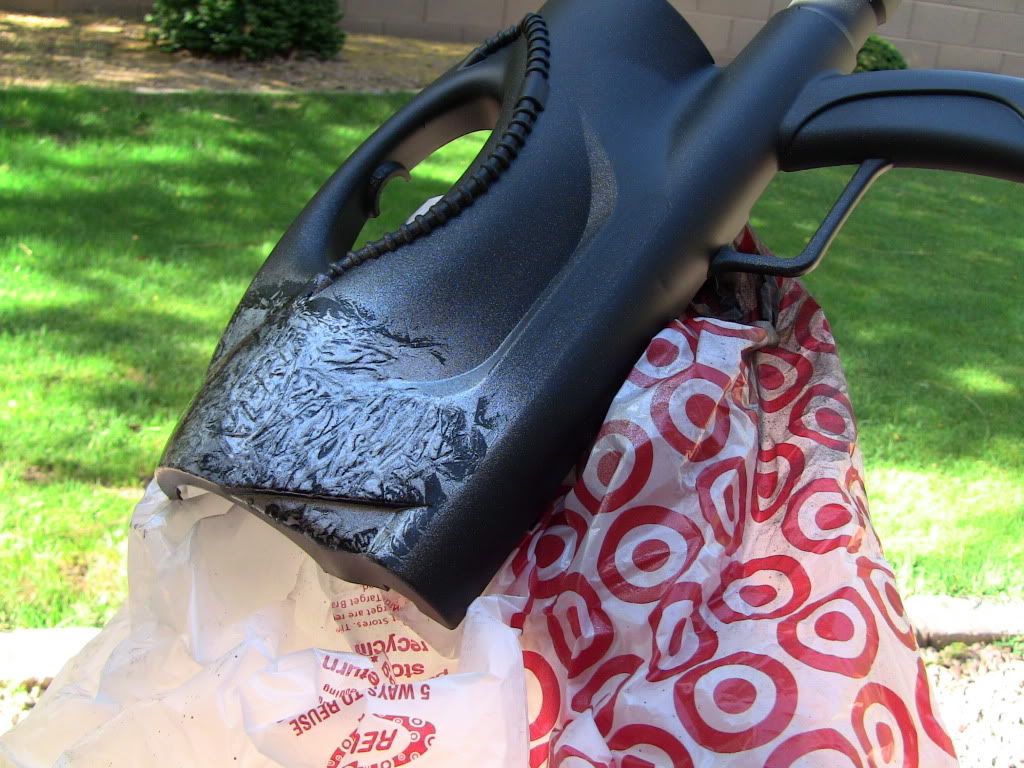
This next step is where we begin our “marble” painting. Marbling is a very simple technique that will give you one of the most visually intriguing finishes you will ever get from a rattlecan. And once you do it, you will laugh at how easy it was, and how awesome it looks! But before I get into that, you need to paint your gun with a flat black base coat or primer. And as you can see in this picture, my pump handle slots are completely gone, and that’s what yours should look like after the base coat.
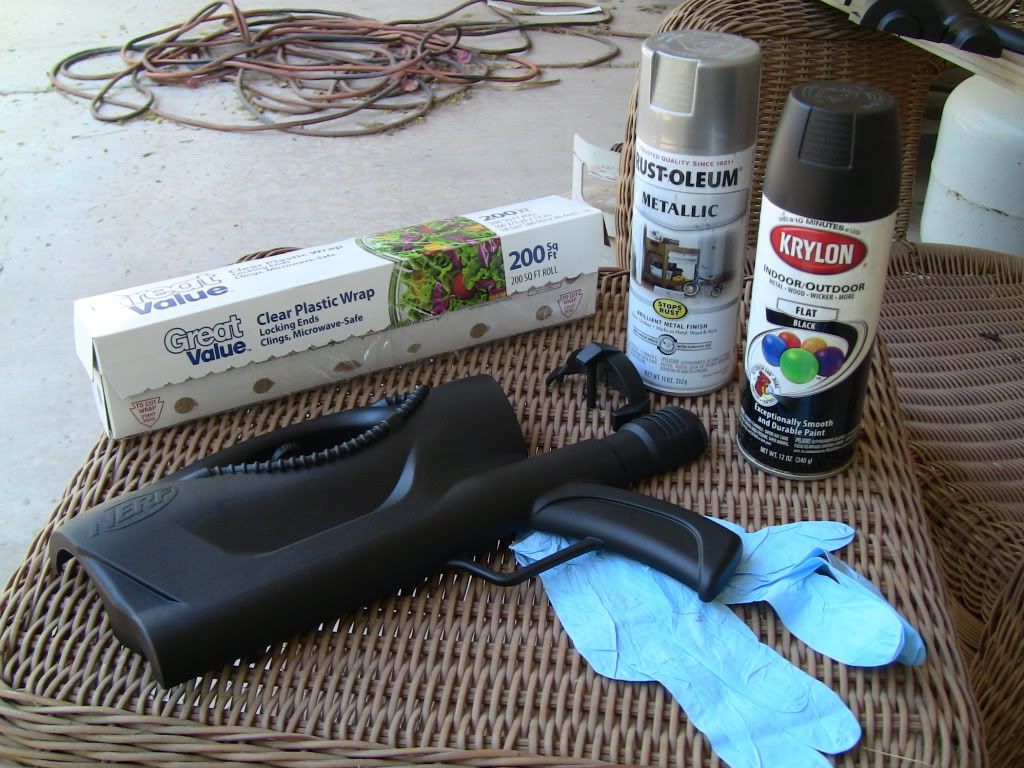
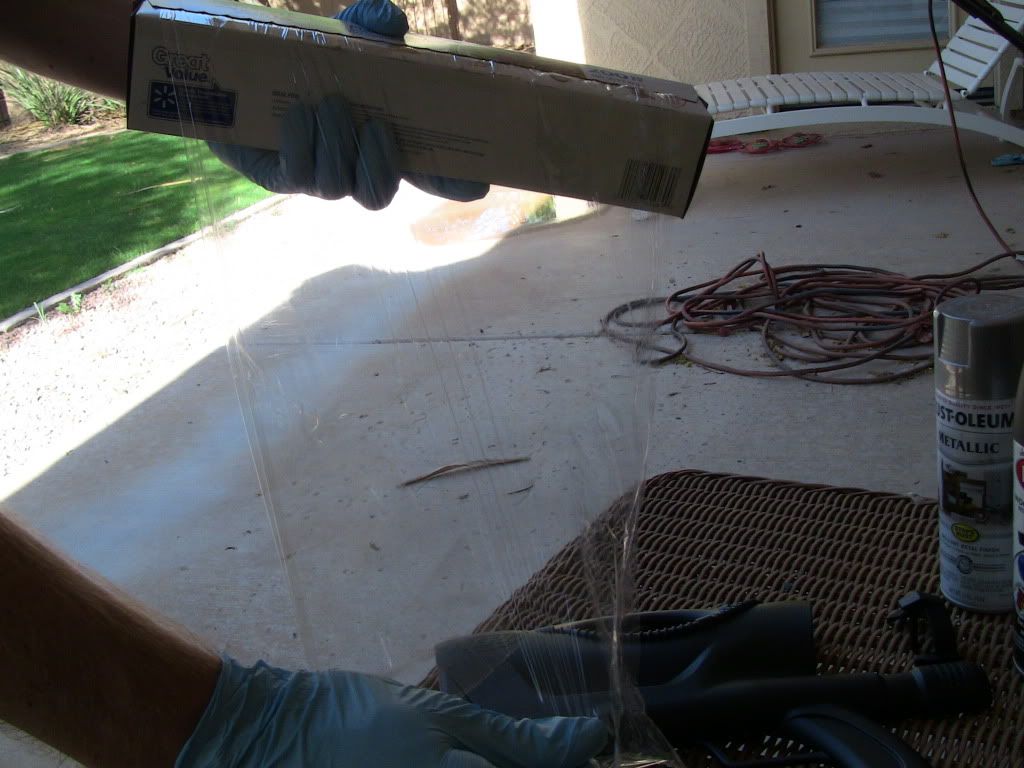
You’re going to need Saran wrap, and a silver metallic paint. This part helps if you have two people. One person to hold the shell, the other person to spray the paint and work the saran wrap. If you don’t have two people, then good luck! I’ve done it before by myself, but it ain’t easy! You’re going to need to tear off a square of Saran wrap, spread it out and place it in your hand.
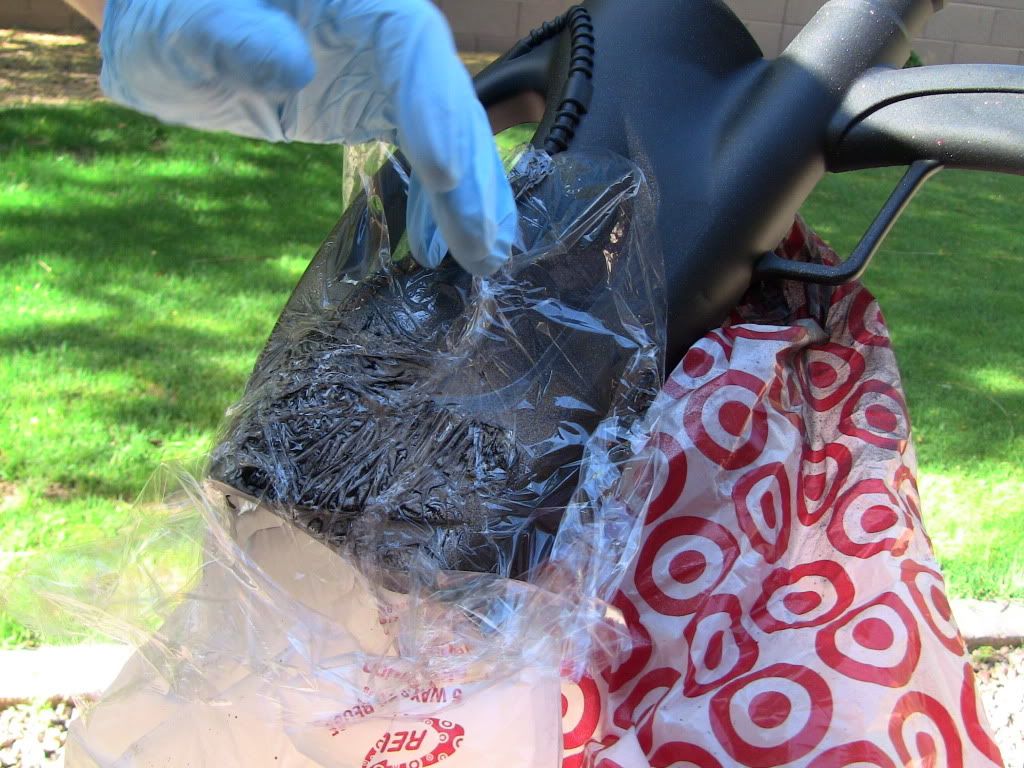
This part needs to be done very quickly and it’s why you should have another person help you. You need to spray a very thick, wet, and runny coat of paint on one part of the gun. I generally try and do it in sections the size of my hand, so when I place the Saran wrap on it, it does its job the first time.
Immediately after you spray the paint, and I do mean IMMEDIATELY, you need to place the Saran wrap on top of the wet paint. And make sure you paint is thick and runny. That may seem counterproductive, but for this paint job, it’s exactly what you need. You can crumple, stretch or twist your Saran wrap however you want at this point for whatever effect you want, feel free to experiment. But you only have about 2 or 3 seconds to do it before you need to take the Saran wrap back off.
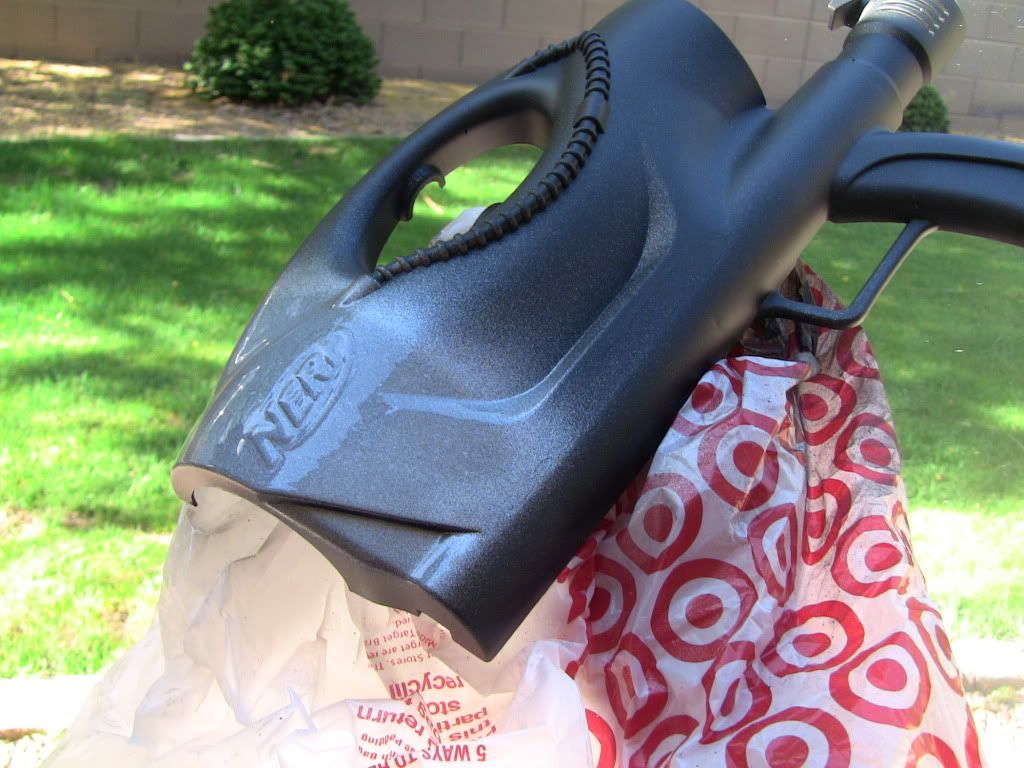
But that’s what it should look like! If it looks too light and too silver still, you either took too long to get the Saran wrap on, or you didn’t use enough paint. If you took up too much of the black paint and you can see the original plastic underneath, you need to start over and make sure your paint sticks this time. But just continue that process over the entire gun, don’t worry about overlapping sections, you will never see the difference. Just be quick about it and consistent.
Now is the time to candy coat it if you want another color other than silver. You can use Krylon X-Metals as mentioned in Part: 1 or Duplicolor Metalcast. For mine, I wanted a flat silver with no clear coat.
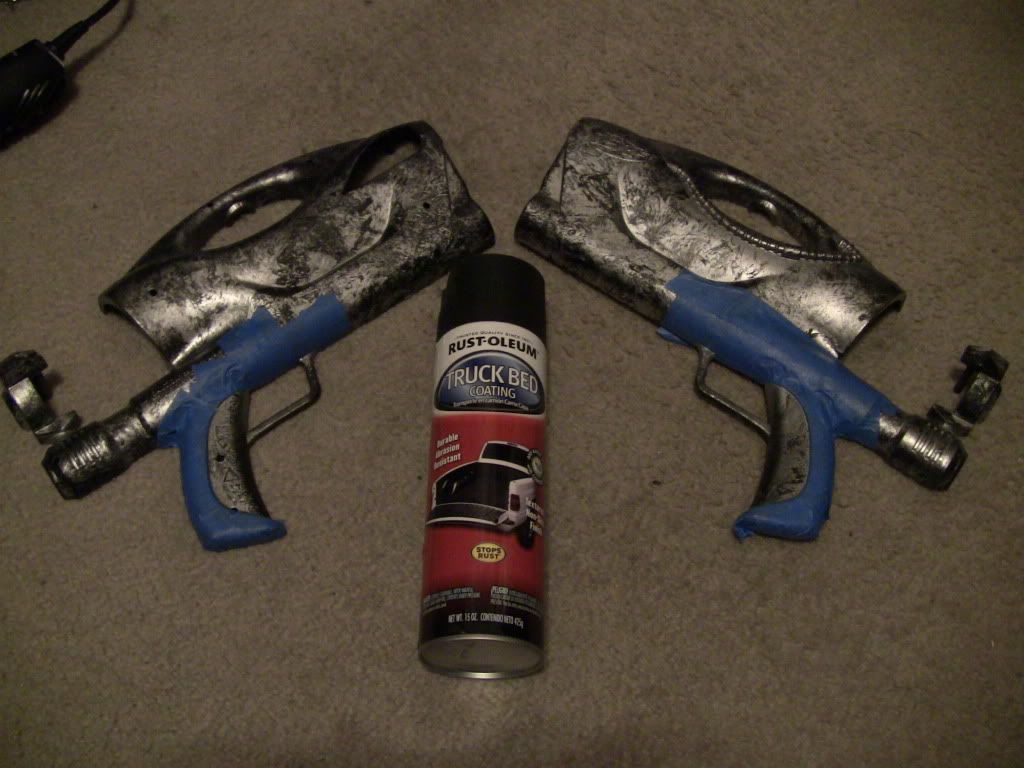
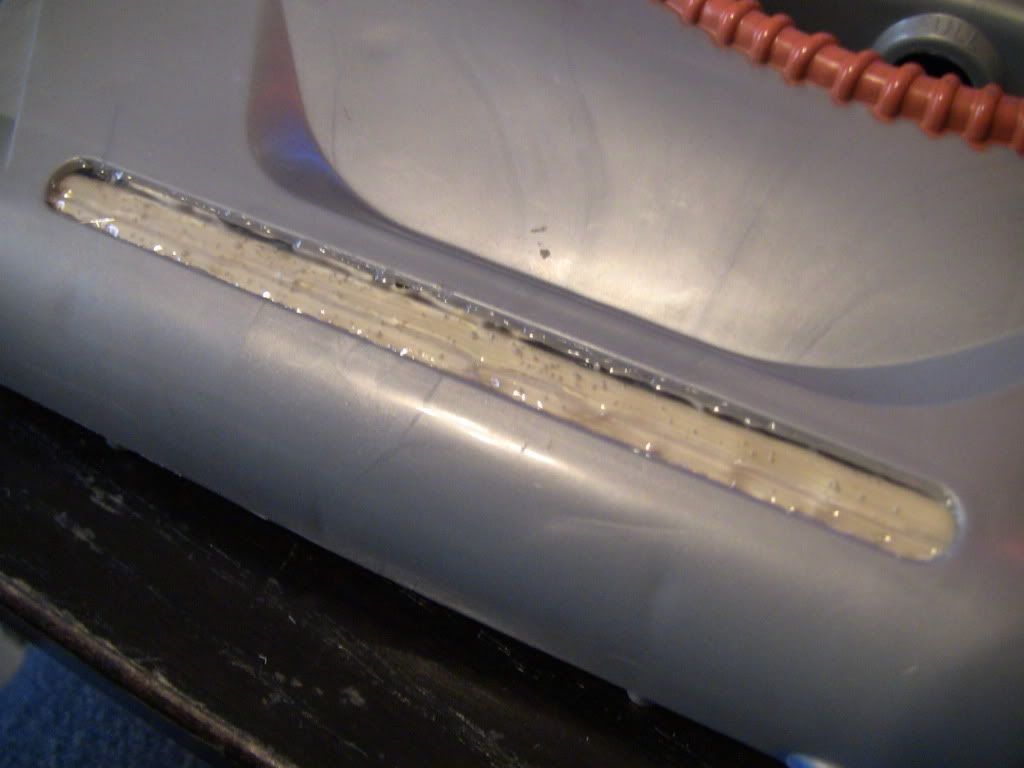
Step 3: Bedliner
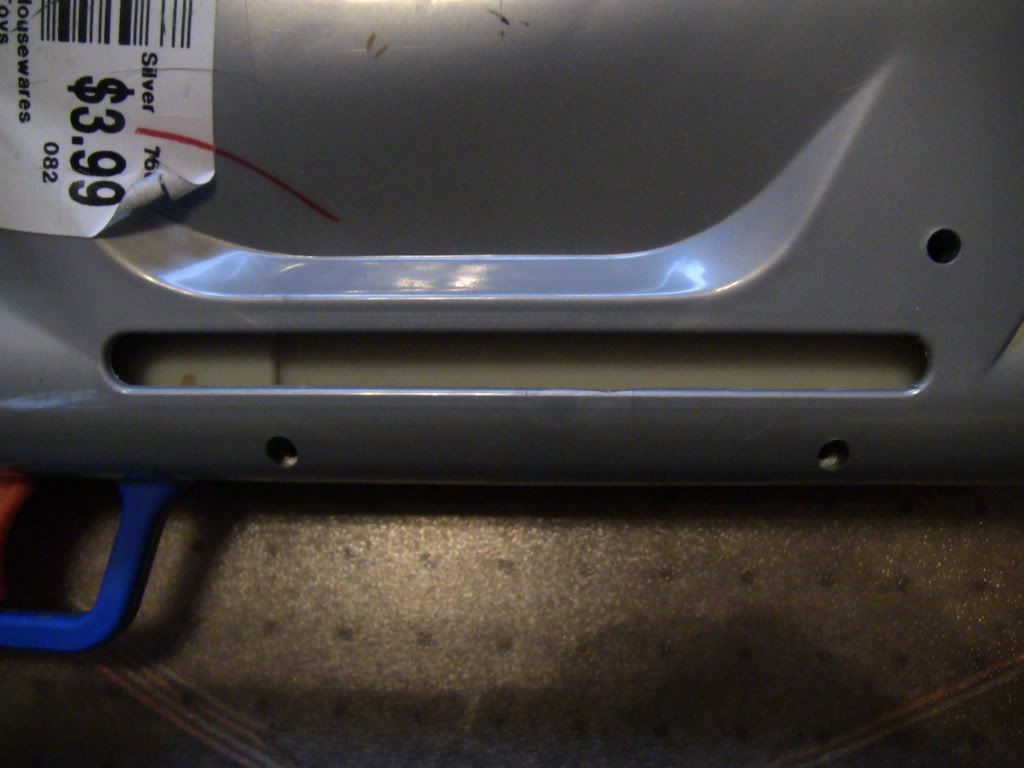
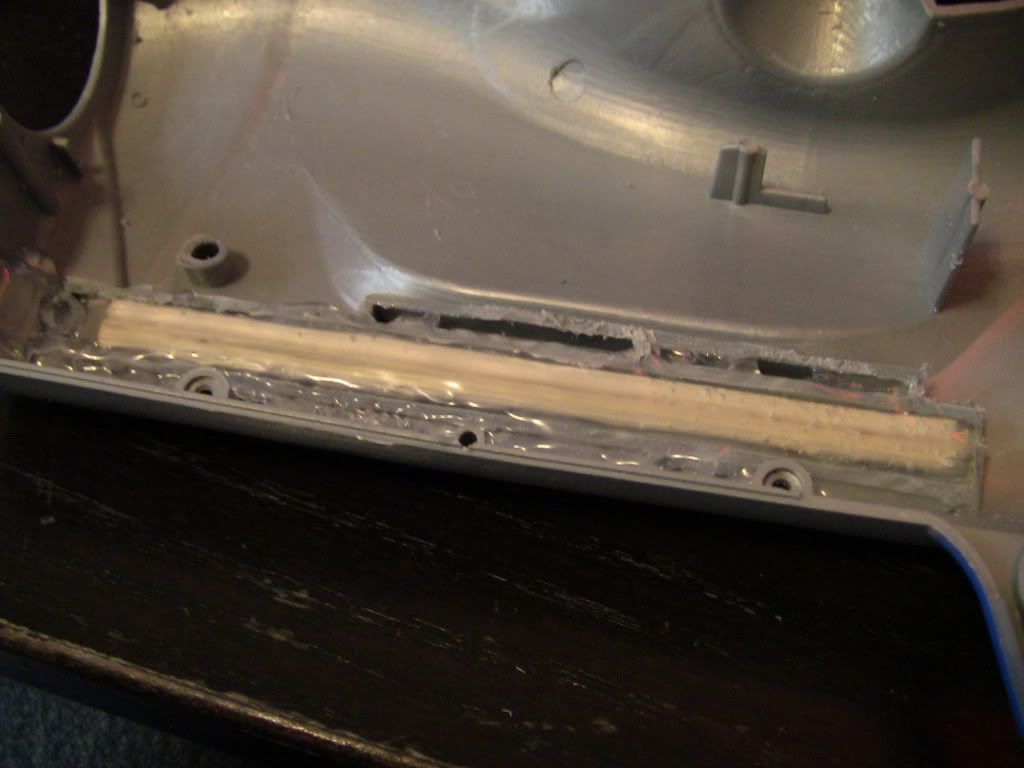
Bedliner isn’t something I ever see anyone else use of their guns, but they should! You can buy it in a spray can at Wal-mart for like $8, and it goes on like any other spray paint, but it’s like liquid sand paper and it’s hard as nails. It really increases the feel of your handle, it takes it from feeling wimpy to feeling like you’re holding a power tool. I highly recommend you give it a try. Hell, paint your whole gun with it if you want! But the stuffs not cheap and it doesn’t go very far at all. Haha. Just tape off the area you want to spray, and then cover the rest of the gun. It’s really easy, just like paint.
And now you’re done! You can spend hours looking at the detail in the paint, it looks so deep and three dimensional.
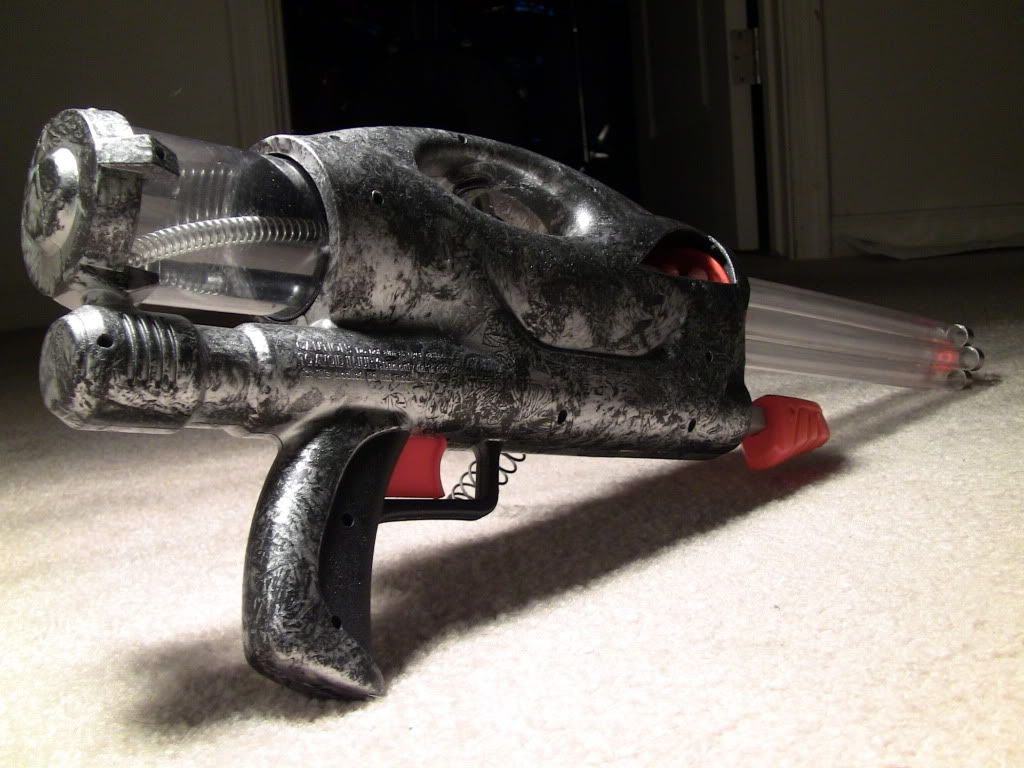
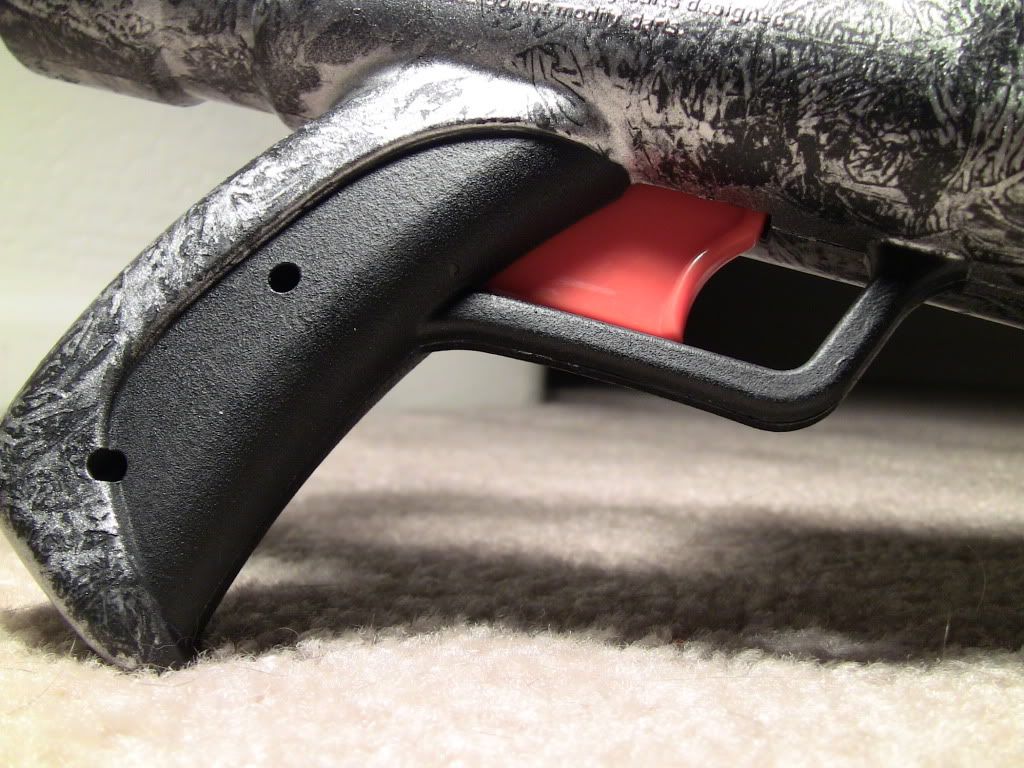
Here’s a shot of the bedliner grip. It’s subtle texture, but it feels really nice.
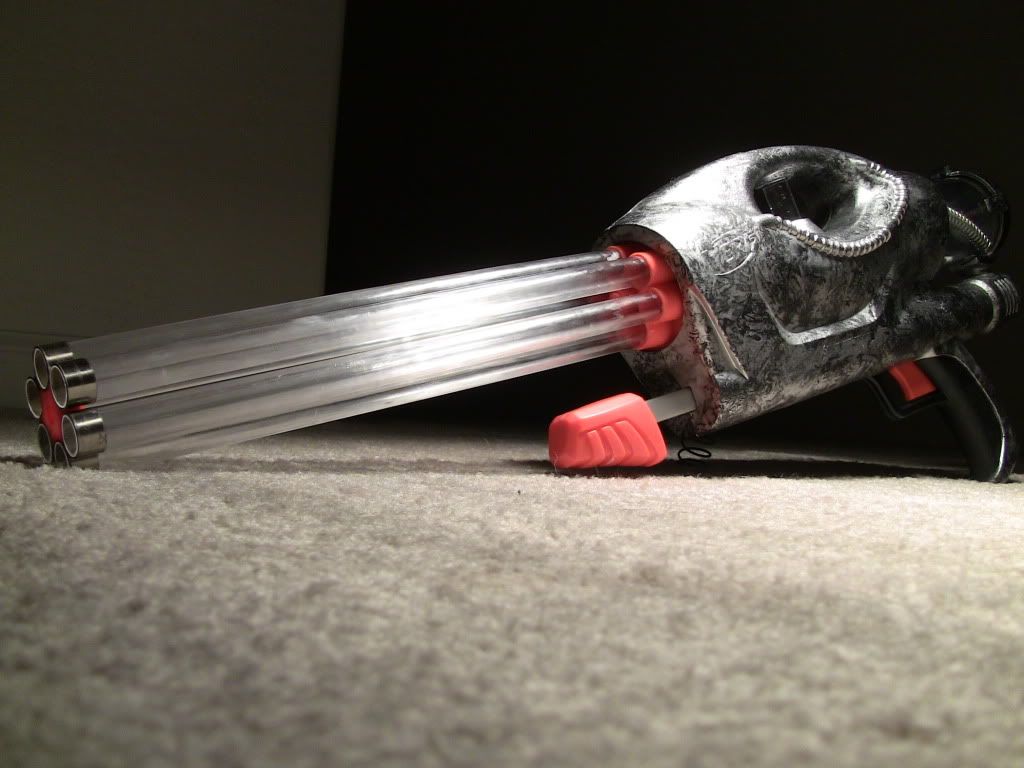
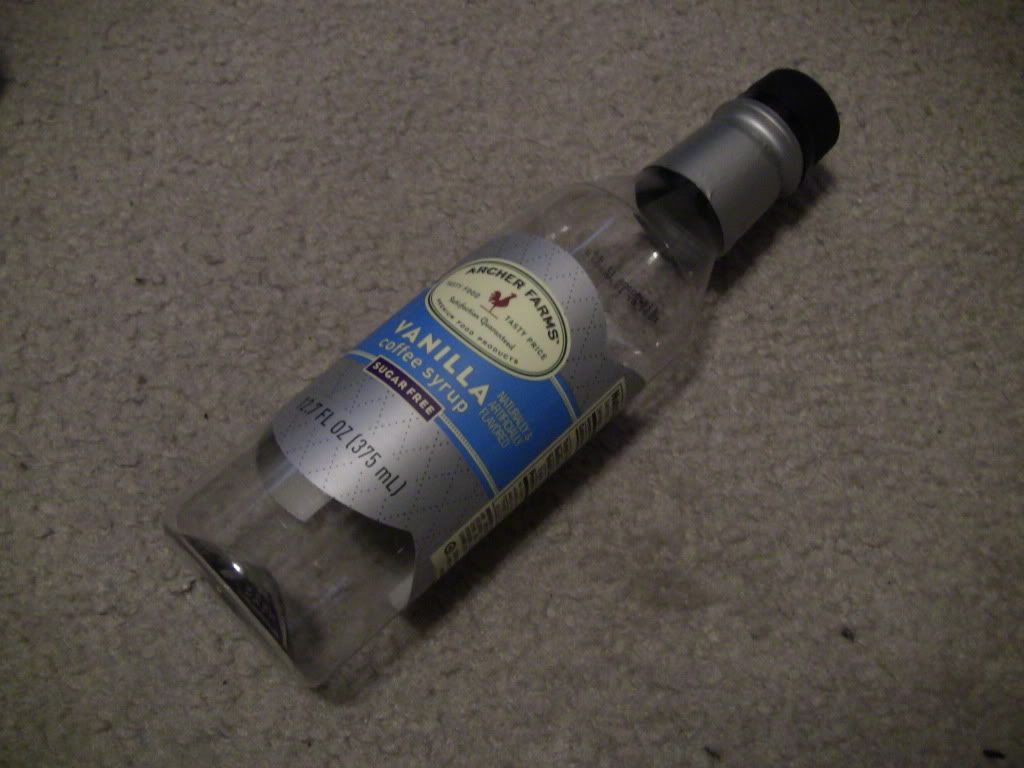
Now I know you’re probably all wondering where on earth I got a clear tube on the back of my AT3K.
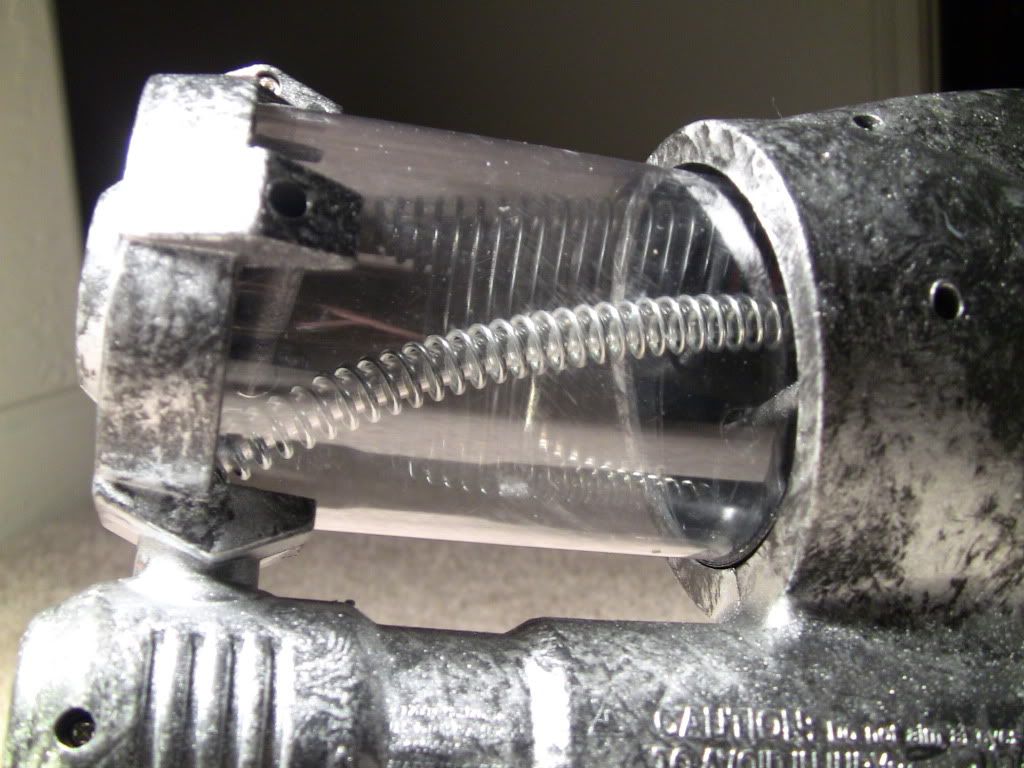
It’s actually a bottle for vanilla coffee syrup that my mom uses, I found it in the trash and it’s a pretty close diameter. Anything roughly 2.25” in diameter will work.
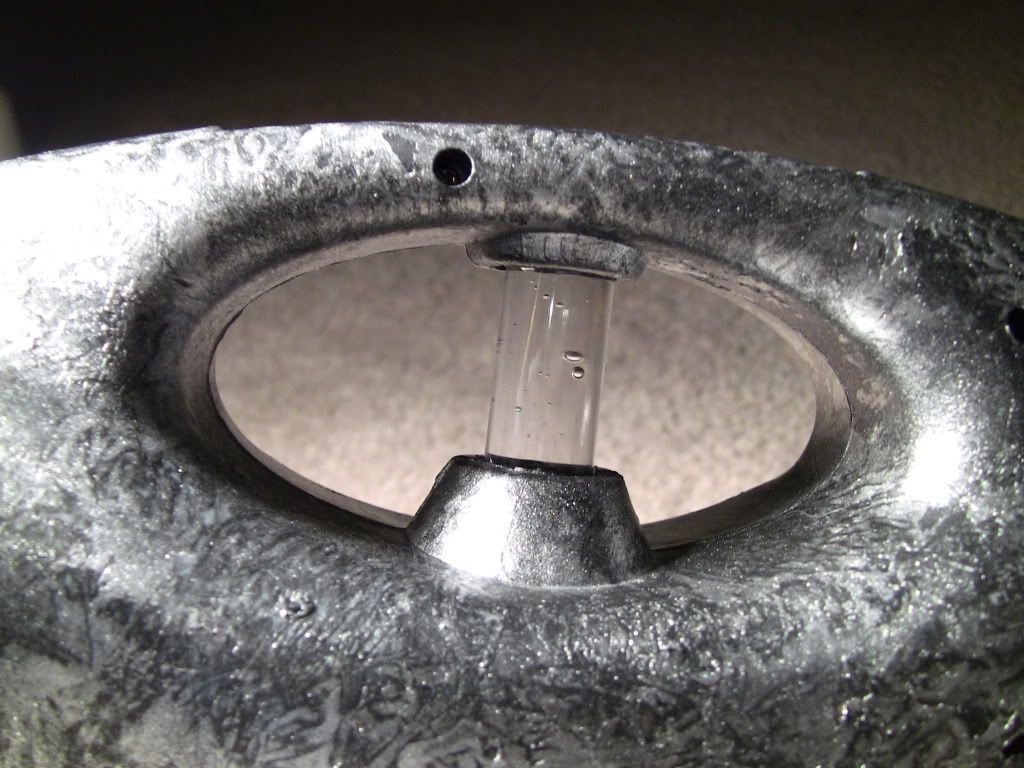
Its looks AWESOME clear though, doesn’t it!? A few other things I did was replaced the goo gauge with a ½” section of PETG filled with glycerin because of its high optical clarity. If you don’t have glycerin, as I doubt you will, hand sanitizer is usually part glycerin and looks just as good.
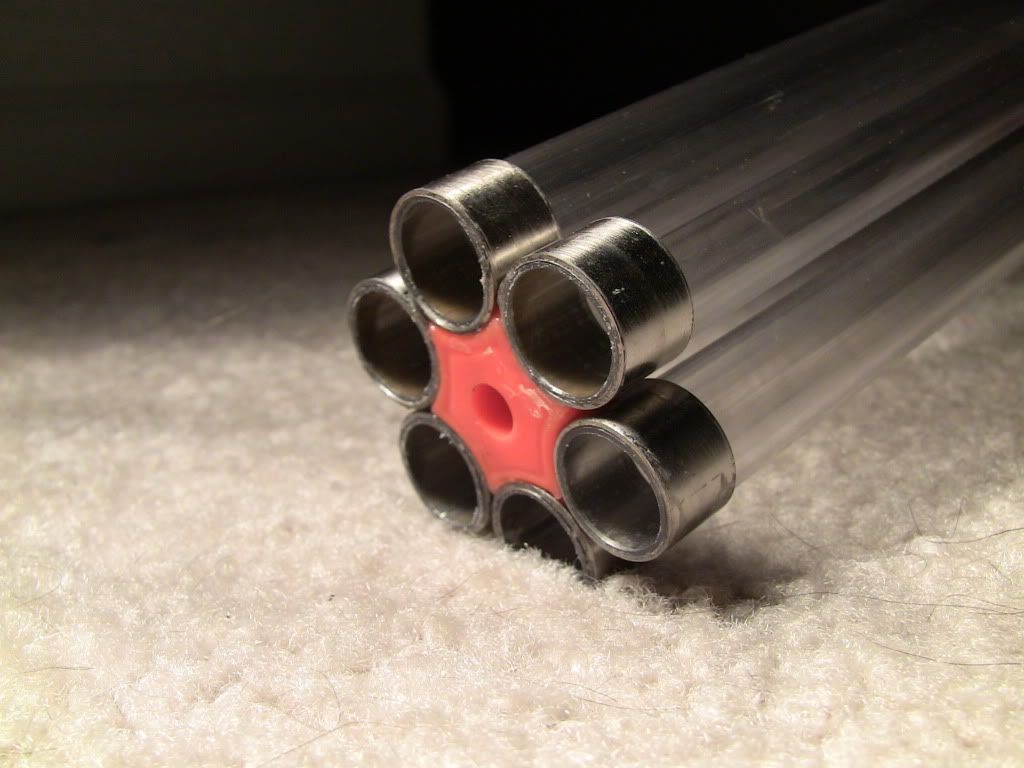
I also put some stainless steel rings from an old curtain rod on the ends of the barrels. It matches the rest of the gun, I like it.
Now I know I’m starting to stray away from the initial point of this thread with all the little ornaments on my gun, but I just wanted to follow up the post with a performance review for any of you guys who were wondering.
This gun is basically a freak of nature. It has a 100% air seal, I used a ½” rubber grommet from Ace Hardware between the tank and the turret, no cutting required. I just super glue it son the tank, lubed it up and I was done. I can plug the barrel with my finger and pull the trigger, and hold the pressure there all day. I can fill the tank with the Magstrike pump with 5 pumps.
I did a range test outside, and I was kind of baffled by what was happening. There was no wind at all, I was firing perfectly level to the ground, and I was using the same weighted streamline darts that I normally use, yet my ranges far exceeded any of my other overhauled AT3K’s with the same mods.
The gun averages out at 180 feet, with about 4 or 5 rounds out of the 30 that I shot landing at 250 feet. That’s not a joke… There must have been some kind of strange updraft coming from down the street where I couldn’t feel it, but the darts would just sail perfectly straight until I couldn’t see them anymore. When I finally found them, they were roughly 250 feet from where I shot them. I’m completely convinced it was a freak occurrence, but even so, the gun averages out at 180 feet, and even that is a little ridiculous sounding to me. So I’m going to test again tomorrow with the same darts and see what’s going on, because if someone told me their AT3K hit 250 feet, I would slap them for trolling…
Any question, comments?
Edited by Banshee, 11 May 2012 - 10:40 PM.


