Jump to content


Photo

Hamtch

Stands for ham-catch

8 replies to this topic

#1 hamoidar

hamoidar

    Member

  • Members
  • 367 posts

Posted 10 May 2012 - 03:06 PM

This post is a follow-up on the Full Metal Catch guide. The gun detailed here cost about 10 bucks, not counting the spring. It is quite easy to make, as I did it in an hour, no more time consuming than a standard snap. The catch is probably the most time consuming part. Anyway, you will need…

Materials:
1 ¼” PVC pipe
¾” thread, 1” PVC bushing
1” to ½” PVC bushing
¾” thread to ¾” PVC elbow
¾” of ½” CPVC
½” CPVC tee
7/16” wood dowel, or nylon rod. (preferably nylon)
Super glue (optional, but nice)
Electrical-tape
3/8” thick plastic (I used some from a cutting board)
The catch detailed here: (http://nerfhaven.com...howtopic=22547' class='bbc_url' title='External link' rel='nofollow external'>metal catch)
¾” PVC pipe
AR-15 spring (or [k26])

Tools:
Dremal
Drill
File
A couple screwdrivers.

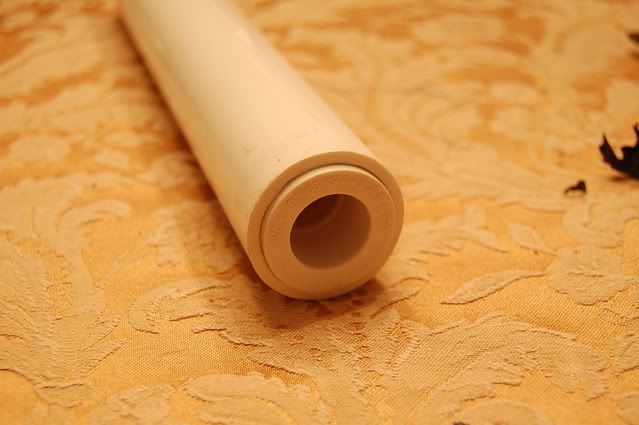
First, cut a 10” length of 1 ¼” PVC. Wrap some E-tape around the 1” to ½” bushing, until it fits snugly in the plunger tube, and glue it into one side of the pipe:
Posted Image

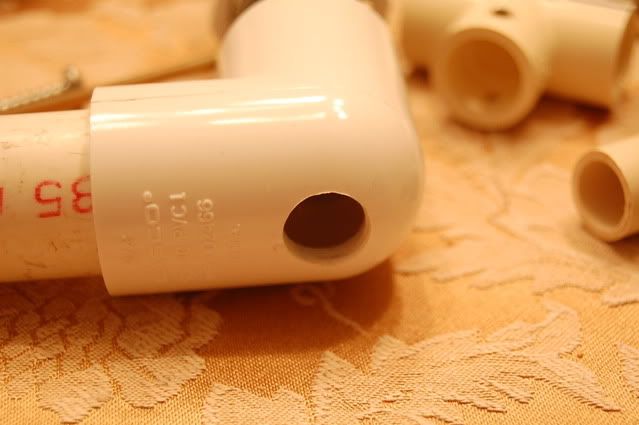
Next, drill a ½” hole in a ¾”thread by ¾” elbow. Make sure the hole is opposite the threaded side:
Posted Image

You will now need to make/grab the catch. Screw the elbow and a 1” to ¾” threaded bushing onto the catch. The bushing should be on the side of the catch that has the PVC in it. Don’t forget to wrap some E-tape around this bushing as well.
Posted Image

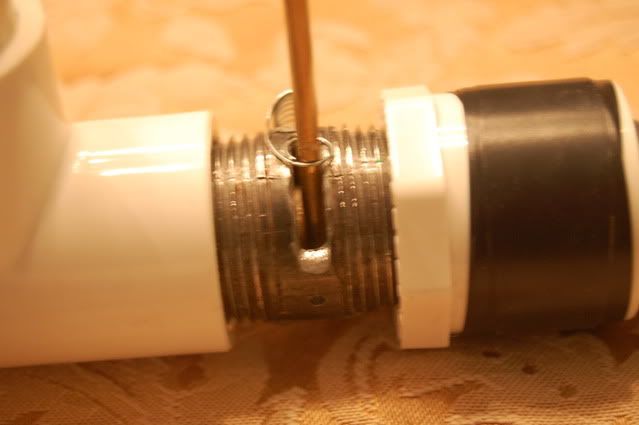
Put a piece of ¾” pvc into the bottom of the elbow. This will be your handle. You can make it as long, or short, as you like.

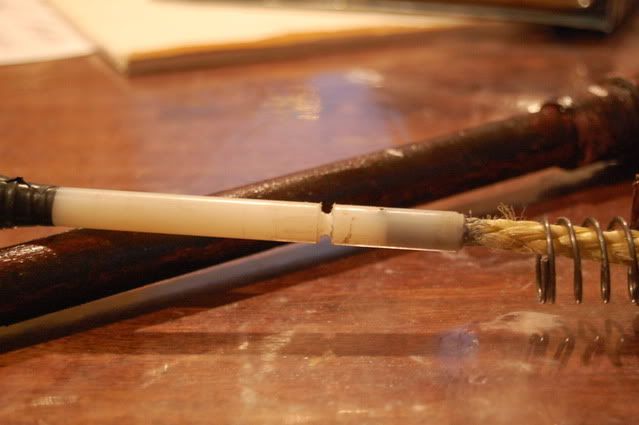
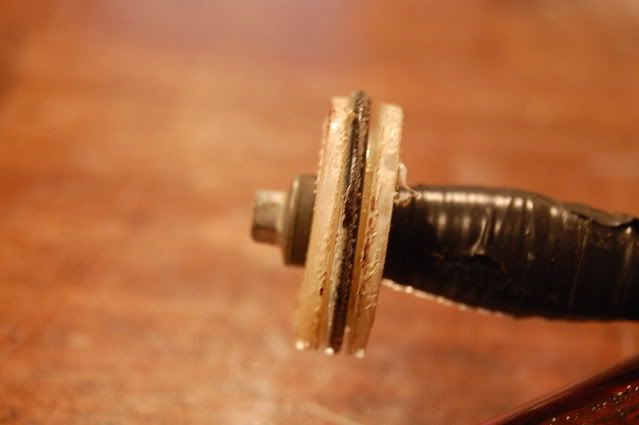
It is now time for the plunger rod. I made mine out of wood, a terrible choice, I know. But I didn’t want to have to buy expensive nylon rod for a testing gun. It has actually performed really well, as I have fired the gun close to 50 times. Anyway, cut a 13” length of 7/16” wooden or nylon rod.
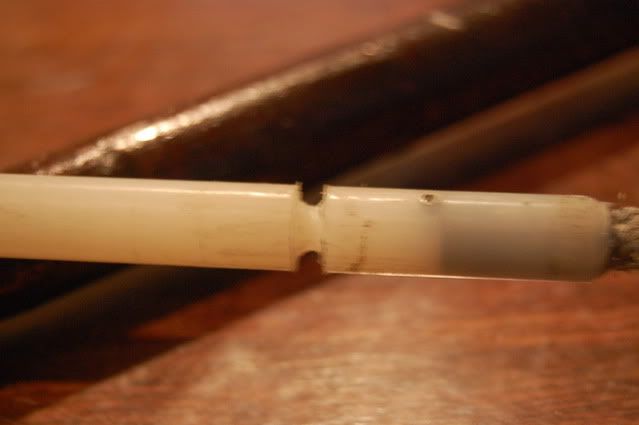
Using a file, cut a groove along the circumference, 4 ¼” from one end.
Posted Image

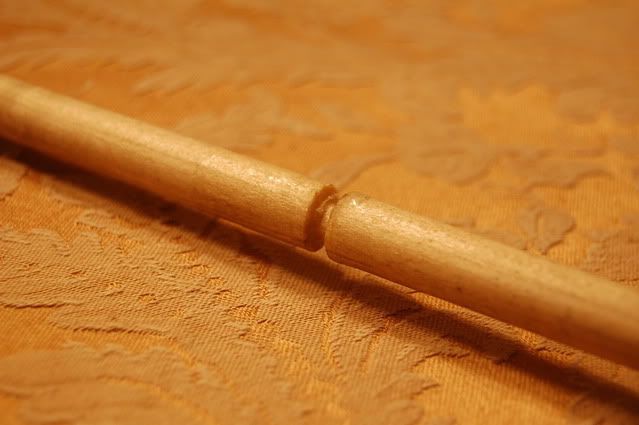
Coat the catch groove area with super glue and let dry. After 3 hours, reapply. This will create a rock hard surface for the catch rod to rest on.

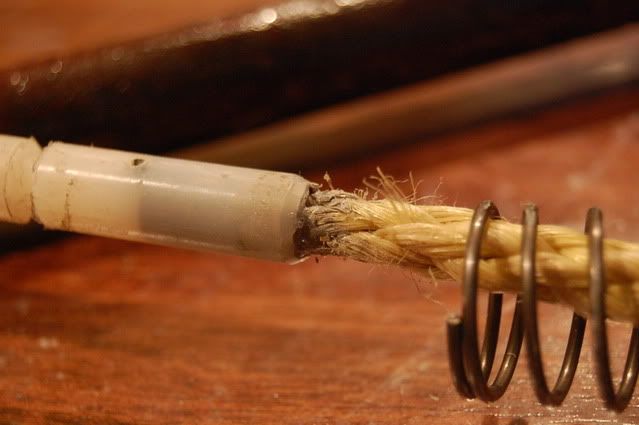
Push the piece of ½” CPVC into the tee, and then push the end of the wooden dowel into the CPVC. Drill a hole through all three layers. Then screw a screw though the hole. NOTE: make sure you use the end of the dowel that is furthest from the catch.
Posted Image

Time for the plunger head. There are hundreds of options here, so go with whatever you like.
I make mine like this (http://nerfhaven.com...howtopic=22375' class='bbc_url' title='External link' rel='nofollow external'>Element)

The gun dosn't have a plunger head at the moment because I didn't have any cutting board left. So, I just shoved a paper towel in the end of the plunger tube so that I could safely dry-fire the gun. As long as the gun catches and releases with a spring, who cares if it has a plunger head. :) I'll try to make one soon, and post ranges, which should be comprable to that of a traditional snap.

I use AR-15 springs for all of my homemades. Does anyone know if the constant is similar to that of a [k26]? I also used a couple of washers to hold the spring on, for testing.


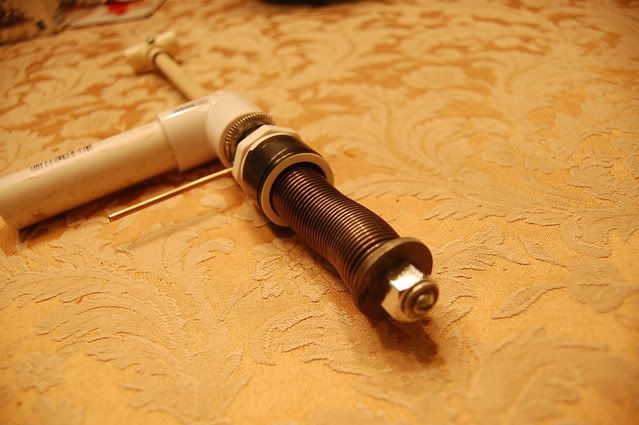
Here it is, complete:
Posted Image

Size comparison with my overhauled Element:
Posted Image

And finally… proof that the catch can hold a strong spring.
Posted Image

Posted Image

Full compression!
Posted Image

The sideways trigger push isn’t awkward at all. The one thing I would do is to put some tape around the trigger pole to make it wider. Other than that, it is just as comfortable to use as any other snap, and you get the benefit of a super-durable catch!

Qustions? flames?
  • 0
NerfHaven > Your control panel > Profile > Change Signature > Inserts dumb sig > What! No pictures! > Inserts next best thing: http://nerfhaven.com...howuser=114052' class='bbc_url' title='External link' rel='nofollow external'>Best thing on Nerfhaven!

#2 cheerios

cheerios

    Member

  • Members
  • 396 posts

Posted 10 May 2012 - 05:48 PM

'hamoidar', on 10 May 2012 - 8:06 PM, said:

Other than that, it is just as comfortable to use as any other snap, and you get the benefit of a super-durable catch!

In what way is the snap catch not durable?
  • 0
22:46- jakejagan :Ryan, did you hear that Zeke's BBBB made N9 bleed?
22:47- Zorn :BONUS

#3 Carbon

Carbon

    Contriberator

  • Moderators
  • 1,894 posts

Posted 10 May 2012 - 06:05 PM

Nice proof of concept. I like the modularity of it: screw out the trigger, slap in a new front end, and you're ready to go. The wooden plunger rod is, of course, terrifying, but you know that. Beaver posted this in the original RainBow thread, as a solution for the 360 degree catch, but not sure if anyone ever posted back on its relative durability.

I'll be interested to hear how the non-standard trigger is during a war. I've found before that something that works fine in the living room doesn't necessarily work as well on the field. Let us know how it does!

Fun fact: every time I see "Hamtch", I see "sammich"...which then leads me to, "bitch, get back in the kitchen and make me a Hamtch".

'cheerios', on 10 May 2012 - 10:48 PM, said:

In what way is the snap catch not durable?

Oh god, let's not start that whole conversation up again....

Edited by Carbon, 10 May 2012 - 06:17 PM.

  • 0
Hello. I am Indigo of the Rainbow Clan. You Nerfed my father. Prepare to die.

#4 andtheherois

andtheherois

    Member

  • Banned
  • 821 posts

Posted 10 May 2012 - 06:19 PM

That plunger rod works well, but it's a bit tricky to get working. If the bolt isn't in tight enough then one side will eventually come loose. Some care needs to be taken when measuring the bolt length and port lengths. A bit of super glue helps too.

Edited by andtheherois, 10 May 2012 - 06:19 PM.

The YooToobz
Photobucket

'Gears' said

Winning rounds is rewarding, deal with it. We don't play fucking patty cake over here.


#5 iamthatcat

iamthatcat

    Member

  • Members
  • 77 posts

Posted 11 May 2012 - 12:03 PM

I'm not very experienced with the catches that are out there, but I have some inclination to try this due to it's apparent adaptability and simplicity. It looks like a durable and positive catch. There are several details you show that I'd like to rip off, once again. Thanks for taking the time.
  • 0

#6 TantumBull

TantumBull

    Member

  • Moderators
  • 1,929 posts

Posted 27 May 2012 - 05:08 PM

Have you looked into any ways of mechanically changing the direction of the trigger pull (through pulleys, levers, gears, etc)? I feel like the non-standard trigger pull would take some of the fun out of it for me, personally. I like how robust the design is, I'm just not quite sold on usability.

Edited by TantumBull, 27 May 2012 - 05:10 PM.

  • 0

#7 hamoidar

hamoidar

    Member

  • Members
  • 367 posts

Posted 27 May 2012 - 05:51 PM

'TantumBull', on 27 May 2012 - 10:08 PM, said:

Have you looked into any ways of mechanically changing the direction of the trigger pull (through pulleys, levers, gears, etc)? I feel like the non-standard trigger pull would take some of the fun out of it for me, personally. I like how robust the design is, I'm just not quite sold on usability.

I have thought of a few ways to make the trigger pull normal, the easiest way would be a plate of metal running in a track with a slanted slot cut into the end, when the plate is pushed, it would move the catch rod to the side.

I have sold the gun to Bow n Arrow, snd have made a nylon plunger rod for it. I'll have a picture up soon.
  • 0
NerfHaven > Your control panel > Profile > Change Signature > Inserts dumb sig > What! No pictures! > Inserts next best thing: http://nerfhaven.com...howuser=114052' class='bbc_url' title='External link' rel='nofollow external'>Best thing on Nerfhaven!

#8 BMSCmods

BMSCmods

    Member

  • Members
  • 19 posts

Posted 28 May 2012 - 07:58 PM

very clean and nice....AWESOME!
  • 0

#9 hamoidar

hamoidar

    Member

  • Members
  • 367 posts

Posted 28 May 2012 - 08:27 PM

Here is the Nylon plunger rod that I finnaly got around to making.
Posted Image
The catch groove is about 4 1/4" from the plunger head.
Posted Image
Bow n Arrow wanted a rope puller/cocking "handle", so I had to figure out a way to make that happen. The rope is JB welded into a 3/8" hole that's drilled into the back of the rod.
Posted Image
The plunger head is made out of kitchen cutting-board.
Posted Image
Bow is going the post a painting writeup on the gun, so you will be able to see how the rope looks.
  • 0
NerfHaven > Your control panel > Profile > Change Signature > Inserts dumb sig > What! No pictures! > Inserts next best thing: http://nerfhaven.com...howuser=114052' class='bbc_url' title='External link' rel='nofollow external'>Best thing on Nerfhaven!


1 user(s) are reading this topic

0 members, 1 guests, 0 anonymous users