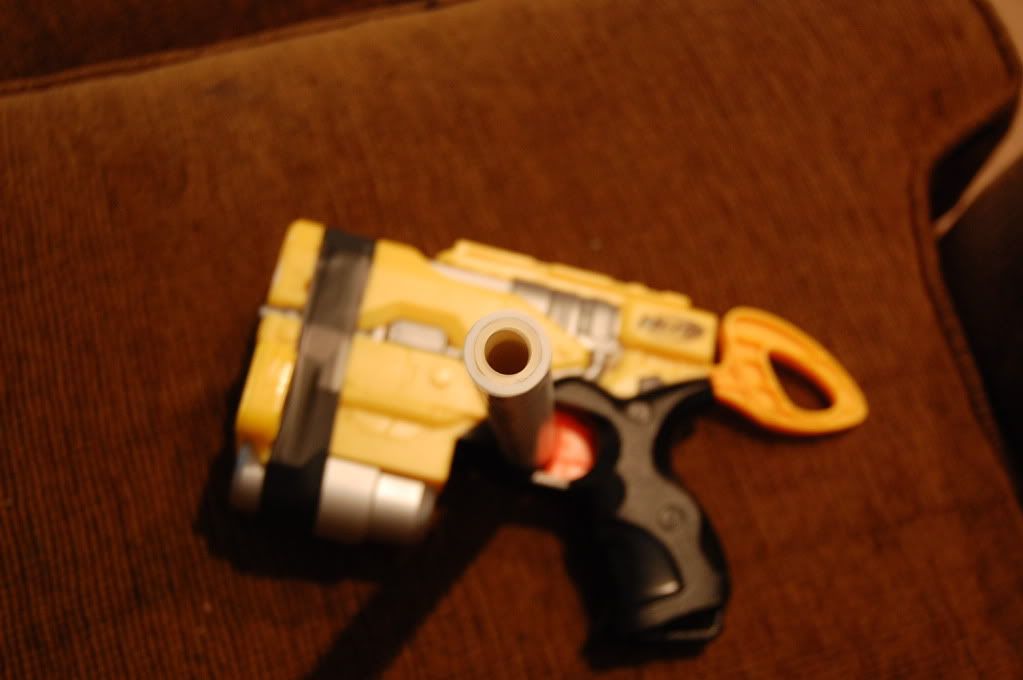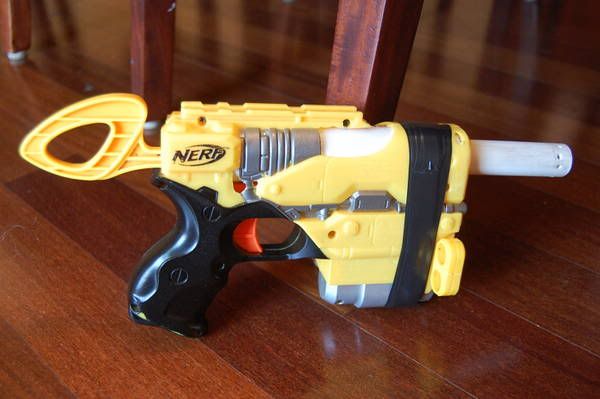
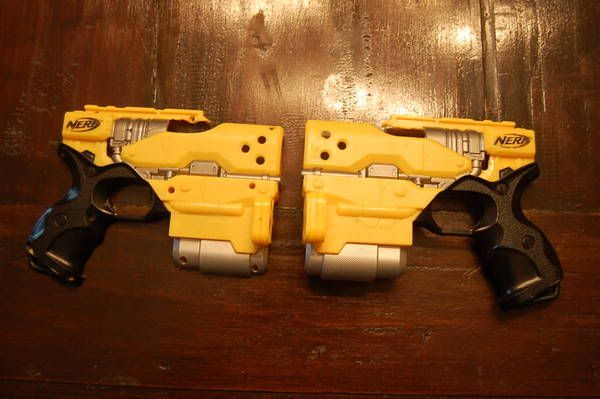
In this guide, I will be showing you how to overhaul the Element EX-6. Quite underrated, the Element has not enjoyed the booming success of the internally similar Nightfinder. Both guns share the same plunger rod, and the same catch, although the Element is more bulky in comparison with the Nightfinders streamlined shape. I personally favor the Element because of its large dart capacity, and its mod-friendly, spacious shell.
NOTE: This is a post-mod write-up. I have tried to make it a clear as possible.
Materials:
5.5” of 1” PVC
One-half of a ½”PVC coupler
3.3” of ½”PVC
2” of CPVC
Electrical tape
Hot glue/epoxy (hot glue is acceptable in this application because it is not under high stress)
One Element EX-6
Tech-Target plunger rod, or a piece of 3/8” nylon rod.
A cutting board, or a piece of 3/8” thick plastic sheet.
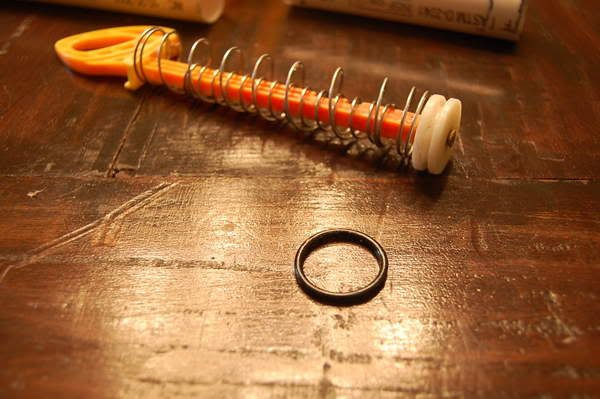
1 3/16” o-ring.
1” long screw. (You can use just about any small screw)
½” nut.
Scraps of 1/8” Plexiglas or polycarbonate.
AS-20 spring and a recon spring. (You can also use a piece of a [k26] spring)
Tools:
Misc. screwdrivers
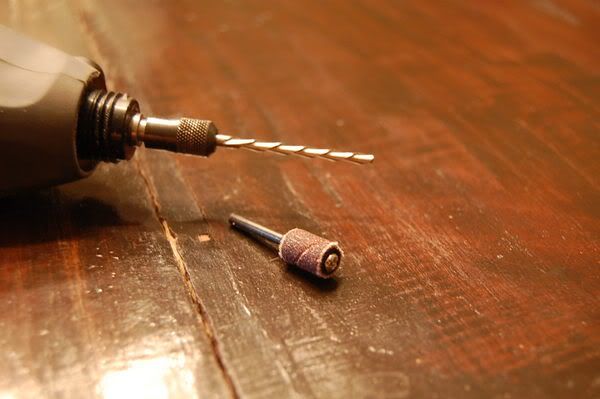
Dremel tool. (I used a 300 series)
Dremel sanding drum and cutting bit thingy.
PVC cutters or a hack saw.
Hot glue gun.
Superglue.
Drill with a 1/8” drill bit.
Hammer
Dremel circle cutter. (Comes with 300 series)
1/8” metal rod.
You (Emoticon )
All right, time to begin.
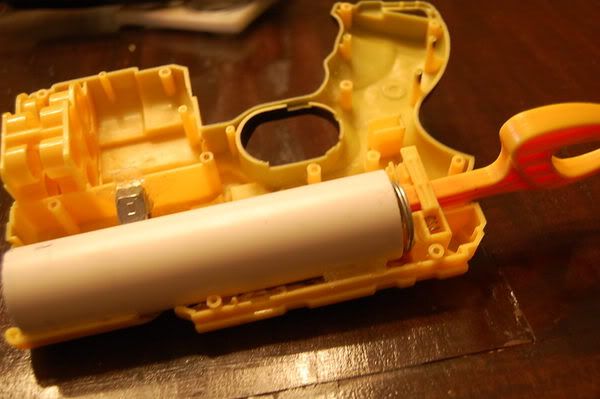
Start by unscrewing the gun, and removing the internals.
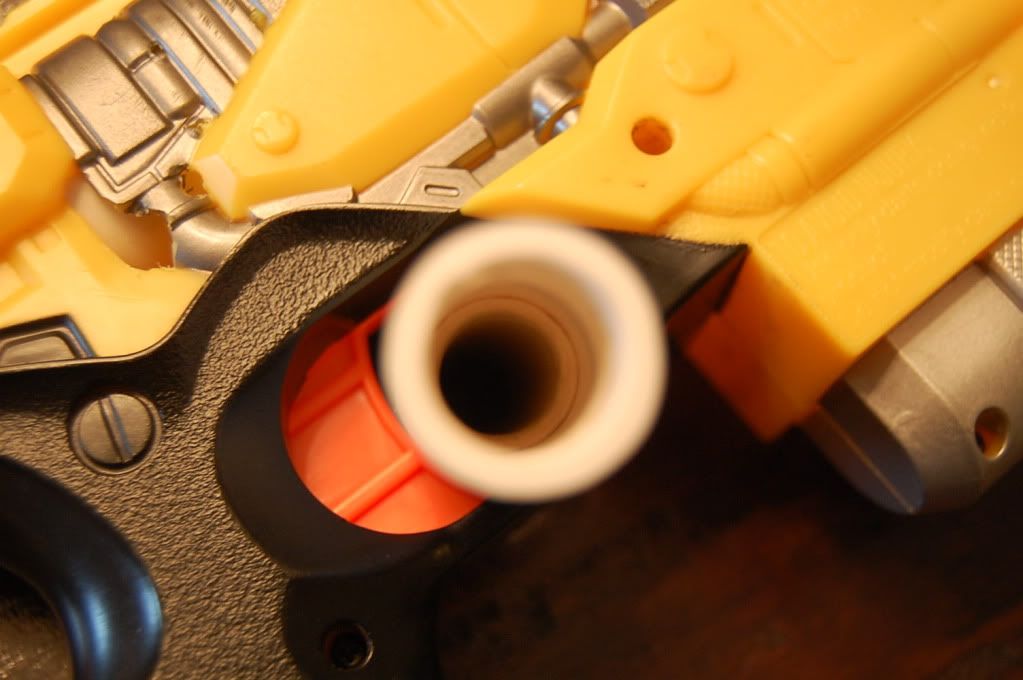
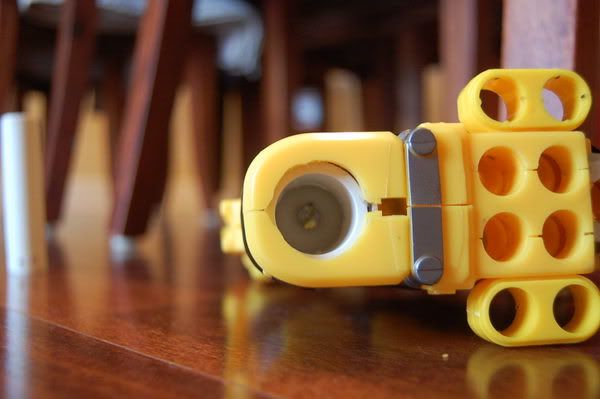
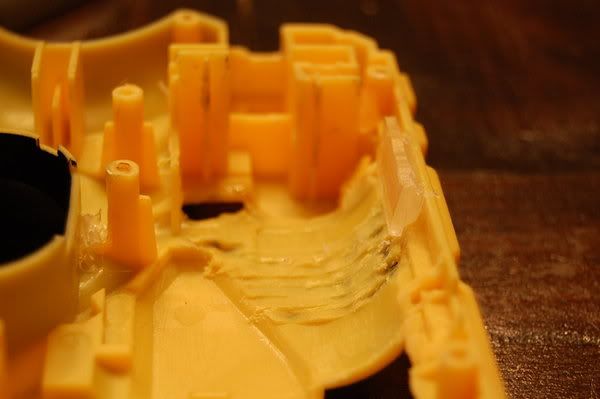
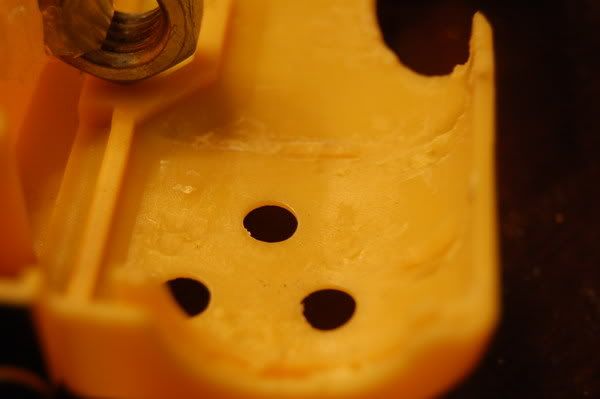
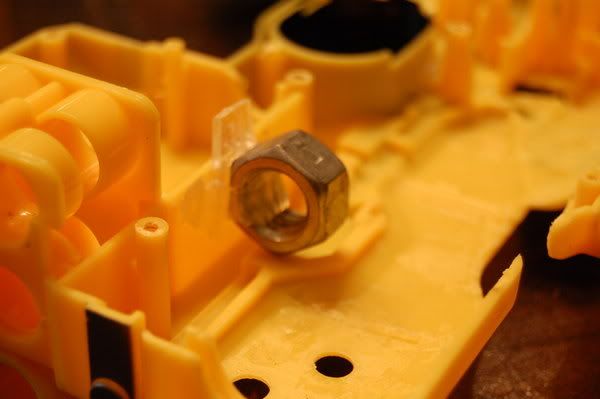
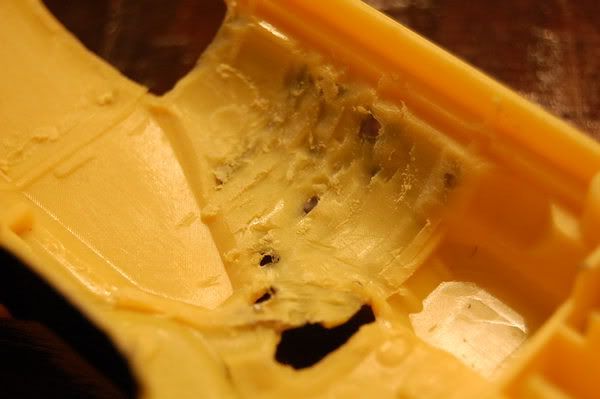
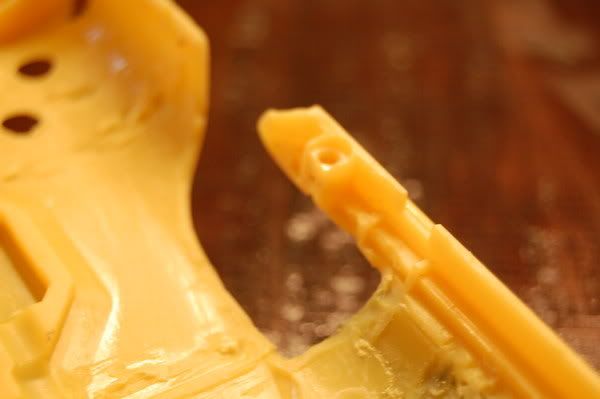
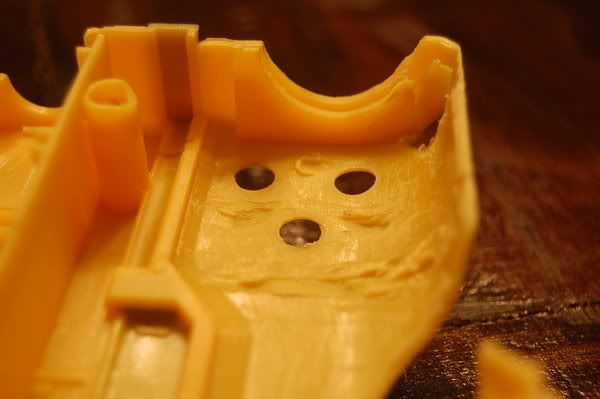
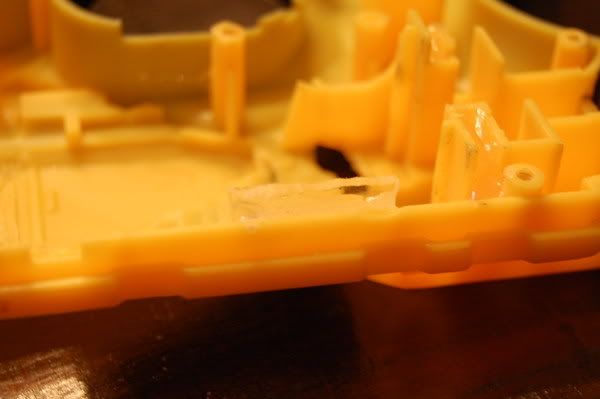
You will now need to dremel all of the areas pictured, until your gun matches mine. (Ignore the nut)
Here is what you will need:
Ready, set, cut!!

Whew… that was a lot of pictures.
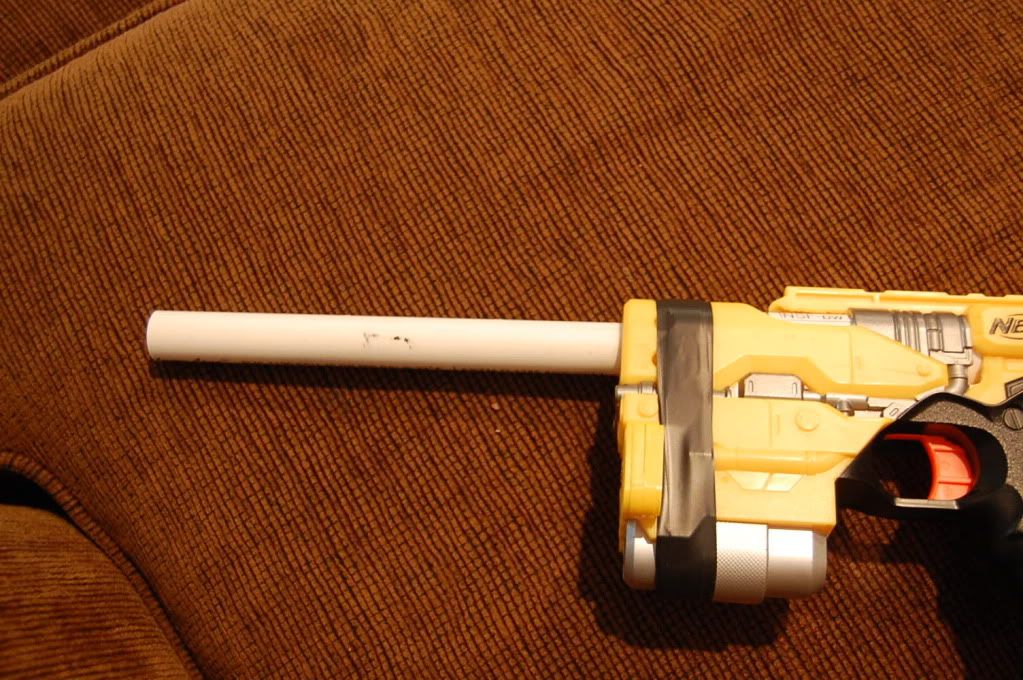
Time to make the plunger tube.
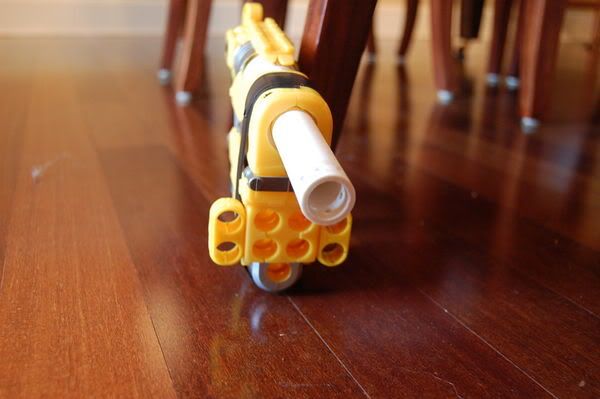
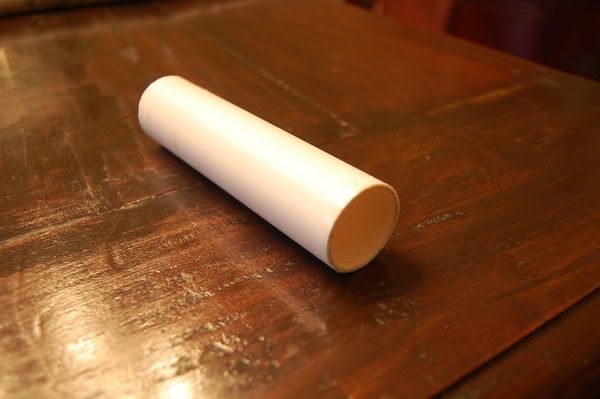
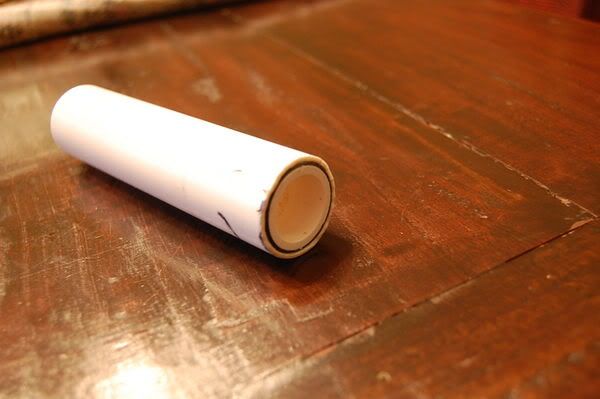
Cut a piece of 1” PVC to 5.5”, de-burr the edges.
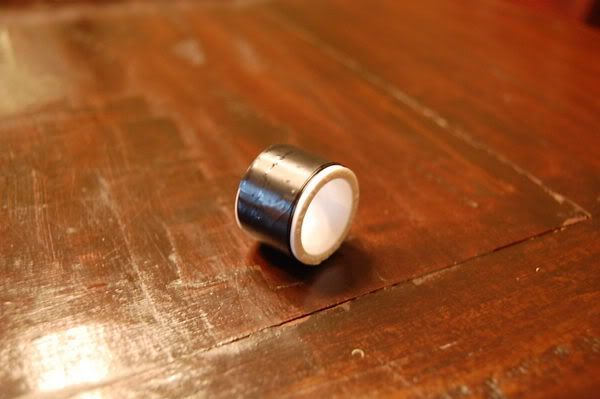
Now, cut a ½” PVC coupler in half.

Dremel off the couplers casting nub, and wrap it in a few layers of electrical tape, until it fits snugly in the plunger tube. Then superglue it in.
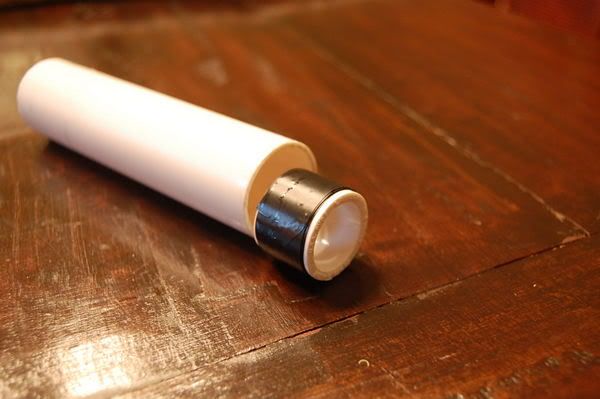
In the end, it should look like this:
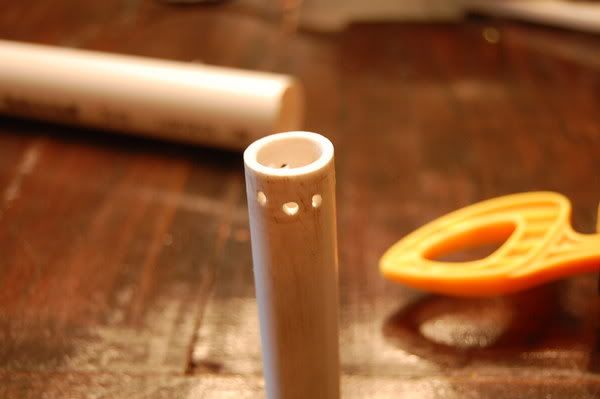
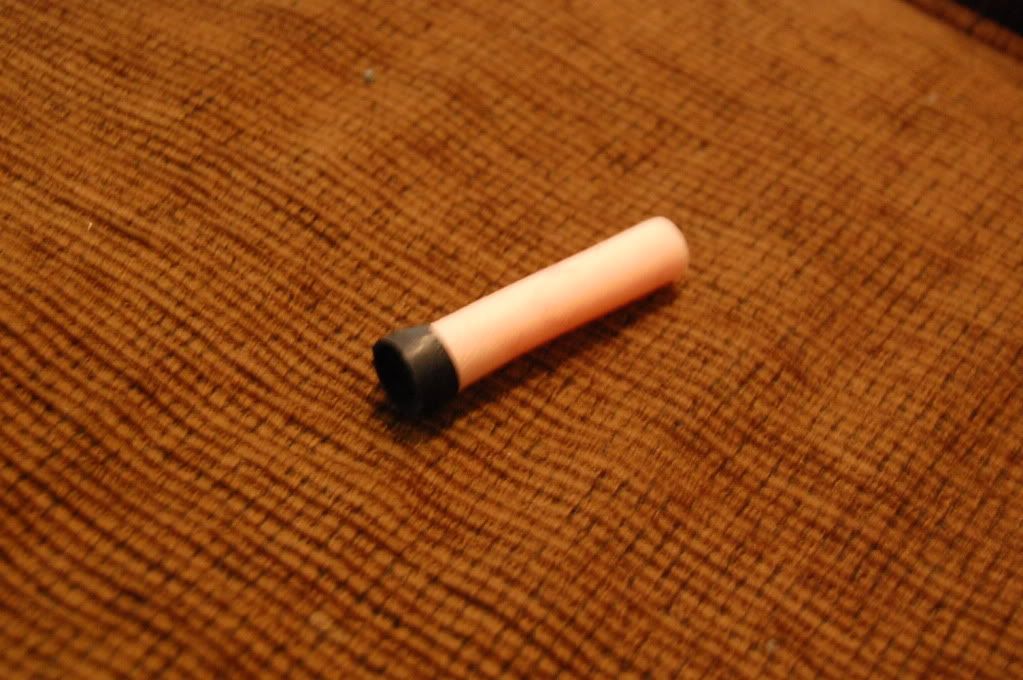
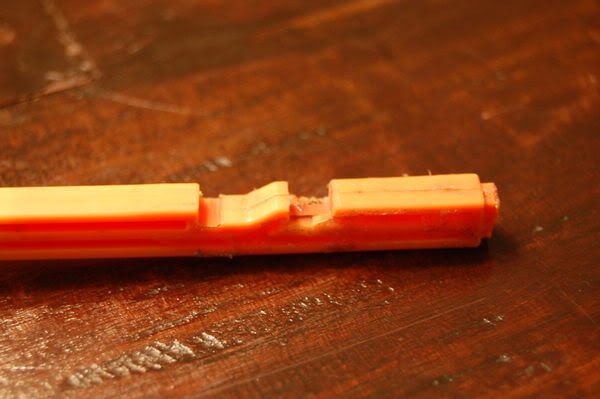
It is now time to modify the tech target plunger rod. I chose to cut a second catch notch, and to reinforce with hot glue…..ha ha. You do not have to do either of these mods, and can simply leave the rod stock. You can also make your own plunger rod, out of 3/8” nylon rod.
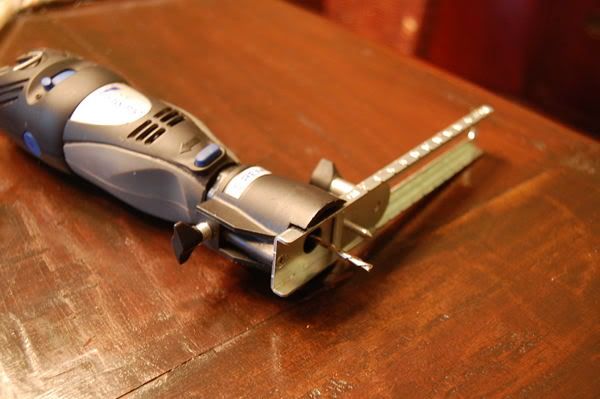
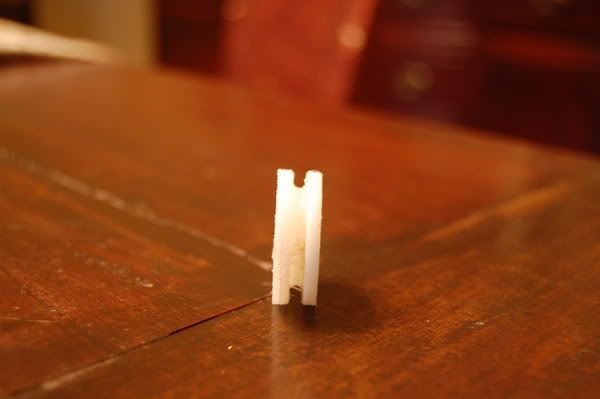
Time for the hardest part; the plunger head. Using you Dremel circle cutter, cut out a 1 and 1/16” diameter disc. (I am supposing you know how to use the circle cutter)
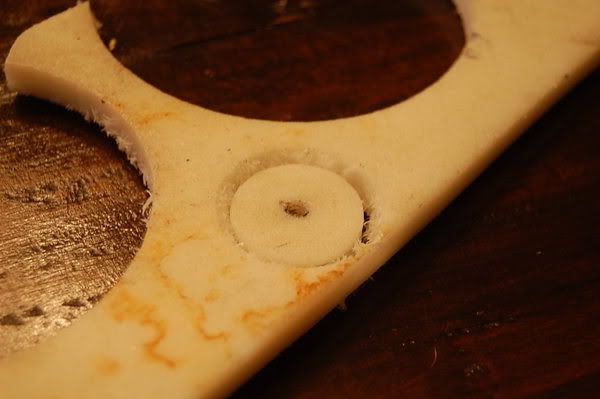
You can fine-tune the disc by placing it on the centering spike, and, using gloves, cut off extra plastic and resize.
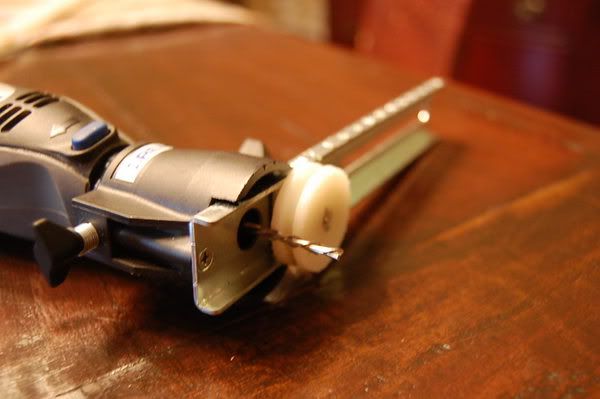
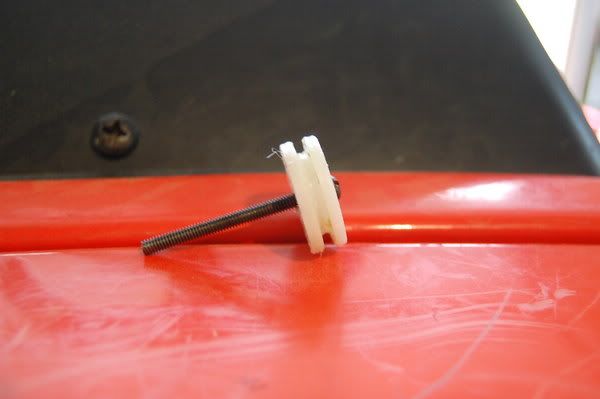
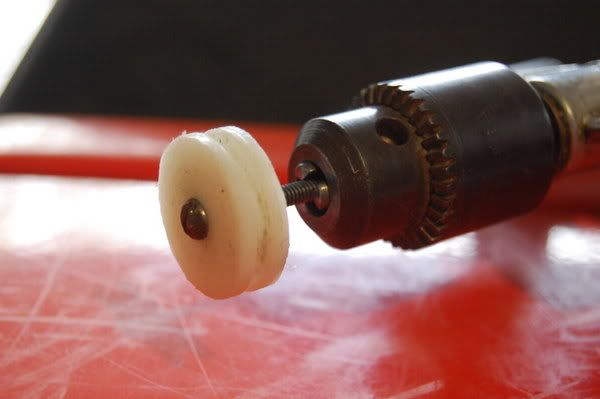
Once you have your disc, put a 2” long, 1/8” thread screw all the way through the disc.
Put this into the chuck of your drill.
Put your drill in the brace, and set the height.
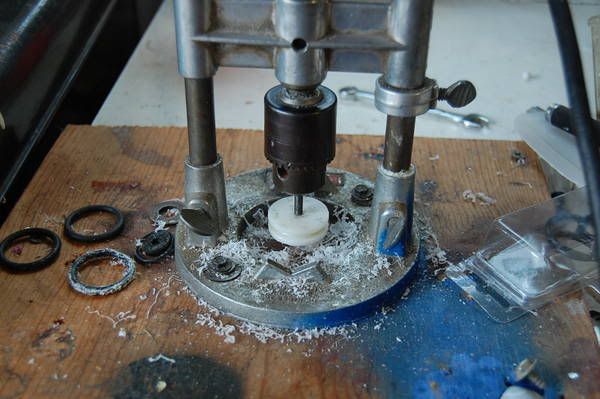
I only have a faux drill press, but it works. A real drill press will work too.
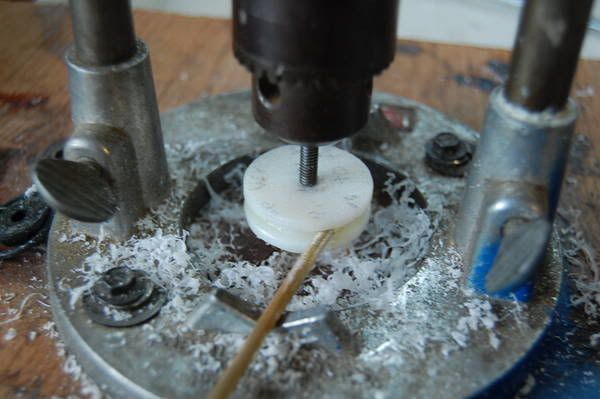
Anyway, now take a 1/8” metal rod, turn on the drill to medium speed, and use it to cut a ¼” deep groove along the edge of the disc.
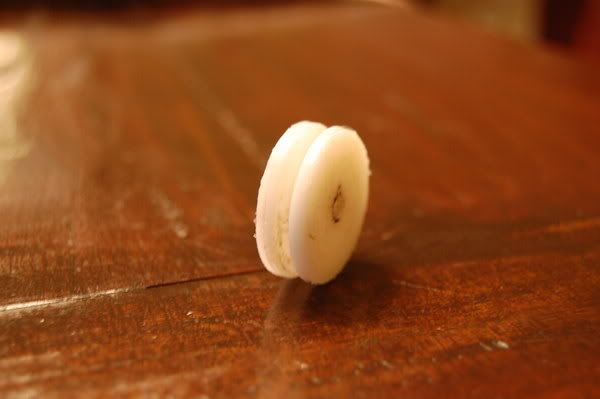
Nice!!!
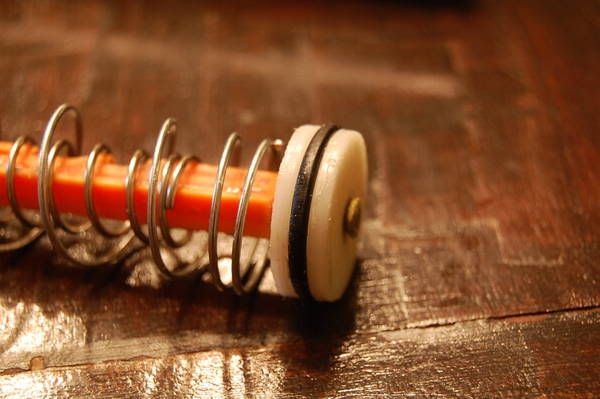
Now, it is time to put the plunger assembly together. Stretch the o-ring onto the plunger head, and lube it up. Then, screw the head on to the plunger rod with a 1” long screw. (Do not forget to put the catch and the springs onto the plunger rod BEFORE you screw on the head)
Almost done! Glue a piece of 1/8” Plexiglas to the spot pictured, and then glue the 1/2” nut on top. (This is to hold the plunger tube in place, while still making it accessible)
Next glue a scrap of Plexiglas right under the tactical rail.
This is also here to hold the plunger tube