This builds upon work done by SgNerf on NH: http://nerfhaven.com...=1
With out his ground breaking work and discoveries this certainly wouldn't be possible.
Yes this mod involves oogoo (silicone caulk thinned with mineral spirits and corn starch). Do not get scared or intimidated by this mod. Start by asking a simple question: “Can I make Mac N' Cheese?” Mac N' cheese has 4 basic steps:
Boil noodles, Drain noodles, Melt and combine ingredients, combine cheese sauce with noodles. Making an Oogoo mold has 4 steps – no heat required! Mix oogoo, coat part in oogoo, place coated part in tub full of oogoo and once cured slice part out of oogoo! Wow you have a mold! If you posses the mental and physical capacity to make Mac N' cheese over a stove top, you should be able to do this too. It just stinks a little more than Mac N' cheese...
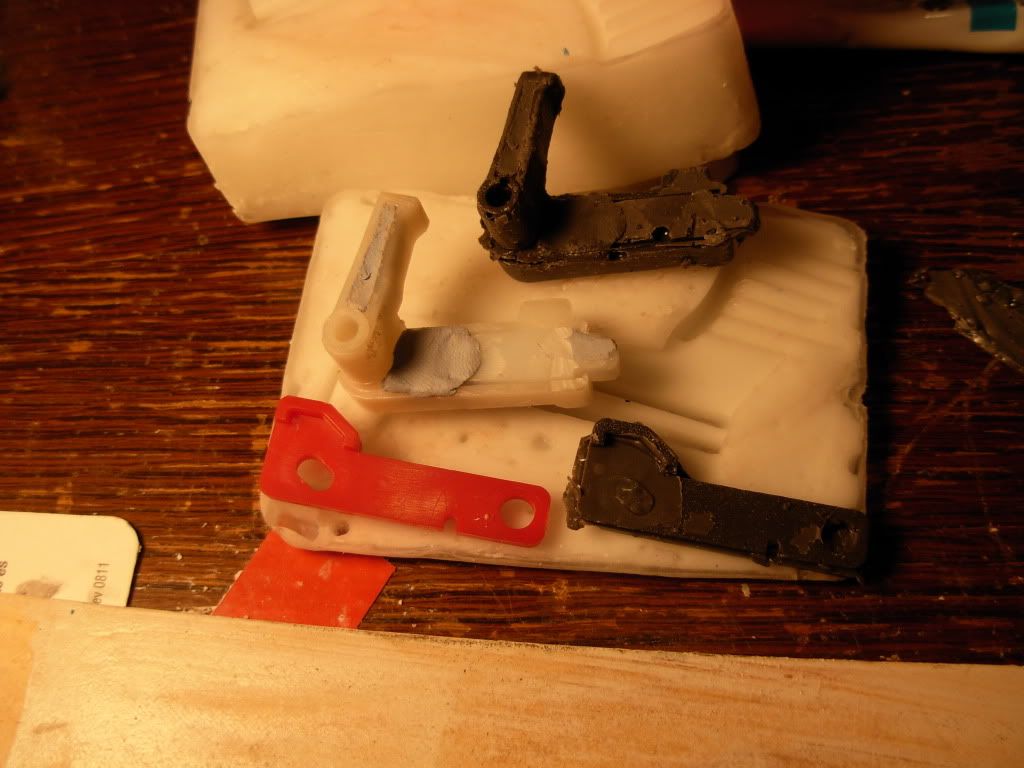
Changes from the SgNerf method: A cheaper and widely available mold medium is used. The part is entirely coated in the mold medium, and placed in a small tub – slightly larger than the part. The part is then sliced out and the mold separated. The result is that the entire part is duplicated – not just one side – opening the door to casting dimensionally complex parts – like a lanard hand cannon catch:
Here's what will be needed:
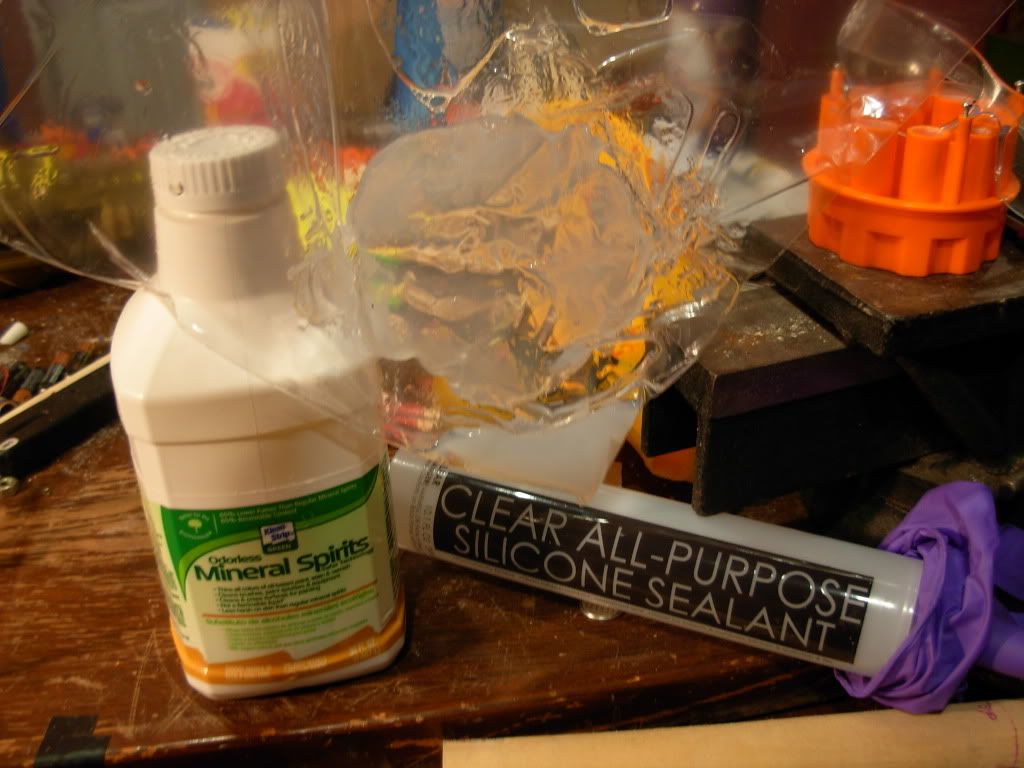
Silicone caulk (not ge II) the super cheap opaque $3 tube with black lettering from walmart works beautifully!
Corn starch (baking aisle at your local grocery store)
Silicone spray lubracant (mold release agent)
Mold containers (plastic baby food tubs work very well for small parts) large enough for the piece being duplicated to lay flat in (you'll be nearly filling it with oogoo, so a huge tub for a small part will waste a lot of material)
Gallon sized plastic bags (optional)
stirring sticks (popsicle sticks are suggested)
Sharp knife (to slice the mold around the part)
Devcon plastic steel two part epoxy (acehardwareoutlet via amazon.com gave me the best deal on shipping. I got (3) 2 oz sets for about $12 shipped.
Mold dead space filler (air soft pellets, washers, pennys... anything that you can fill the top of your tub to press the mold halves together while your epoxy cures.)
Yeah, you might be able to use RTV silicone, but seriously it's probably a lot thicker and is certainly more expensive... $10 spent on a tube of caulk and a pint of mineral spirits from walmart (liberate the corn starch from your mom's pantry) would give you enough material for at least 6 baby food tub molds with enough mineral spirits left over for another dozen molds.
Parts to cast...
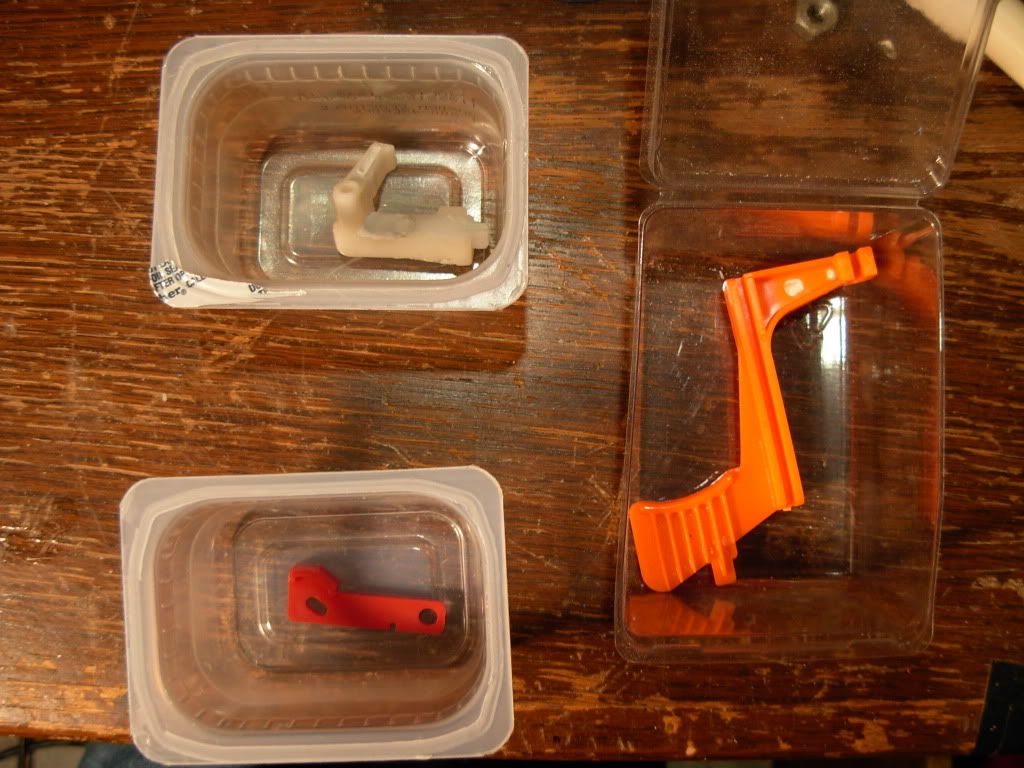
I've selected breakage and wear prone parts: BBBB trigger, marshmallow xbow catch, and a lanard hand cannon catch. The bbbb trigger and xbow catch are pretty simple, and could of worked with SgNerfs original method, but the hand cannon catch is pretty complex and wouldn't of worked.
Make sure you have your parts before you start mixing oogoo.
The process:
Mix oogoo...
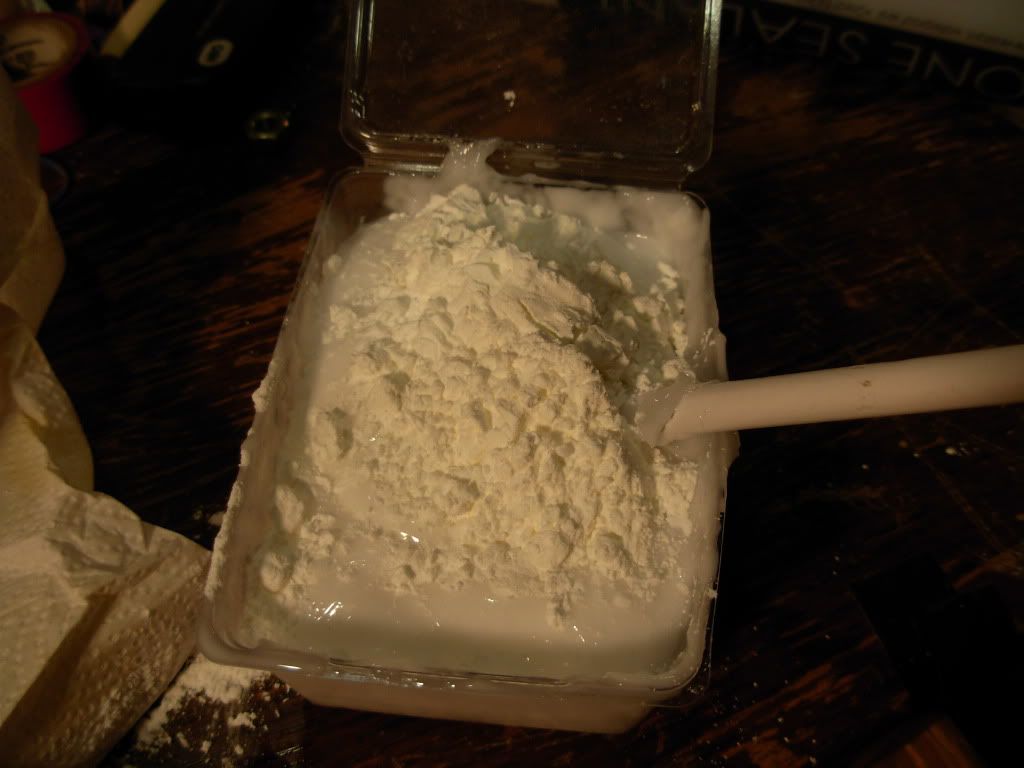
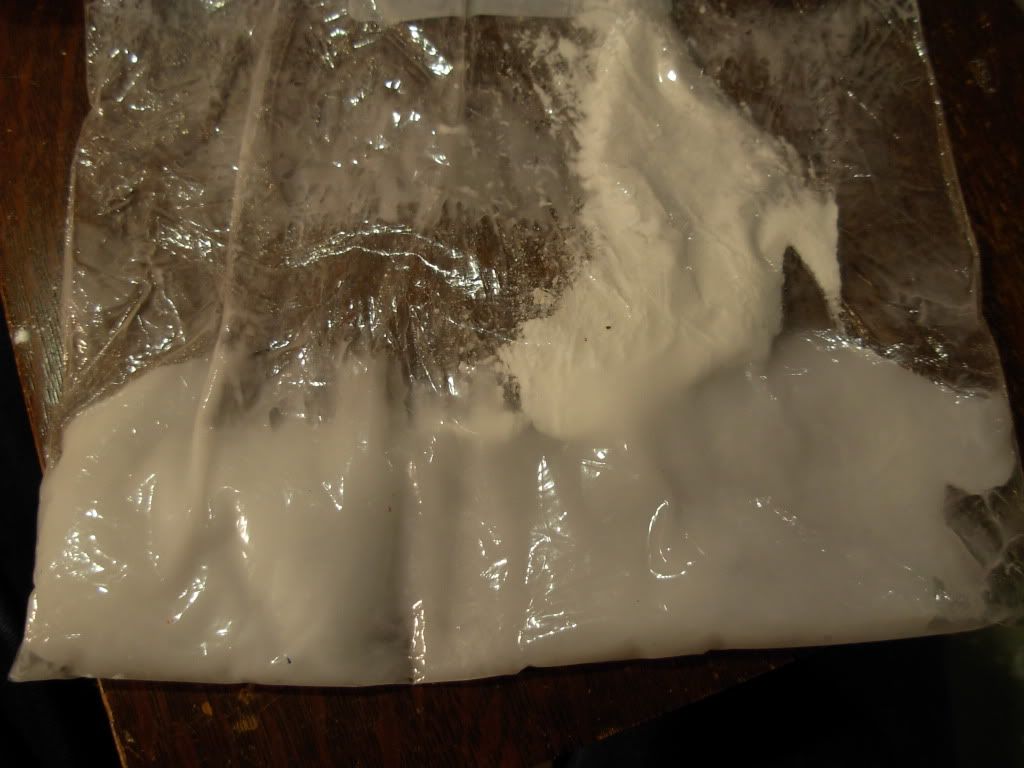
You can either mix it in a plastic bag, or stir everything together in the mold container. The plastic bag will contain the stench of the silicone, but the container is a little easier to mix in and it will be easier to avoid making too much oogoo. Begin by squeezing out enough caulk to fill enough of your mold to cover your part. You can either use the plastic bag, or the mold container. I actually found it easier to mix in the mold container, but I had a pretty severe cold that day and couldn't smell a thing. Shake your mineral spirits up a bit (make sure the cap is secure) and pour in about half as much mineral spirits as you have caulk and mix the two together. The mineral spirits will thin out your caulk so it can penetrate smaller crevices release air bubbles and produce a higher quality cast. You want the consistency to be a little thicker than honey. Add more mineral spirits as needed.
Once mixed add a slightly rounded table spoon (small baby food tub sized mold) or two (for a bigger mold) of corn starch and mix that in too. Corn starch speeds the cure time from weeks to over night. If you've mixed in a plastic bag, cut the tip off the bag and squeeze the contents into your mold container.
Mixing in the tub:
Mixing in the bag:
Molding the part:
Spray your part with silicone (don't hose it, just give it enough to make it shiny), and shake it off. Coat it in oogoo, try to get oogoo in all the small crevices, and bury it in your mold container. Try to bury it so it's resting level, and either near the top or bottom of the mold. You'll need to have a pretty good idea of where it is when you go to chop it out. You can have a second part in the mold so long as they aren't touching. I cast the BBBB trigger in the bottom of a tub, and marshmallow x bow trigger at the top. Might as well make your mold multi-task.
Part coated:

Part in tub:
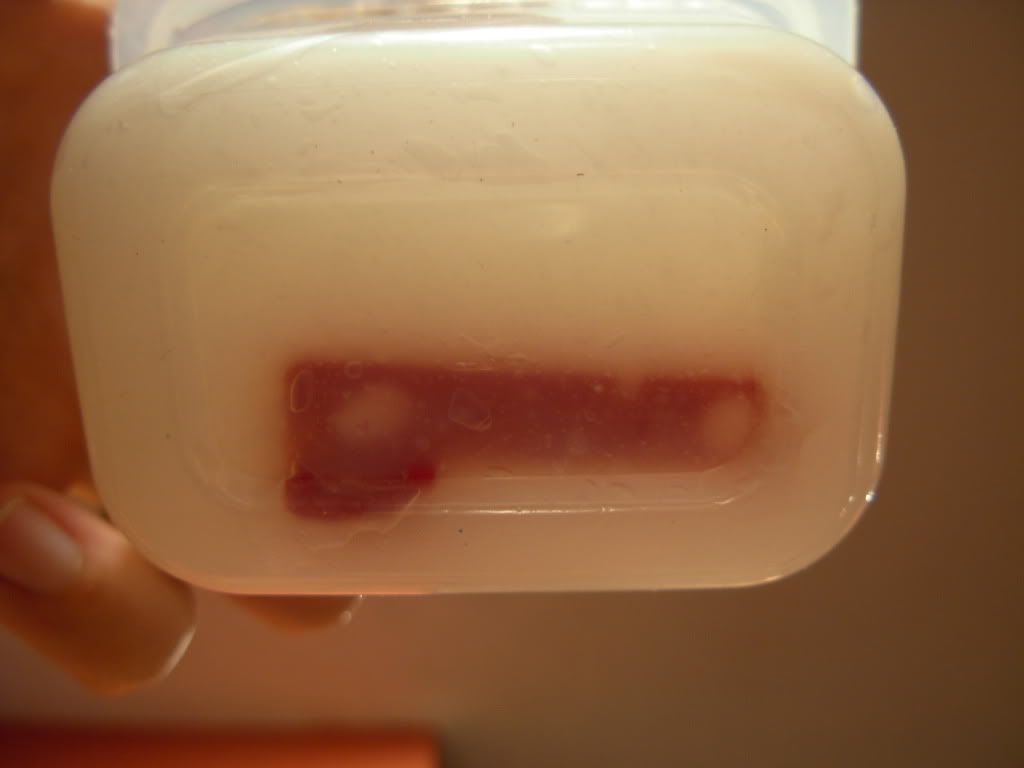
Hello little marshmallow xbow catch!
Put the lid on and let it cure for at least 12 hours or until firm and solid. Remove it from the mold, and set it aside to de-stink for another 3-4 days.
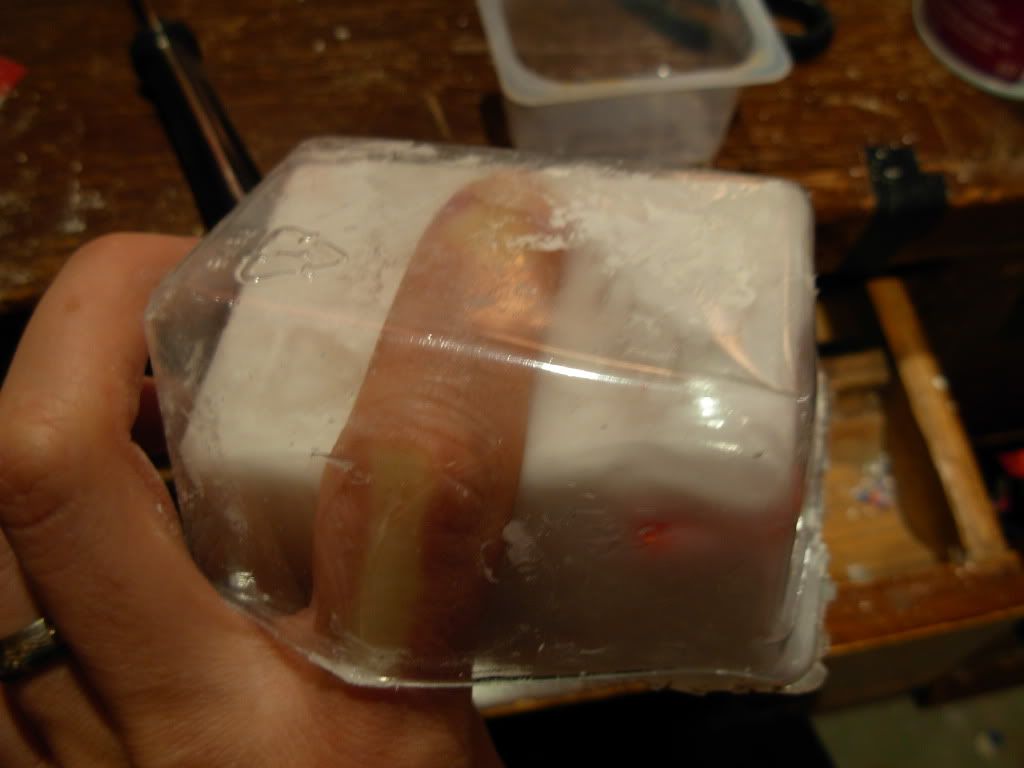
When I pulled the marshmallow xbow catch from it's tub I noticed an air pocket exposing the part. I mixed a little more oogoo, patched up the pocket and put it back in the tub. Long story short, you can repair your mold as needed.
Once you can handle your mold, grab a sharp knife, poke and squeeze the mold until you have a good idea of the parts location, and plan your cut. You want to make ONE cut all the way around the part so that you can pull the two halves apart like a clam shell. Carefully slice until the halves separate and the part is free. Yea! This should be a slow surgical process. You have a negative of the part trapped in the mold! If there are any large air bubbles open in the mold, patch with oogoo, replace the part and let it cure again.
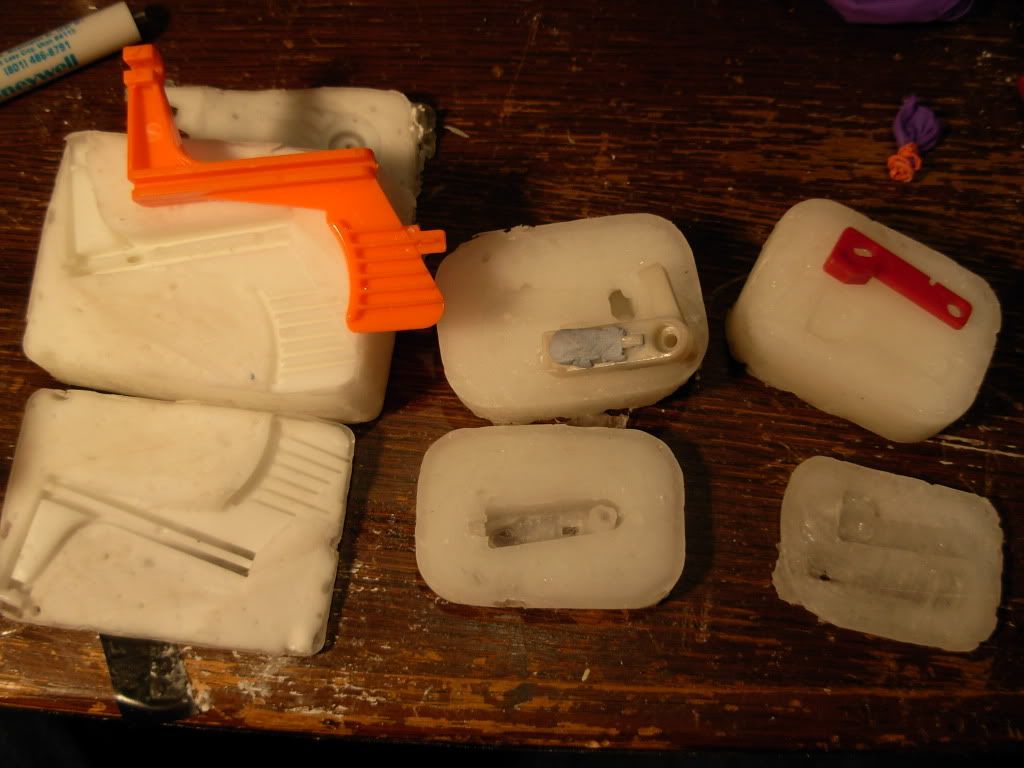
Lets cast a part:
Spray a rag with silicone spray and wipe down your mold.
Mix enough plastic steel to fill the mold. Wow that stuff is thick! (you can always mix more if needed, the cure time is reasonably forgiving) and smear the plastic steel into the bottom half of the mold. Fill it till it's level, and place it in the mold container. Next fill the top half of the mold and place the top half on the bottom half inside your mold. Make sure you orientate both halves correctly! You need to apply even pressure from the top of the mold. I'm still figuring this part out, and right now I'm thinking the best way is to fill the dead space with something like airsoft pellets and put the lid on. Lacking air soft pellets, I used pennys. Washers may also work, but I think airsoft pellets would work best – being both small and spherical. Sorry I don't have a picture of that. Just imagine a tub partially filled with cured oogoo, with the rest of the tub filled to the brim with what ever small randomness you can come up with. Placing the lid on the tub compresses the randomness which presses the mold halves together while the epoxy cures.
Let the part cure overnight, (or at least 6 hours) remove it and inspect for defects. If there are any bubbles, mix more liquid plastic, fill the gaps, and return the part to the mold. Once fully cured (24 hours), remove, reinspect and trim any excess. Drill any mechanical holes needed, and install. I'm shipping the hand cannon catch off to TaerKitty for testing and evaluation. I don't use my hand cannon much, might as well have have it put through the wringer by someone who does. So don't ask me how durable the end product is yet. I don't know. I expect that they'll wear much better than the standard stock ABS plastic parts, but that is yet to be proven. Right now it's only proven that they can be made.
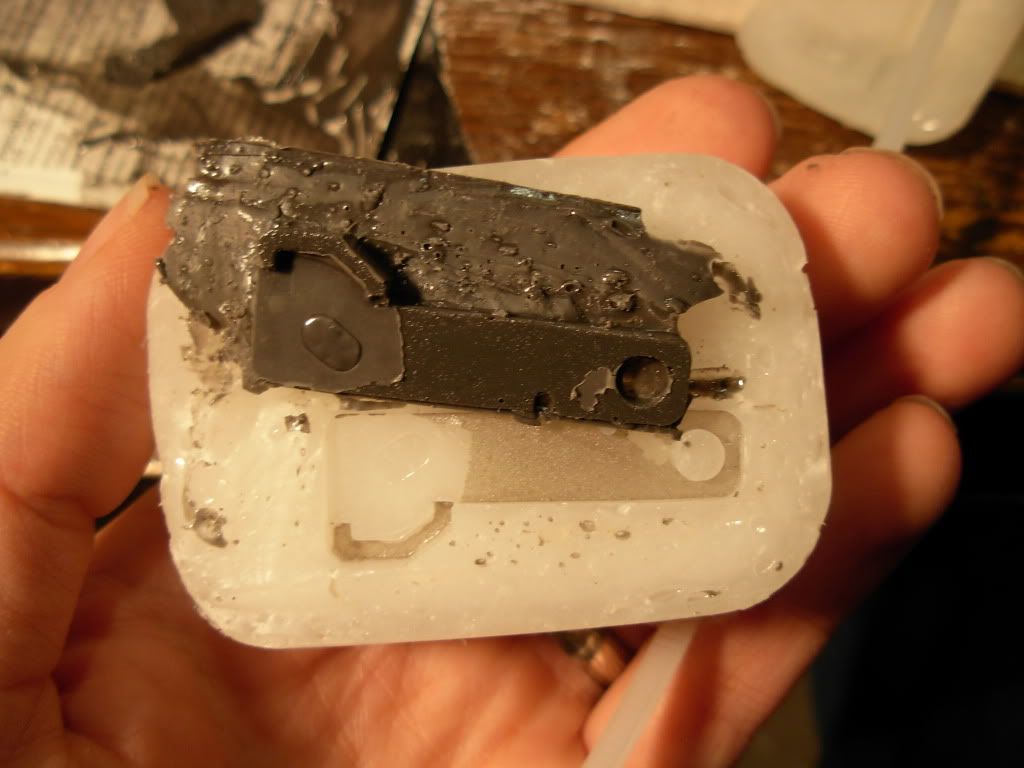
I'm also very interested in seeing what anyone else has cast. I would consider it on topic so, feel free to post pictures of your work here also.
Edited by shmmee, 15 March 2012 - 11:20 PM.


