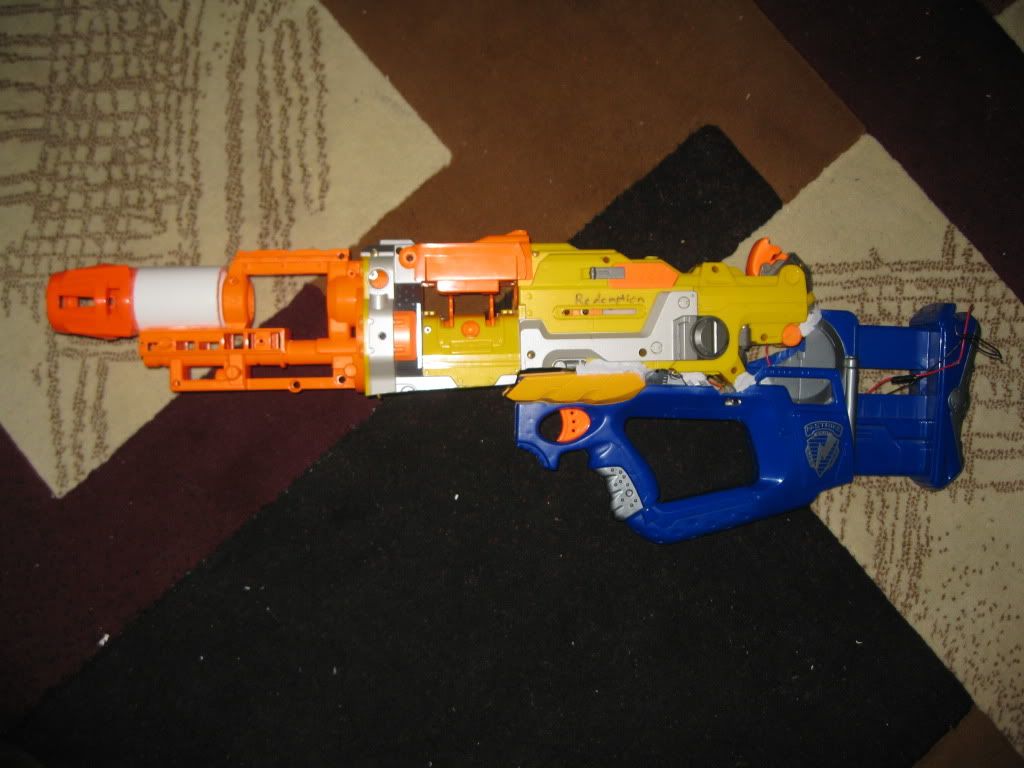
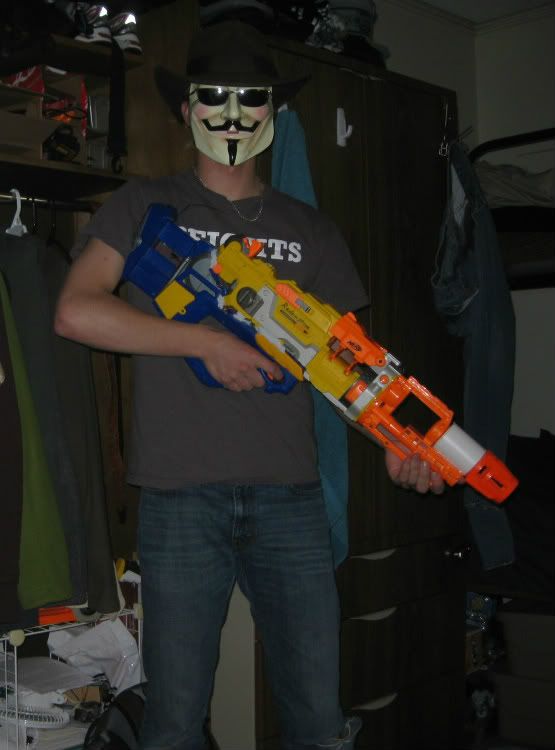
So this has been up at Nrev for a while, but now that its pretty much complete, I suppose I'll share the love.
First off, this has been in the works for over a year and its great to finally have something to show for it. Major, MAJOR props to torukmakto4 of the humansvszombies forums. Without his advice and expertise, this would never have gotten done. Really, if you have any questions about electric blasters, give him a shout, he probably knows the answer.
That being said, this is the way I went about "overhauling" my vulcan. This is not necessarily the "right" way to do it, and it certainly isn't the "BEST" way, but it works. Like I said, this was done over a long period of time, so some pictures are missing. I'll do my best to explain what I did in the blanks, but if you have any questions, by all means, ask away.
Right now, the blaster is completely functional, but those that have seen some of my other stuff know that I like to be as clean as possible. I'll edit in a section on making it aesthetically pleasing along with finished pictures later.
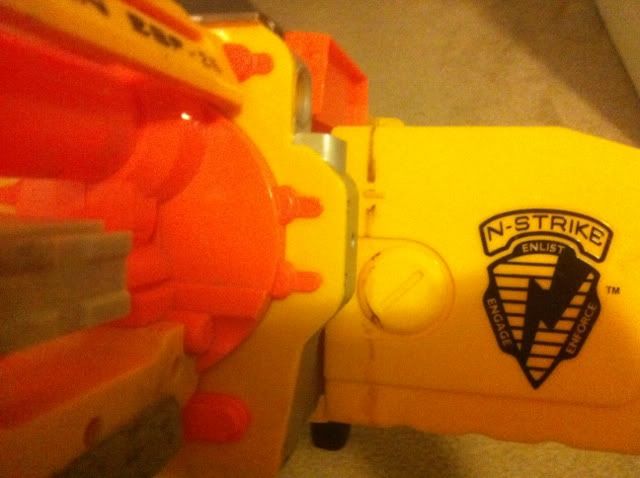
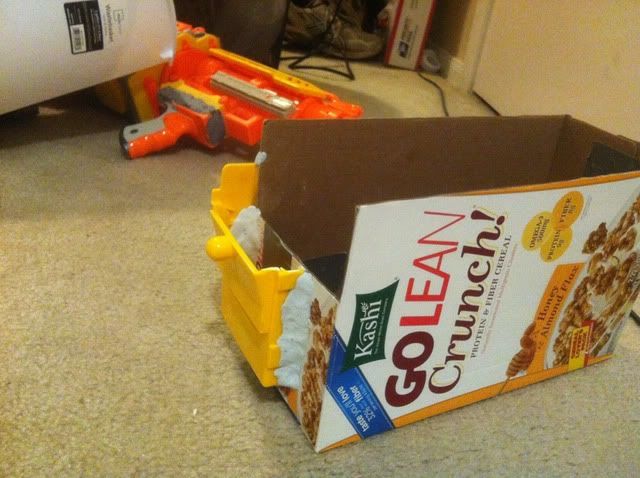
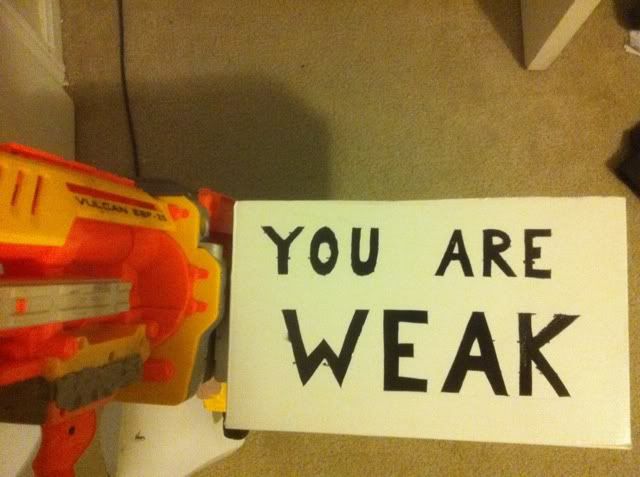
Right now, the blaster looks like this:

And fires like this:
http://www.youtube.com/watch?v=ogCRVF94jAw
So, without further ado, I used:
-1 vulcan
-1 firefly
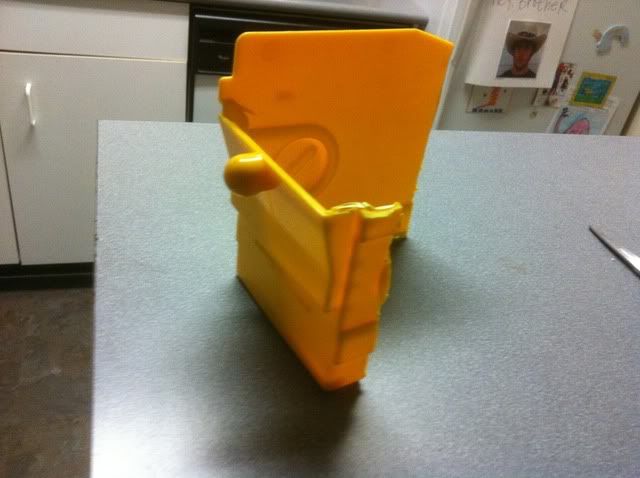
-1 raider front pump handle
- hot glue + glue gun
- epoxy putty
- soldering iron and solder
- 4 AA battery holder
- 2 AA battery holder
- saw and/or dremel
- some sort of tool you can use to strip wires (I used needle nosed pliers with a wire cutting part)
- Replacement spring (OMW) I used their 2x spring.
- Drill with 1/4" and 3/8" normal bits (NOT SPADE)
The first thing I did was to cut part of the handle off. I was originally planning on using an lsfg trigger there, which is why I did it this way.

The next thing I did was to add the raider pump handle to the front of the vulcan to act as a foregrip. You could probably use any handle you want for this. You could probably even get away with leaving it off. I shaved down the handle until it fit smoothly with the shell of the vulcan.

Then I hot glued it on.

Then I epoxy puttied over the hot glue.

This will be a common theme throughout this writeup. I hot glue things on to temporarily hold them in place and then epoxy putty over it to actually give structural integrity.
Now you need to open the blaster up. You shouldn't really have any trouble with this. You'll have to take off the cover that holds the belt in place first. Well, second if you take off the ammo can first like you should.
Here is a great thread on the haven by Split about what you'll be looking at when you open the blaster. From this point on anything that I denote with 'xxxxx' is referring to the name Split called the piece.
The first thing to do is kill the thermistor, which is the cause of most overheats and such. It is located on the PCB attached to the motor, which is an unnecessary RF noise suppression circuit. I unscrewed the motor and pulled it out so I could work with it a bit easier. I desoldered the PCB and pulled it off of the motor, then soldered the wires directly to the motor. Do your best to remember which wire goes to which side. Then, slide the motor back into place and screw it back in.
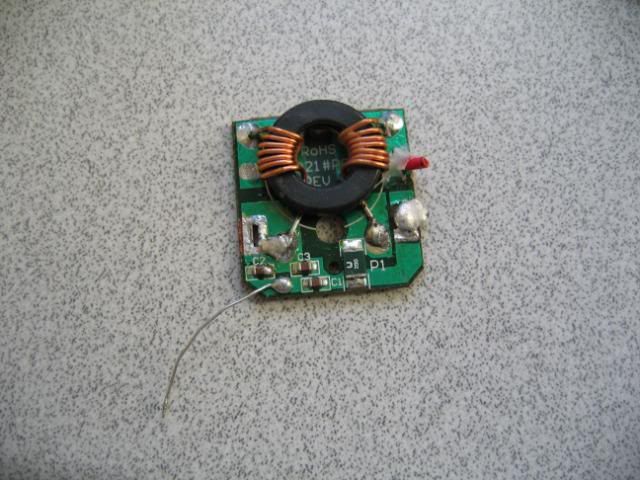
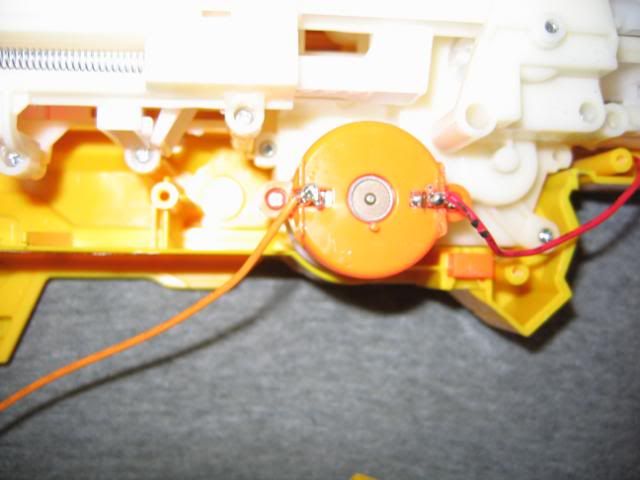
The next few steps all deal with the action itself. The easiest way to do this is to do everything while the entire action is removed, but I only have pictures of doing each step individually, most with the action not entirely removed, since I did them all at separate times.
First we're going to remove the AR. This is what we're looking at.

Unscrew the orange piece in the middle of the 'internals top cover'. The little rectangular one with two screws.
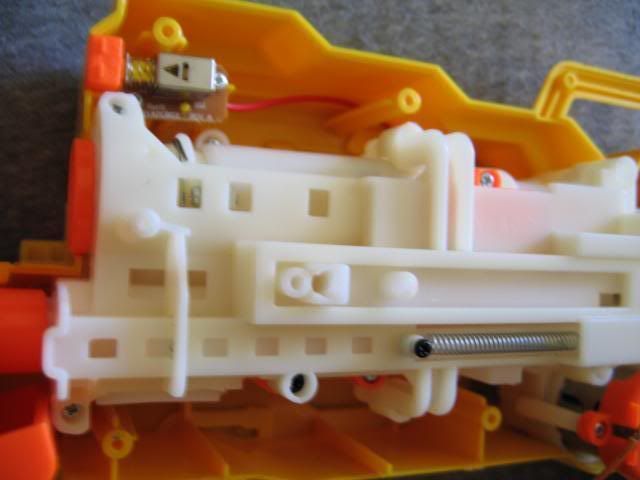
Now remove the 'internals top cover.' It has six screws. Take a good look at where the screwports are and you can probably figure out which ones they are. Or look at Splits picture from the link. As you remove it, you'll have to unhook the little extension spring.
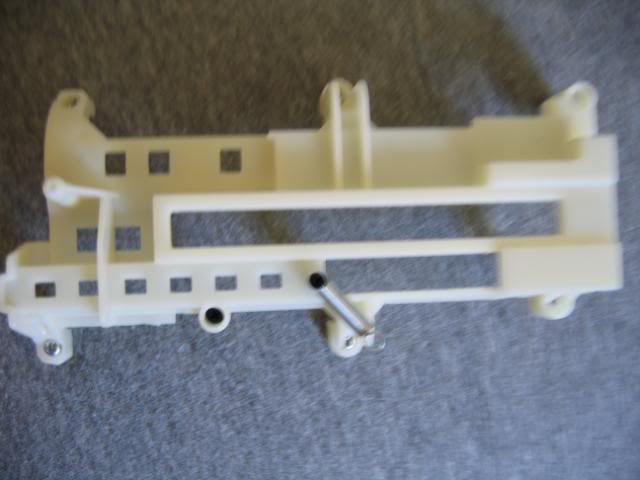
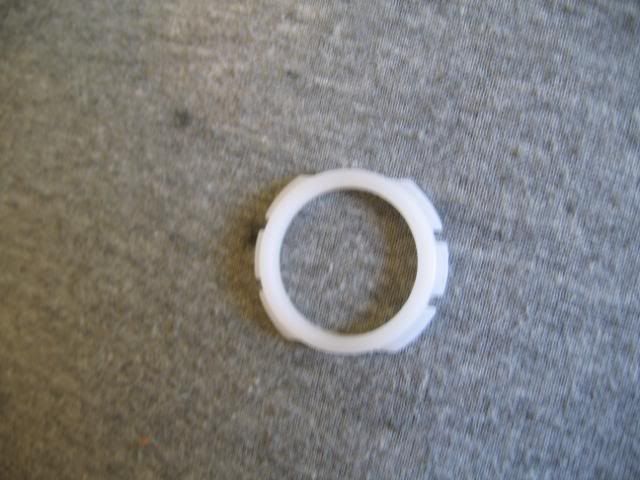
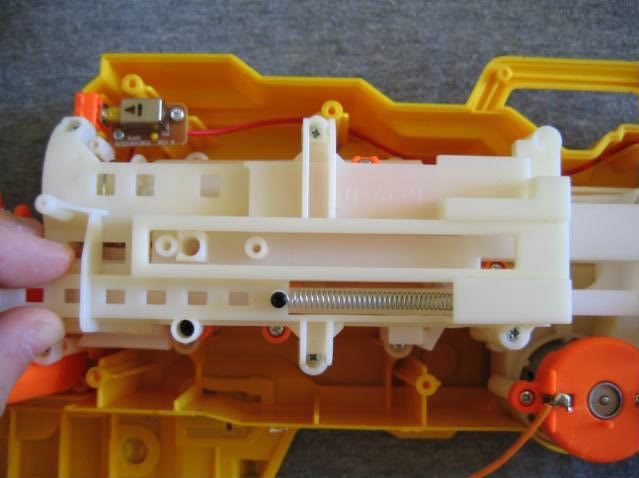
So now we're looking at this. As you can see, there is a spring and a white piece at the front holding the spring there.

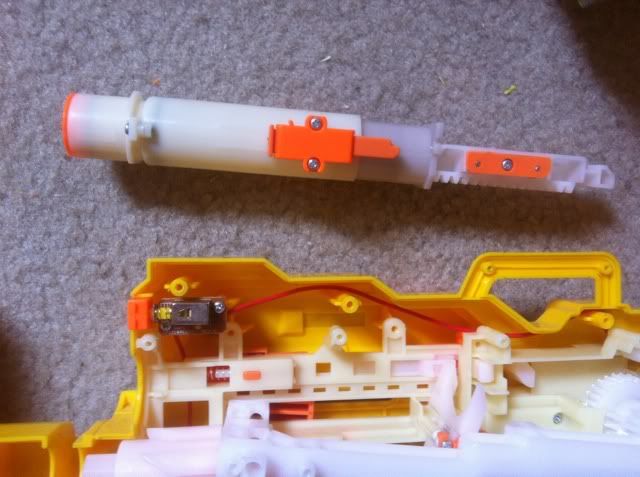
Take the white piece and the spring out. You can actually remove the plunger tube from this position with a little gentle twisting and pulling.

Using a regular 1/4" drill bit (NOT SPADE), CAREFULLY drill a hole into the center of the white face at the front of the plunger tube. You do NOT want to jack up the grey part or the orange part around it. After the 1/2" hole is drilled, carefully expand it to 3/8". The AR should be able to be punched out from here and it should look something like this. It will take some effort. Don't damage your plunger tube (or yourself) in the process.
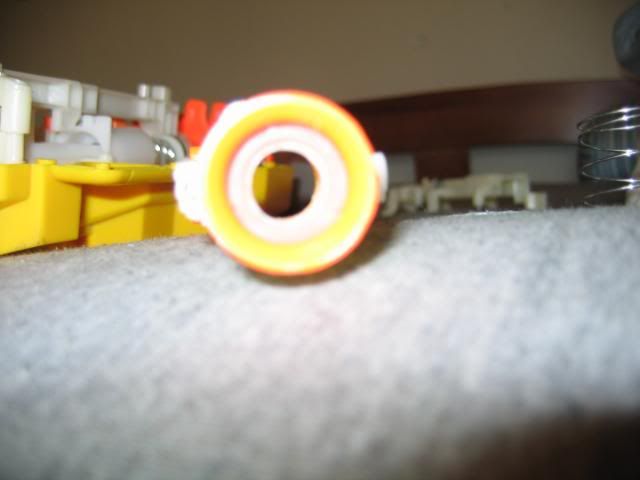
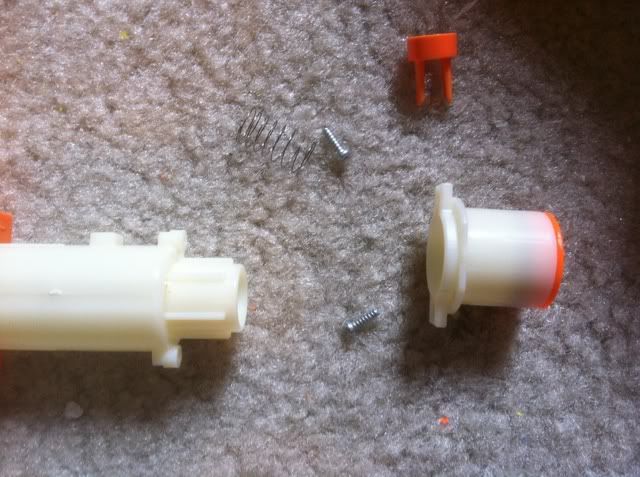
3-2-12 Edit: I finished a contract vulcan today, and when the two screws at the top of the plungertube were unscrewed, it popped right off, allowing me to remove the AR with no trouble. I went ahead and drilled through the front of it for better airflow. In my vulcan from the majority of this writeup, that part was glued on and I was unable to get it off, so I guess before you do anything, see if you can just unscrew it.
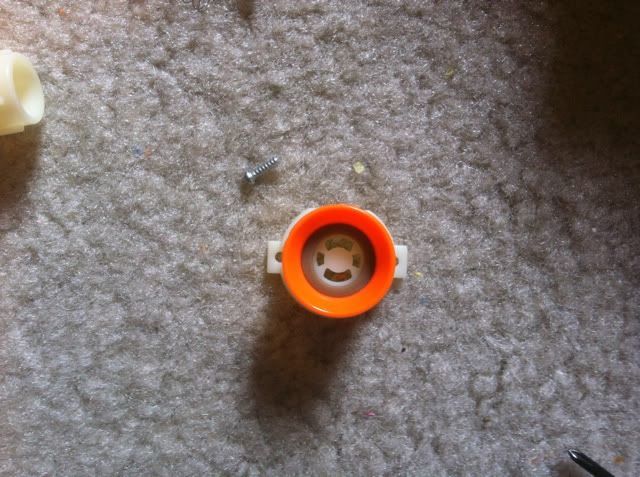
Some of the next few pics are pretty awful. Forgive me. My camera was really giving me a hard time. Macro was acting up and all sorts of weird things were going on. The pictures are also a little out of order, so, for example, if you see the trigger still on after I said cut it off, don't worry about it.
ANYWAY, by relocating the trigger to a more ergonomic configuration, we have to use a completely electric system. If you've messed with vulcan in stock form at all, which you presumably have, you know that when you're reloading, sometimes the cogs don't do a full rotation after the blaster runs out. To fix this in stock form, you simply pull back the manual priming bar and prime it manually, dry fire it, then reload. HOWEVER, by taking the ability to manually fire out of the system, we need to remove the catch, so that you can pull the priming bar to rotate the cogs and simply release it without the blaster catching.
So first, I cut off the remains of the original trigger.

Now I needed to remove the catch cover, which is located at the rear of the blaster, right under the on/off switch.

I removed both the catch and the manual firing mechanism underneath it, as neither are needed, and replaced the catch cover.

Next, I removed the entire action. I unscrewed the five screws on the 'internals bottom cover' and carefully lifted it out. There is a PCB with a push to on switch near where the original trigger was.

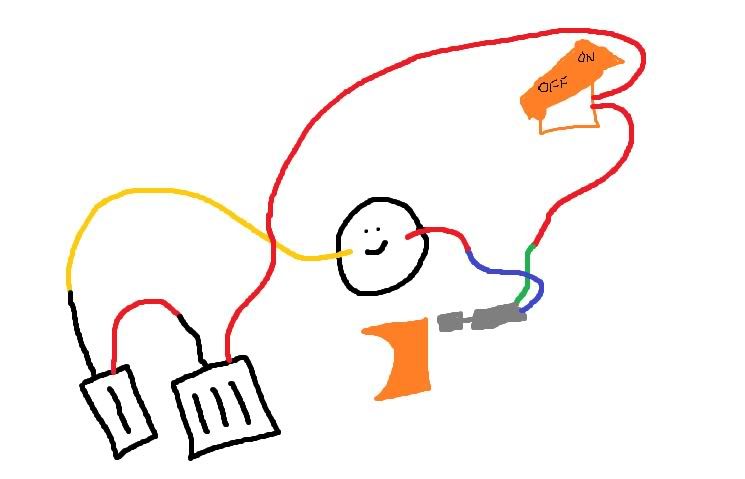
I unscrewed the switch and desoldered it. I stripped the ends of the wires, twisted them together, soldered them together, then wrapped them in e-tape.


Next I unscrewed the push to on switch at the belt cover, desoldered it, stripped the ends of the wires, twisted them, soldered them, wrapped in e-tape. You can actually take this end of the wire, cut off the little springy thing where the battery tray went and relocate it back next to the wire coming from the on off switch going to the motor.


Next, I replaced the spring. I feel that this would probably be easier with the action removed, but I did it with the action in the blaster. This is also the part where the camera crapped out on me so the pictures are crazy.
I removed the 'gear train cover'.

3-2-12 Edit: Due to lack of picture quality, I am adding in pictures and descriptions from a contract vulcan to better explain this part.
This is what you'll be looking at.
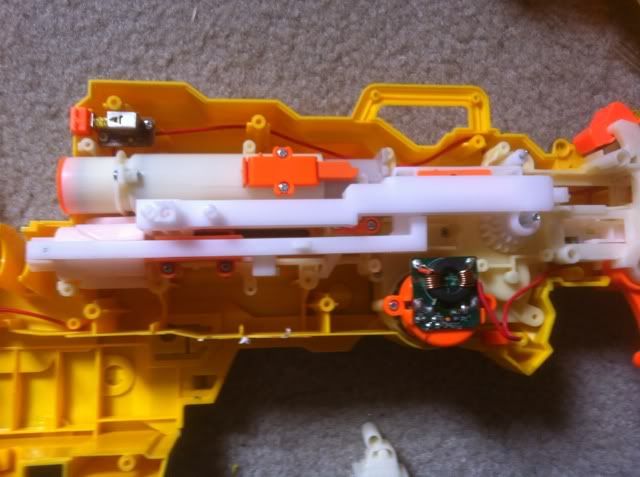
Remove the rotation arm mech.
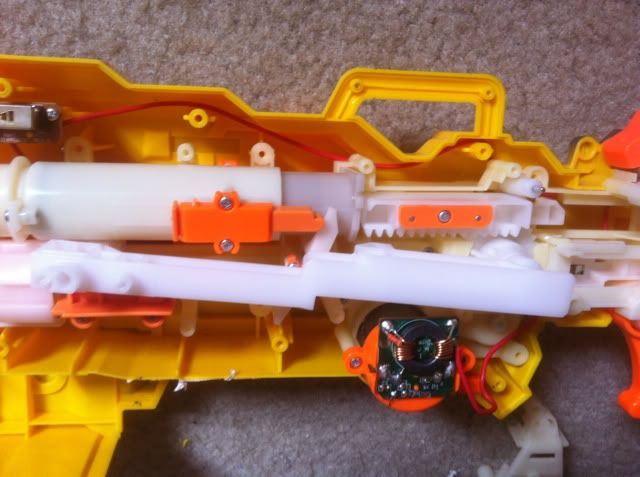
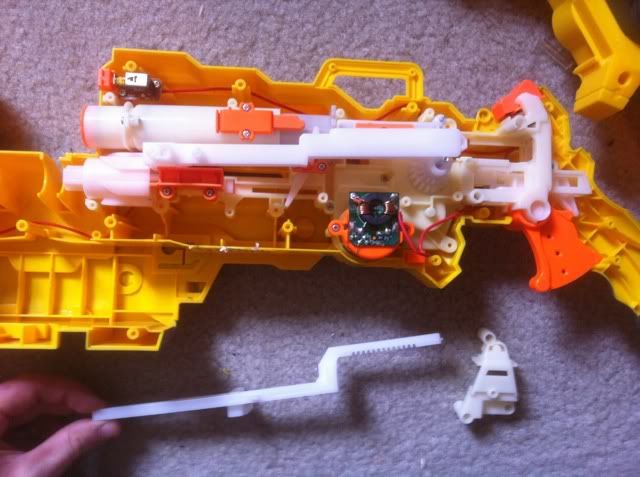
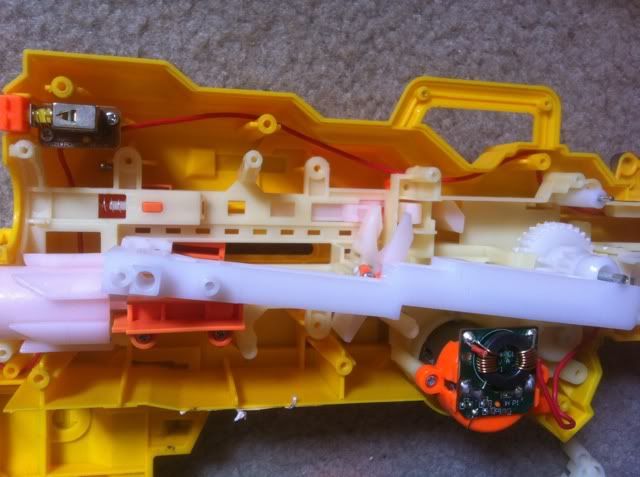
After that, you'll be able to take out your plunger tube and plunger.
PICTURE LIMIT
Edited by ilikefish58, 03 March 2012 - 12:15 AM.


