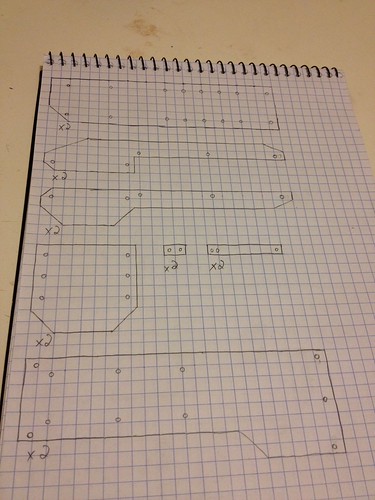
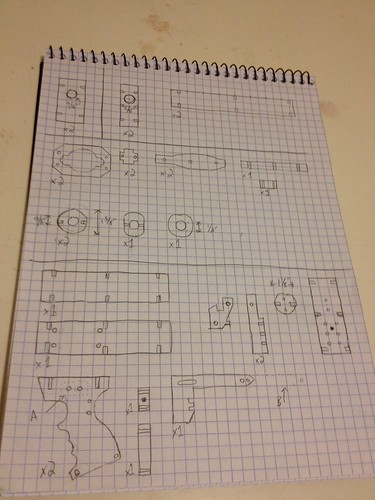
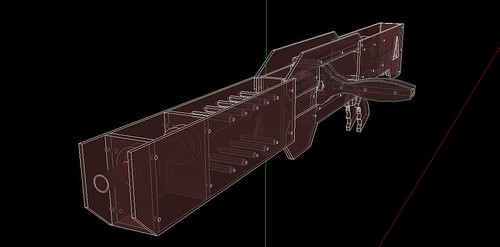
Revised version done-ish. Need to work out a few issues, but:
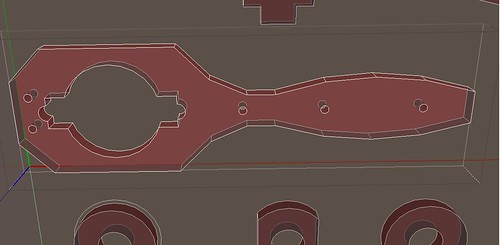
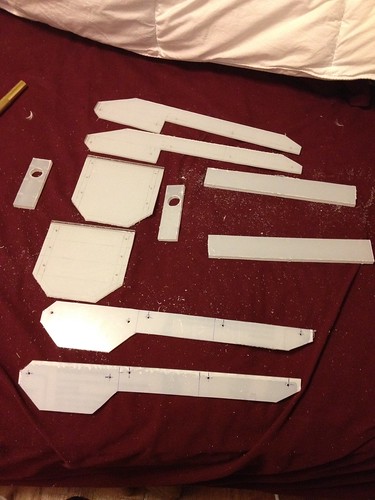
So, continuing the writeup. Here are the parts for the 'receiver':
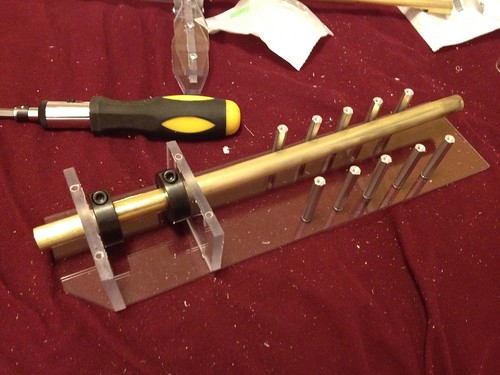
Start by assembling the mag slot. This is a good time to test that your magazine will actually load. Finish tightening all the screws, then stick your 9/16 brass through the holes and attempt to load a mag. Hopefully, it snaps right in. Mine didn't, and I had to re-do the middle pieces. The inner-width should be just over 1"... I went with 1 1/16".
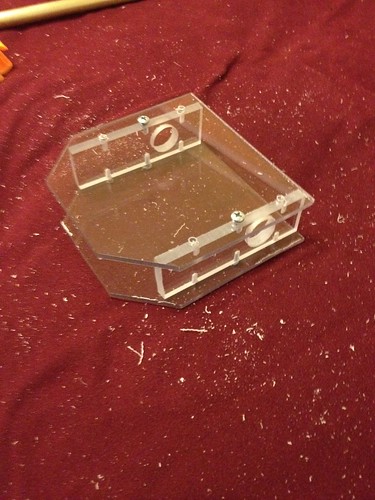
Remove all but the "middle" screws, and add the side plates.
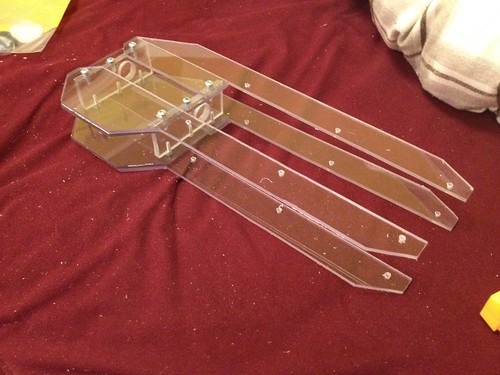
Then insert guides. These should be 1/4" wider than the front and rear of the mag slot, to account for the 1/8" mag slot sides. This bit is done.

Now to work on the 'action'. I don't have pictures of this, but now's the time to cut your 1 1/2" polycarbonate tube down to 11".
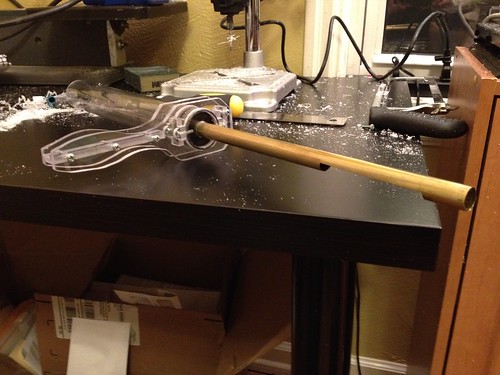
Cut your 9/16" brass down to 11" long. Add a 3" dart slot (smaller if you are using Stefans) starting 1" from the end. Your 1/2" brass needs to be cut into a 1", a 2", and a 3" section. Slice down the side of the 1" and 2" sections. Set the 2" part aside for now. Grind everything smooth, and polish all of it.

To make the dart pusher, wrap the 1" section with the slice around the 3" section. I don't know if 3" is the best length. The goal is to push the dart partway into the 17/32 barrel, without pinching the foam on the rear.

Insert that assembly into the back of the 9/16 breech. Drill a 1/8" hole through both sides, horizontally, 1/2" an inch from the end.

Here are the parts that are going around that to reduce the air chamber down to the brass. I made the circles by cutting a hole in 1/4" polcarb with a 1 1/2" hole saw. Drill about half way through to make a good groove, stop, drill the middle out with a 9/16" spade bit, then resume with the hole saw.
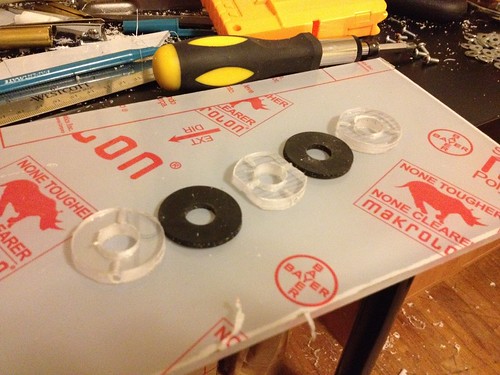
Slide a polycarbonate ring and a rubber washer (1 3/8" od, 1/2" id -- stretch it) over the end.

Add the "flattened" ring, and use screws to hold it and the dart pusher in place.
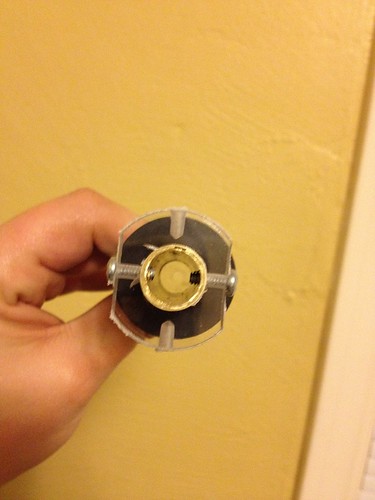
Add the remaining rubber washer and ring.
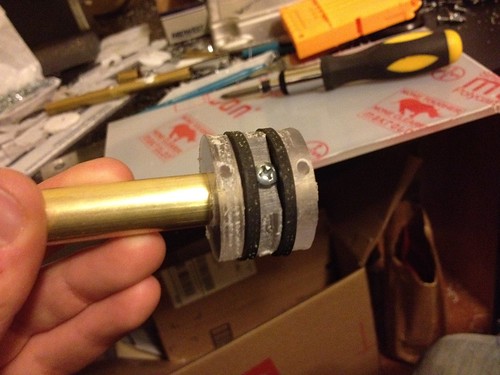
Hose it down with silicon lube, and insert it into your 1 1/2" polycarbonate tube.

Drill holes through the tube, then screw these cross-shapes onto the outside. I suggest drilling the back ones first, securing that ring in first, then pushing on the front ring to compress the assembly before drilling the second set of holes in your tube. These cross-shaped bits are 1" x 1", with 1/4" corners cut out.

Sorry for the blurry photo. Add the handle attachment pieces now. The ears on these holes go over the sides of the cross-shapes.

Add your priming handle, plus a 1" x 1/2" piece on the opposite side to compress the attachment pieces.
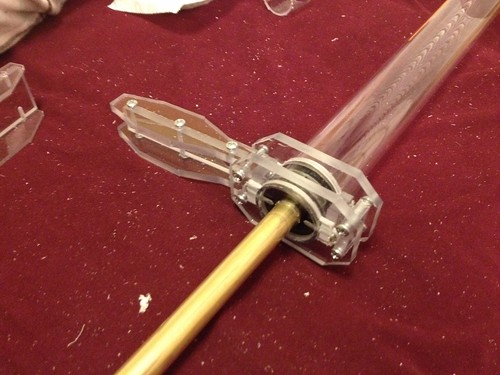
Cut a 10 1/2" piece of nylon rod. Add a Split plunger head on one end (mine is made with 1/8").

Then put a [k26] over it, add a polycarbonate ring (this one with a 1/2" hole in the middle), and a 3/4" washer to act as a catch.
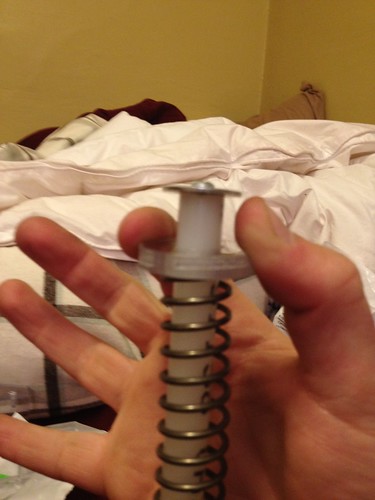
Almost done. Moving on to the front. Take your 2" piece of brass (with the slit), and slide it over your 17/32" brass barrel. Secure with shaft collars. I use two, rather than one, so that small alignment errors aren't magnified greatly. Note that the barrel sticks out 1/4" from the front of the blaster.

Hold it in place, and add some hex standoffs now for looks/rigidity/foregrip. No photo of the other side, but I think you can figure out how it goes.
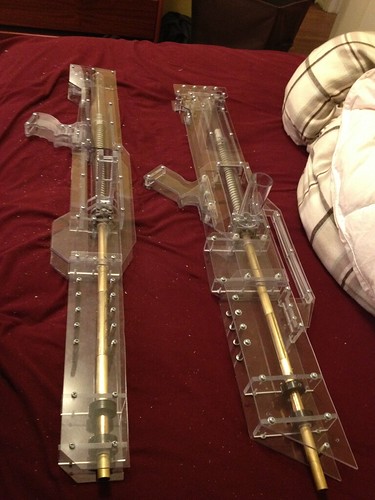
Combine all four parts, and you get a completed blaster! Yes, that's the same photo again.

(It looks longer because it is skinnier. 3" side panels vs 4". They are actually the same length).
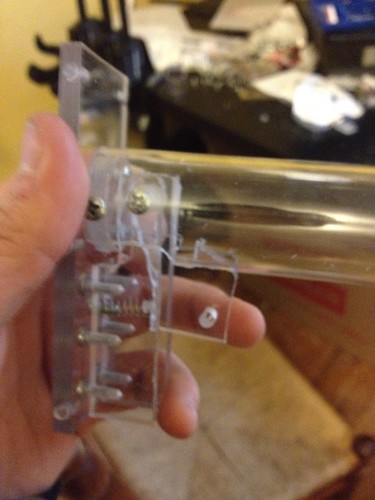
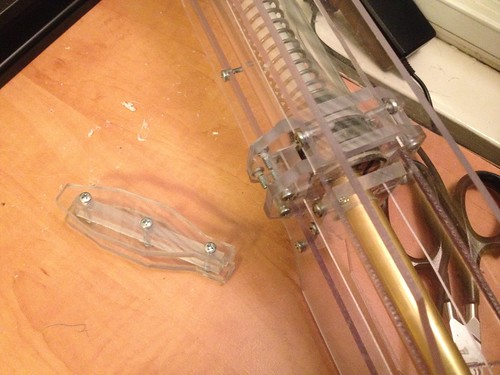
...and confession time: It doesn't actually fire, and it's past quiet hours so I can't bust out the power tools and fix it. Bummer. The issue is this piece in the revised catch:

Quick explanation: Under the tension of the spring, the forward pull at the end of the "ramp" causes the tall, skinny piece in the middle to torque against the two screws holding it in place. There's so much friction, it won't move downward unless I stick a screwdriver in there, catch the bottom hook, and lever it down. Here's it holding the plunger back:

So now, I need to make modify the catch to eliminate that binding. Probably going to go with a single pivoting piece. Stupid quiet hours.
Anyway, will sketch up some templates and get those uploaded soon, but only after I get the catch to work. There's a high probability I'll include a "carbine" version (alternate build) that's shorter up front.


