
I redid the hole post and photos because people wanted me to use better grammar, i left my clear lens cover on my camera so the quality was terrible.
parts
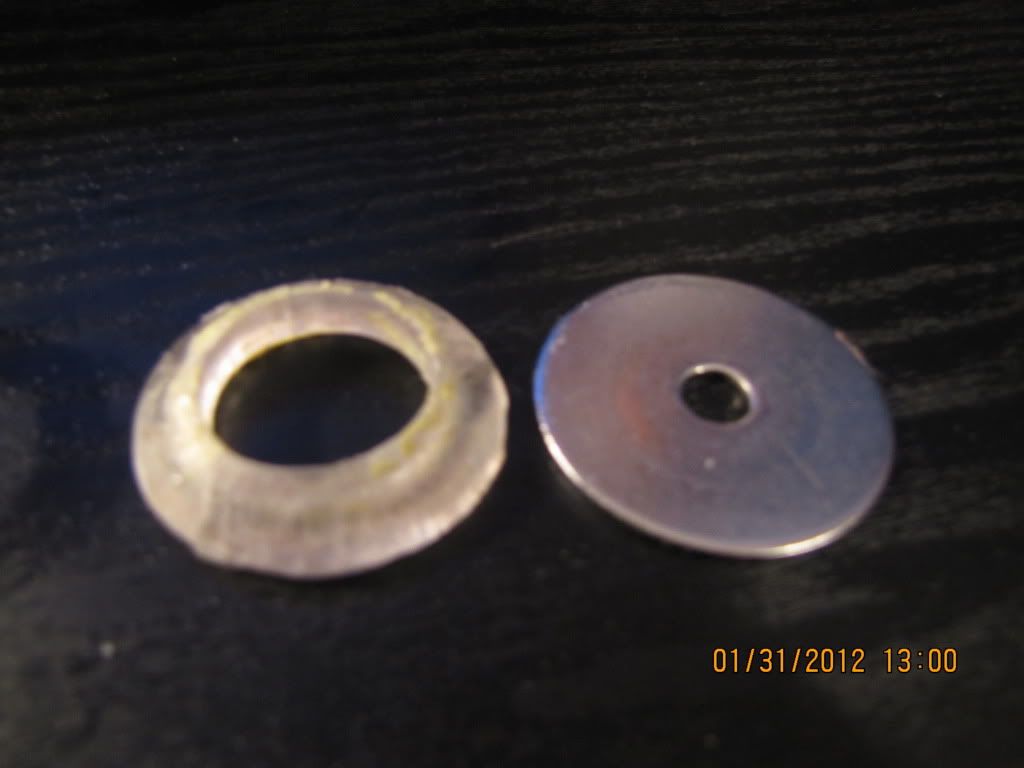
steal washer od 1 1/2 id 1/4
1/2 polycarb
1/4 bolt
1/2 cpvc
1/2 endcap
concave steal washer 1 inch
rubber washer
You might have to use different size part for different size plunger tubes.
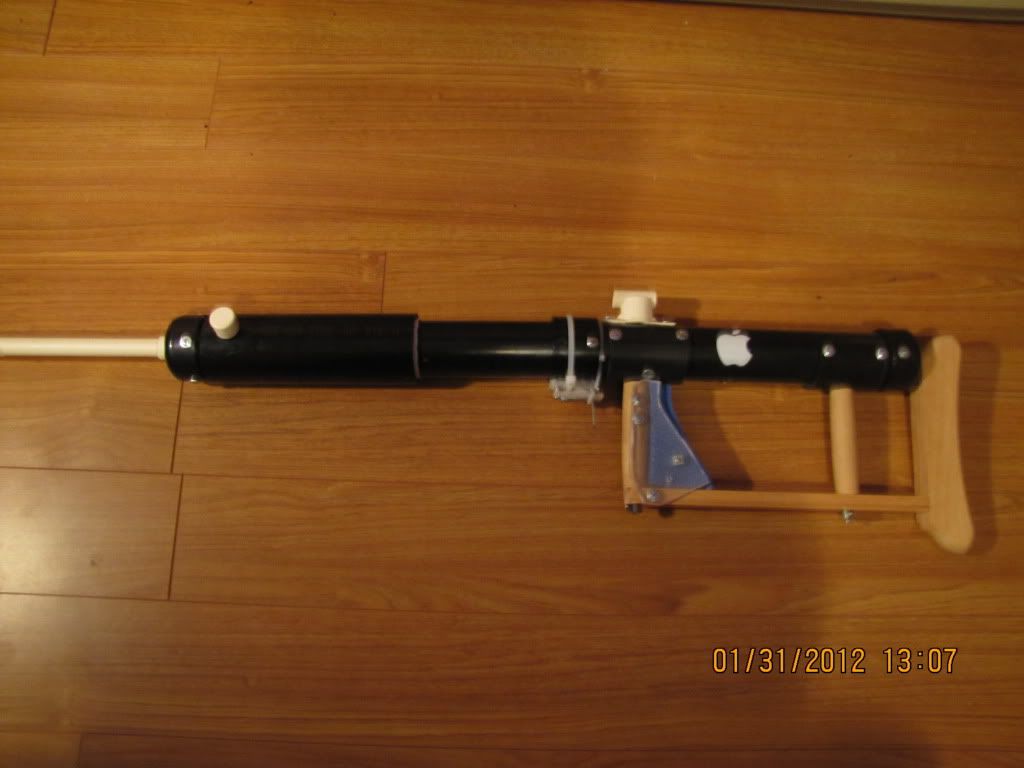
I am using 1 1/2 abs as my plunger tube, which is weird because the id is 1 5/8 and its called 1 1/2 this statement confused some people in the original post.
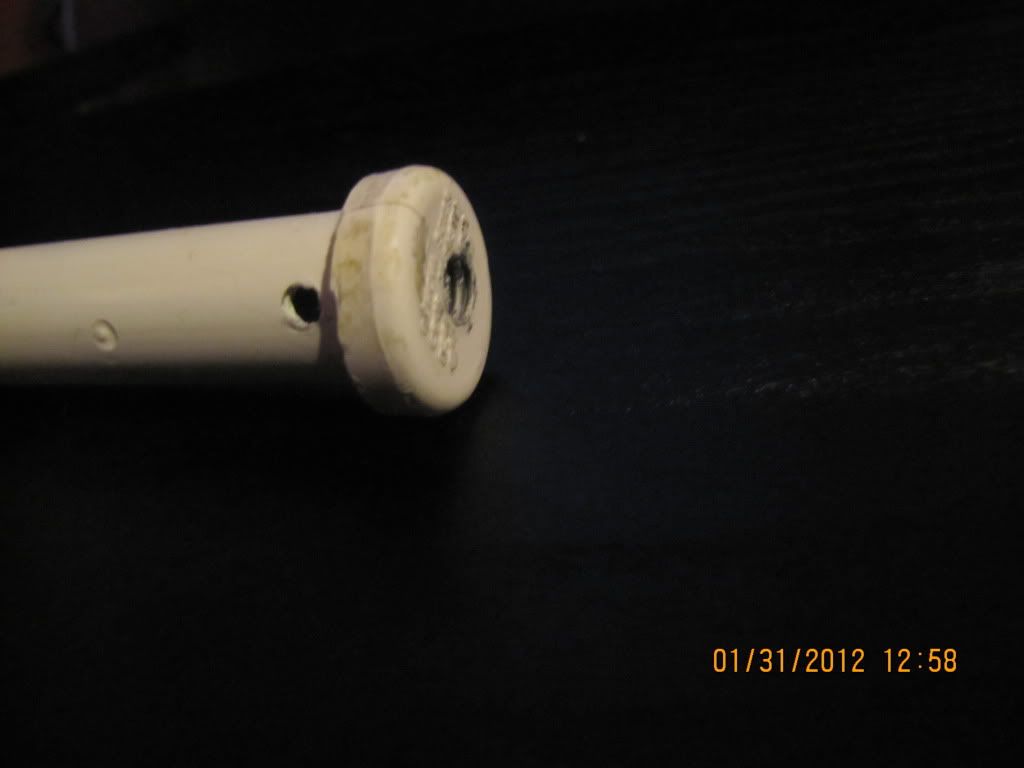
Start by cutting a plunger tube out of 1/2 cpvc. Then cut a 1/2 end cap in half and glue it to the end of the plunger tube.then drill a 1/4 hole in the end cap. That hole on the side is not supposed to be there ignore it. It looks like there is a crack in the end cap but that is a hair ignore that to.
Then cut a doughnut shape out of 1/2 polycarb.
make the id of the piece of polycarb the same as the od of you end cap
Then make the od of the piece of pollycarb the same as the od of your larger steal washer.
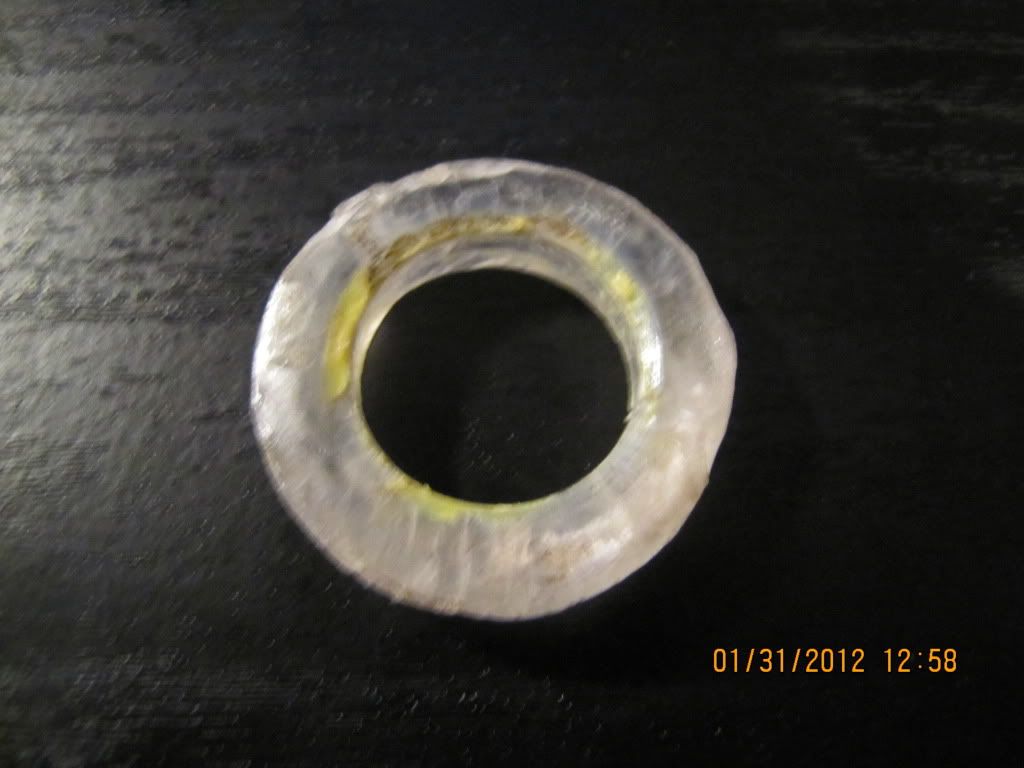
Then you are going to want to round out the edges to make a ramp like so
Then goop the polycarb to the outside of the end cap on your plunger tube.

Then goop the lager steal washer to the flat side of the polycarb ramp.
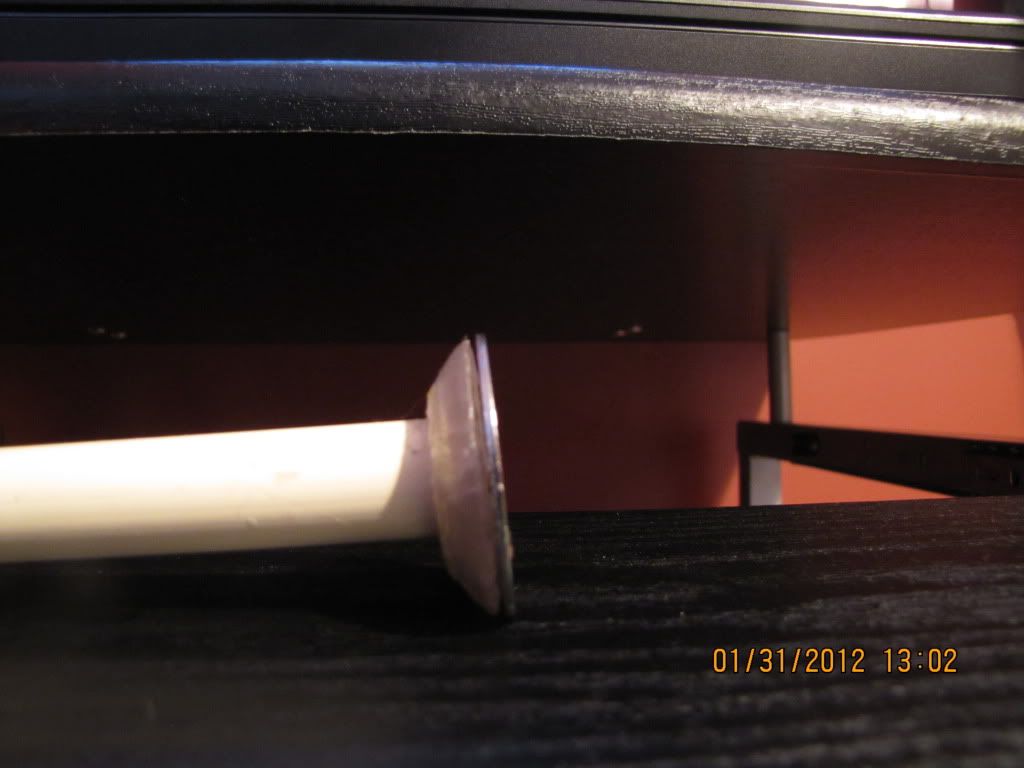
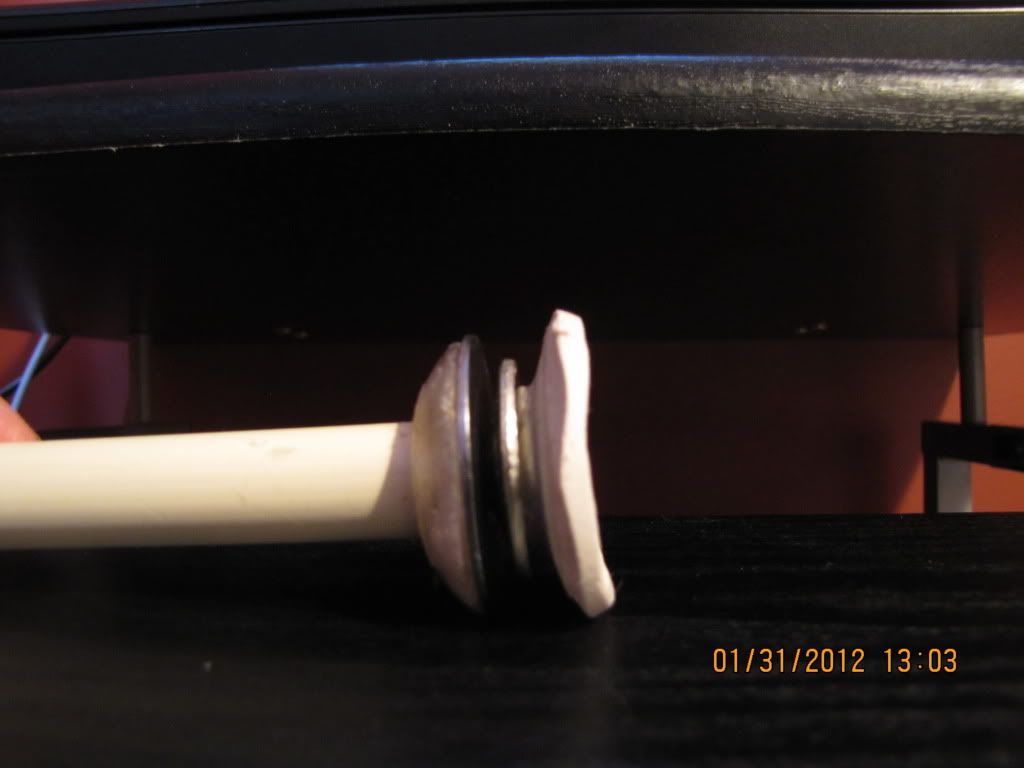
Now make a skirt seal on the end with a concave washer and a rubber washer and then put the bolt in through the front into the end cap.
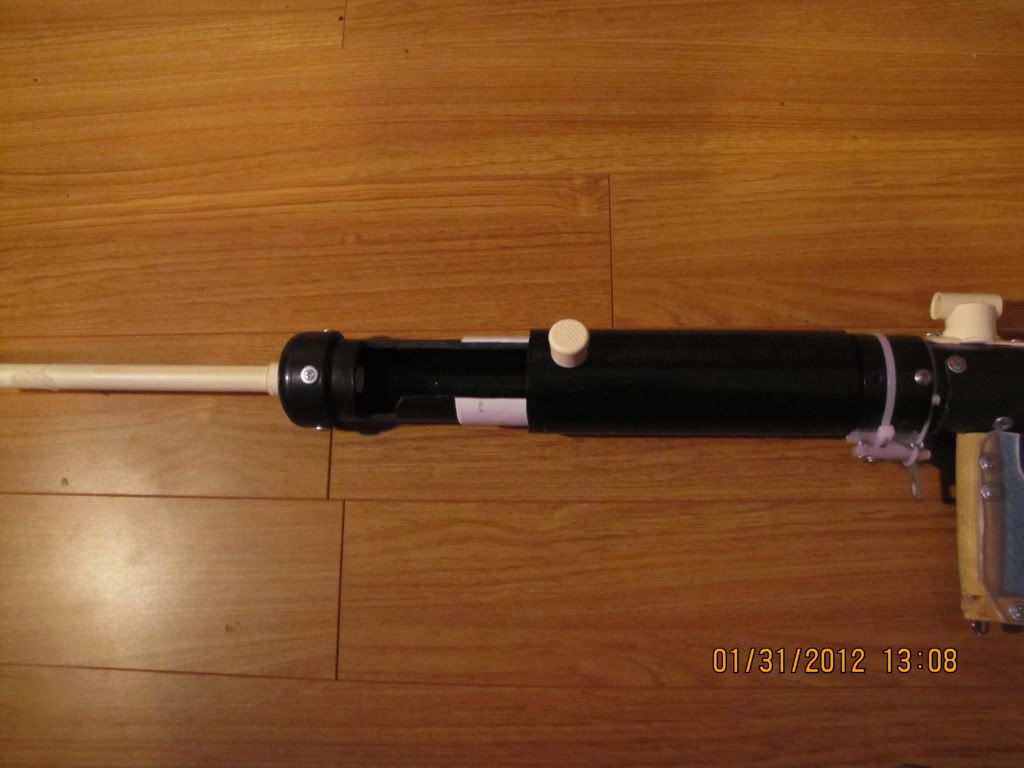
Now for the priming mechanism it is the same as ace's singled snap (ace bow)
Couldn't find a link to a forum post about it but here is a youtube link
This is not me its ace
What i did was drill a 3/4 hole in a 2 inch abs grip were a bolt would normally go so the bolt could stick out but i didn't use it so i cut it down and used it as a pump grip.
Closed
Open
Close up
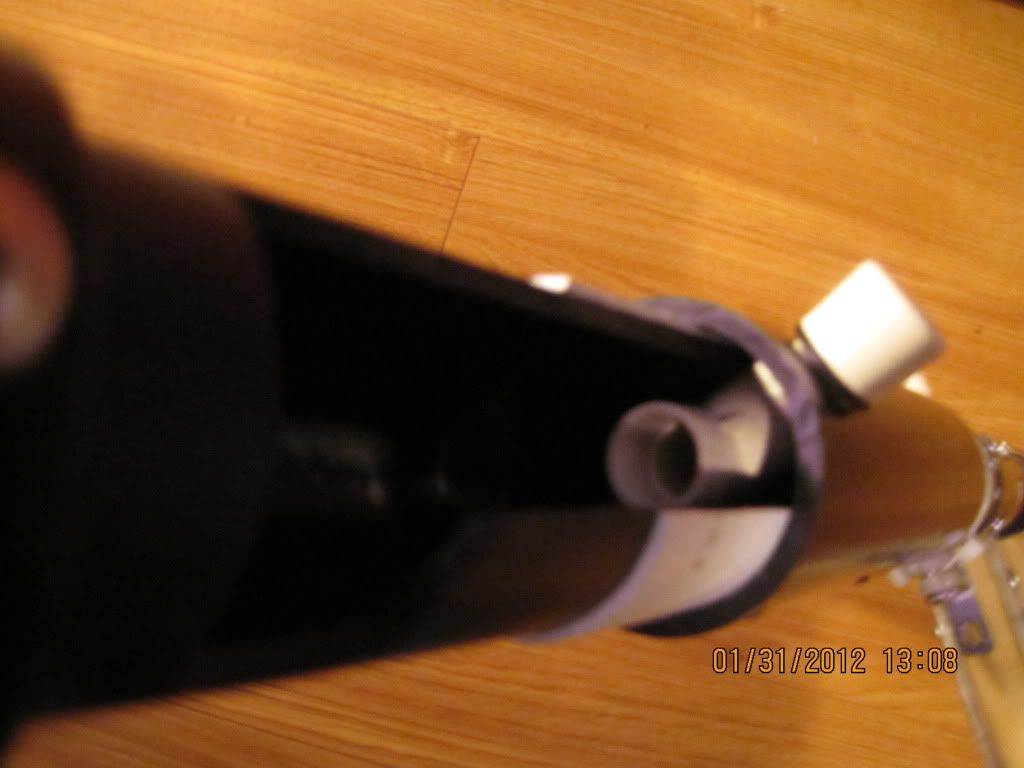
more info
stroke 4 inches
springs lanard shotgun nitefinder and a 2 inch by 3/4 id spring
this give me lots of power
ranges 90s
it ways about 5 or 6 pounds because of the 40 screw i had to put in it
leave any comments susgestions or questions below
Edited by fogeater, 31 January 2012 - 01:14 PM.


