
To date, I have machined THREE things out of metal. I made an aluminum BBB catch. I made Hyperfire ex-draw steel reinforcement bars. And, most recently, I made a SSSNAP catch pin, something from a semi-theoretical project that Ambassador and I worked on "together". Now, I am sure that there are those of you who are saying things like, "What's this metal noob doing writing a guide to machining metal? All he has is a hacksaw, a couple files and a dremel! Well, that's all you really need.
Any time I say steel, I mean steel, and whenever I say something is safe on aluminum, I mean soft metals in general.
So, the tools that are reccomended for this work are as follows.
Well-insulated gloves
A pair of solid goggles
"Grungy" clothes, metal shavings are annoying on laundry day.
One hacksaw (see below)
Several bazillion files (also below)
One dremel, or a really good non-dremel brand rotary tool.
Cutting discs and sanding drums for said dremel.
Some metal bits for said dremel (also below)
Ruler
OPTIONAL:
Digital calipers
Pencil/pen, Sharpie
Vise (mostly for people without a dremel, but highly recommended anyways.)
A rag
A bottle of Turtle Wax
Cutting liquid/fluid/stuff
Materials to obtain:
A "stock" version of what you want to make
Metal "stock" (this can be confusing, see below)
WATER IN A DISPOSABLE CUP, ONE OF THE MOST IMPORTANT THINGS YOU CAN HAVE!!!
OPTIONAL:
Paper (not a tool, because even though it won't be in the final product, it is used once, unless you save it for another attempt.
Expalining all of the "(SEE BELOW)"'s
1. You only need one hacksaw, but it's the blades that are important. For "soft" metals, you're going to want a lot of little teeth. For harder metals, like iron , you want less teeth, but for homemade parts, you should be using steel or aluminum. SO, you will want a saw with a high teeth-per-inch ratio. If 18 TPI is the recommended amount for general purpose work, then at least 20 would be good for aluminum and steel, as well as copper and brass. Most replacement blade packages should say what the TPI is.
2. Files: it's good to have a lot of files. You will need ones that are "middle" down to "smooth". "Dead smooth" is probably overkill for what we want the smooth for. Find one with a nice handle on it, it helps a lot.
3. Dremel stuff: You will be using the cutting wheels and the sanding drums the most, but there are occasions when a few of the metal bits they sell would work well. You won't be able to use the stuff that's designed for grinding, it's usually a pink or green color, but if you're not sure, don't use it.
4. We call the peices that come with the blaster the "stock" peices. "Stock" also refers to the part of the blaster that you can push into you shoulder and rest your cheek on to steady the blaster. And, lastly, "stock" is what the raw, uncut metal is called. I will rarely use this word as the last form, but it may happen, and when it does, it will be "------- stock", with the name of the metal in front of it.
5. Although it's not marked "see below" one of the most important things you can have when dremeling metal, is, ready for it? A container of water. You're going to be making a lot of friction with a dremel, and metals have low specific heats. Which means they get excited over nothing. Or, in boring terms, they will heat up FAST. So, when it gets too hot to hold, dump it in the water, wait a few seconds, then pull it out and dry if off.
GENERAL TOOL USAGE TIPS
Hacksaw:
You can only saw in one direction. You will know which direction you can saw in by looking at the teeth. They should be shaped like 90 degree triangles, I'm sure you remember geometry. The flat side of the triange is the direction you want to saw in. If you saw in the direction of the angled side, you will ruin the blade. Usually, the teeth are pointed forward, so that the "forward stroke" does the work. Use your left hand to hold the frame of the saw, and your right hand on the handle. Then, apply pressure with your left hand as you push forward with your right. As you reach the end of the forward stroke, ease off with your left hand, and pull the saw backwards, taking care not to apply pressure, which would damage the teeth. A fast speed for cutting would be about 40 forward strokes per minute. I say "fast", because any faster would generate friction, heating up the blade, killing the blade's temper, and thus, the blade.
Just remember that since most blades are replaceable, they can be flipped, so yours may not be doing the work on the forward stroke. You may find it more comfortable to do work on the back stroke, so install the blade looks like \| \| \| \| \|HANDLE. If it looks like |/ |/ |/ |/HANDLE, you will be doing work on the forward stroke. Check your saw every time before you start, and also look for how sharp the teeth look. It should also be noted that some blades are bi-directional, but I have not encountered these outside a wood saw my dad has.
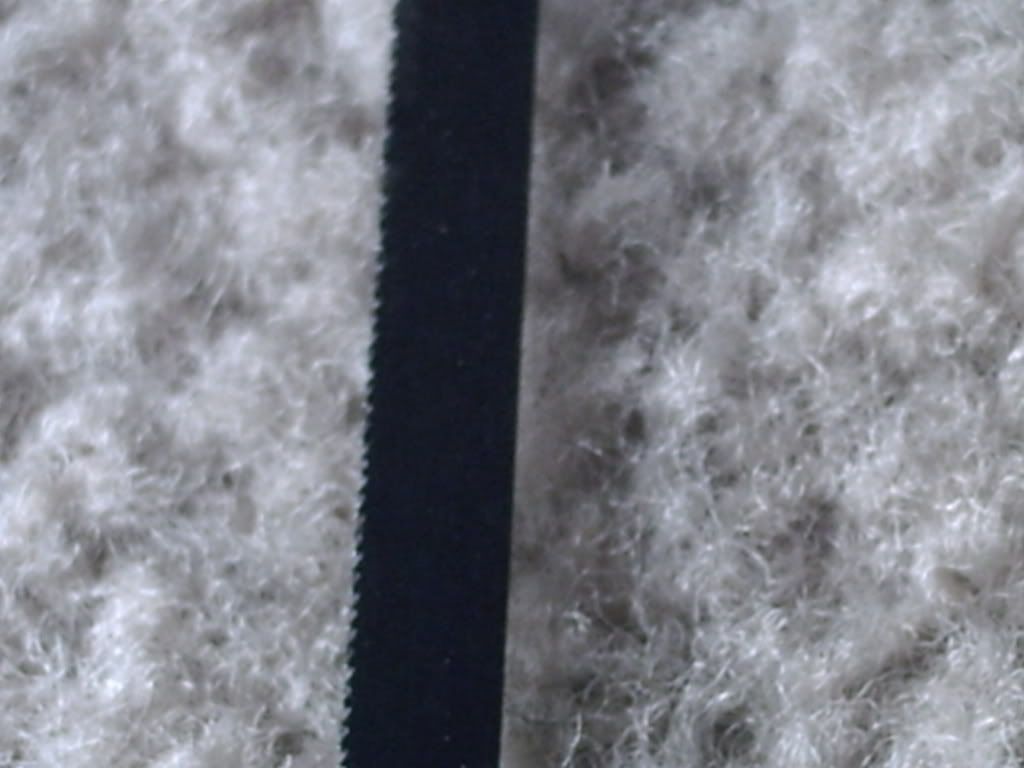
A not very sharp blade, but notice the shape of the teeth and the tooth density.
Some saw blades have bodies that are flexible, but the teeth are tough. This is so that the blade can flex without breaking, and is so that you can work in tight spots. There are blades with hard bodies and hard teeth. These are made to be durable, and are more for dedicated craftsmen, not DIY'ers like us.
There is also a specific way to angle the saw as you cut. THIS shows the best angle to cut with.
Like most hand tools, make sure that you use a vise, this will save your hands.
Files:
Everything that I say here will sound similar to saws, and almost anything I said in saws is applicable to files, and vice versa. First, make sure that the handle is tight to the file. Otherwise, it will slip out (which sucks) or it will become disaligned, which could skew your surface. Then, grip the file in the same way, with the left hand on the tip of the file, and the right on the handle. Files are also one-directional, and usually do work on the forward stroke, or the direction that the file points away from the handle. After using a file, use a wire bush to brush out the teeth, brushing in the direction of the width of the file, not along the length. This keeps soft metal from messing with the next project.
Overly coarse files will not do to well against metal. That doesn't mean that they will be broken, it just means that they won't file down the metal. Use a "bastard" for the coarsest file you use for metal. Finer files add finishing details, and are good for adding a nice finishing shine to the work, but fine sandpaper will also work. Most tools that are designed for wood will NOT work on metal, and there are some files that are meant to be used on wood that will not work on metal.
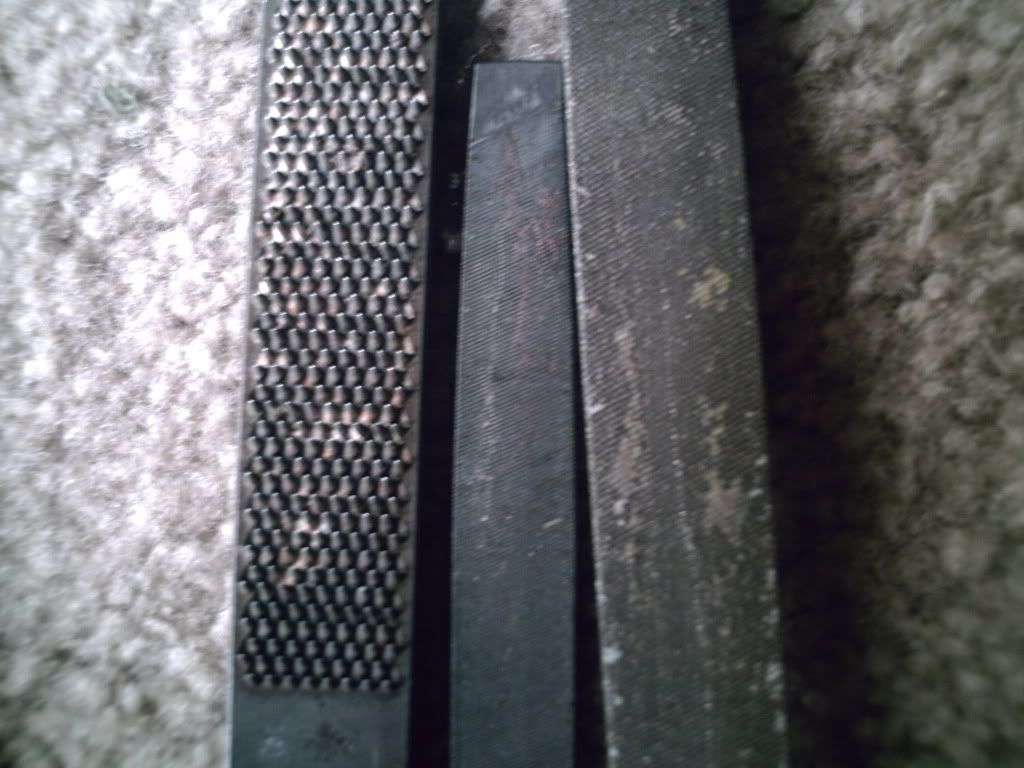
L2R: Wood file (do not use), fine (for shining up metal), and bastard (I didn't come up with the terms)(for really filing metal).
Dremel:
There are two parties in the NIC community: those that buy dremels to do most of their work, and those people who are fortunate enough to have access to large, single/several purpose machinery. There is nothing wrong with using a dremel, but I highly recommend attempting to find a workshop that will allow you occasional access to their tools.
The main tools that you will use with a dremel are the cutting discs and the sanding wheels. Both of these produce sparks, but not too much, even on the highest speed setting. As long as you are in a wide open space, with no brush or anything overly flammable around, you should be okay. Dremels do a lot of work fast, but they produce a lot of heat, which is why you will need gloves, and the water. As always, chech the handbook to see if a certain bit is rated for use with aluminum or steel, and see what the recommended RPM setting is.
After looking through my Dremel use guide, I can safely say that the aluminum oxide and silicone oxide? bits (the pink and green ones) are safe on aluminum, and I believe that the green ones are safe on both aluminum and steel. But, if all the problems between aluminum and stone grinding wheels concern you, and you do not wish to grind aluminum, that is okay, all safety precautions are your choice, no one can force you how "safe" to be.
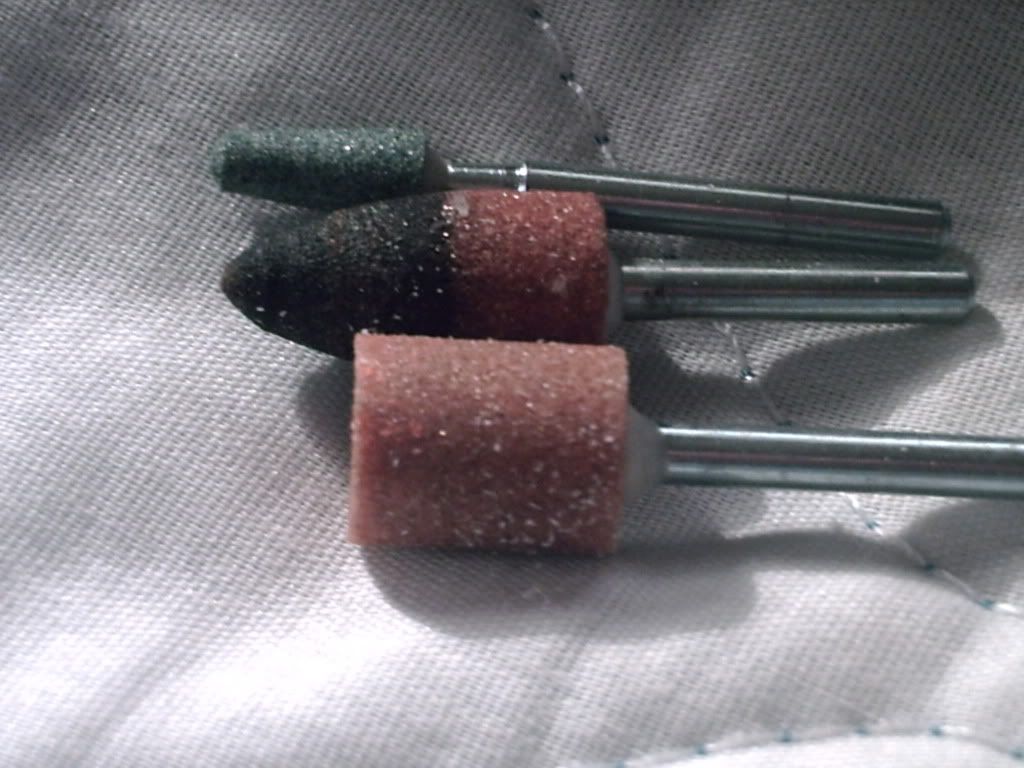
I recommend you do not use these on metal.
As is obvious, cutting wheels are used for cutting comething completly off, or for cutting into something, like for guide marks or channels, or whatever. Sanding drums are for sanding, and they actually work quite well in removing excess steel. I use the metal bits for creating holes in the inner area of the material, then widening it out, into say, a catch notch.
I'm sure you know how to measure things, as well as mark things with sharpies, use sharpies to mark what cuts you will make, and plan out the process befor you actually start cutting it, planning is a huge help in this process.
You will really want a vise, it makes using a file and a saw so much easier, but I have seen ones as expensive as $80, so if you wish to use a workhorse, which is useful for machining WOOD, you may be able to compromise with a workhorse. You will not need a vise if you are using big workbench tools like mills, lathes, or anything like that, they have their own vises built in.
Turtle Wax:
Directions are on the bottle, but just so everyone knows, you take the rag, pour a little bit of the stuff on the rag (or if you're classy, you could use a polishing cloth) and just rub. This stuff is supposed to take off all the junk on the metal, and put down a wax coat, so that the metal doesn't rust.
Cutting fluid: It's a good idea to use a cutting fluid with high-speed machinery, but if you're doing stuff with non-power hand tools, you won't be cutting fast enough for the fluid to make a difference. I have no experience with these, but the instructions should be on the can/bottle.
Stock peice:
Take what you want to be made out of metal, and your ruler or calipers, and measure the two smallest dimensions. These will be the thickness (or guage) and width of the peice of metal you purchase. Metal stock is sold in 1' and 3' measurements, so unless the longest dimension is longer than 1', you will have found the perfect stuff. Always round your measurements up to the nearest 1/8" for the thickness (or guage), as metal stock is usually sold in 1/8" thickness increments, and round your width up to the nearest 1/4", because metal stock is sold by 1/4" increments. Armed with those two measurements, go to your hardware, DIY, or hobby shop, look in the metal section, and they should have something that meets your needs. If they don't, you can easily cut down the width of a larger size, but the thickness is a lot harder to adjust.
Next, look at the stock peice, and attempt to draw it on a peice of paper, and label the dimensions, and note what what the angles are (if they are square corners, or if they are angled ramps.) Try to simplify its details, like stuff that could be filled in, like the backside of a firefly catch. If you haven't seen a firefly catch, you won't know what I'm talking about. But just look at almost any other catch, they all have pits and valleys that hasbro put in there to save plastic. You don't have to carve those vallies. But, there are some details that you may not be able to eliminate, and that's okay.
ACTUALLY STARTING THE WORK:
After you have a good mental of physical picture of what you are going to machine, take your peice of metal stock, and place it in your vise. Then, measure your longest dimension, and cut off a peice that's a bit longer than what you measured. If you're just awesome like that, you can have a minimal or non-existant margin of error, but if you're just getting started, you may want a longer peice to work with. It is very easy to cut the almost finished peice down to the proper size and then finish it off. Take a few seconds to use a "bastard" file to clean up the just-cut edge.
Once you have the length where you want it, you can take the spare stock and place it wherever you wish. You can add details to the metal in whatever order you wish, but I would start with the more critical ones first, that way if you mess up, you will have "wasted" less time.
There are details on the outer area of the metal, stuff that can be cut directly into the metal, and there are details on the inside of the metal, stuff that you will have to make a hole for, then widen that hole into a detail, like a catch notch. If the peice is large enough, and your cutting disc is small enough, you may be able to make the hole with the cutting wheel on your dremel.
Bibliography: Look at the sites I've listed here, they will tell you a lot more information that would take forever to type up without plagarism.
http://www.appropedi...g/Cutting_metal
http://www.appropedia.org/Filing_Metal
My own personal knowledge.
Tips from:
roboman
Swiftone1990
Langley
Well, since roboman has reserved a space, I guess you can post now.
I AM ALSO NOT DONE WRITING THIS. I WILL WORK ON IT AS SOON AND OFTEN AS I CAN. DO NOT FREAK OUT.
If you think of anything that is not in here that you consider basic, and applies to anything that's here, let me know in a PM, and I'll add it if I feel it's important.
Edited by Exo, 17 January 2012 - 11:59 AM.


