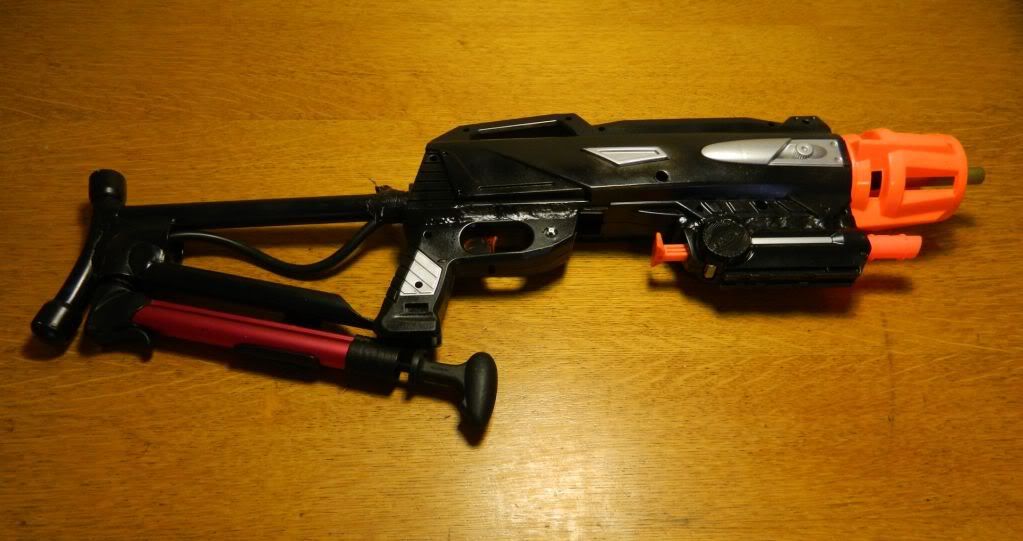
Some time ago I acquired an Ultimate Missile Blast from a thrift store. I was impressed by its power and potential. However I did not like the slow reload. I decided to compensate for this by integrating several “panic guns” that I could use as backup while reloading.My modification style is based on trial and error this makes it very difficult to properly document how I got to my final product. Please forgive any confusion and if I need to clarify anything just ask.
Materials needed
Ultimate Missile Blast
Hornet (can be mostly nonfunctional)
Night Finder
Several feet of 1/4 inch plastic tubing
Several feet of 1/2 in PVC
6inches of 3/4in PVC
7/32 brass pipe or 1/4in brass delrin sleeve inserts.
Various adhesives (hot glue, PVC cement, epoxy, epoxy putty, superglue)
Electrical tape
One 1in to 1/2in PVC coupler
1 3/4in elbow
3 1/2in PVC end caps
2 Crayola marker end caps
Tools
Hack saw
Screwdrivers
Xacto knife
A Dremel with speed cutter bit is highly recommended
Drill
7/32 drill bit
400-600 grit sandpaper
Instructions
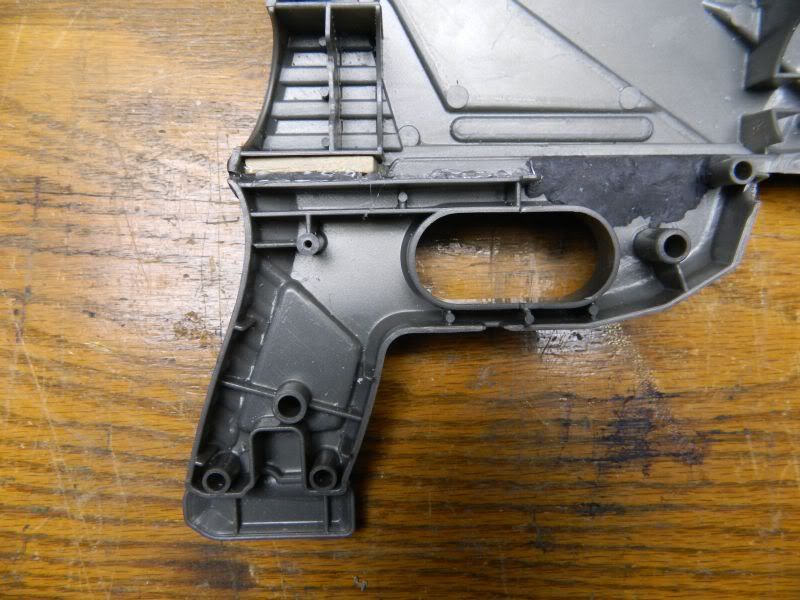
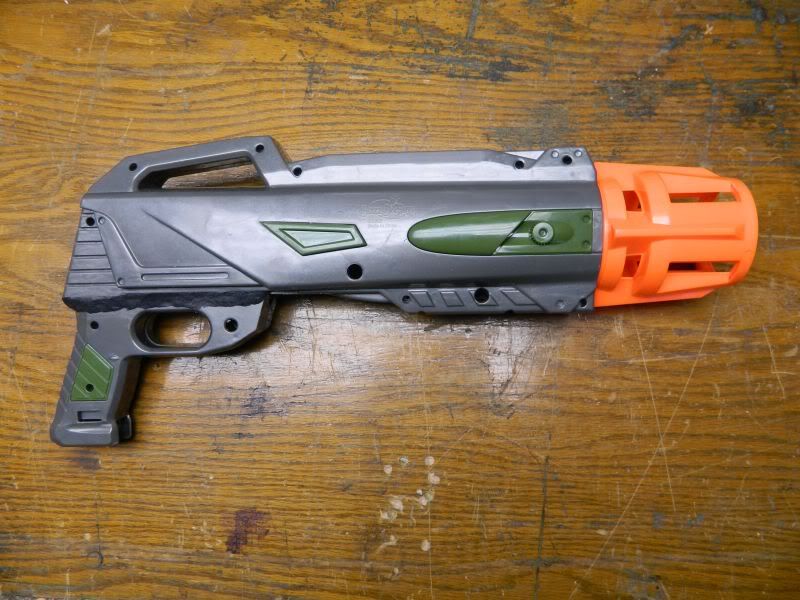
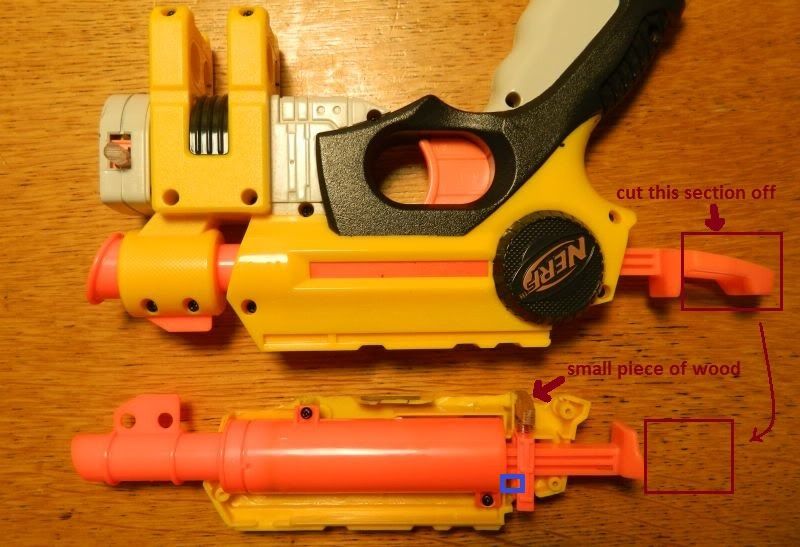
The first thing I did was attach the handle onto the blaster closer to the main body because I didn’t like how it looked. This is purely cosmetic and is not necessary for the rest of the mod. However if you want to do this cut the handle off just above the trigger guide rail and then cut of the boxy portion flush with the rest of the body. Once this is done glue the two together. I used a small piece of wood as a spacer.
Open up the hornet and take out the firing mechanism. Then cut of a pair of the working tanks and the two blast button valves. Also remove a pair of tanks and barrels.
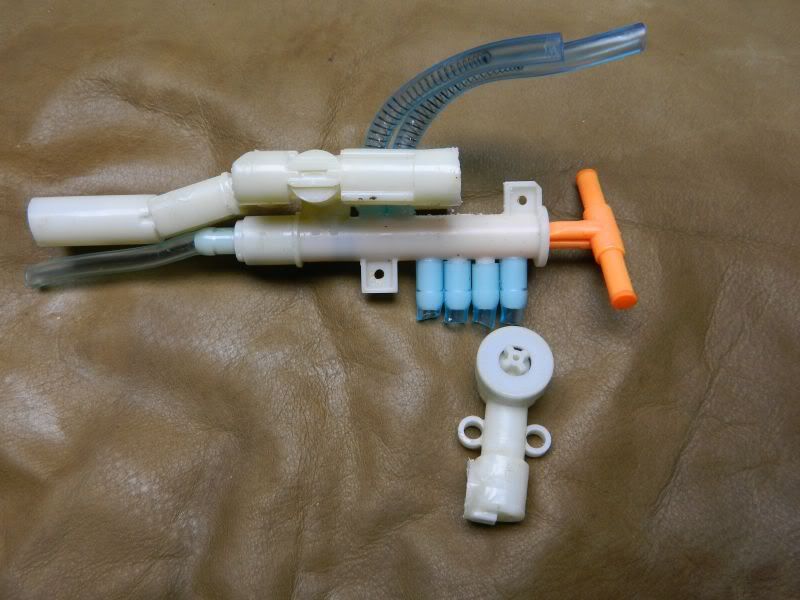
Take the blast buttons and cut the ends of in such a way that they can be used for end caps.
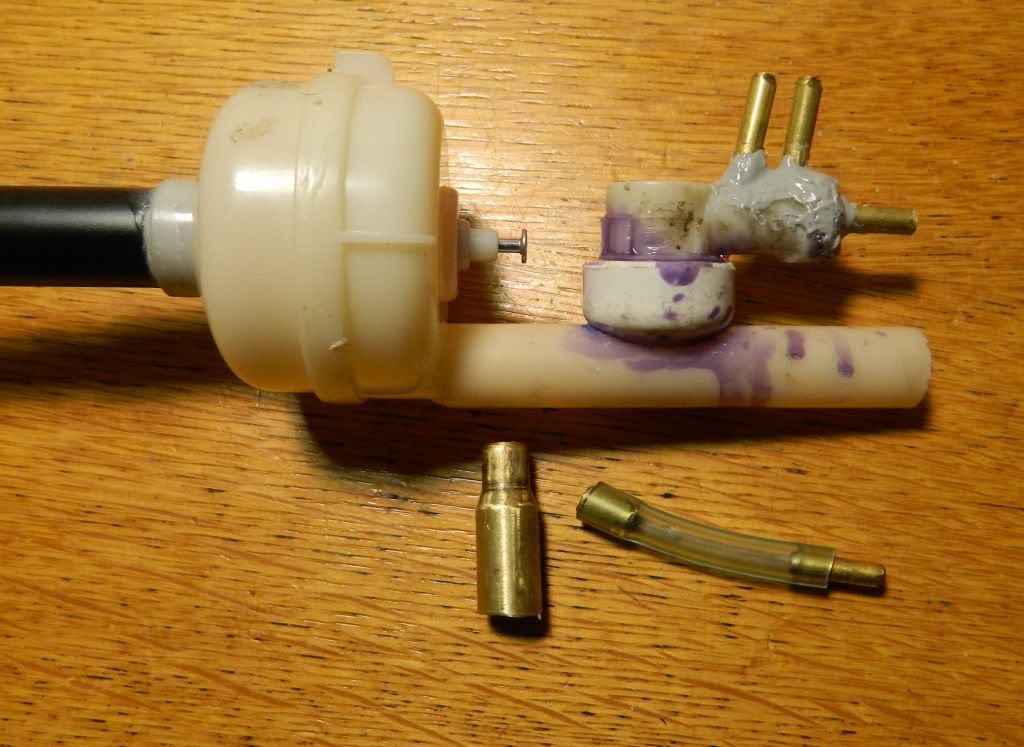
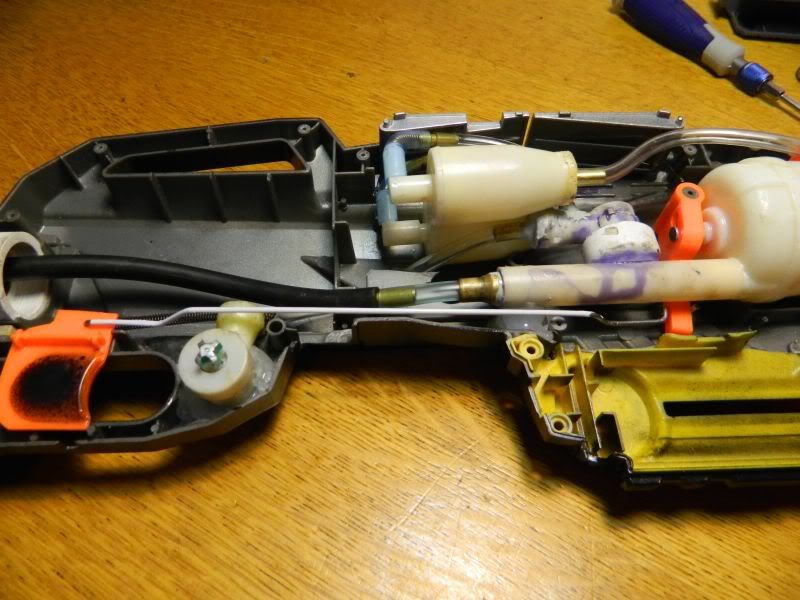
Next drill holes in the valves. Insert the brass and epoxy it all together. One will be used for the hornet tank trigger and the other one will work as a one-way valve connected to the missile blast’s pump tube.
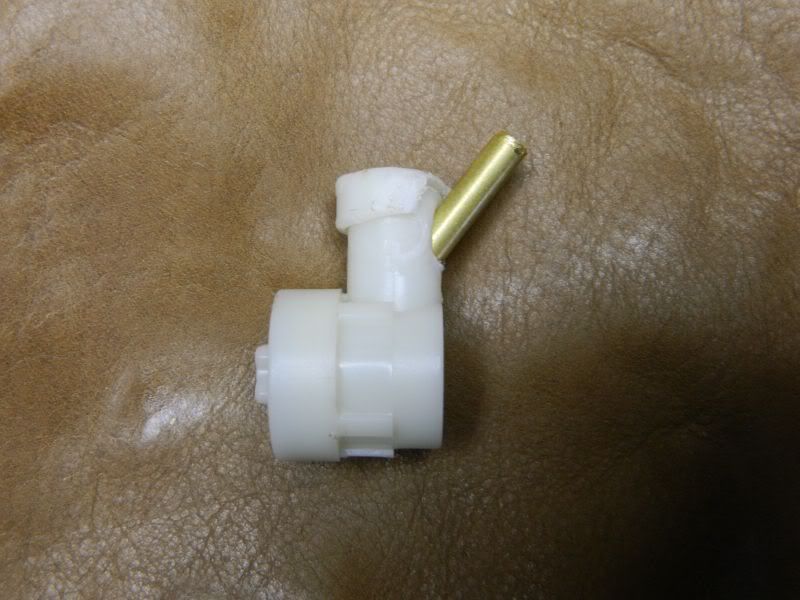
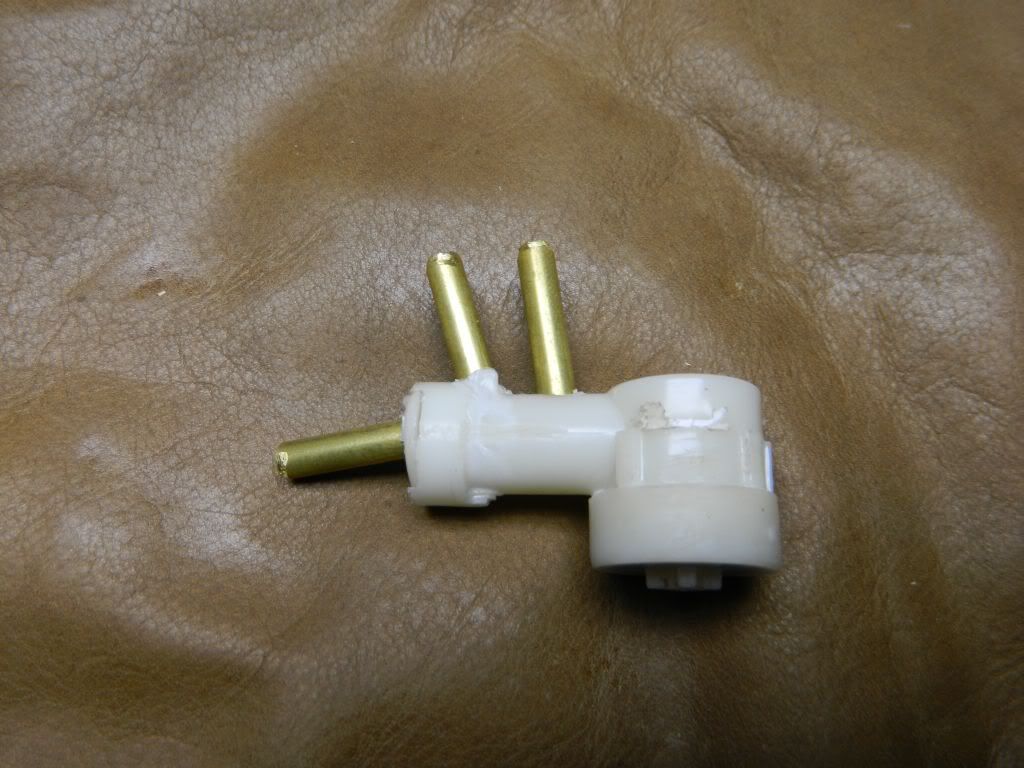
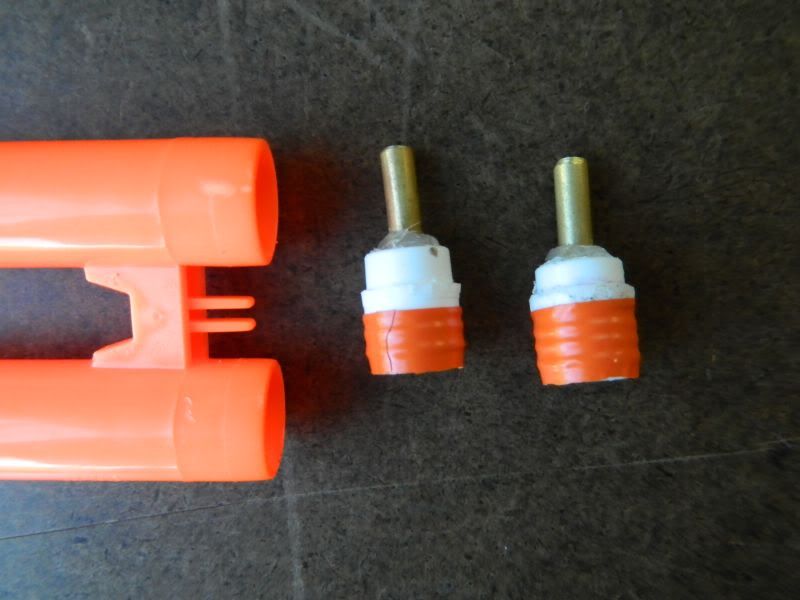
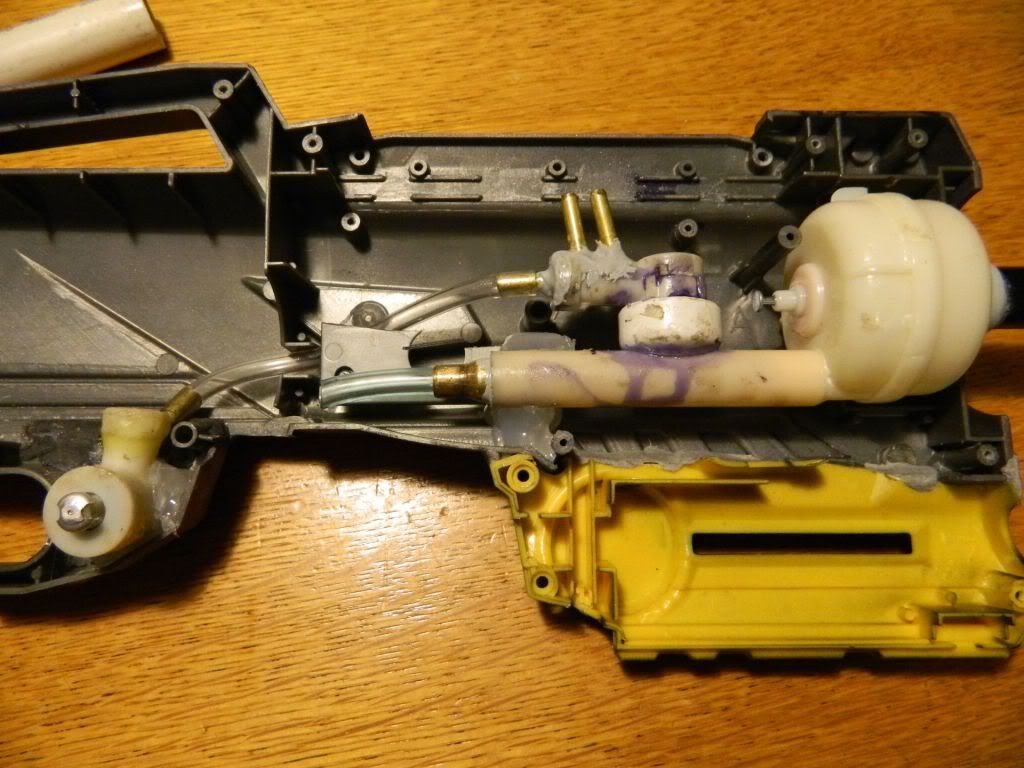
Epoxy some brass over the small holes in the end of the hornet tanks so you can run plastic tubing several inches to the barrels. Next take the two marker end caps and two of the Hornet barrels. Drill holes in the bottom of the end caps then wrap them in electrical tape and hot glue some brass in. Once this is done insert them into the hornet barrels.
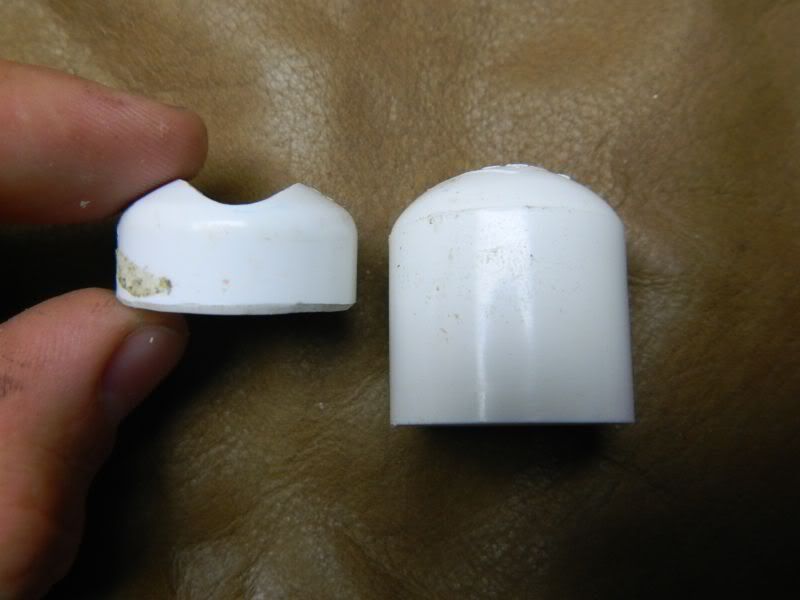
Once this is done get one of the 1/2in end caps and cut it down to fit on the outside of the missile blasts pressurization tube. The valve with the three brass barbs will need to fit into this, so you might have to do some sanding before you can glue it all together.
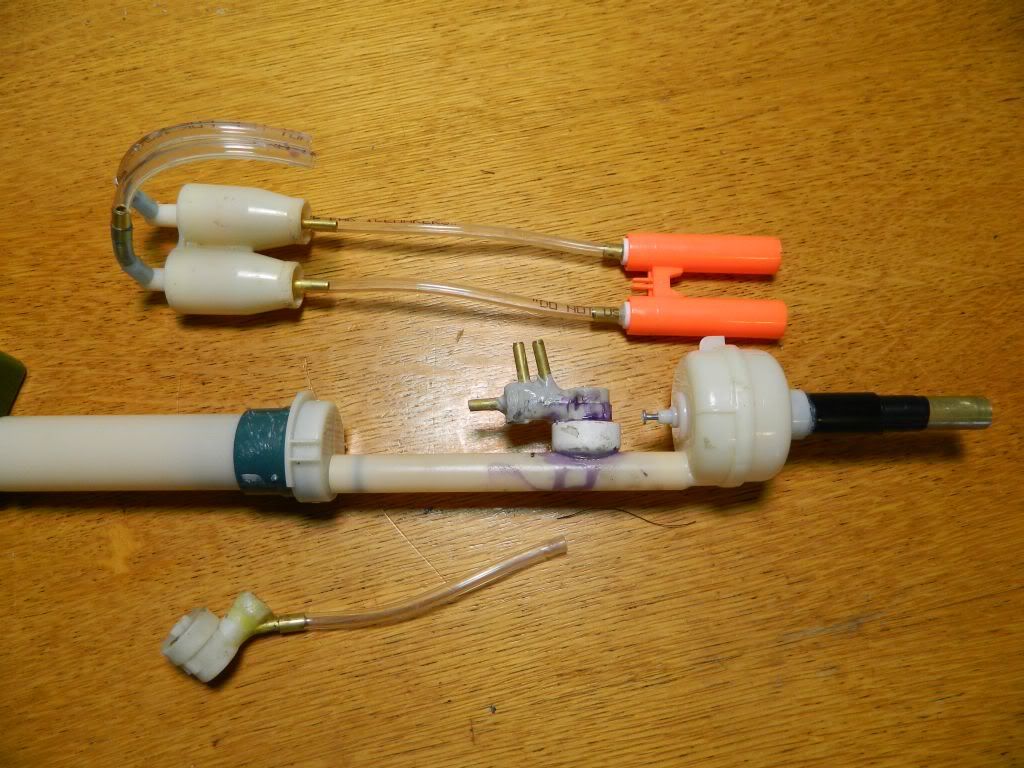
You will now need to cut slots in the blaster frame for the plastic tubing to run through and glue the hornet barrels onto the front orange cone thing.
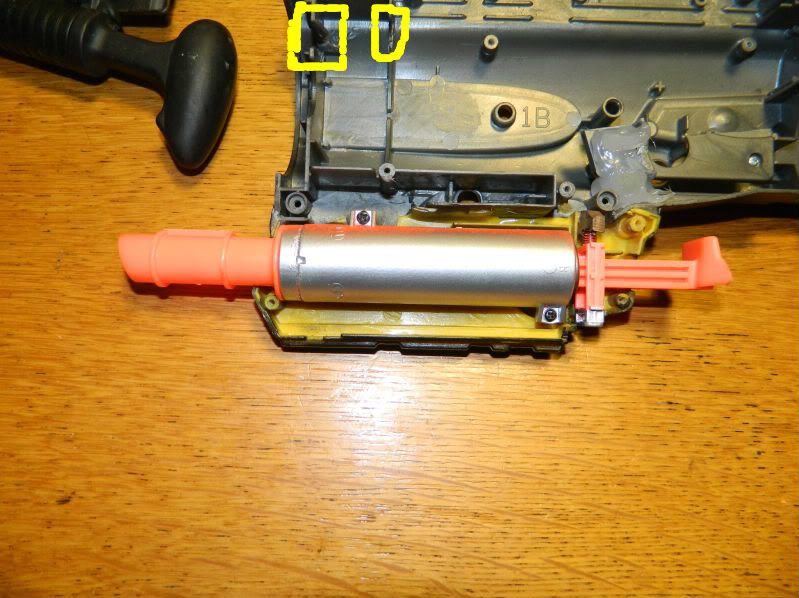
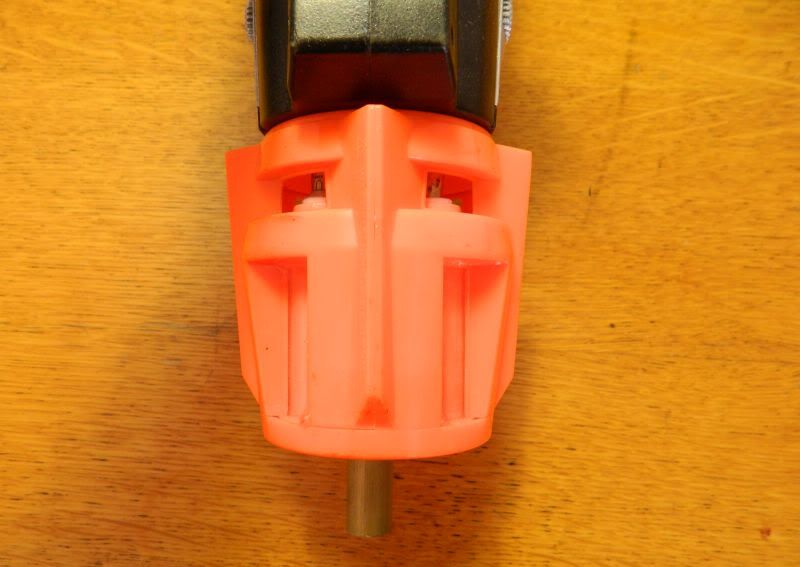
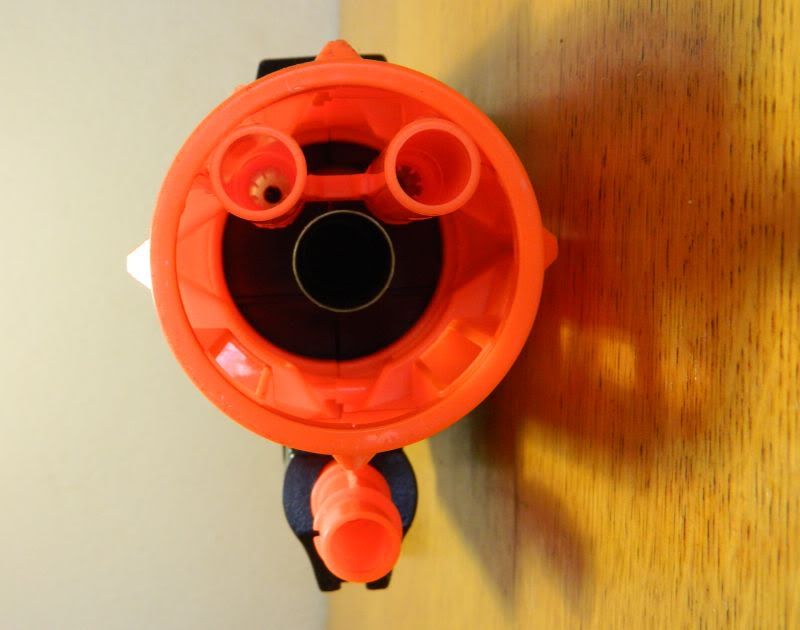
Now cut several inches off of the pipe running from the pump to the tank and make it so you can attach it to 1/4in tubing. I used a 7.62X51mm bullet casing, some hornet tubing, and brass, but you can gust epoxy some brass into the end of the pipe.
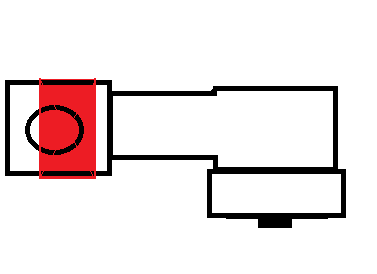
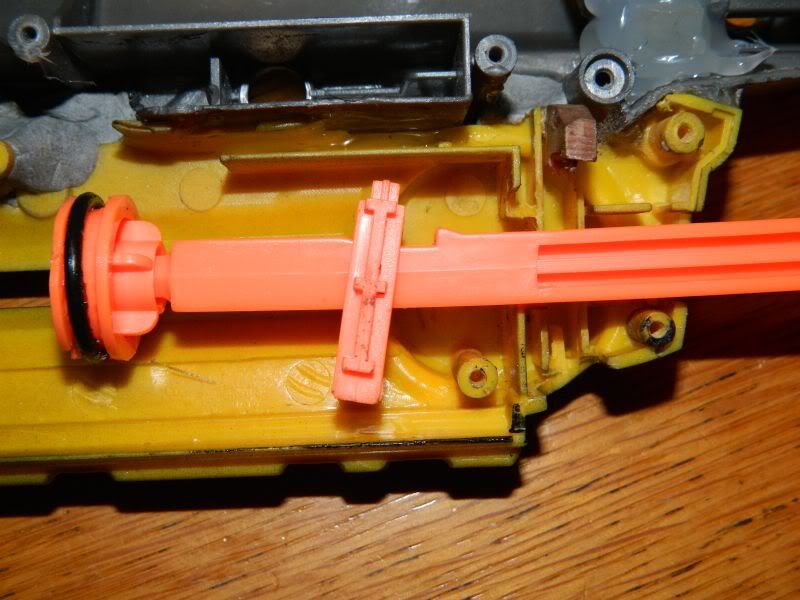
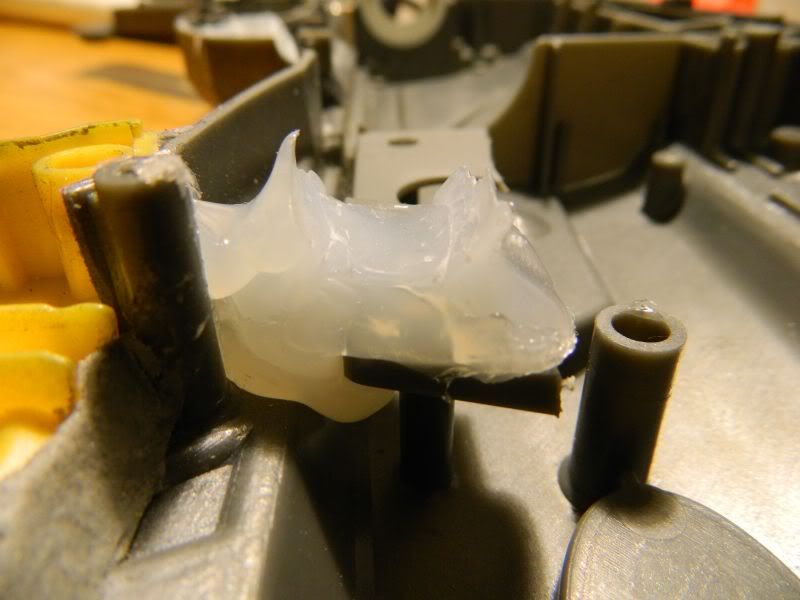
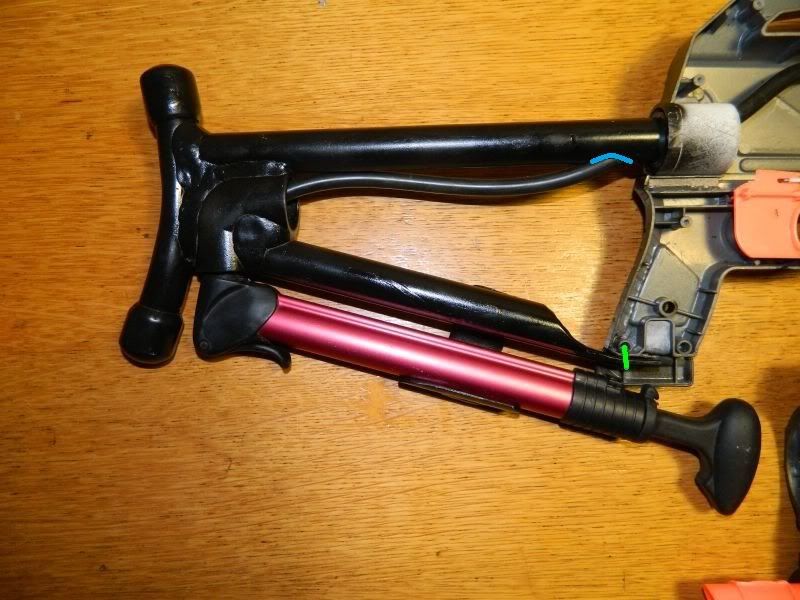
Now that the main firing mechanism is done its time to work on the Nightfinder integration. First cut off the grip, trigger guard, light, and most of the pullback loop. Internally you need to make it so the catch is inverted. To do this dremel out all the little walls and stuff that keep it from going down into where the trigger sits. You will also need to dremel out a hole for it to stick out of the top behind the nerf rail. Glue a small piece of wood or plastic into the chanel the catch rides in for the catch spring to push against. The section highlighted in blue will need to be dremeled out. It does not interfere with the catch movement but it will sometimes cause the plunger rod to catch on the plastic above it and keep the blaster from firing. With this done demel out the front grip portion of the missile blast and epoxy the Nightfinder in where the other blaster locked in. also cut down the side panels as shown to use as support for the pump tube.
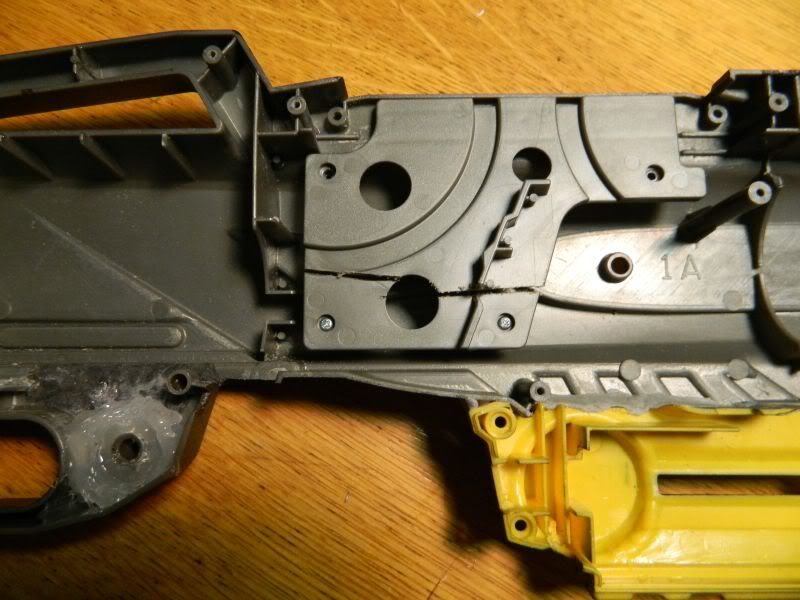
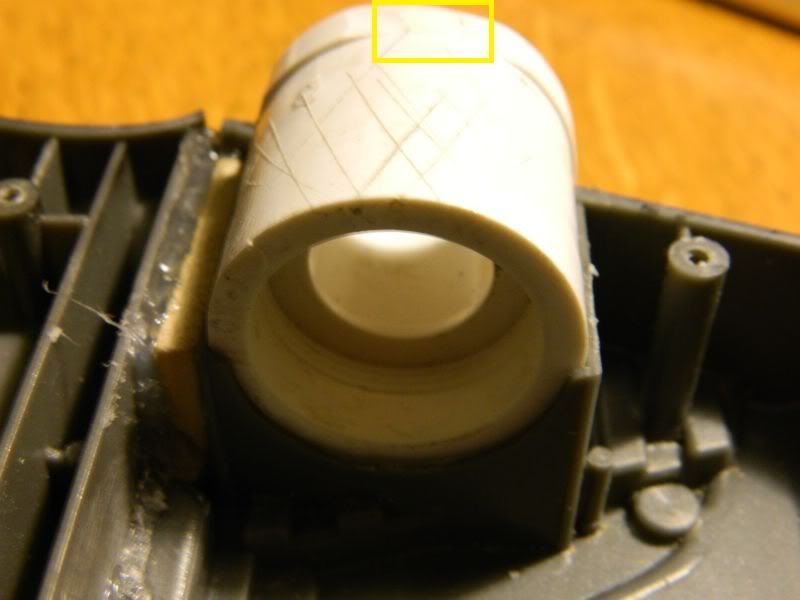
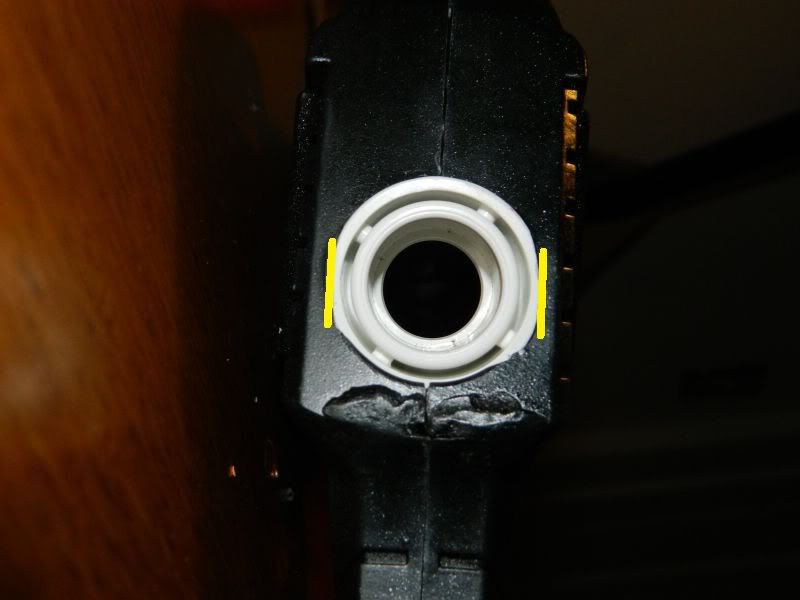
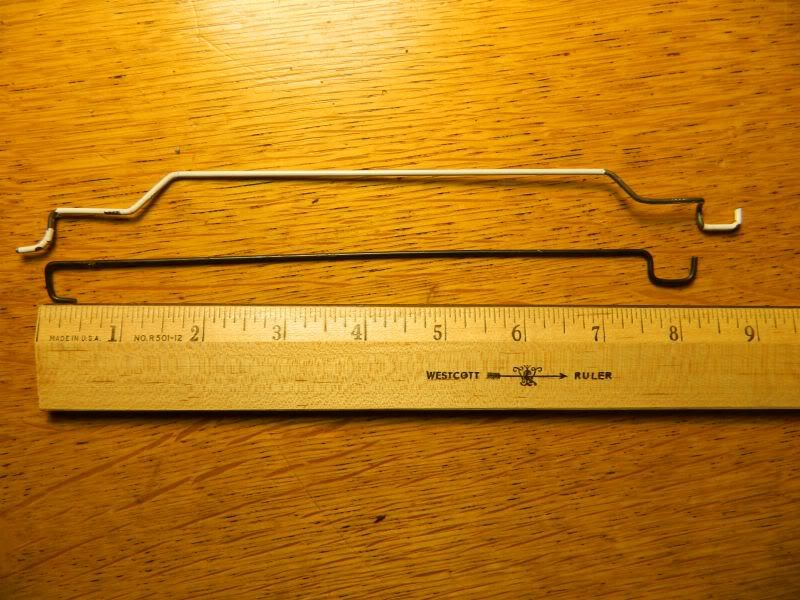
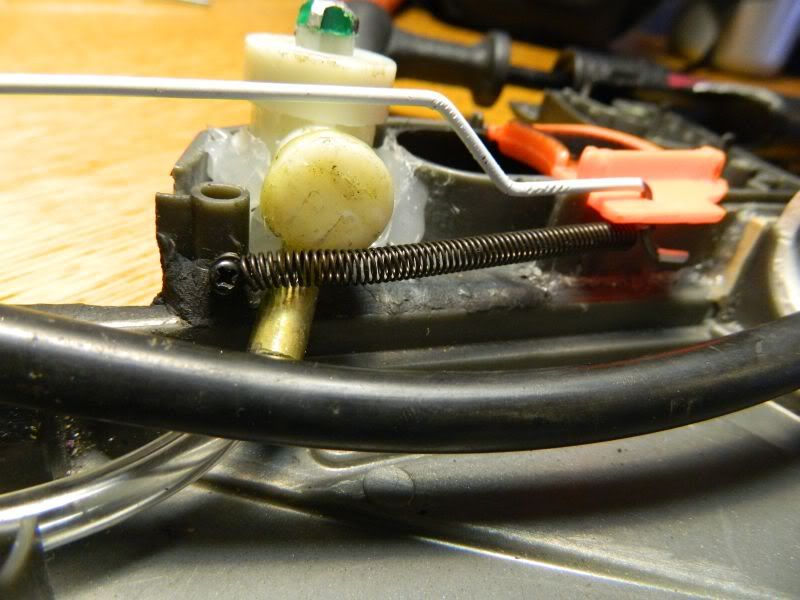
Once this if done you can start building the stock. For this take the 1/2in PVC and make a T with it. Then use the 3/4in elbow and some 1/2in PVC to make a diagonal spacer rod. Then attach a bike pump holder. To connect the stock to the blaster take the 1in to 1/2in coupler and dremel out the blaster shell so it fits into where the pump handle was. You will also need to take the lip of the sides of the coupler highlighted with yellow. Then epoxy the coupler in place. Insert the stock and drill a small hole (green) to screw the stock onto the blaster. Also drill a hole where the PVC connects with the coupler so the pump tube can go into the blaster (blue). At this point theres only one thing left to do. You now have to make a new trider rod as the one that originaly liker the trigger to the lever that pulls the tank pin will nolonger work. To do this take a wire cloths anger and bent it into roughly the same shape as the original rod but with extra space to get around the blast button. You may also wish to add a return spring on the trigger. Assemble the blaster and you’re done.
Ranges
110ft with main barrel slightly angled
50-60ft with "panic guns" slightly angled


