
Thanks to BrokenSVT and TaerKitty for the pictures and original mod.
Youtube Video
Materials:
- SSPB
- Optional: CPVC Coupler / Barrel
- CPVC endcaps (2) / 1/2" CPVC - 1.5" length
- 1/4" OD hose
- Optional: 2 nozzles from Titan/Hornet/Air Tech blasters
- Optional: Zip tie
Tools:
- Dremel/Drill
- Files
- Glue (Zap-a-Gap/CPVC Cement)
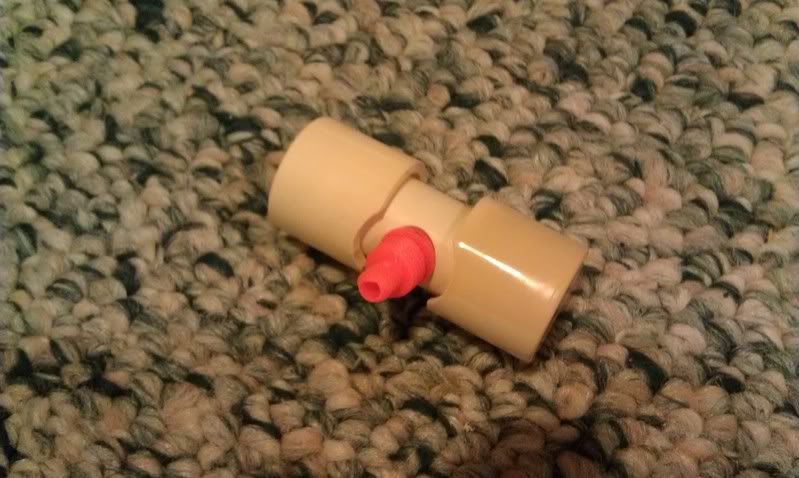
Step 1: External Tank
Take the 1.5" length of CPVC tube and create a hole using a dremel/drill for either your hose or nozzle in the center of the tube. If you are using a nozzle, make sure there is enough clearance for the nozzle cap when the CPVC end caps are attached. Glue the nozzle and CPVC end caps and check for any leaks.
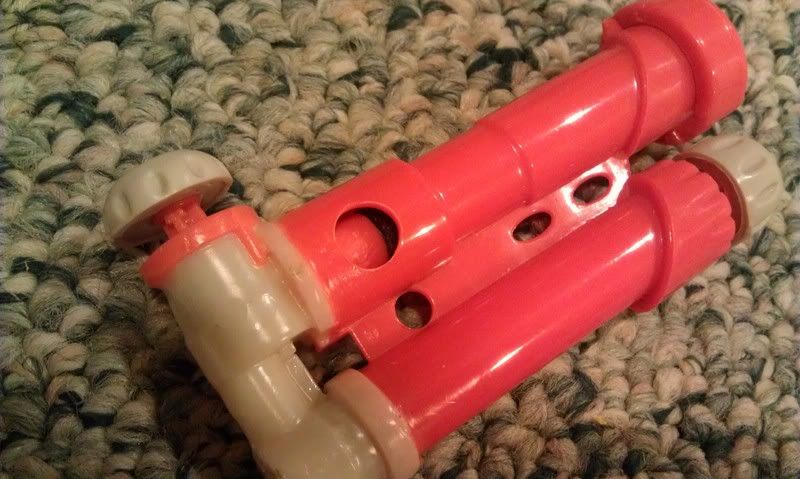
Step 2: SSPB Cutting
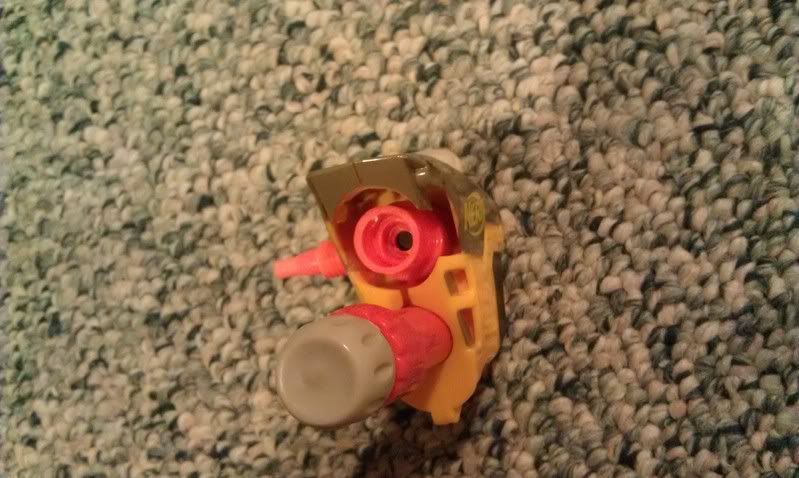
Using your dremel/drill, carefully create a hole in the SSPB tank. Do not drill very deep as the check valve is in the center of the tank. Once you have an opening widen the hole for either your tubing or nozzle. Make sure to clean the tank as possible from any filings and plastic bits.
Cut down the barrel according to the barrel you are going to use. I chose to keep some of the barrel intact to help support the CPVC coupler. Your setup may differ. Once that is cut, remove the support underneath the barrel and clean it up.
Step 3: ARR
Use your dremel or needle nose pliers to remove the AR and clean it up as best as possible. Try to not touch or get too close to the front of the check value and clean it up as much as possible.
Step 4: Shell Work
Try to eyeball where the tank's opening is in the shell and create a hold that will align with the tank. If you are going to use a CPVC coupler, you will need to widen the original barrel opening. I had to cut open some of the side walls but I was able to not have to cut through the top screw port.
If you are using a nozzle, make sure that you can still remove the shell with the nozzle attached. The nozzle I used as a small ridge that I almost didn't catch.
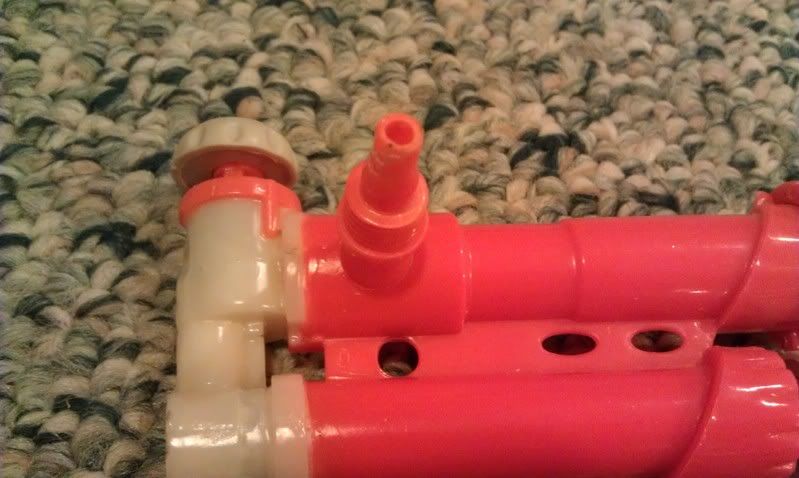
Step 5: Glue
Glue the nozzle/hose to the SSPB tank and the coupler/barrel to the SSPB barrel. And let that dry. Check for any leaks in the SSPB tank by plugging the barrel. Air may leak out a little as the check valve doesn't fully seal until there is a bit of pressure behind it.
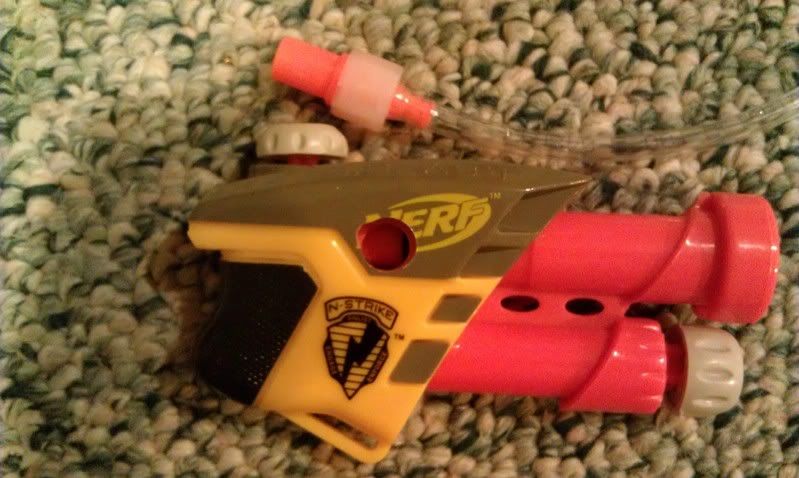
Step 6: All Done!
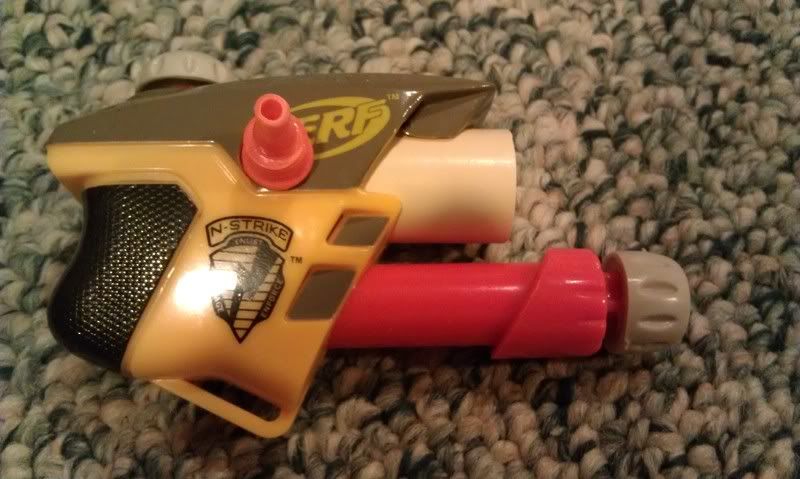
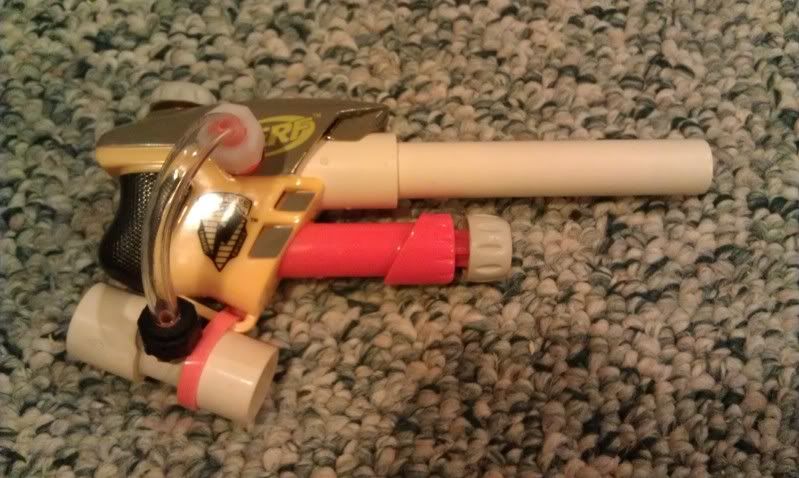
Assemble all the pieces together and zip tie the tank to the bottom of the SSPB and you're all done.
Youtube Video
Ranges: Average 85' flat.
Tank fills with about 20 - 25 pumps.
Overall, this mod is really easy and fun. Minus the drying time for glue and finding the right nozzle pieces, it was probably 4 - 5 hours to complete this mod.
If you have some time to kill or just want to have a secondary project going, I would recommend this one.
Edited by popatachi, 11 October 2011 - 09:41 AM.


