This is not as much about the actual blaster as you can vary that to fit your wants/needs. This is a write up on how I made mine but to also get this trigger design out there as it is simple, cheap, and the parts can be bought from your local hardware store. This is rev1 so yes it has flaws but I figured I would make this write up so others can make their own version and we can collectively from what we learn by making our own combine our ideas to make the ultimate blaster.
Materials
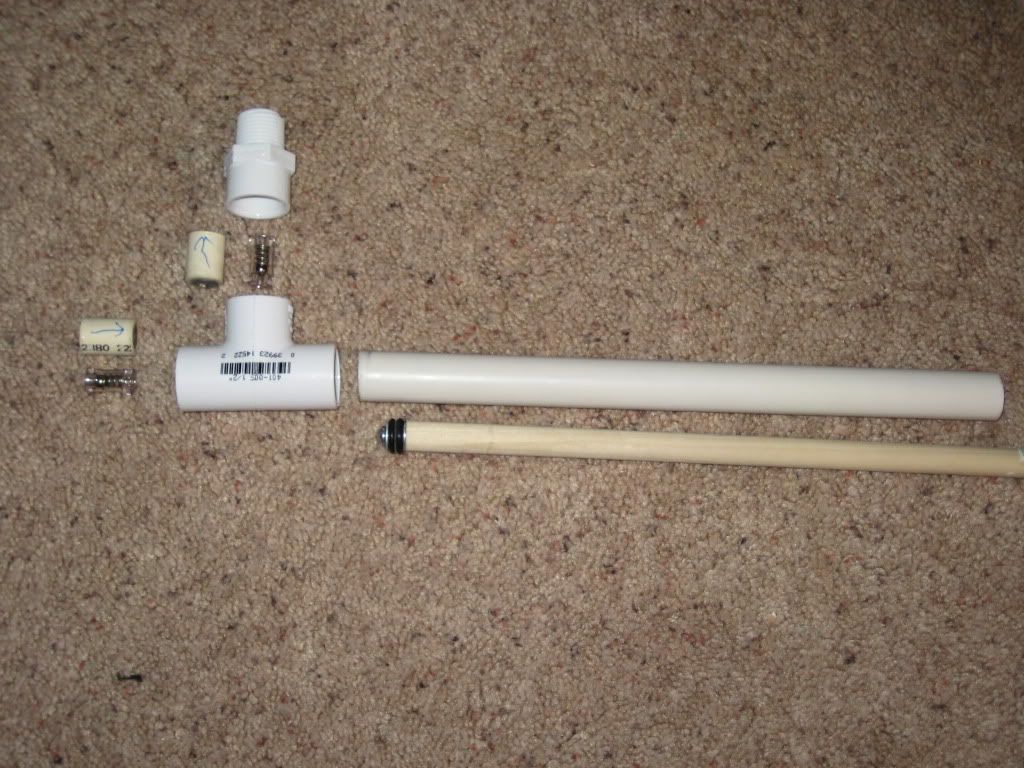
Trigger
1/4" x 3" carriage bolt
1/4-20m rubber well nut part# 83115 at Menards
Small spring(I just got this one out of my box of springs)
#6 O-ring
Body
3/4" Pvc
1/2" Pvc
3/4" T-joint
3/4" coupler
3/4" end cap
3/4" x 1/2" reducing bushing x2
1/2" 90 degree elbow
Tank/pump
1" Pvc
1/2" Pvc
1" coupling x2
1" 90 degree elbow
1" x 1/2" reducing Bushing
1" x 1/2" reducing bushing female thread
1/2" male threaded adapter
1/2" x 3/4" reducing bushing
3/4" 90 Degree elbow
Pump of your choice
Adhesives
Solvent weld
Super Glue
Hot glue
Other
E-tape
Cost
Depending on your pump between $14-$20
Time
Took me about half an hour to build not including cure time.
Tools
Minimum Requirements
Hacksaw
Sandpaper
Hobby Knife
Drill
Helpful Tools
Miter Saw
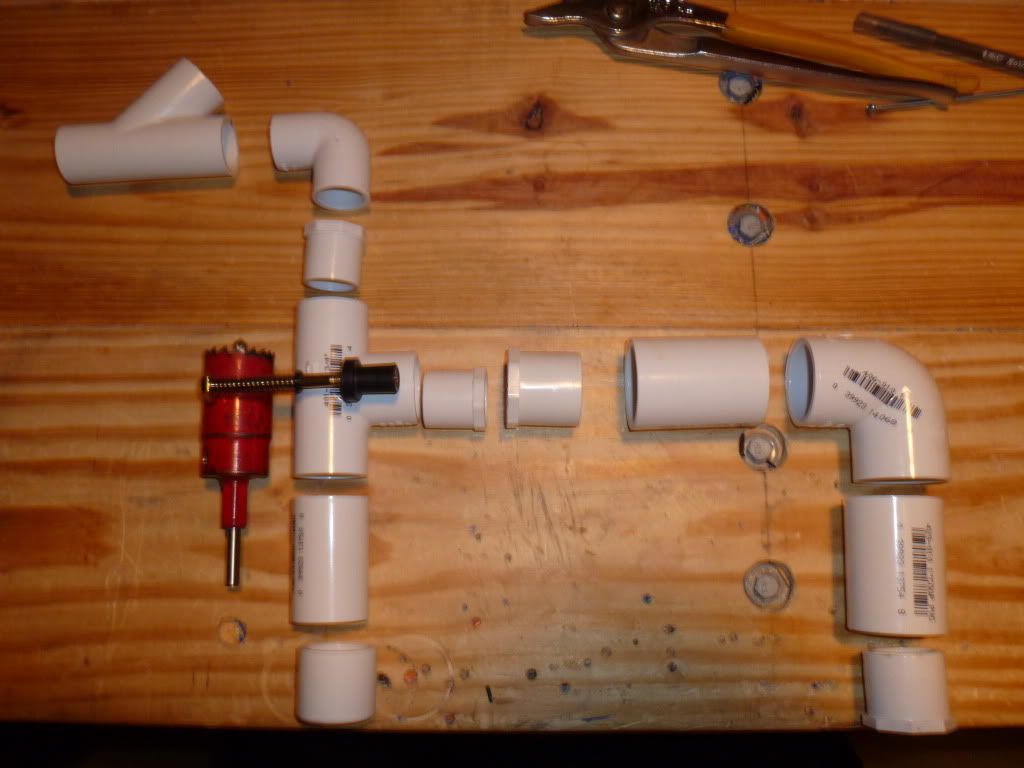
Assembly
This is how the blaster will be assembled
Body
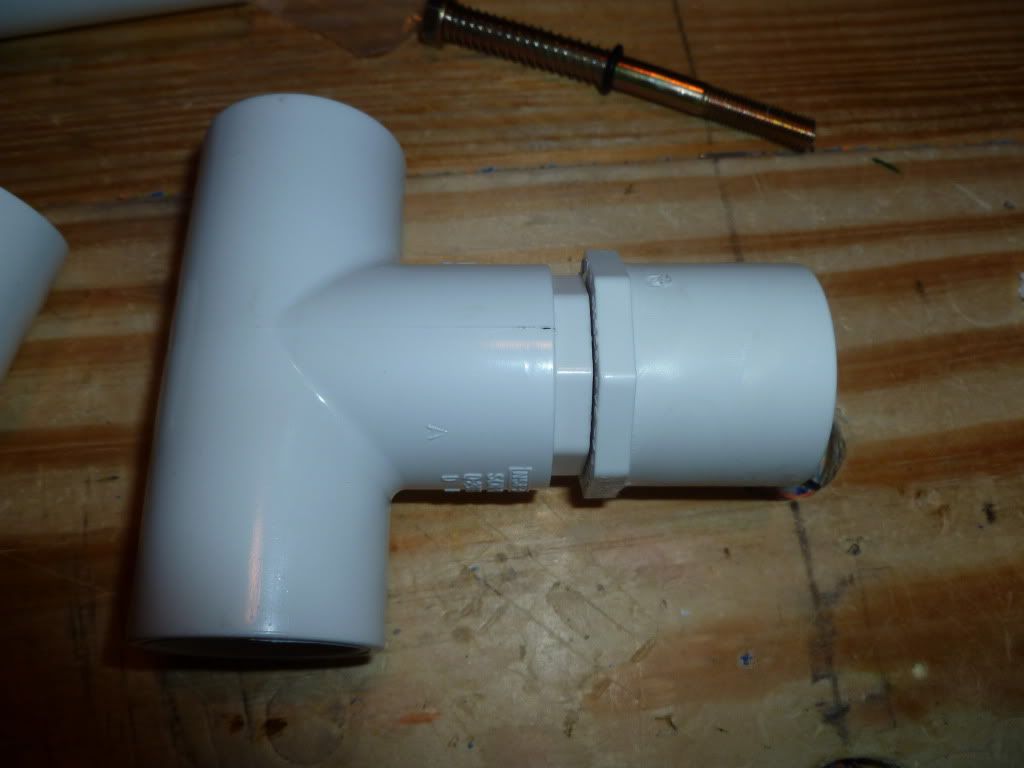
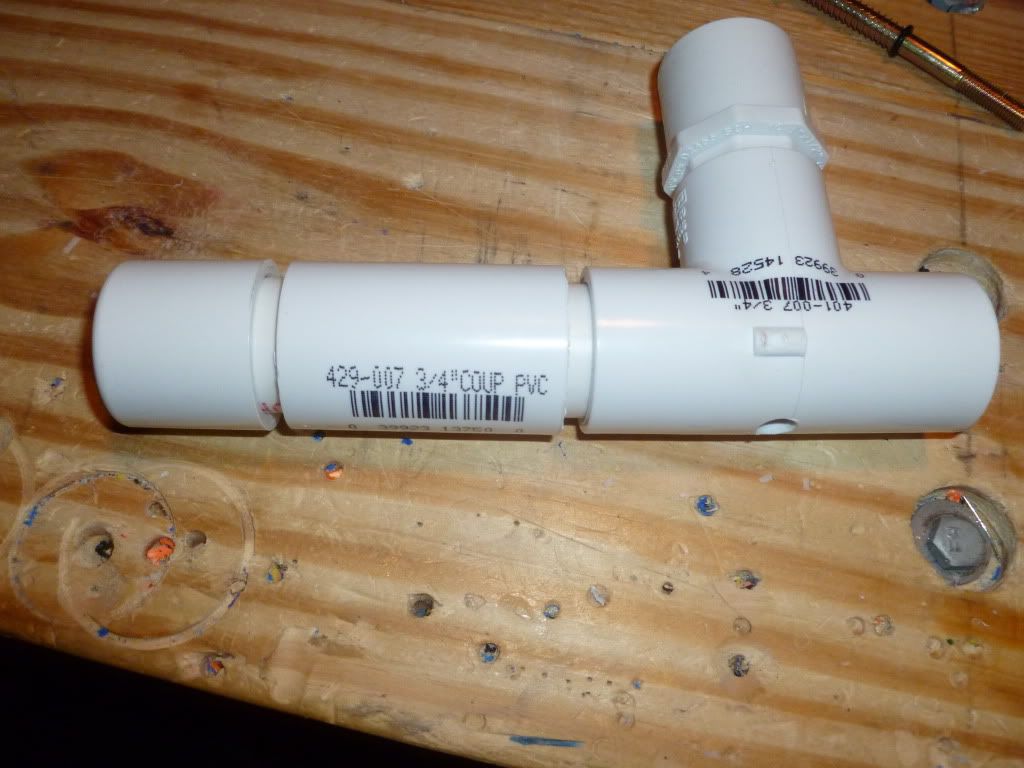
Put one or your 3/4" x 1/2" bushing onto your T-joint and a 1 1/2" segment of 1/2" pvc in that.
(this picture is wrong don't put that 1" x 1/2" bushing on yet)
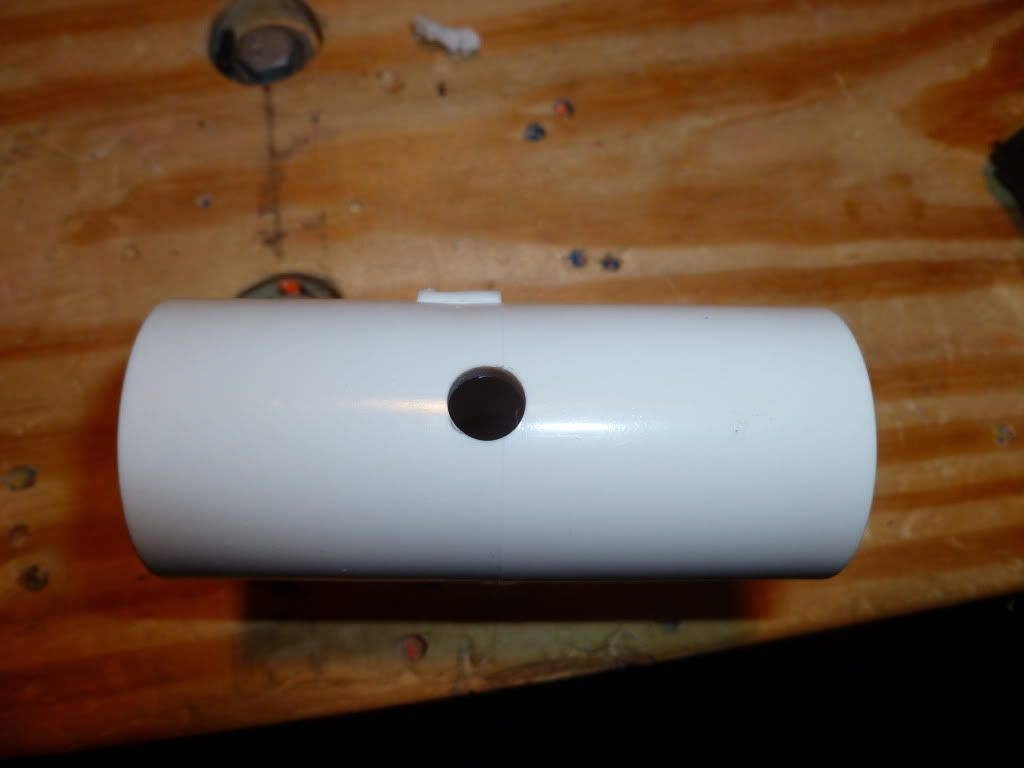
Drill a hole as centered as possible in the 3/4" T
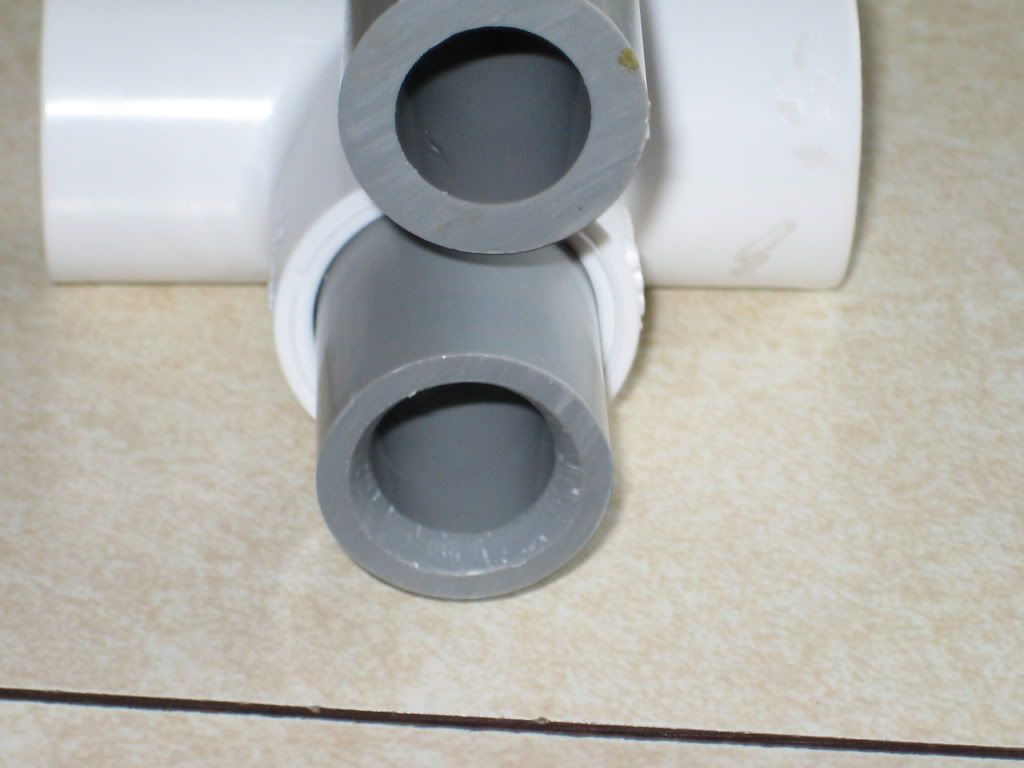
Next cut 2 2" segments of 3/4" pvc and assemble on one side of your 3/4" T like so.
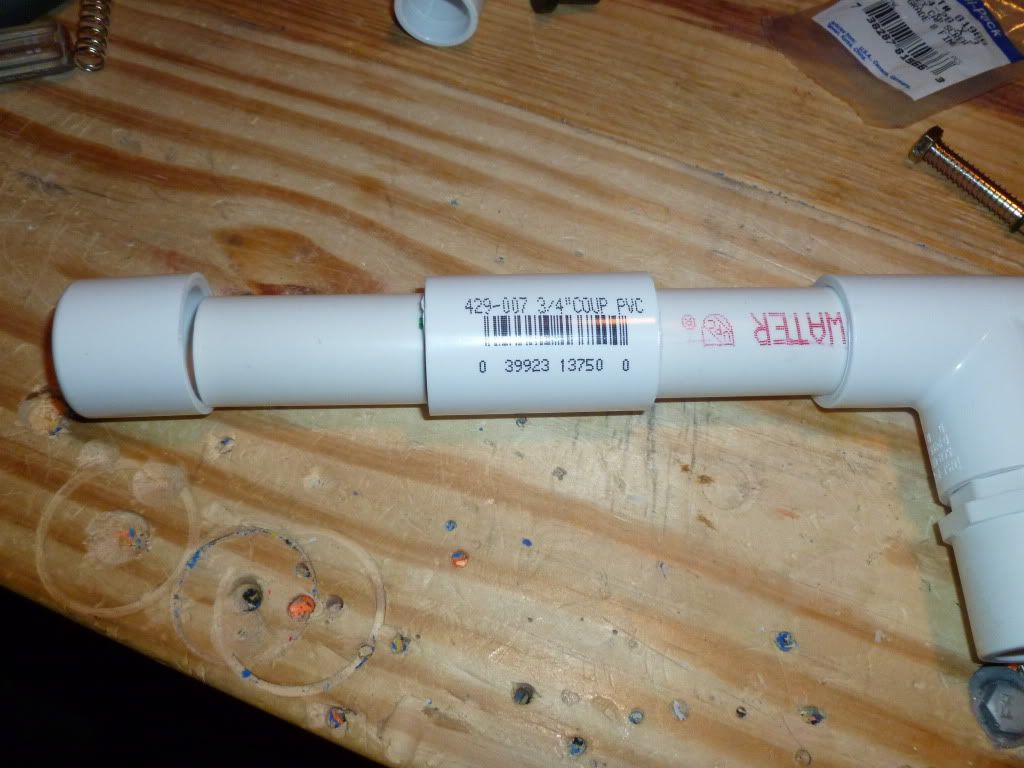
Put another 3/4" x 1/2" bushing in the T followed by a 1 1/2" segment of 1/2" pvc followed by a 1/2" 90 degree elbow. This is where you barrel will go. I like to use a hopper setup.
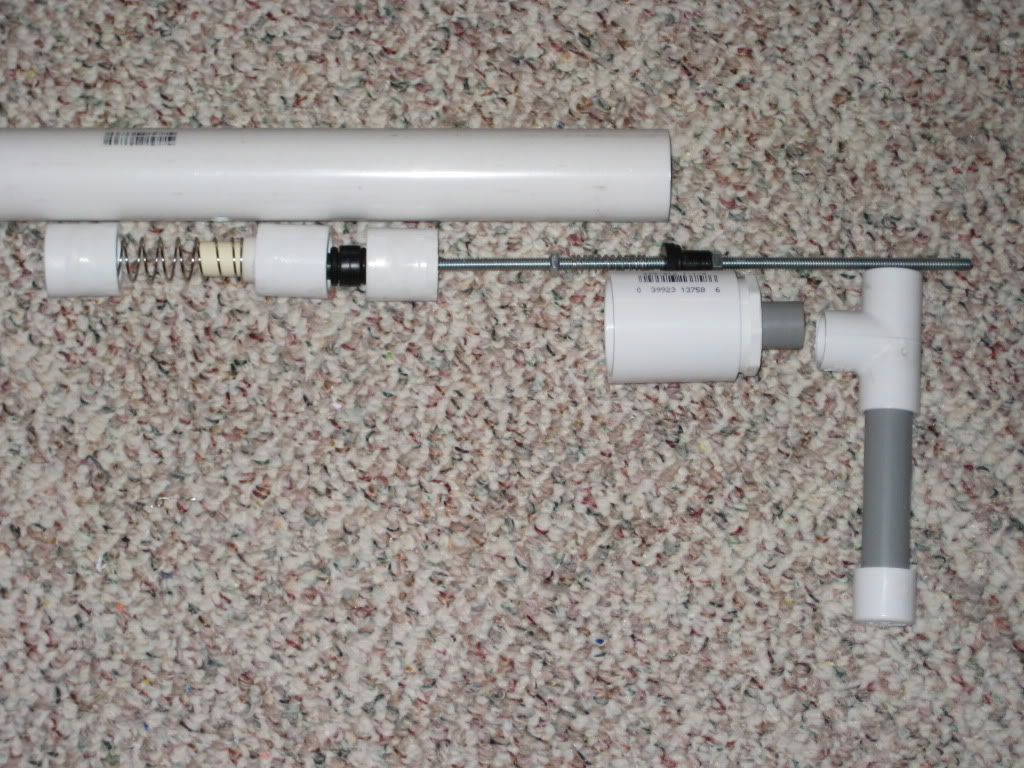
This is what you should have so far.
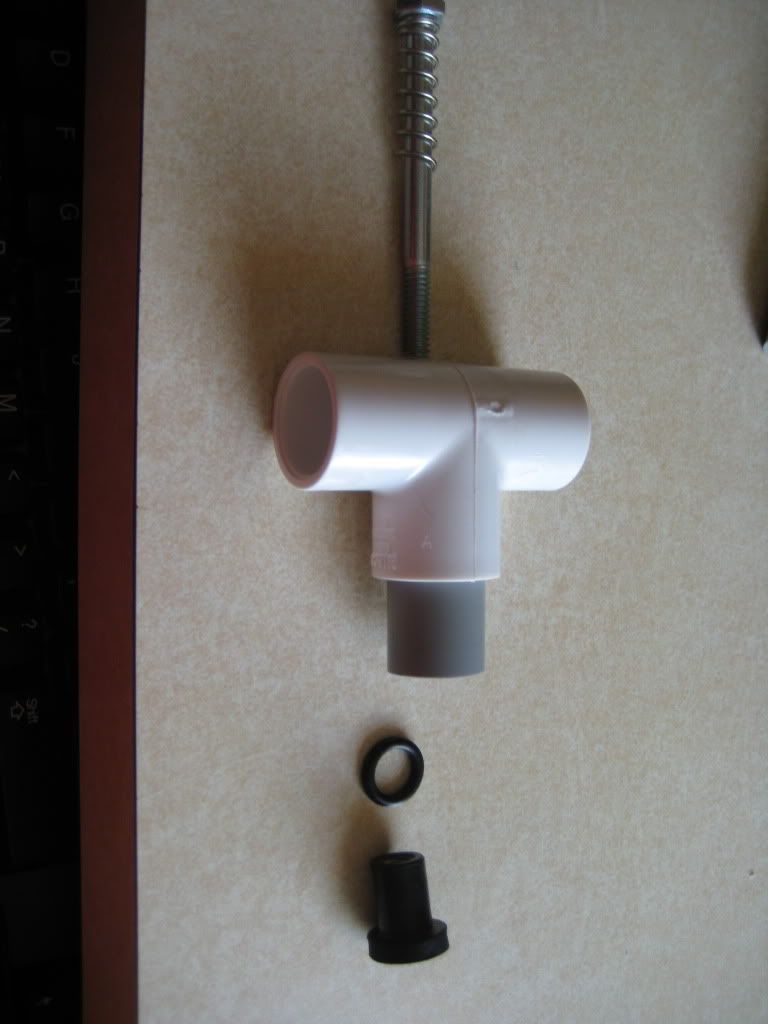
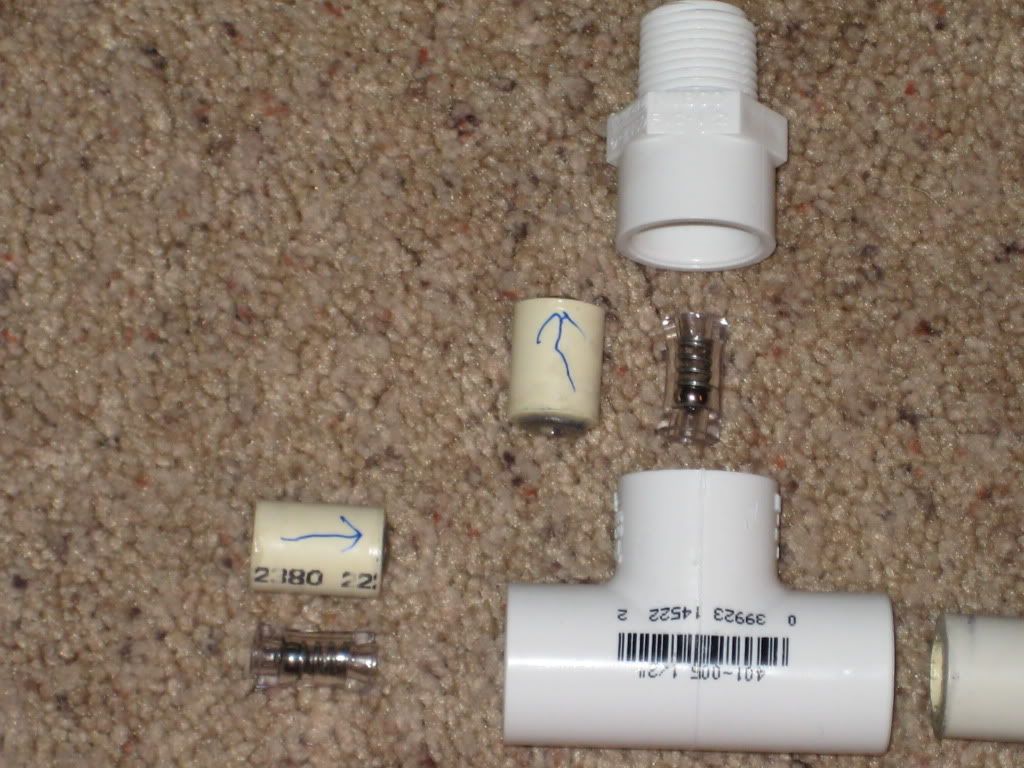
Now we are going to put the trigger on.
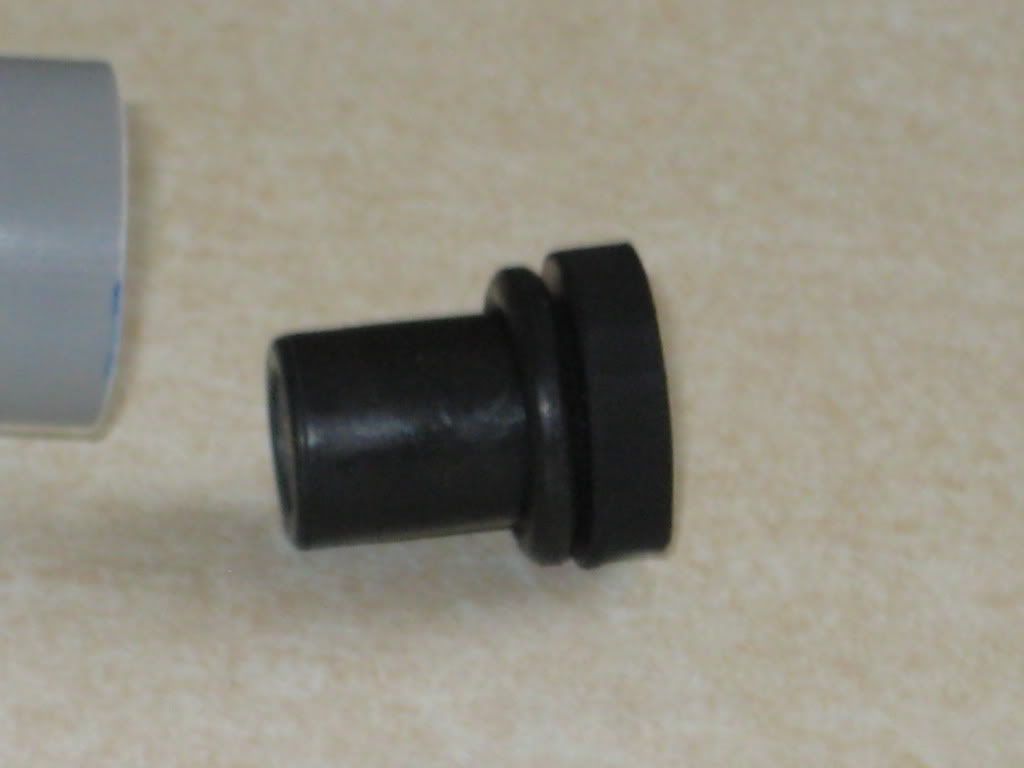
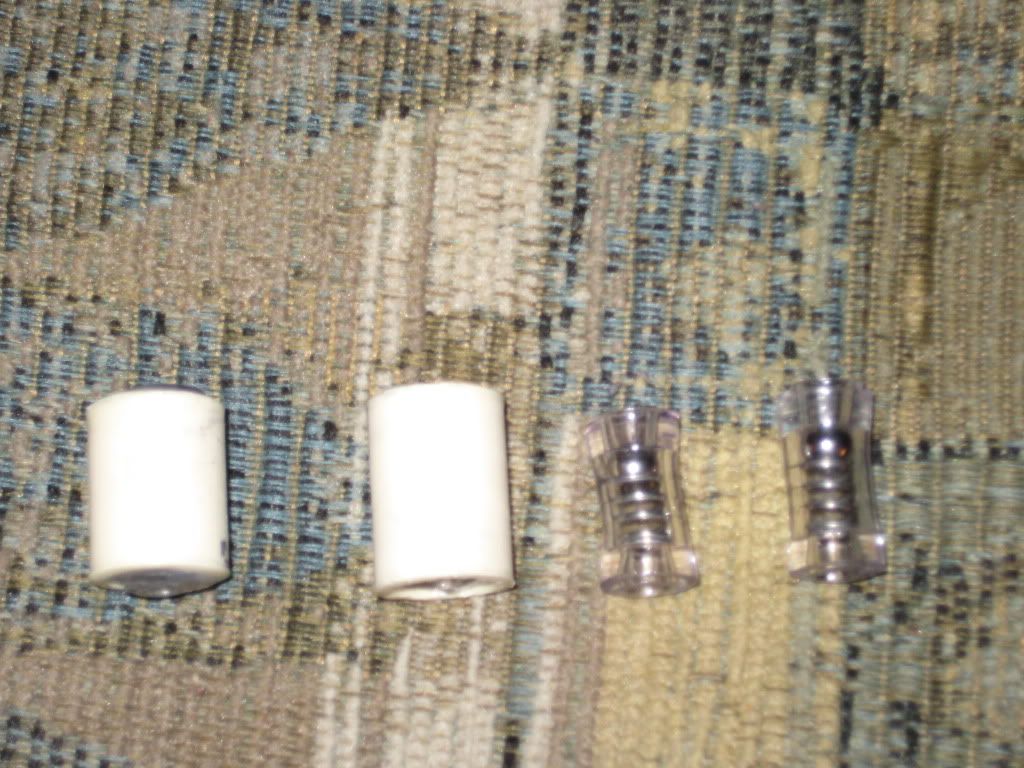
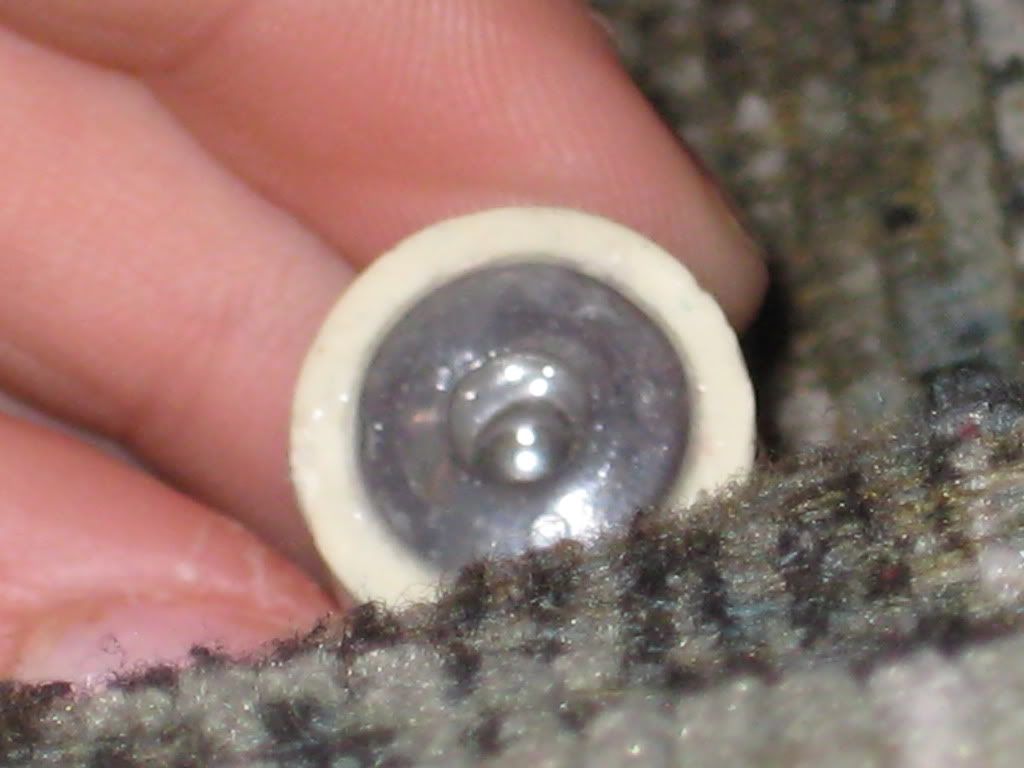
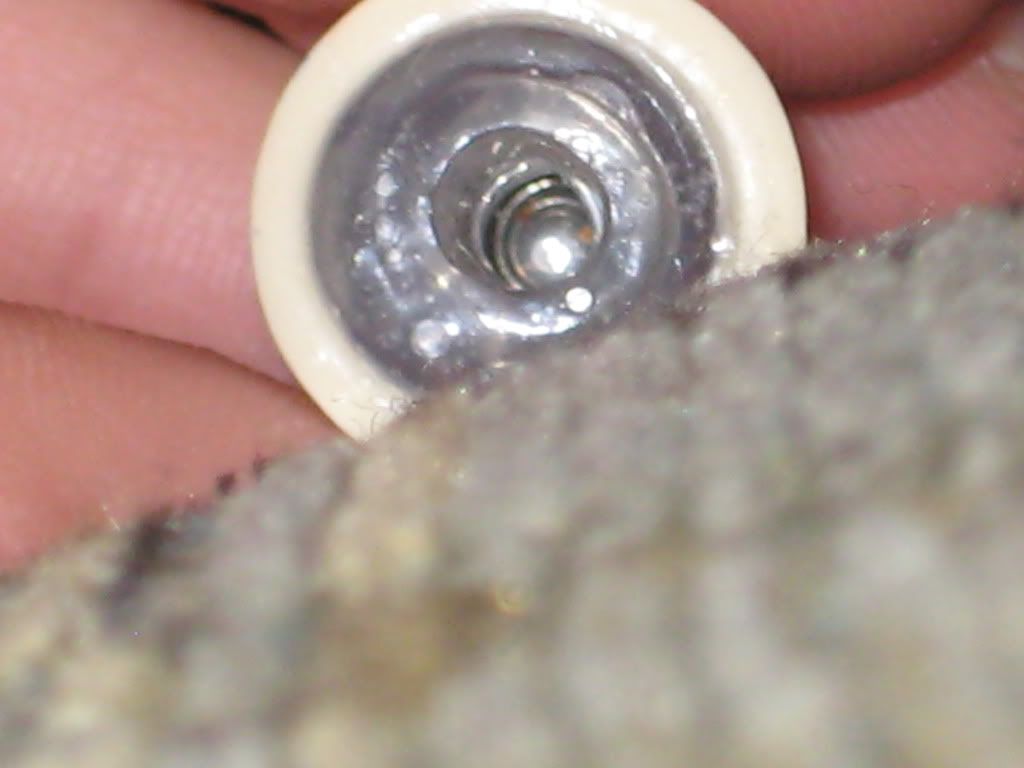
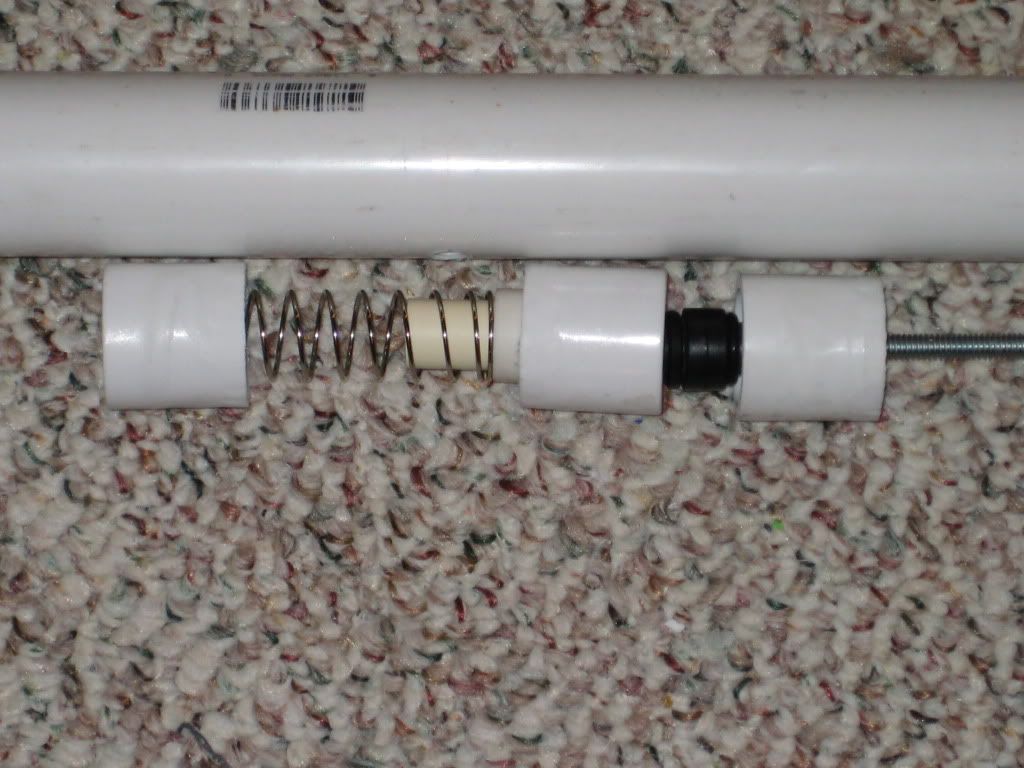
Its pretty self explanatory but for all you idiots out there, Assemble your parts like shown. (there should be an O-ring between the spring and the T)
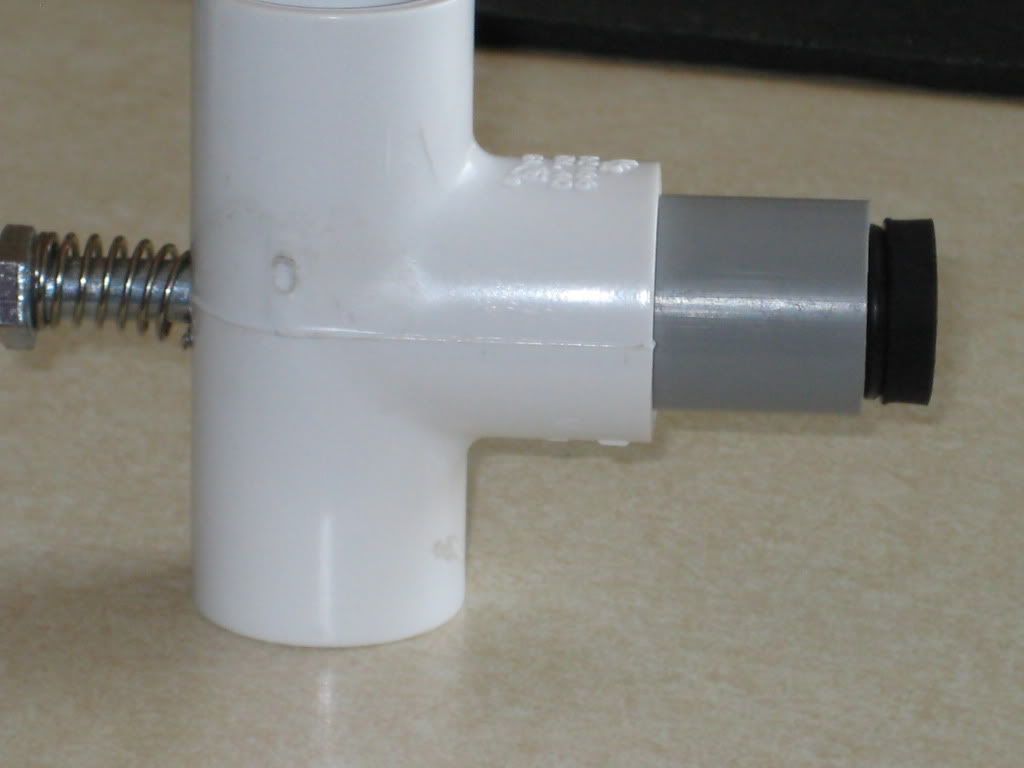
Now push this assemble into the corresponding holes and screw the bolt into the well nut.

Yes its that easy!
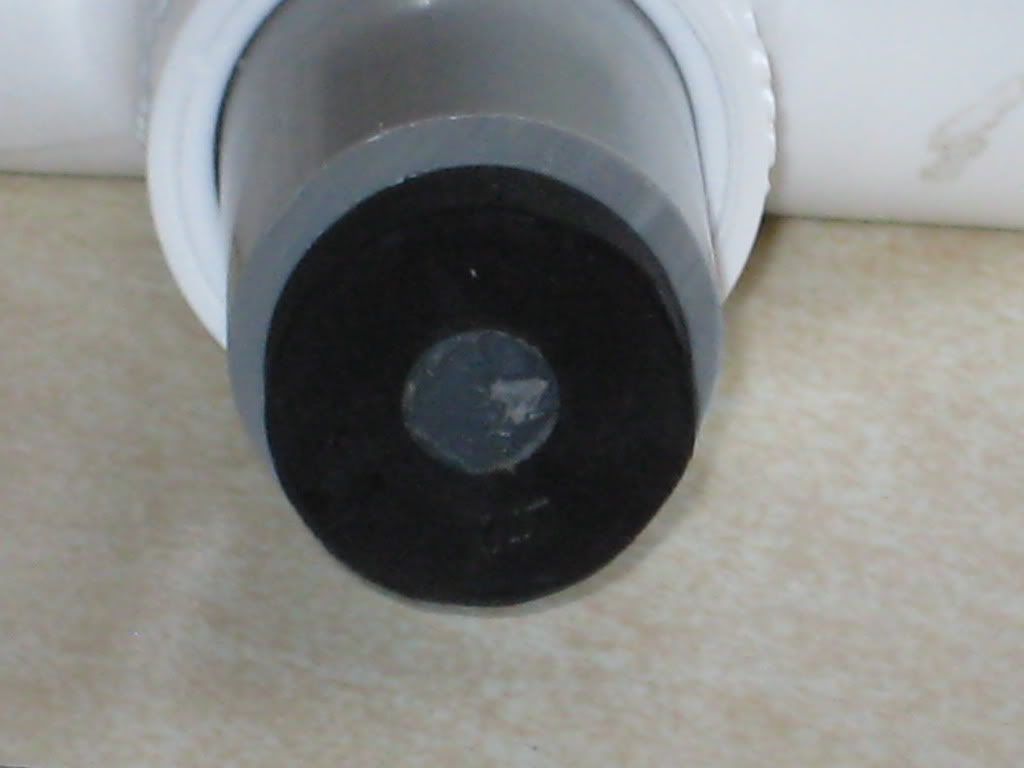
Just in case I filled this hole with goop.
Tank/pump
Sorry no picture of this but you want to assemble your parts like this,
3/4" x 1/2" bushing.....in 1" coupler.....7" of 1" pvc in the other side.....1" elbow.....2" of 1" pvc.....3/4" x 1/2" female thread bushing.
All these parts need to be solvent welded together as they will be holding pressure.
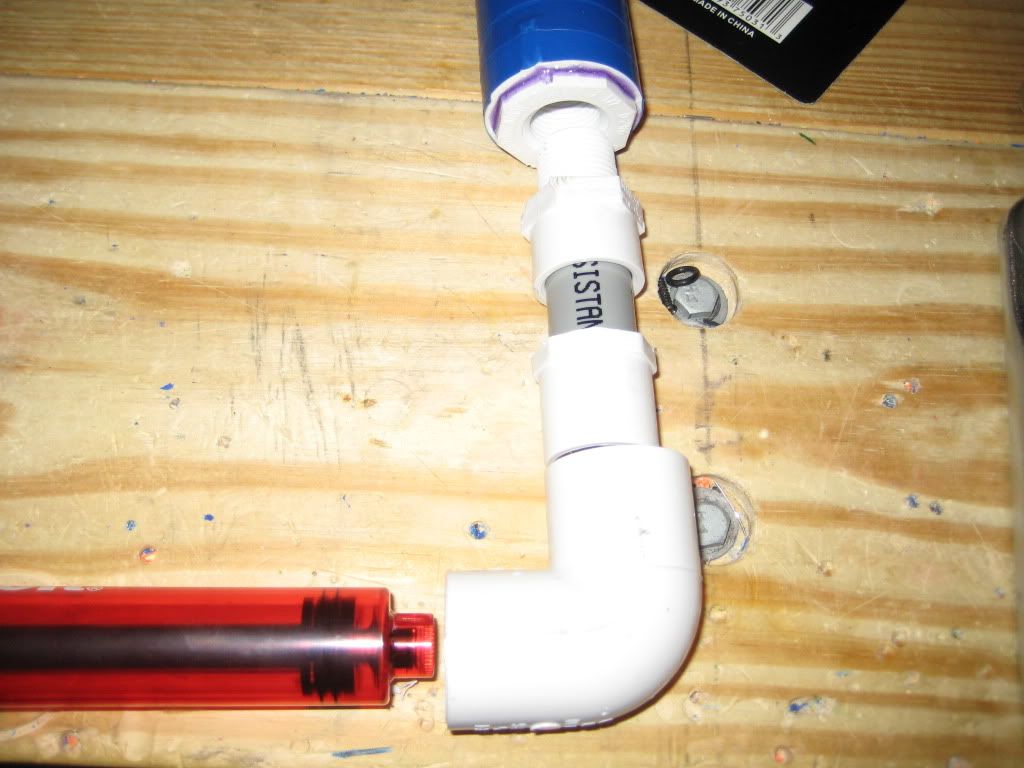
Now to attach your pump to your tank if you used the same pump as I did. IF you used a different pump then use your brain and figure something out.
Take your 3/4" elbow and put a 3/4" x 1/2" bushing in one side. Then put a 1 1/2" segment of 1/2" pvc in that with a 1/2" male adapter on that.
These pieces also need to be solvent welded together.
Put some E-tape on the pump so it fits in the elbow nicely. Put a few drops of superglue on it and push it in as far as it will go.
Then put solvent weld to seal it off.
Use this
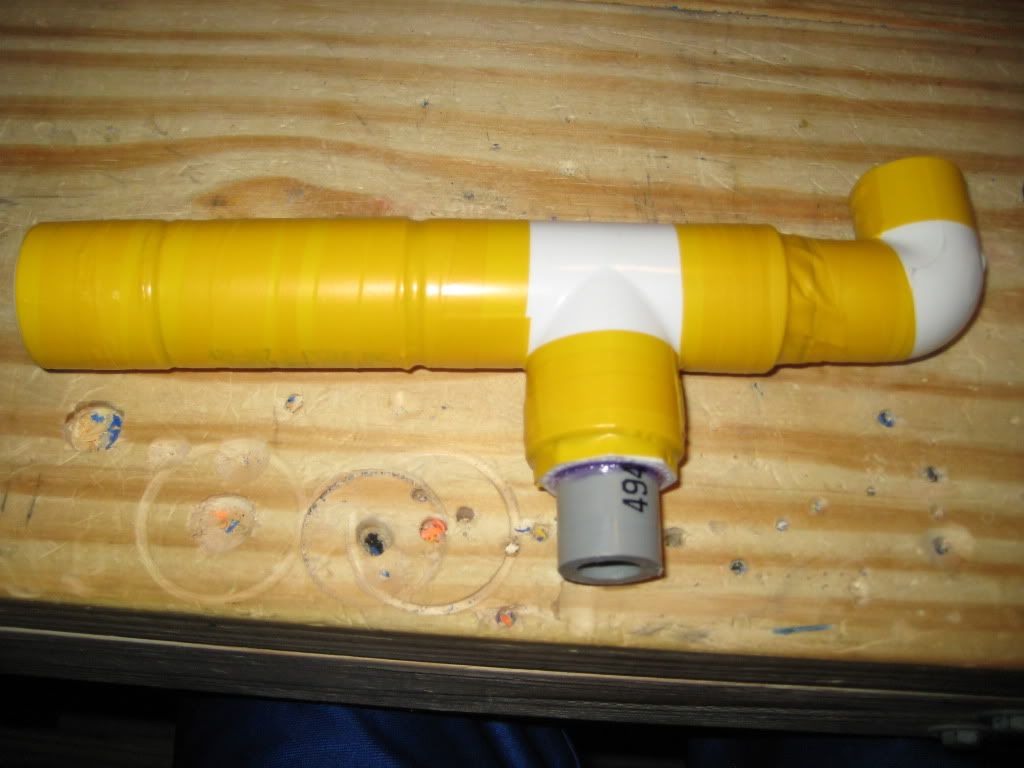
Wrap the threads of the male adapter in Teflon tape and screw it in. You end up with this.
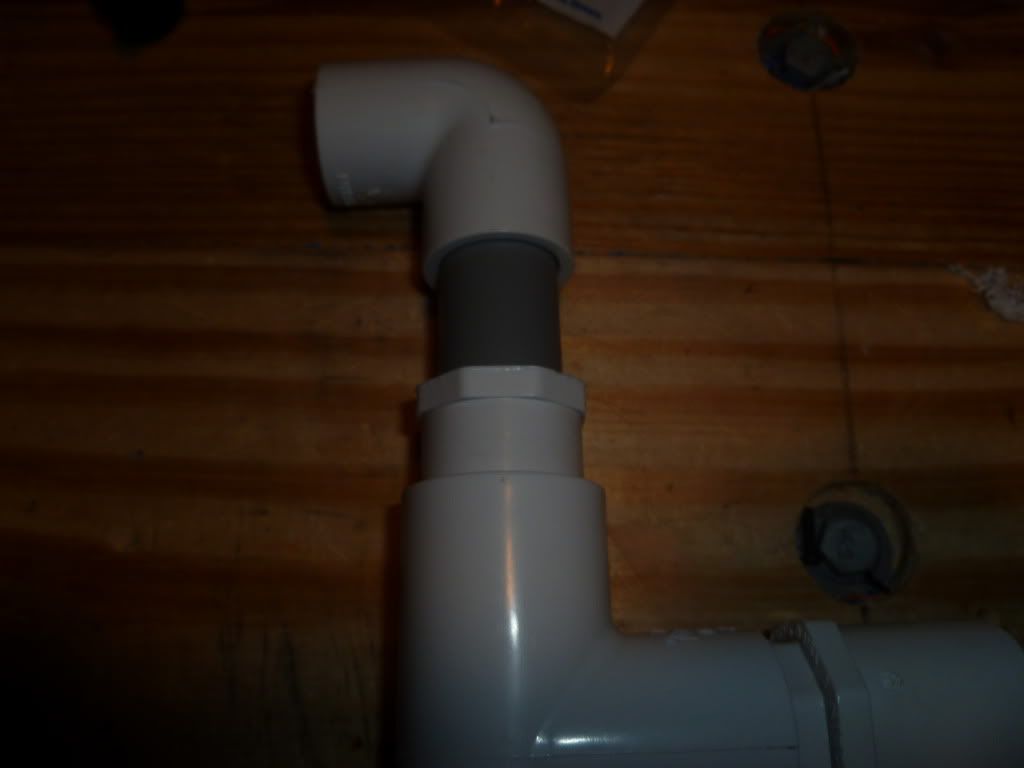
You can now put the segment of 1/2" pvc from the trigger into the 3/4" x 1/2" bushing of the tank.
Pump it a few times to make sure it doesn't leak and you trigger works. If all works correctly you can solvent weld them together. You end up with this with your pump of choice on the bottom.
Ranges
With slugs and 14" pvc barrel with 12" of nested PETG I am getting 90-100 flat with 9 pumps. You can't pump it past 10 pumps otherwise you will break the pump shaft. So I guess that is an oprv of sorts for you. rev2 will have a built in oprv and an almost semi auto system that is optional.
Edited by thedom21, 21 August 2011 - 01:03 AM.