
Secondly, this is by far not "the best way" to do this. This is how I did it.
That being said here we go.

Materials:
1x barrel break
2x nitefinders
1x segment of 1" PETG (at least 7") I found it at Petco.
1x [k26] segment (at least 4" long)
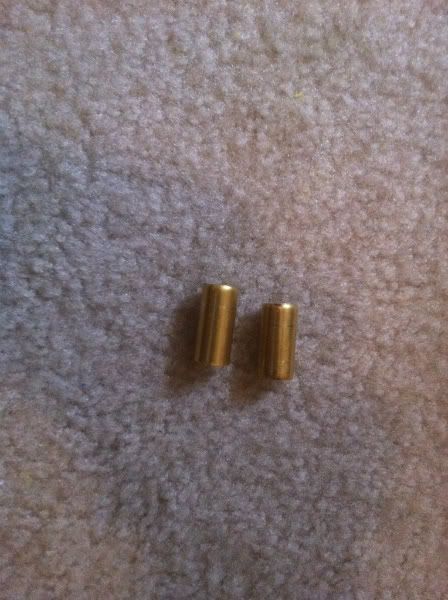
3" or so of 1/2" brass
12" of 17/32" brass
12 1/2" of 1/2" sch40 pvc
liquid epoxy
epoxy putty
suitable replacement catch springs
dremel
e-tape
drill
1/8" bit
2 screws that fit an 1/8" hole
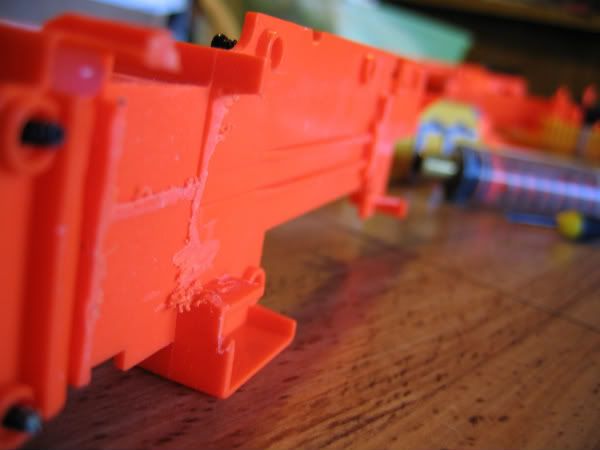
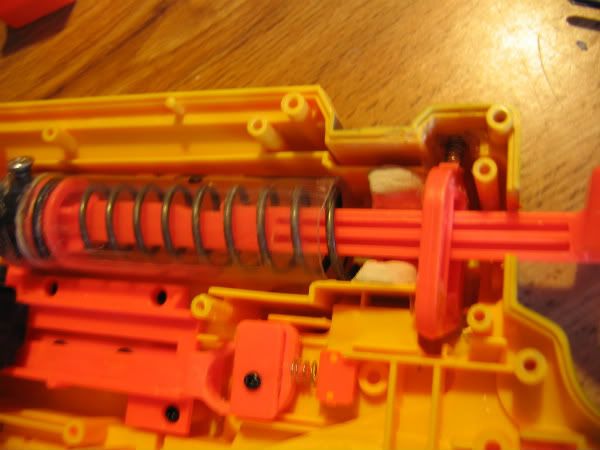
Step 1: Purging the Internals
Start by opening your shell.

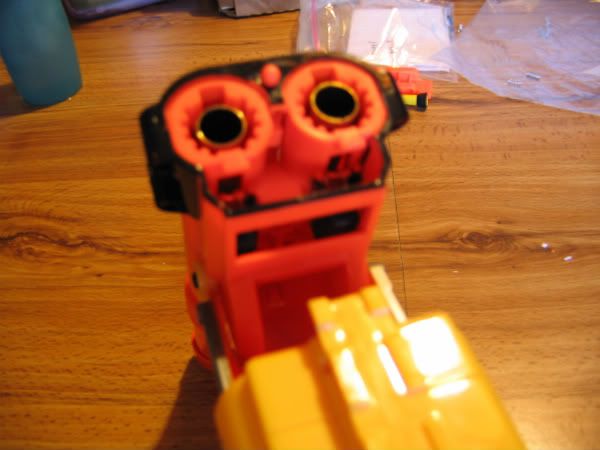
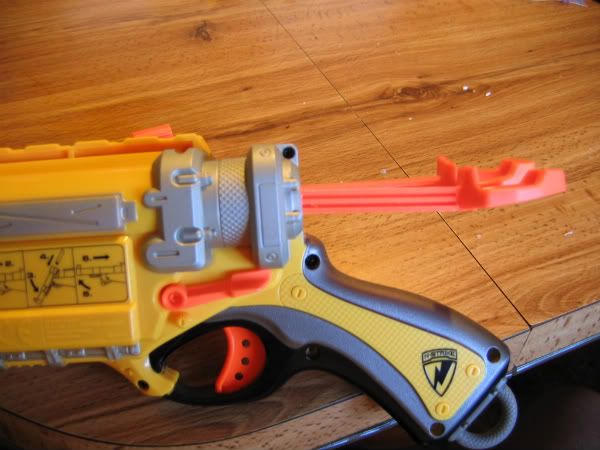
internals, courtesy of Jerm
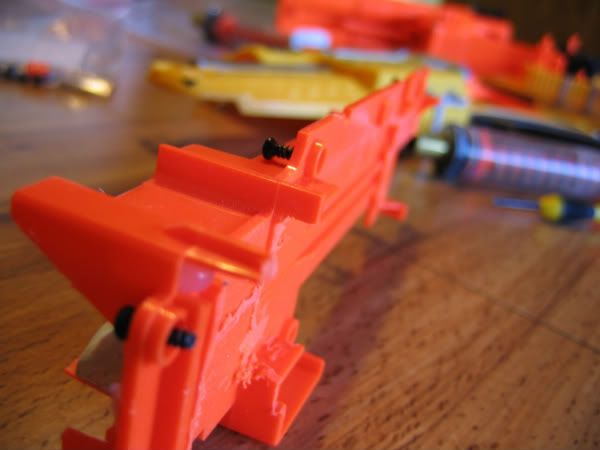
Extend the barrels after it is open and take out the top plunger tube. Underneath it is an orange plate, screwed into the shell. Unscrew it and take out the second plungertube. Place them aside, you won't be needing them. Carefully set aside the catches and the trigger. At this point you can unscrew the barrel assembly from the right side of the shell. Once you've unscrewed it, carefully take it out.
Step 2: Barrel Assembly
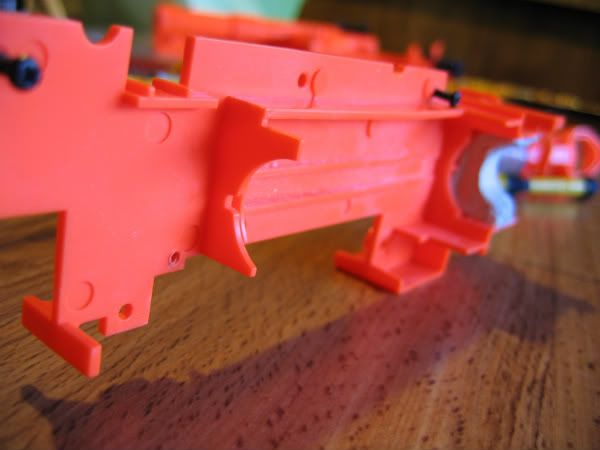
Push the button on the top of the barrel assembly and slide the barrels up. There are 4 screws located in the central area of the barrels. Remove them and rip out anything you can beneath them. You don't need it.
Apologies for the blurry pics in this section. They're from the video.
After you remove the springs and any other loose items from the middle, unscrew the 4 screws at the top of the barrels and pull the sheath back. Underneath, where you had just removed stuff, you'll see this. Cut it off with the dremel.
After you do that, screw the barrel assembly back up.
Now take your 1/2" sch 40 PVC and cut it into two lengths of 6 1/4". Take your 17/32" brass and cut it into two lengths of 6" with the dremel. Wrap the brass in e-tape until it fits snug in the PVC. You want to have around 2 1/4" of brass sticking out the back of the PVC. Then wrap the PVC in E-tape until it fits snugly into the barrel assembly.
To get the barrel to go into the barrel assembly, you'll have to push down the "dart holder" in the back of the barrel assembly.
Now repeat that for the other barrel.
Hopefully this video makes it clear (and makes up for lack of pictures during this step).
Step 3: Plunger tubes
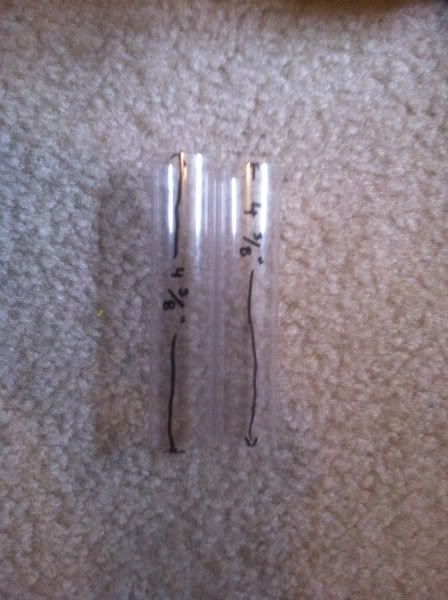
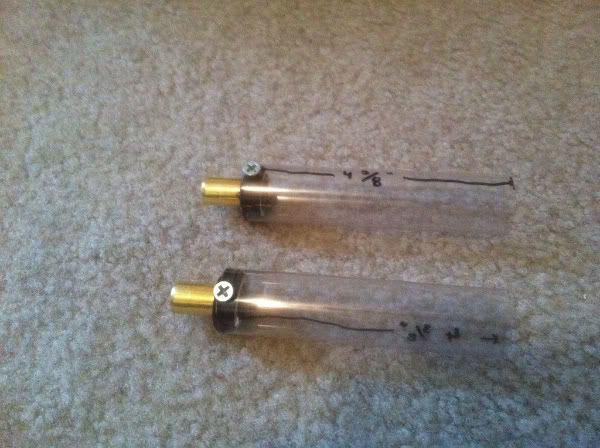
Take your 1" PETG and cut it into two 3 3/8" sections. Deburr it after you cut it, naturally. Ignore the lengths written on the tubes. I had to cut them shorter later.
Now wrap a piece of 1/2" sch 40 PVC in E-tape until it fits snug in the PETG. Once you've done that, cut it in the middle of the E-tape and at the end. What I mean is that you will have two pieces of PVC wrapped in E-tape that are about 3/8" long. Fit these sections into the PETG (one in each tube).
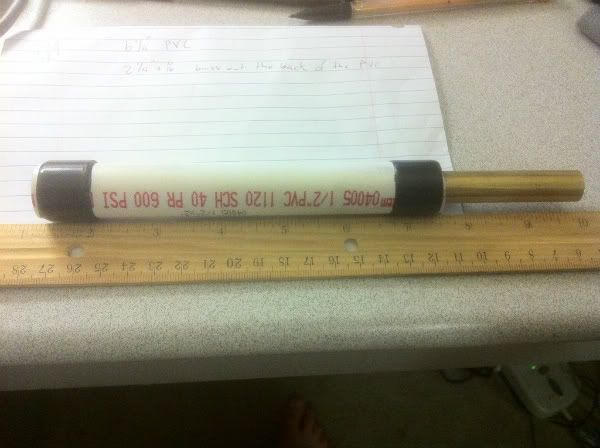
Cut your 1/2" brass into two 1 1/2-2" sections.
Wrap each section in E-tape until it fits snug in the 1/2" PVC. Only use half the width of E-tape and cut off the excess. The video should clear up how to do this.
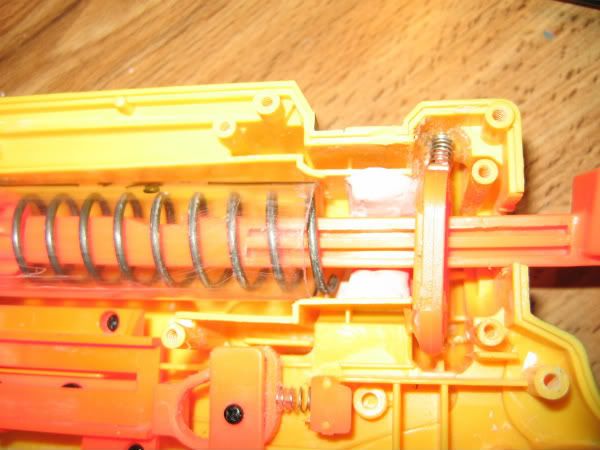
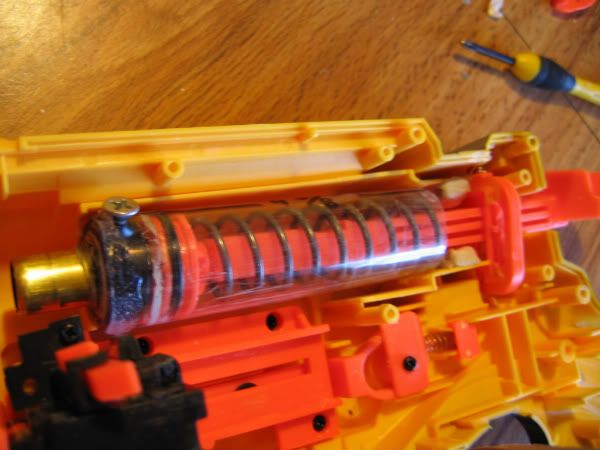
Fit the 1/2" brass into the 1/2" PVC and get your drill. VERY CAREFULLY, drill a hole through the PETG, 1/2 PVC, and 1/2 Brass. It only has to go through one side. Make sure the brass stays straight. Put your screw in and it should look something like this. Again, ignore the lengths written on the tubes.
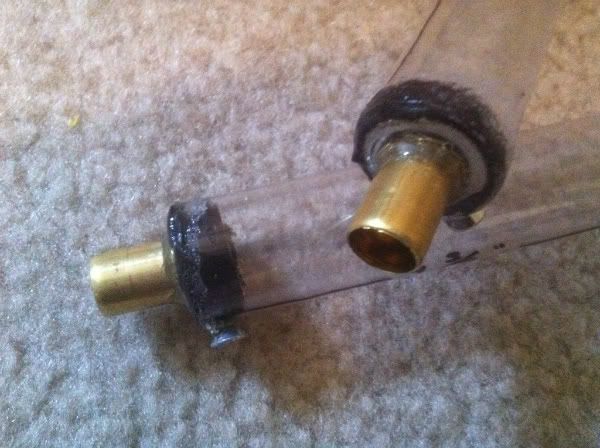
Once that's done, goop the top of the plunger tubes. You want it as far down the brass as possible, so you'll have to flatten it out as best you can with your finger (protip: lick your finger first).
Your plunger tubes should end up like this
Video to clarify a bit:
http://www.youtube.com/watch?v=Krlpbg25NZo
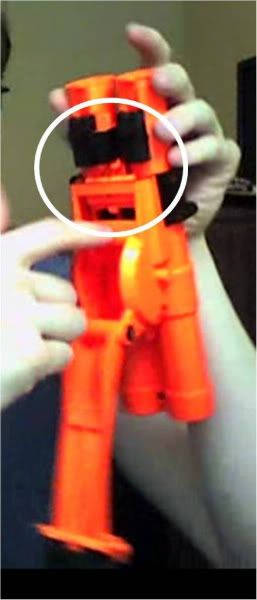
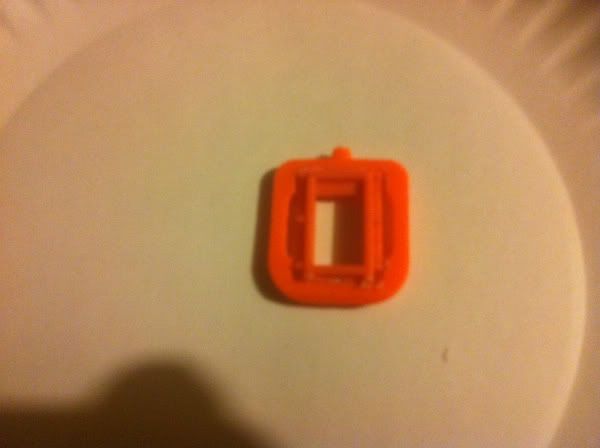
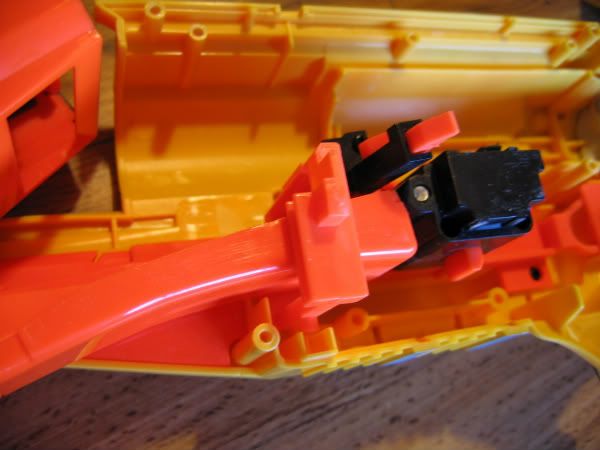
Step 4: Catches
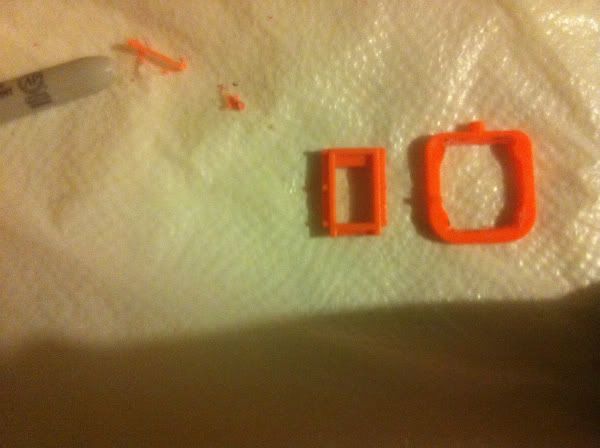
Take the two barrel break catches and note that the longer one goes on the right side. You'll also need the two nitefinder catches.

Cut the nub off the top of the nitefinder catch and cut the inside of the barrel break catch until the nitefinder catch will fit inside.
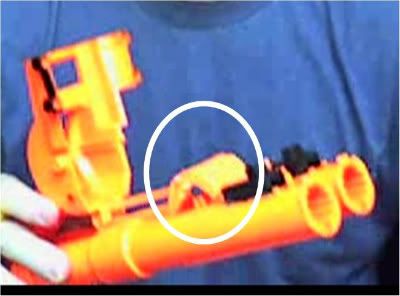
Mix up your liquid epoxy and glue them like this. Be liberal with it.
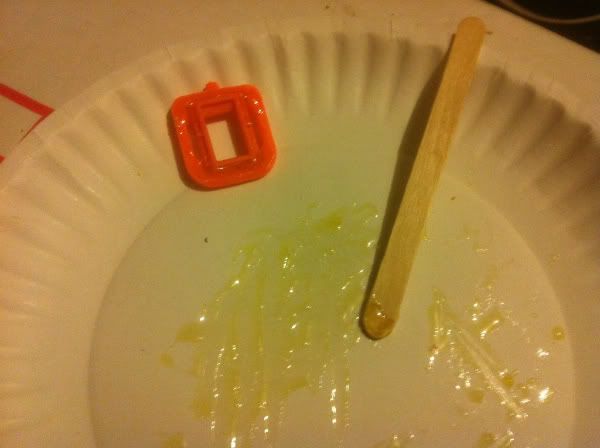
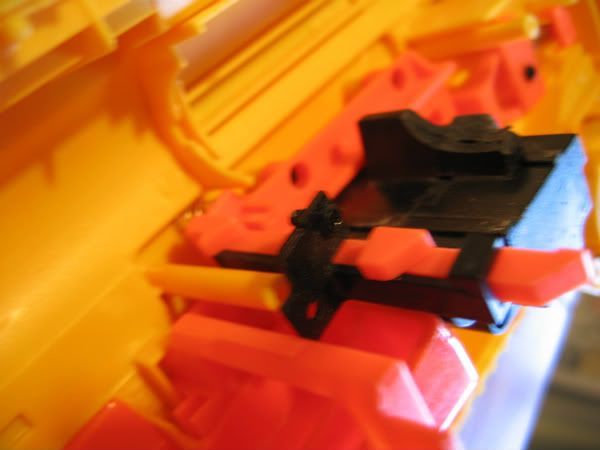
Give it enough time to dry AND CURE. Afterwards you might want to go over the edges in epoxy putty. One of my catches needed this. The other didn't.
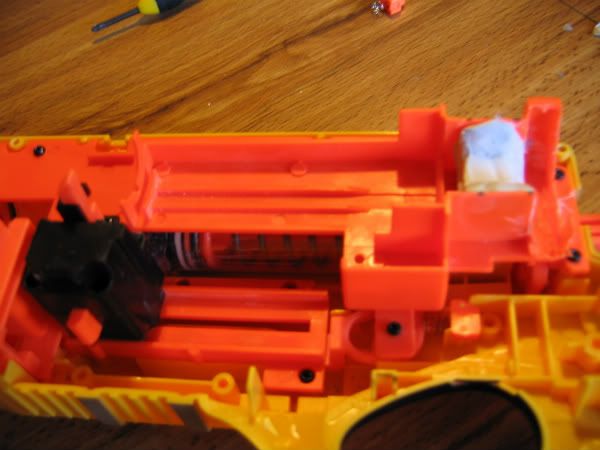
Step 5: Fitting the shell
First off, your catches are thicker now, so you'll need to expand the areas that hold them. Just trim down the plastic a bit.
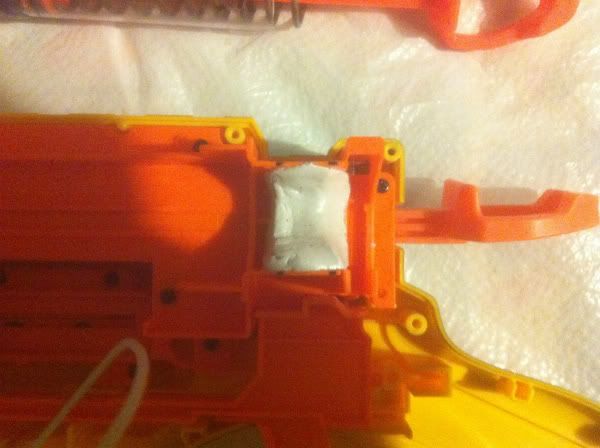
You can sort of see that in this picture
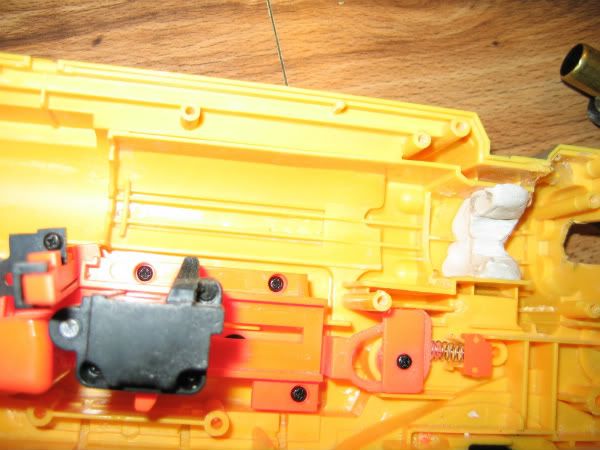
You also see epoxy putty there for a spring rest. You want it high enough that it will actually hold the spring in, but you want a little dip in the middle for the plunger rod to go through.
Cut notches in the back of the shell for the plunger rods to go through.
Take the orange piece that holds the first barrel in and on the side that barrel is on (right side) dremel off the notches.
Also, you'll notice a notch at the top near the back. This is where the original right catch spring went. I shaved that down and my right catch spring now rests on the top of the blaster itself.
Cut your [k26] to two lengths of 2 inches each. Slide your catches on the plunger rods, then the springs. Lube up the plungers with silicone grease and place them in the plunger rods. Then fit the first one in the shell.
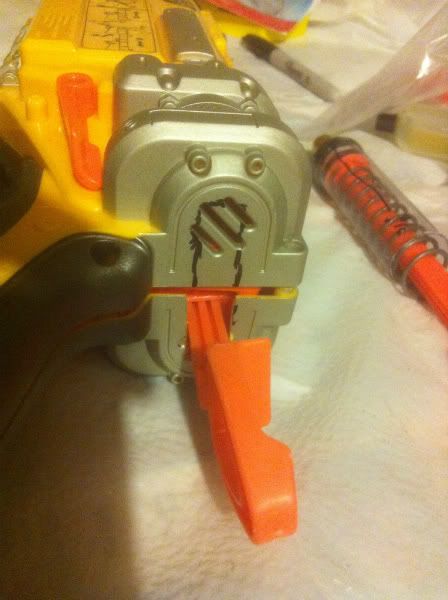
Make sure this piece is still there. It keeps the barrel assembly from sliding down when you point the blaster at the ground.
Here is another picture of it. Take the barrel assembly and shave the black end piece as shown here as well. This keeps it from getting caught on the plunger tube.
Take the orange piece and screw it back on to the shell, holding the right barrel in. You can actually test fire that barrel now, if you'd like.
On the left side of the orange piece, make another epoxy putty spring rest and expand the catch area like you did before.
Fit the second barrel in without the catch spring first. You might have to remove the trigger to get the catch spring in place. Then very carefully close up the blaster. It will take you a while. One of the hardest parts is closing the thing without springs flying out everywhere or pieces becoming misaligned.
Test your trigger and catches. You might need to adjust the [k26] spring length, catch spring length, and/or add some height to the trigger with epoxy putty (if the trigger no longer reaches the catch).
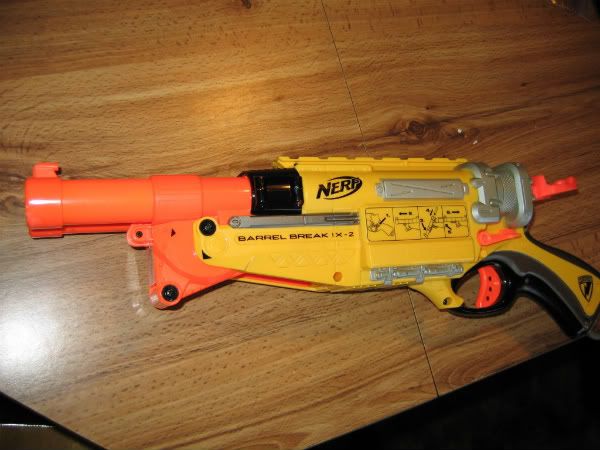
The final product will look something like this.
Range Test Video
http://www.youtube.com/watch?v=k91wbXz164s
If you don't want to watch,
Stock streamlines: 40ish ft. They corkscrewed like crazy so maybe weighted streamlines would work better.
Slugs (Ace foam): 55-60ish ft. The darts themselves were around 65' so from dart skip, I'm assuming high 50's from it.
Thoughts:
1) An alternative way to build the plunger tubes is to telescope the brass until it fits in the PVC. I'm cheap, though, and this seems to work just as well, although not having to drill through brass might sway some people to use that telescoping method anyway.
2) Getting the catch springs right was a pain in the ass. My left barrel still has some issues catching sometimes due to my troubles with finding appropriate catch springs.
3) My left catch broke 3 times, so, like I said, I had to cover it in epoxy putty. If you have issues with this, it probably wouldn't be super hard to make a catch out of polycarb.
I think that's just about everything... Questions? Comments? Flames?


