Woot! 100 posts!
I thought I would do something special for my 100th post and with the recent death of my 2k I made it my goal to bring my 2k back from the dead.
The problem I found with my 2k was that the rubber o-ring piece that seals the tank had fallen off from repeated use and got wedged in the back of the tank. In addition to the fixing the placement of the o-ring I also took advantage of the process to improve the airflow of the tank.
stuff needed
drill press(preferred)/drill
various drill bits
epoxy glue
1" PVC end cap
dremel
dremel cutting wheel
large pipe cutter
exacto knife
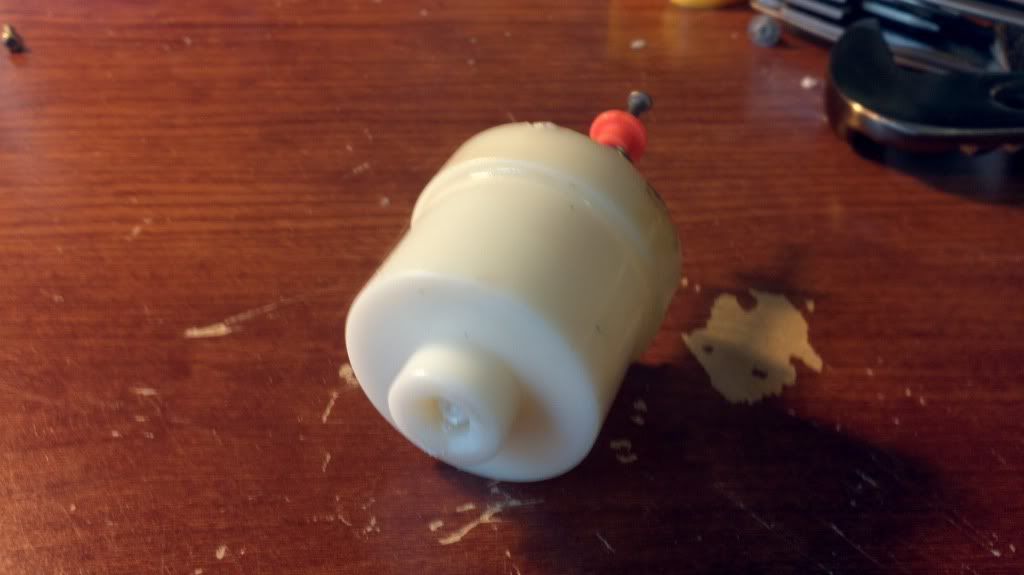
I was removing the goo gage so I separated the tank and trimmed down the nub and stem.
To begin you want to split open the tank somewhat close to the front of the tank. To do this you want to take the pipe cutters and cut as deep as possible.
Only Use The Circular Pipe Cutters!
This will not open the tank, to open the tank there are three bars that can be easily cut with the exacto knife.
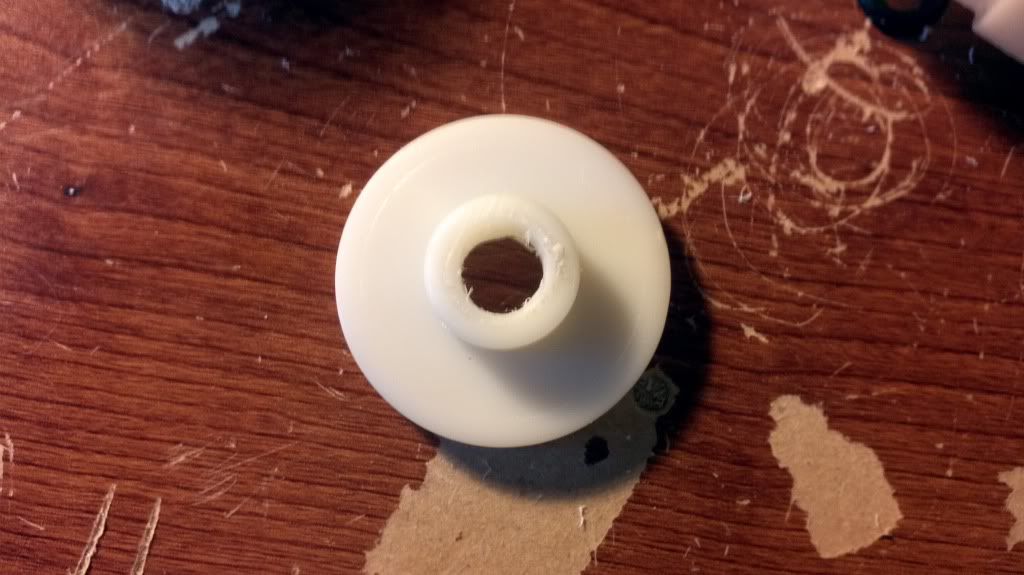
The split tank should look like this. (with out the o-ring)

and the top part
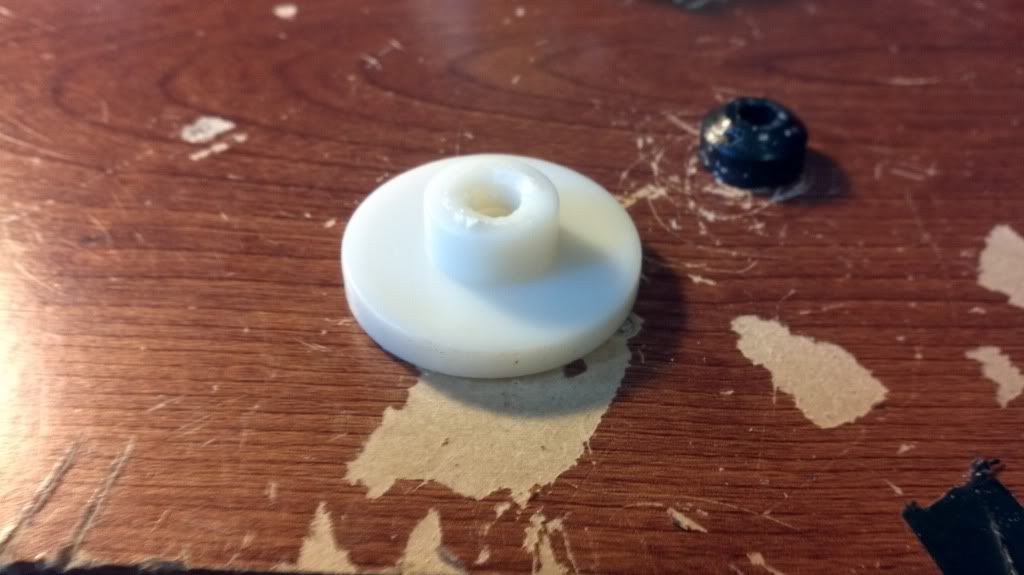
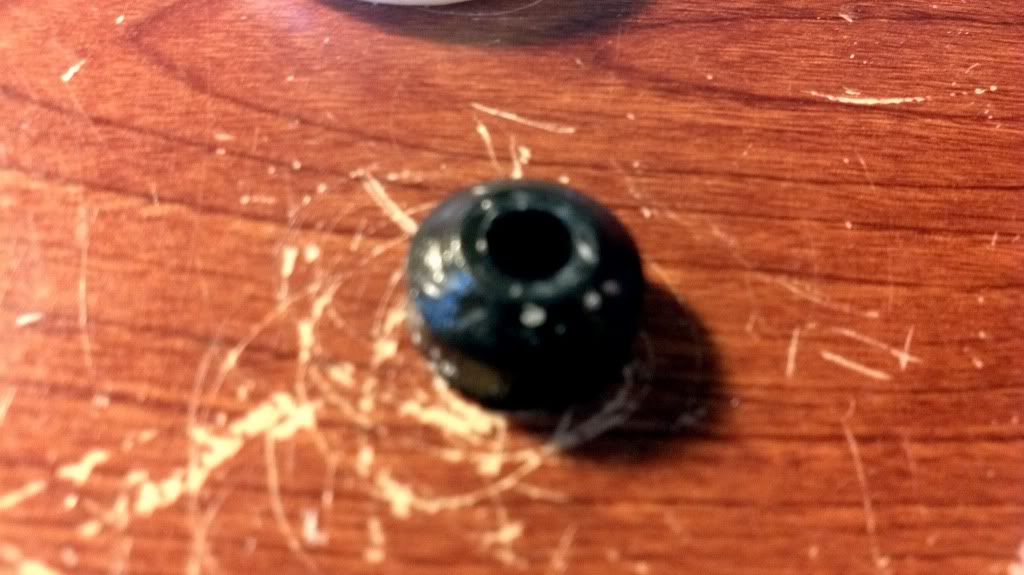
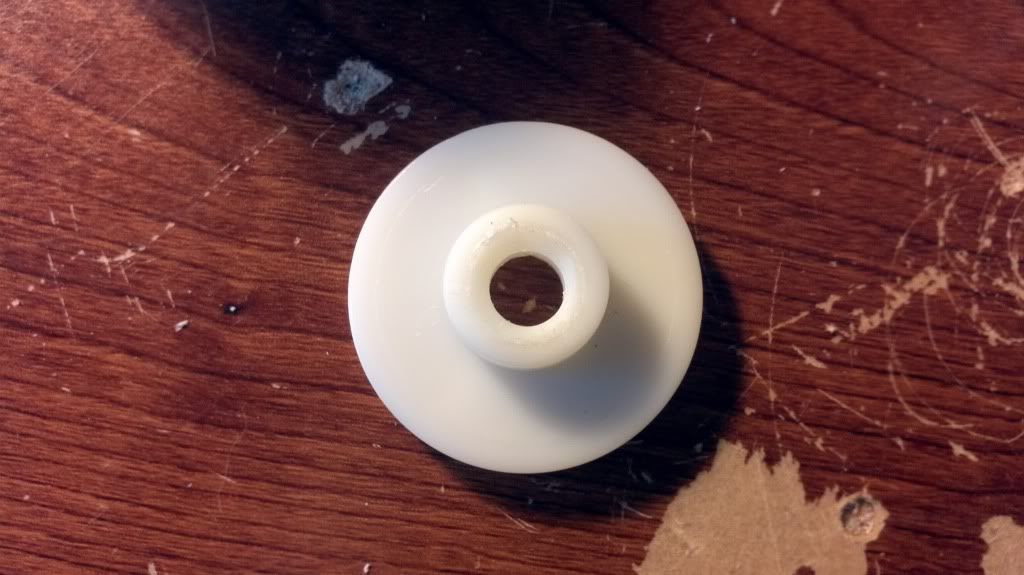
and the o-ring
Next replace the o-ring on the front nub of the post that seals the tank.
In addition to the fix, the air flow can easily improved, my tank was already minimized in the front and so I widened the front hole from this:
to this:
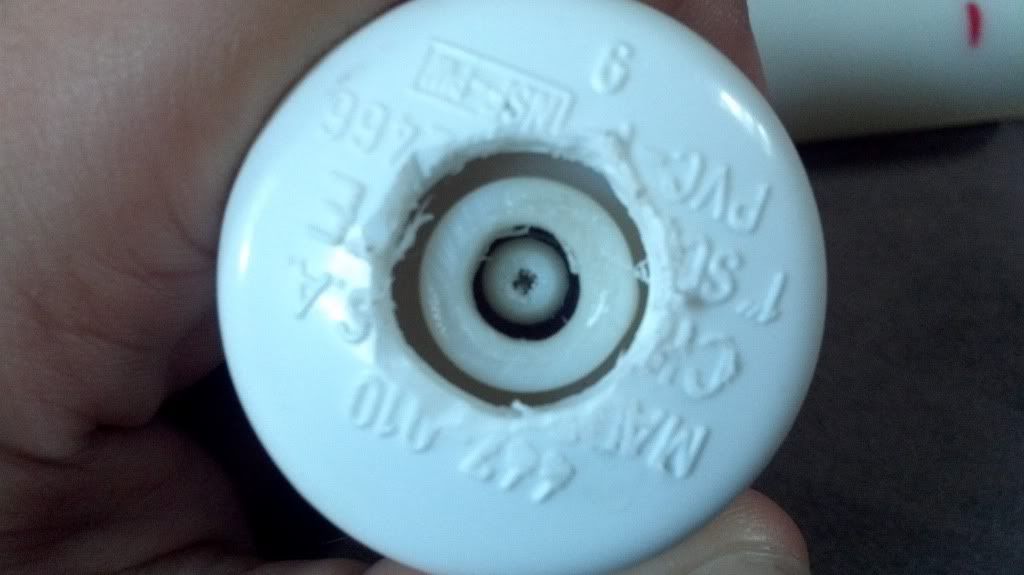
Next you will need to prepare the PVC end cap. To start you need to drill a centered hole on the top of the end cap.
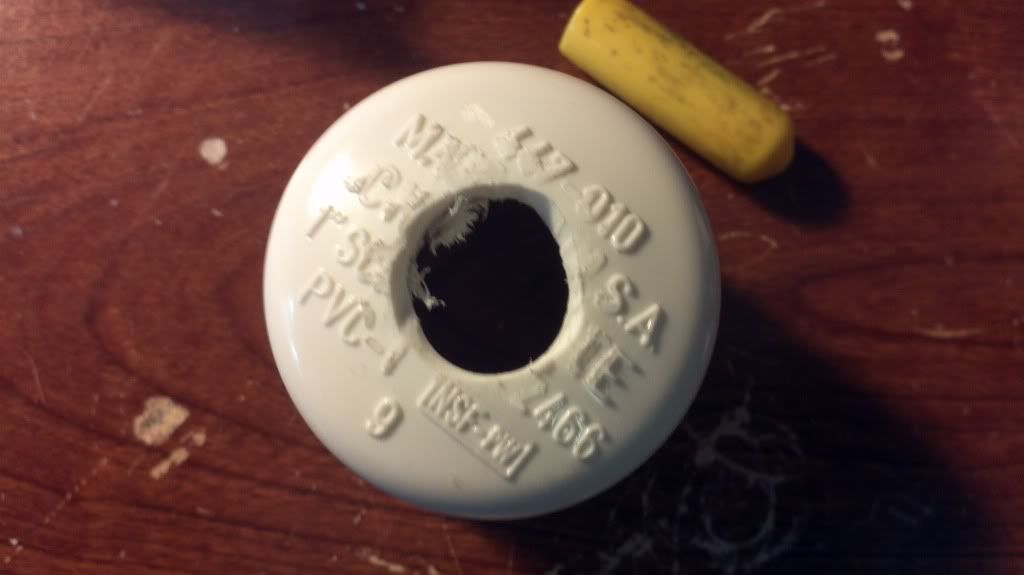
I personally drilled a hole that fit 1/2" CPVC to make it easy to attach a barrel. In addition to the hole you want to trim the end cap down to fit the tank all the way in when epoxyed.
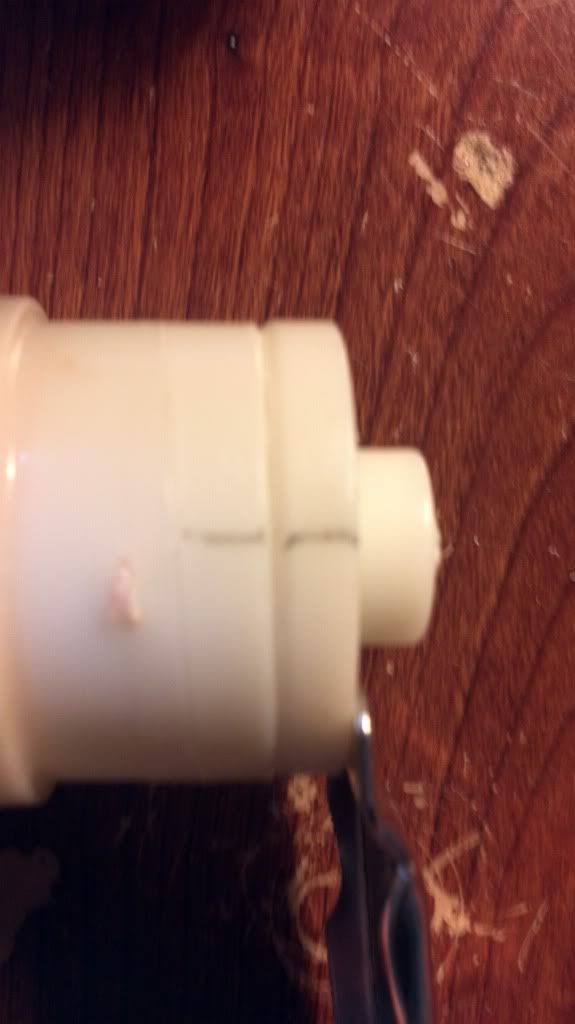
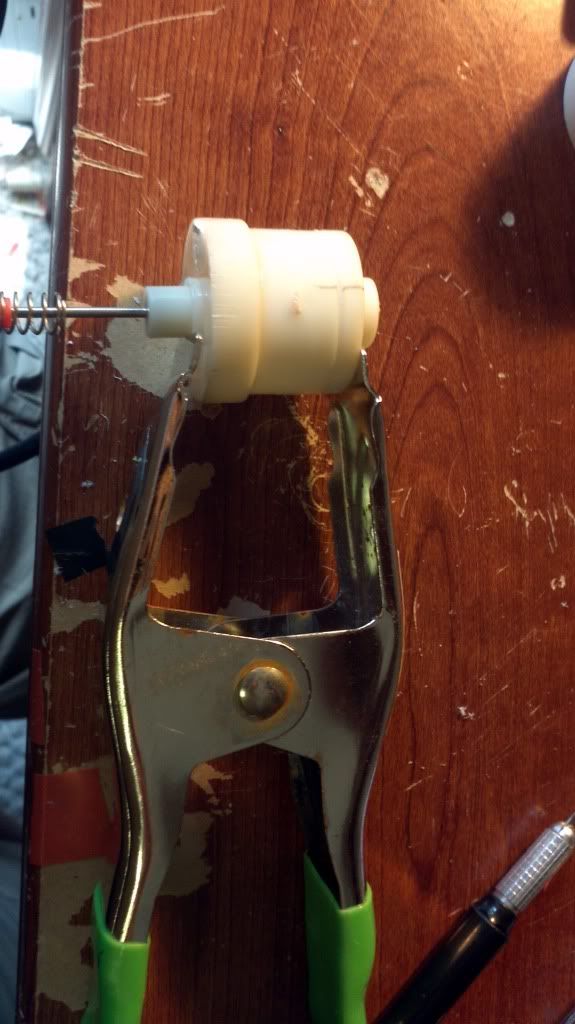
After that comes the assembly of the tank. First make sure the inside bars are lined up. I marked the direction before I cut the tank open.
Then clamp the tank together and layer on the epoxy.
Once the first layer of epoxy is done drying slather the side of the tank in a lot of epoxy and insert it into the modified end cap. Let dry and attach the tubing and you get the finished product.
Questions, Comments?