
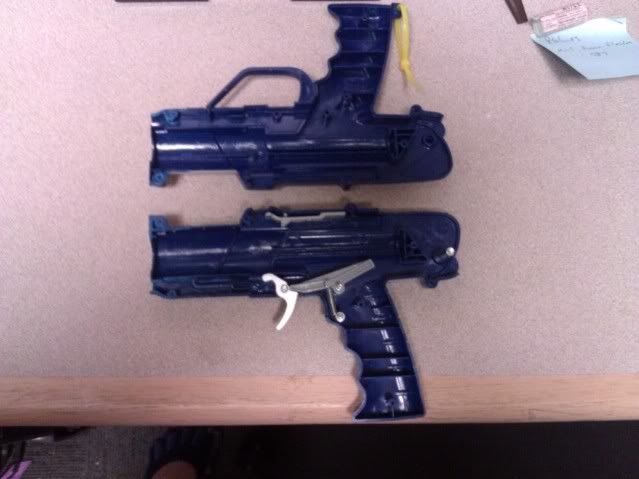
Here are two of them - one with a 5-shot hopper (plus one in the wye) and the other with a SorrowX turret.

===
Tools
- Rotary pipecutter
- Drill
- Hacksaw
- File
- Pliers
- Philips screwdriver
- Mallet or hammer
===
Supplies
- 2 oz (2/3 of a tube) of Epoxy putty
- 1/2" PVC
- 1/2" CPVC
- 1 1/2" PVC coupler or wye
- Plumbers goop
- Super (cyanoacrylic) glue
- Two wood screws should be > 1.5" long and < 3/16" in diameter
- Two pieces of aluminum, 1.25" x 0.5" x 1/16"
- A piece of scrap paper, such as a 3" square Post-It note
- Rubber-safe lube
- Rubber washer
- Metal fender washer
- Electrical tape
- Hopper barrel and magazine, or turret, or breech
===
Prep the Splat Shell
Saw off the Splat in front of the PT bulkhead. File it flat.
File over 1/32" off the two front screw holes on both sides of the Splat shell.
===
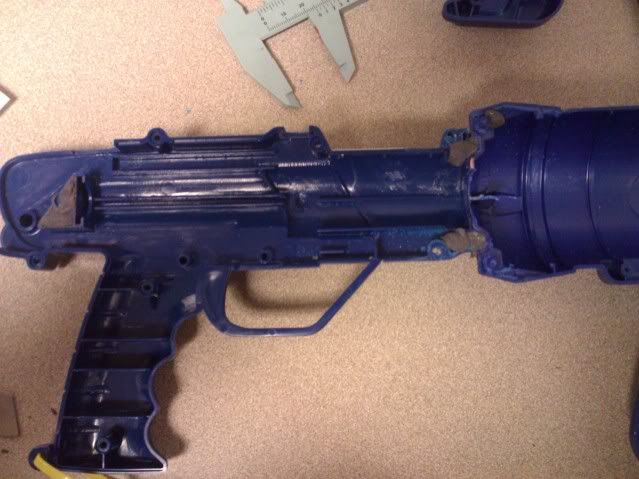
Prep the Atomic Blaster Shell
Cut a circle out of the back of the Atomic Blaster large enough for CPVC to pass through.
Leave at least 2mm around the opening. Use the file to remove the orange paint from the flat part of ring.
File over 1/32" off the two rear screw holes on both sides of the Atomic Blaster shell.
Apologies for not including a shot, but the one from the next section should make it pretty clear.
===
Join the Left Shells
Attach the two left side shells using super glue. Hold them together for a minute after applying a few drops. Less is more with super glue.
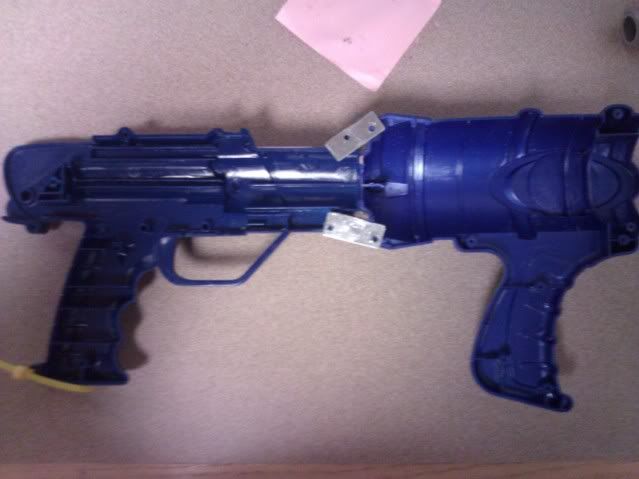
Align the two metal plates over the screw holes, then super glue them to the shell.
===
Join the Right Shells
Lay the Post-It note or other scrap paper over the joint in the shell
Lay the two right side shells on the other halves, then attach using super glue.
Lay a fillet of epoxy putty between the two right shells.
Let set, then lay a fillet of epoxy putty between the two left shells.
===
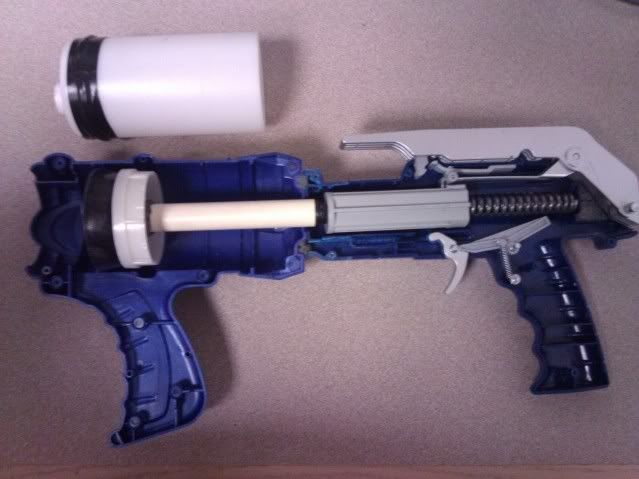
Couplerize the Plunger Tube
Drill a hole slightly smaller than 5/8" in the Atomic Blaster's plunger tube. It can be offset if you want to use a hopper, or centered.
Force the CPVC through the hole.
Cut a 1/4" ring of PVC.
Add a drop of super glue to the end of the CPVC that was shoved through the PT, then hammer it into the PVC ring.
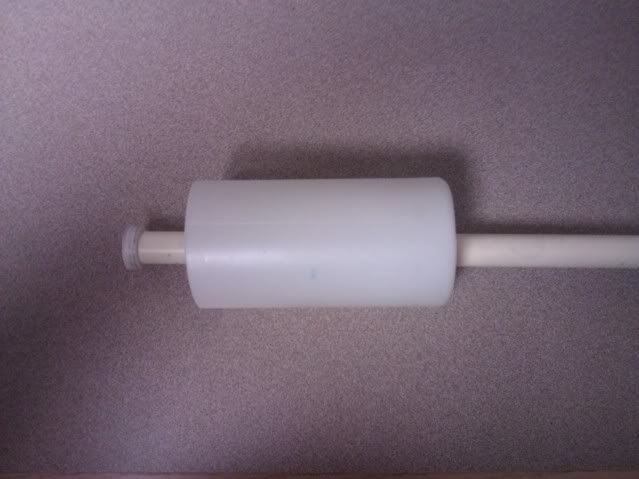
(The PT opens to the left).
Apply a ring of Plumbers Goop to the top of the PVC, then pull the CPVC so the PVC ring is against the closed PT end.
---
Cut a 1/2" - 3/4" tube of PVC.
Measure it against the CPVC and cut the CPVC so it is the same height from the face of the PT, or slightly less than the PVC tube.
---
Add a drop of super glue to the cut end of CPVC, then hammer it into the PVC tube using another length of of PVC to transfer the force onto the 1/4" PVC ring at the face of the PT.
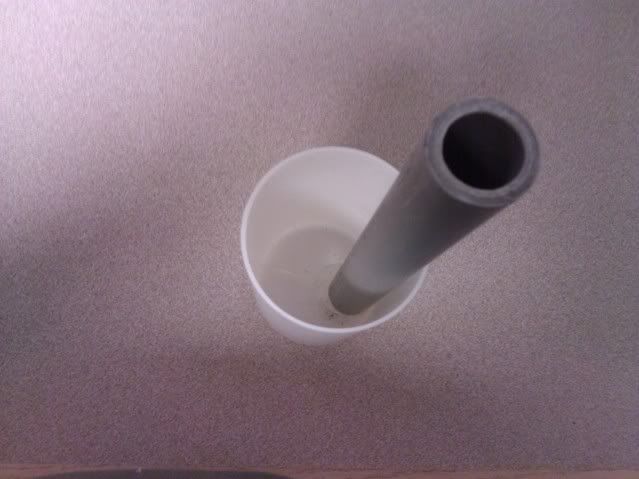
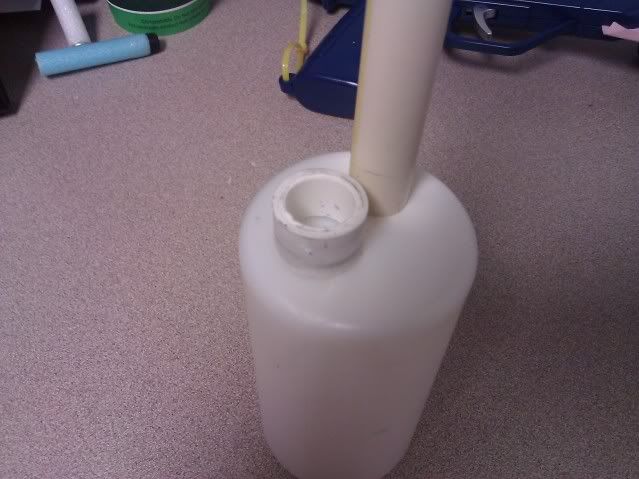
Add the coupler or wye to the muzzle of PVC/CPVC.
Add a fillet of epoxy putty around the base. Epoxy putty won't stick to the nylon plunger tube, but it will strengthen it some.
===
Drill out the Reinforcing Plates
Drill divots into the metal plates. This should break the super glue bond. If not, break the plates free.
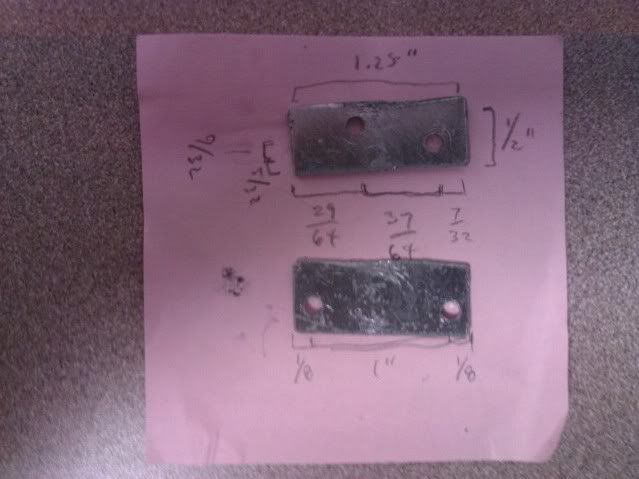
Using a drill bit larger than the Splat and Atomic Blaster screws, drill holes in the plates once they are free of the blaster shell.
Use pliers to hold the metal plate while drilling.
Here are some after-the-fact measurements
---
Add epoxy putty under the screw holes - this is to permanently attach the metal plates.
Reinforce the spring rest with epoxy putty.
===
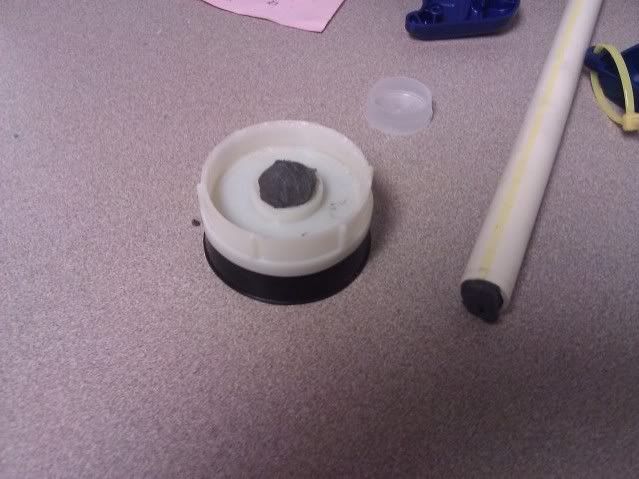
Prep the Plunger Head
Hacksaw the Atomic Blaster's plunger head from the tube.
Use pliers to rip off the orange tube.
Use the tip of the file to level off the remaining ring.
If not present, drill a small hole in the intersection of the plunger head.

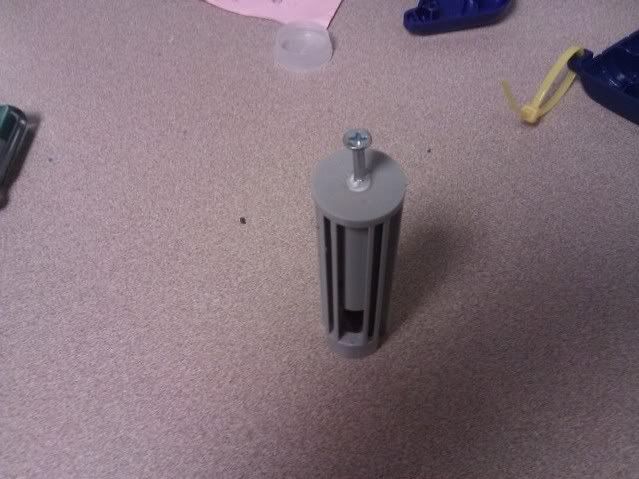
---
Fill hole with epoxy putty.
Assemble washers and screw.
Drive screw through hole in center of the plunger head. It doesn't matter if the plastic breaks or not.
Pack back of plunger head with epoxy putty.
Pack CPVC 1/2" deep with epoxy putty.
Attach CPVC to plunger head.

Make sure plunger rod is perpendicular to plunger head.
Let set.
===
Prep the Splat Plunger Rod
Remove Splat's skirt seal.
Use pliers to rip off the nub that held the skirt seal.
This should reveal a small hole. If not, drill one.
Drive screw into hole.
Wrap exposed shaft of screw with electrical tape until it is the ID of CPVC.
This allows us to adjust the length of the plunger rod as needed. We can't all get it cut perfectly the first time.
===
Assemble Plunger
Lay plunger rod against the Splat's forward bulkhead.
Lay plunger tube against the Atomic Blaster's forward bulkhead.
Insert plunger and rod until it is furthest forward.
Measure CPVC where it overlaps Splat's original plunger rod.
Cut CPVC to length.
===
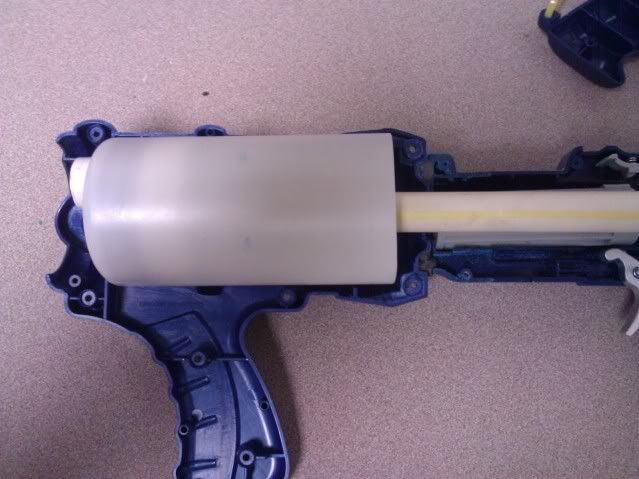
Putting It All Together
Wrap the front of the PT with a layer or three of electrical tape to prevent it from freely rotating in the shell.
Most likely, there will be a corner of metal sticking out. File it down.
Lube the PT.
===
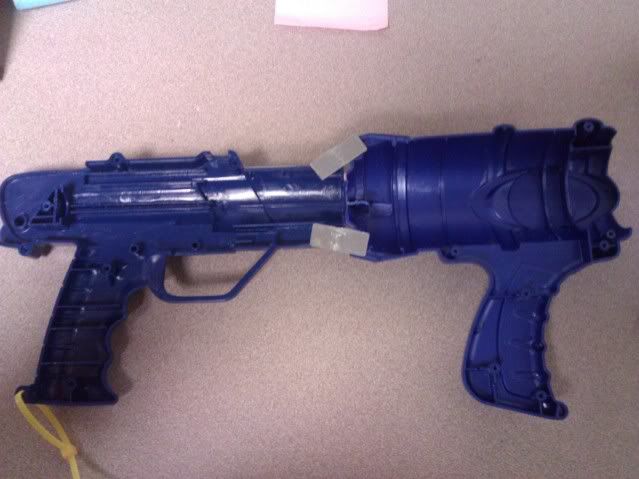
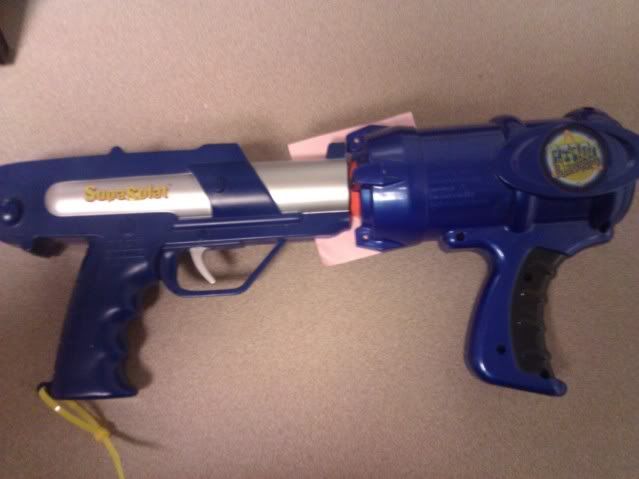
If using a hopper, file the front part of the shell so the magazine can fit. You don't need to file down the actual screw post, just the top of the front of the shell to that point. See the upper Atomic Splat for example:
The upper Atomic Splat is actually the first one I built, which is why I don't show the filed-down front shell in the build photos. It had a centered coupler, so my filing down the shell to attach the wye didn't work. Its centered coupler is now in the lower Atomic Splat, whose PT was made with the off-center PVC muzzle to accommodate the wye.
===
Thoughts
- The Ace 199 spring is pretty much a must. The stock silver-and-blue Splat spring isn't well-suited for a 2.2" ID PT.
- Venom213 sells them for $6. Well worth it, if you're going to do this.
- He sells a spring rest for it as well, but I was short sighted and didn't opt to get it. I'll have to use a washer.
- I've had a 10-shot hopper on it. It shoots okay, though there are feed failures. I may add a guide (see BritHop) in the wye to alleviate that.
- The SorrowX Turret gets over 90'.
- The 5" CPVC barrel gets about 75'.
- I'd estimate total cost to be $30 - $15 for the Splat, $5 for the Atomic Blaster, $5 for the spring, and the remaining $5 for the materials and consumables. Note that this does not include the magazine system, only the base blaster.
- It took me about 2 hours to build my second one, including taking measurements and photos.
- The epoxy putty, even J-B Weld, isn't strong enough by itself, especially you're going to hold it by the front handle and prime it.
- The PT face isn't very rigid, so the barrel may flex some.
- It's also not machined with high tolerances, so the barrel may not be straight.
Thoughts / comments / flames / questions?
Edited by taerKitty, 12 July 2011 - 09:21 AM.


