
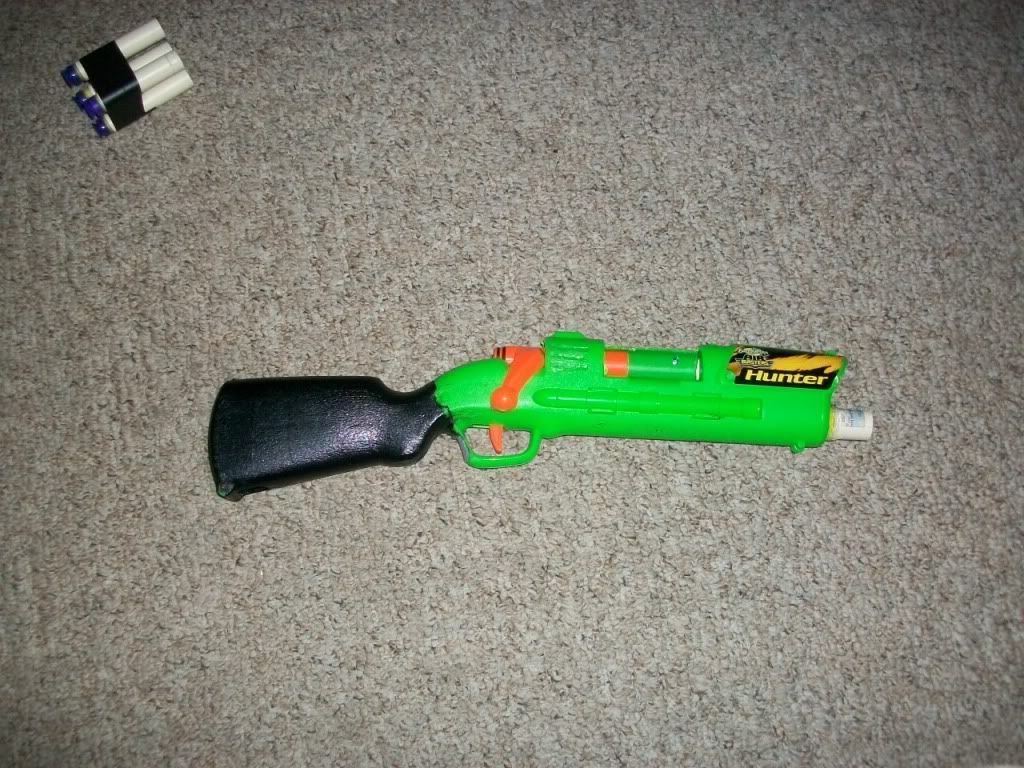
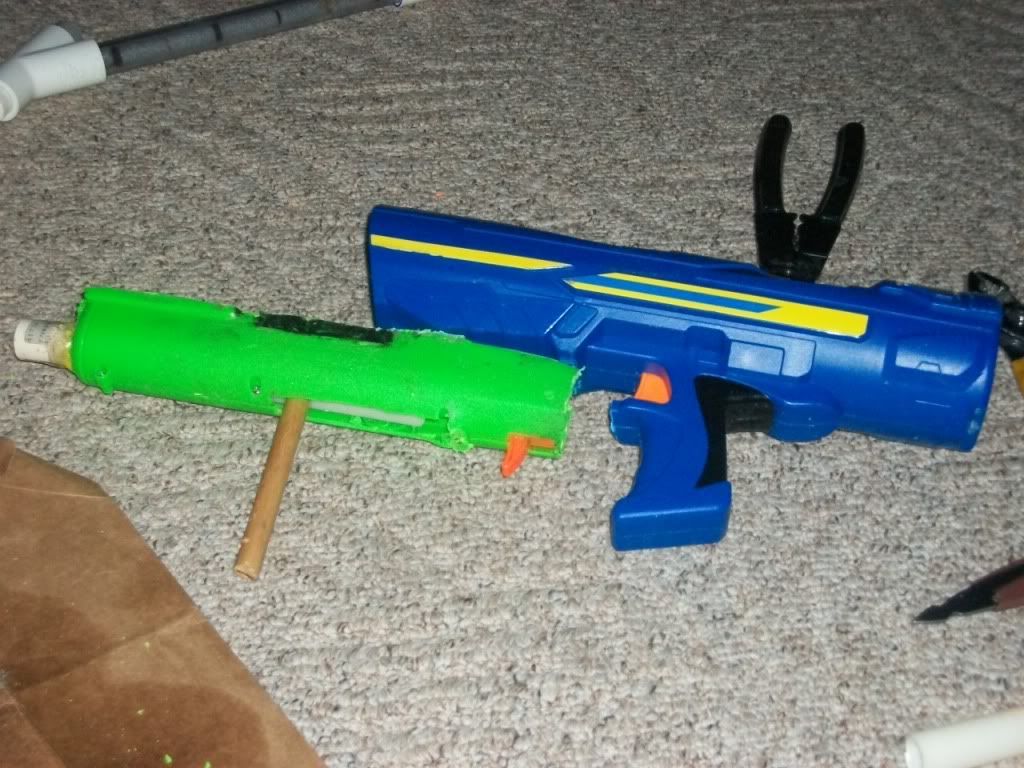
I got this gun a couple months back, opened it up and was depressed. The plunger tube it has is smaller than a night finder plunger tube. I did a mod and got 20 ft. ranges. Now I did a different mod and got 50-60 ft. ranges.
Materials needed
dremel/pipe cutters
your choice of glue
cpvc coupler.
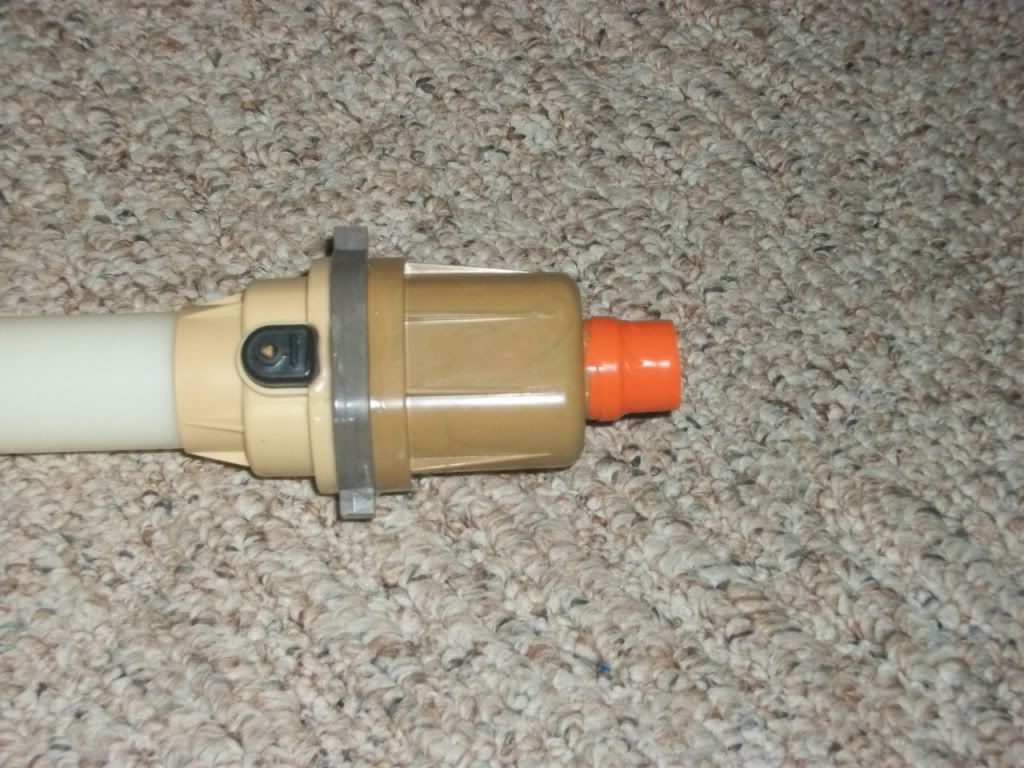
First open up your hunter and don't pass out because the plunger tube is so small. Take out you plunger tube and cut off the tubing leading to the bolt-action part and glue on your coupler.
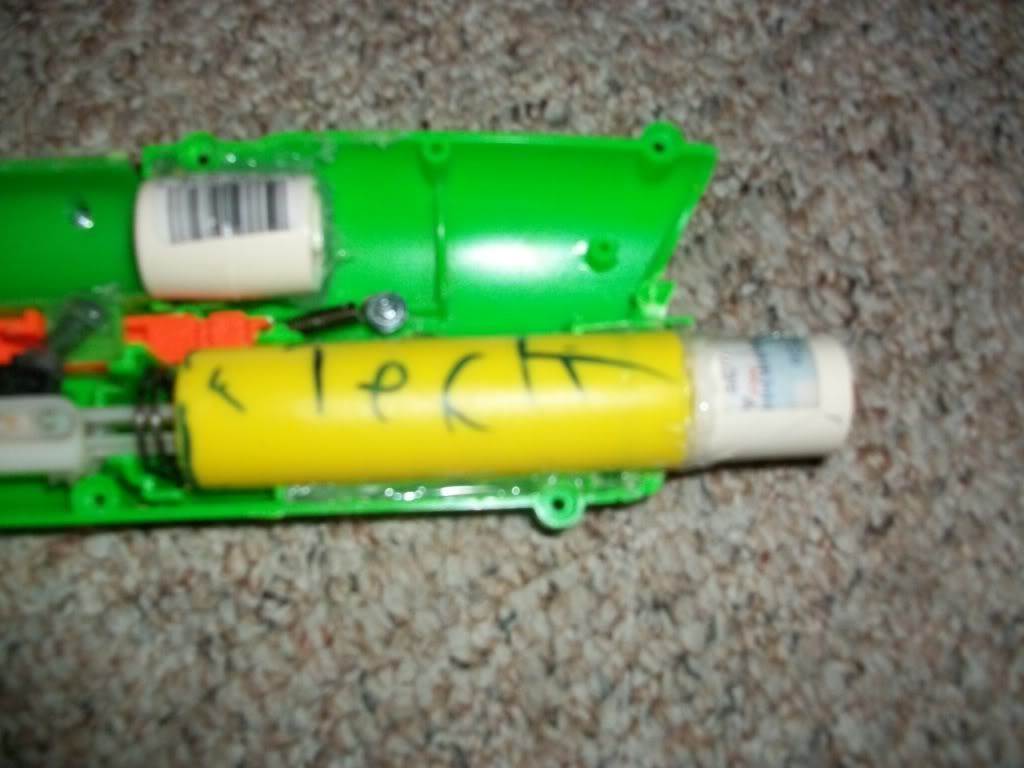
(I got board a month back and wrote Tech in it since it was ope for the 2 months)
Now cut the front of the gun off that is in front of the plunger tube and dremel it out until your coupler can fit inside it.
(Now that I think of it I should have got a side view but hopefully you will understand what I mean at the end)
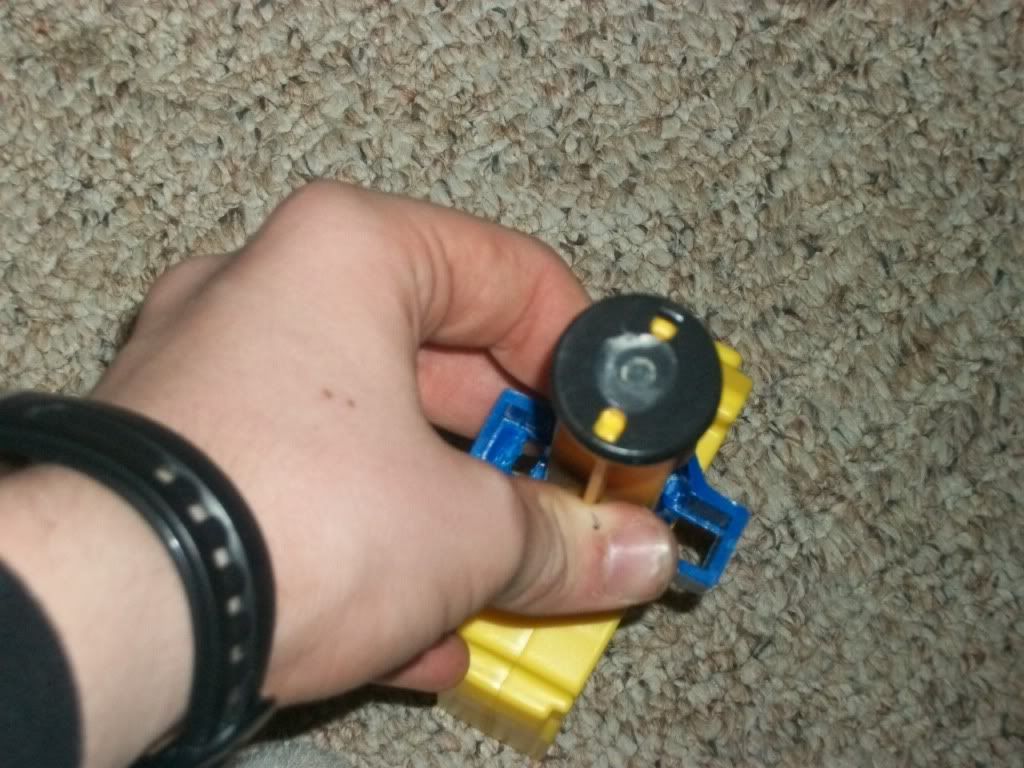
I added an extremely weak catch spring to the catch because mine had trouble catching and I did not replace the plunger spring.
(Wow that picture is really blurry)
If you planned to do the whole breach thing that was on nerfhaven and then your bolt broke you will have to sand out the back a little where the bolt goes.
(Hmm I don't have anything to put as a caption for this picture)
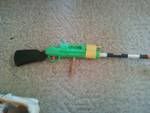
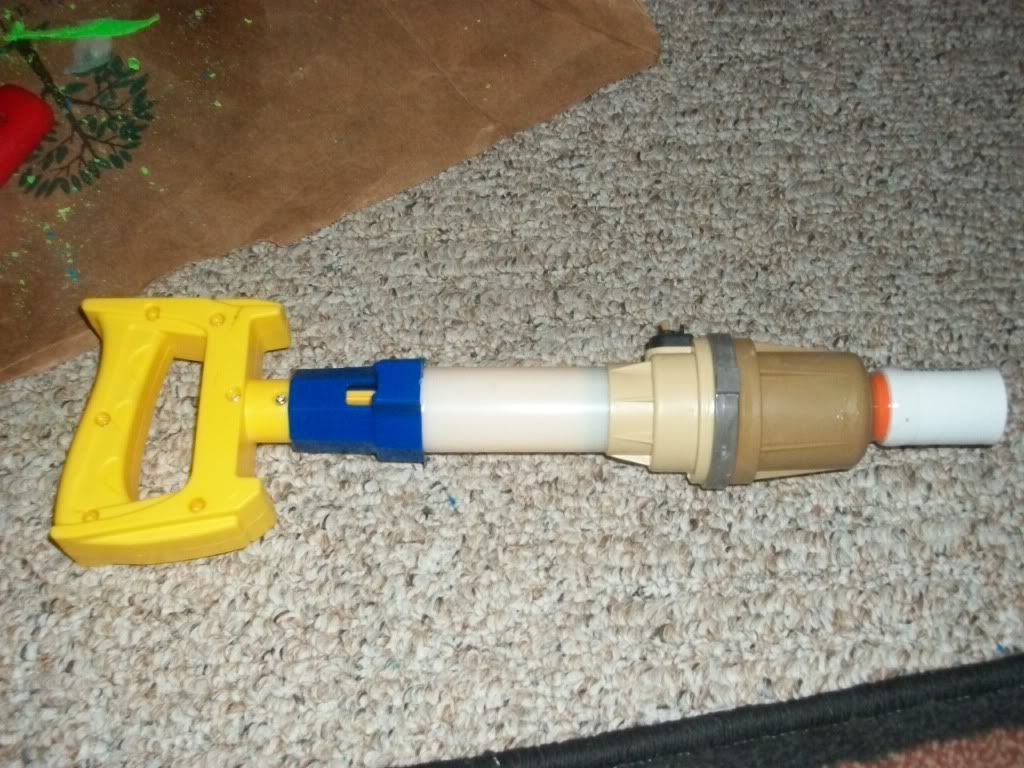
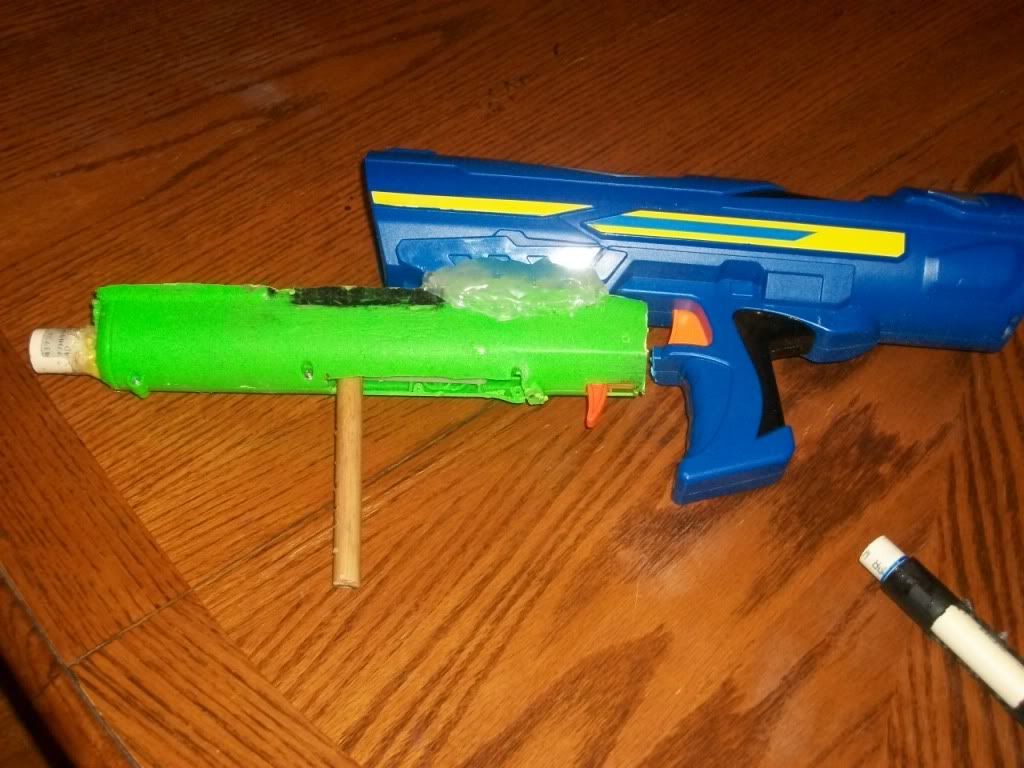
Do an air seal improvement and now you are done!
With a 5 1/2 inch barrel I got between 50-60 ft. but it didn't make that nice pop noise that lets you now you have the right barrel length. For half an hour work and no spring replacement I'm happy with this gun and its ranges.
Okay, I know this thread is old, but I feel that these modifications to the blaster are very important.
Part 2
Materials
A screw
1/2in. Wooden Dowel
tools
Dremel
1/2in. Drill bit
A drill bit slightly smaller than your srew
A drill
The first thing I would like to say is that you can't replace the spring because the plastic used on this gun is extremely week (including the shell) and the compression rate of the stock spring is very low, so it would be hard to find a spring with the correct compression rate.
First, you will want to either dremel or brake off the handle peice (mine broke from a stronger spring).
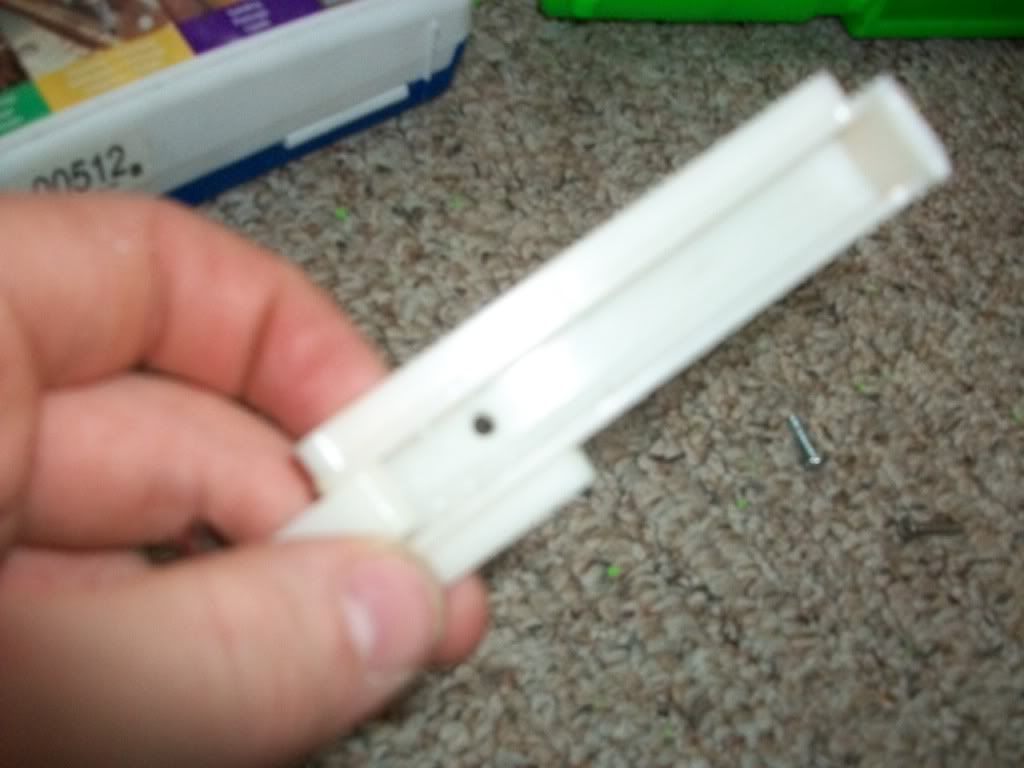
Next, you are going to want to drill a small hole in the second half of the plunger rod (the part that slides).
Now, you are going to want to drill the same sized hole in your 1/2in. wooden dowle:

Fourth, scew the plunger rod and handle together. Now, you are going to want to sand down the screw so that it is almost flush with the second half of the plunger rod:
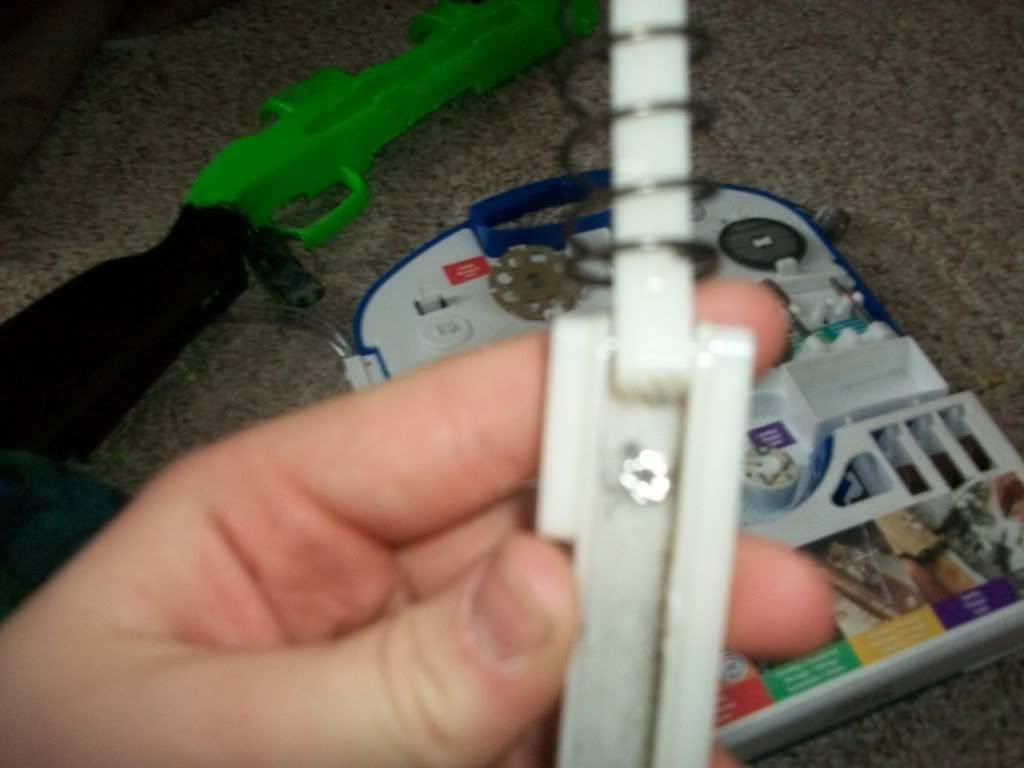
(Note, you are going to want to put some lube on the second half of the plunger rod)
You are going to want to drill a 1/2in. hole in your plunger tube where the hole is:
(It is small and blurry because I took it with my cellphone. I'll get a better one up later).
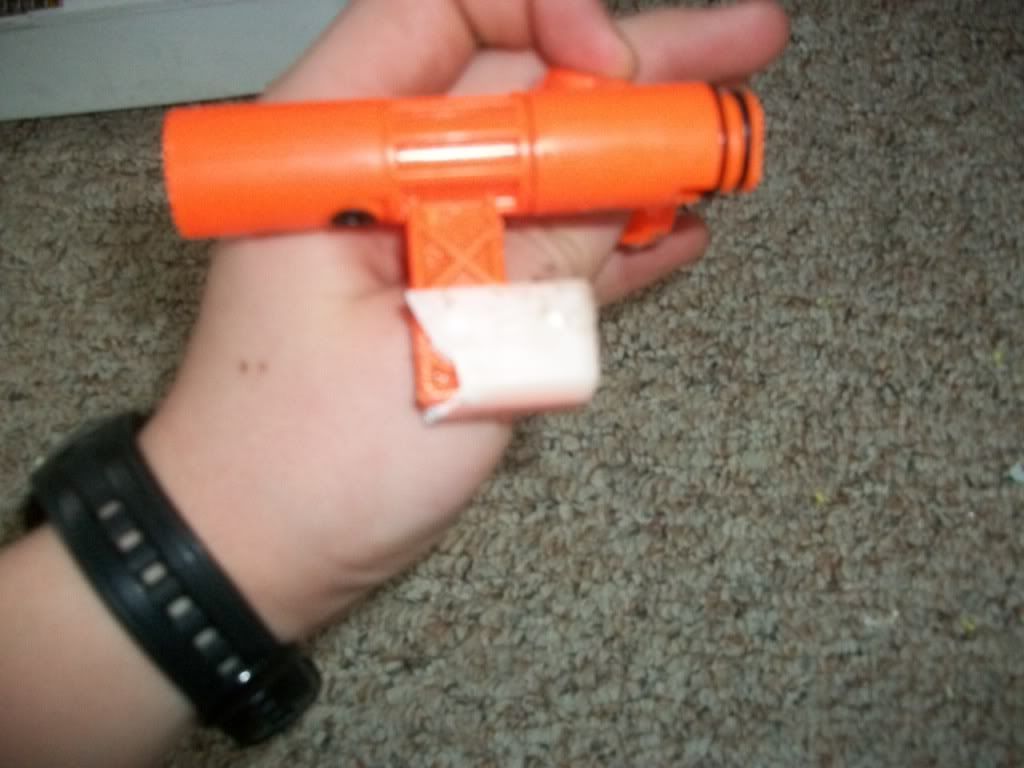
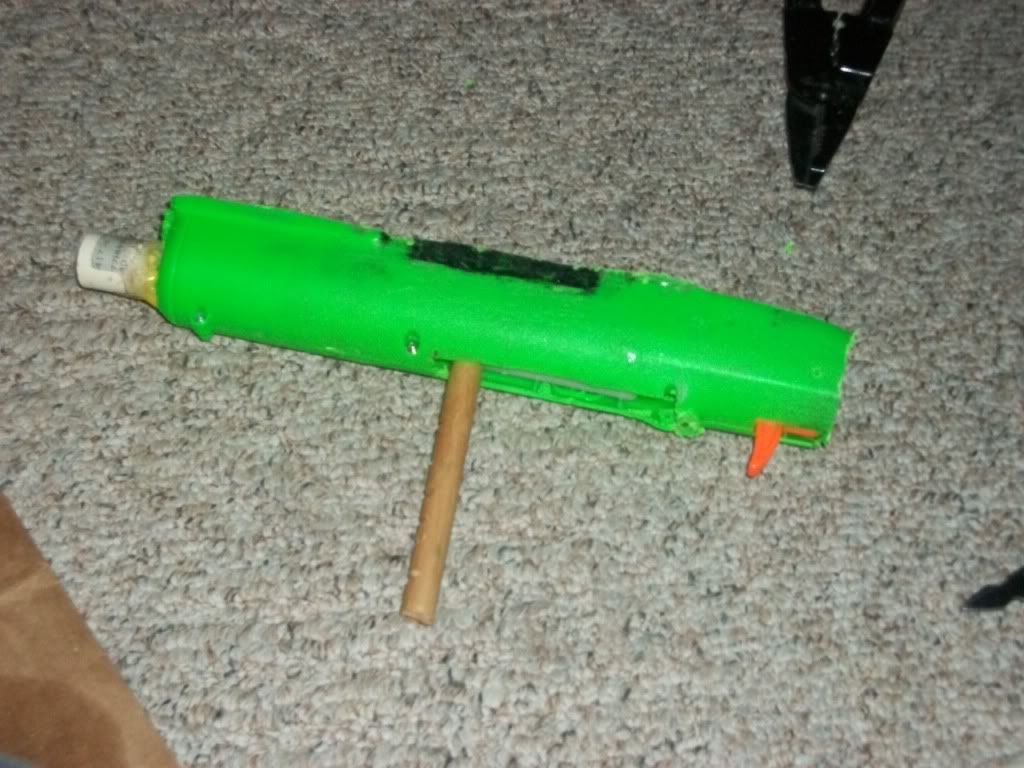
Cut a hole in the bottom of you gun for the handle put your blaster together and you're finished with part 2! This blaster is a ton of fun, but can't function well with an rscb. I typically use a polypipe breach on it. Part 3 will be up as soon as the snow outside melts so that I can use PVC cement. I'll get a picture of the finished product up later. I now name it the Predator V1.
If you followed all the modifications that I have done so far, your hunter is pum-action and shoots a little over 50ft. flat, but I wanted something that would shoot a little farther.
Part 3: Predator Missle
Materials Needed
A hunter with all the mods done to it so far
Sonic Bazooka Knockoff or a BBBB
Hot glue
Goop/epoxy puddy
JB weld/Epoxy
1/2in. PVC coupler
E-tape
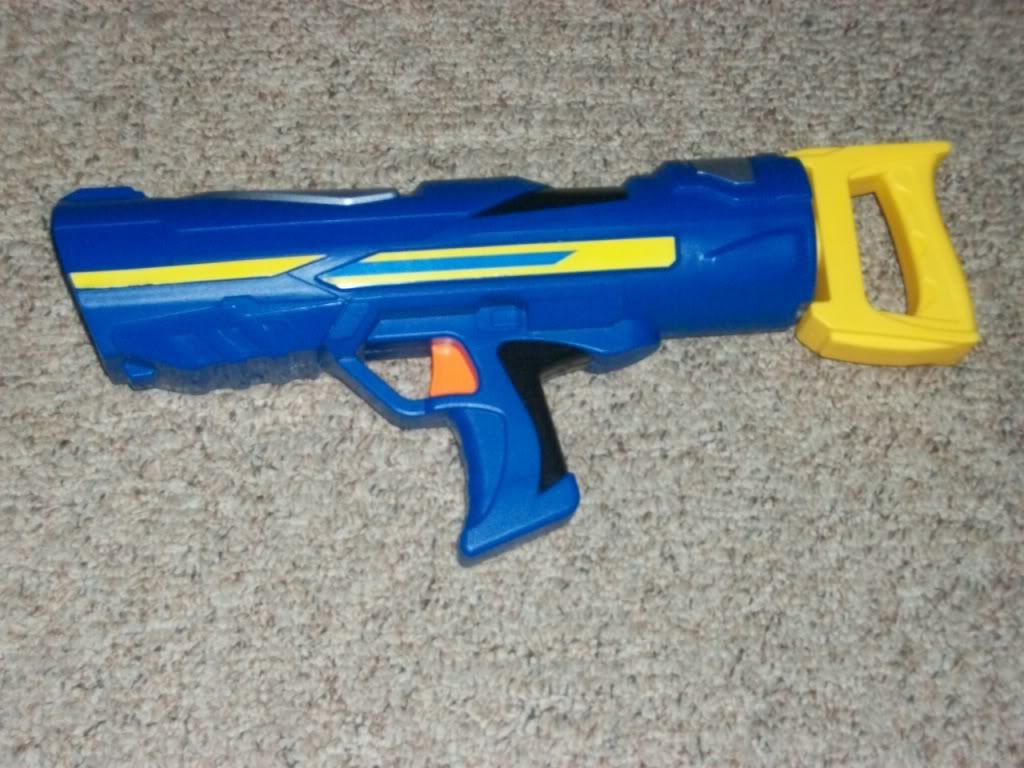
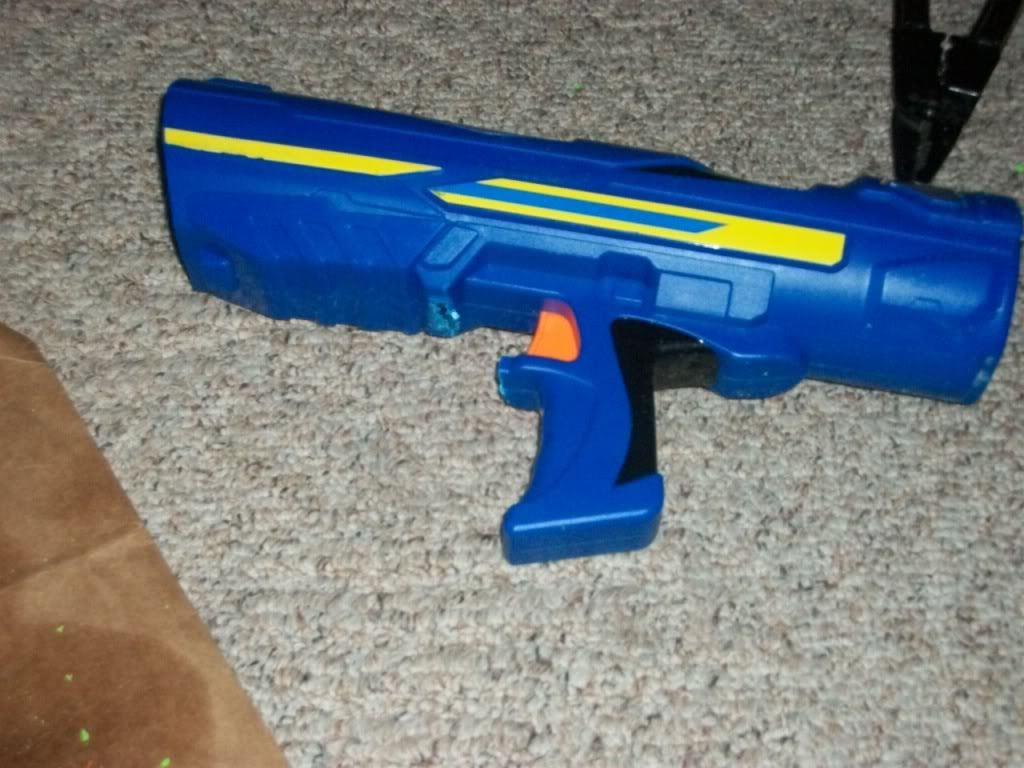
First, this is what the SBK looks like out of the box.
Now an internal shot.
Now cut off the original barrel so that you have just about 1/2in. of the barrel left and wrap it in E-tape until the coupler fits on tight and goop it on with a nice layer of Epoxy around it.
The original barrel fits 1/2in. CPVC air-tightly, and the coupler allows you to se 1/2in. PVC barrels. Double couplering is so easy with this blaster.
While thats drying, cut up your hunter so that it looks like this:
Now cut the trigger guard off of the SBK.
Now test fit your pieces so that they fit like a puzzle:
Now sand every piece of plastic that any form of glue will be touching. Firts, hot glue the two blasters together on the forgrip (but not on the sides). Next, put JB weld or epoxy on the side of the two blasters and tie them together. after that dries, put goop on it or epxy puddy. Do the same to the other side.
(Note, I only hotglued it in this picture the wrong way. It lasted one day. DO THE WAY I DESCRIBE IT)
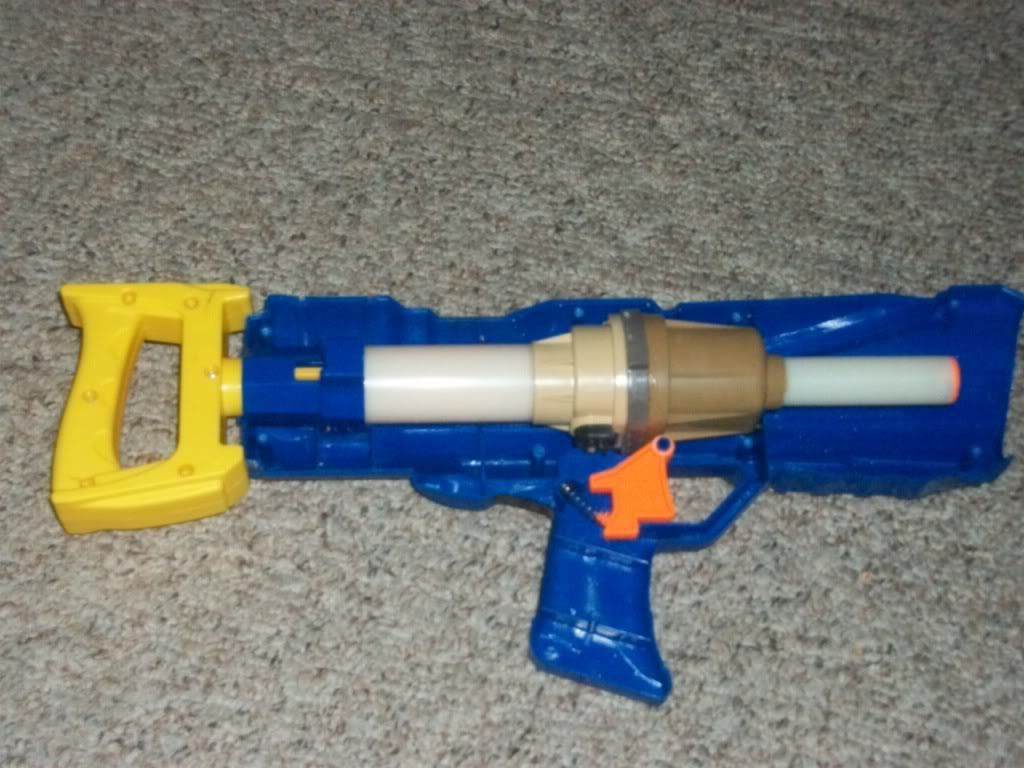
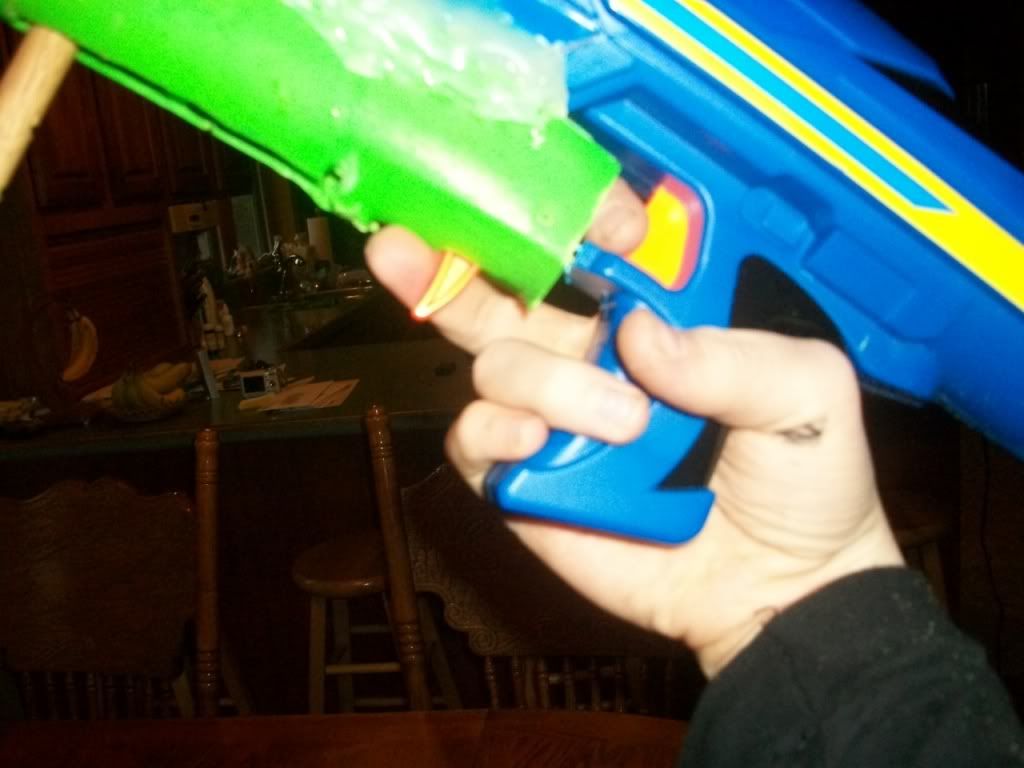
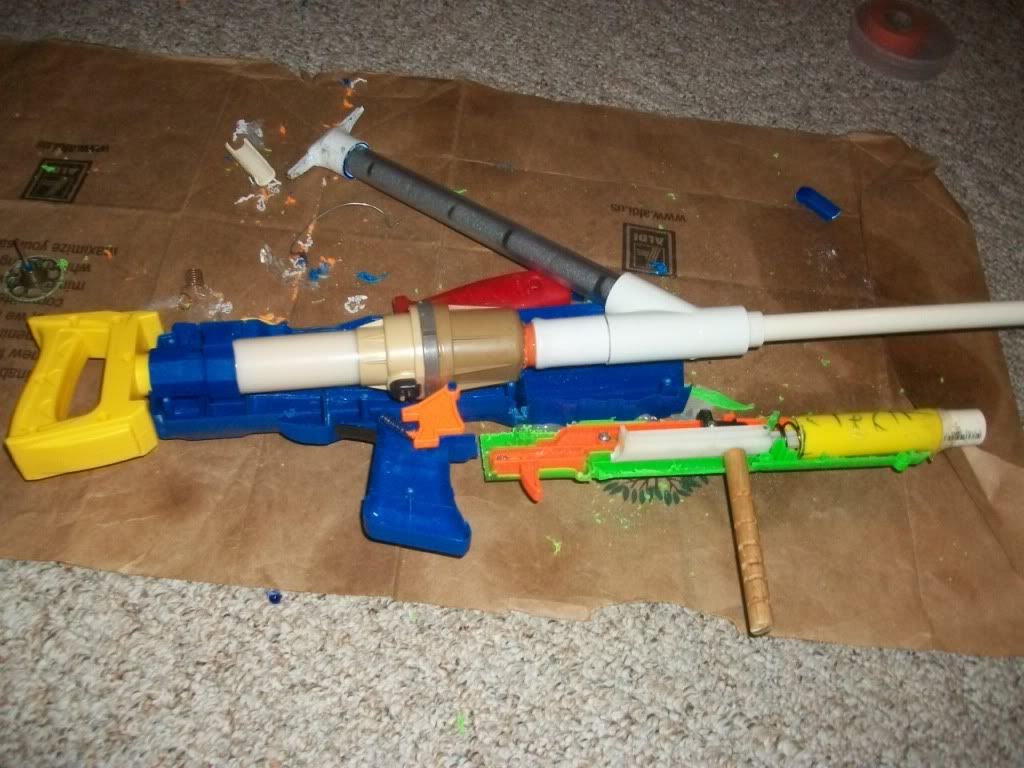
You may think that this looks uncomfortable to hold, but it's not:
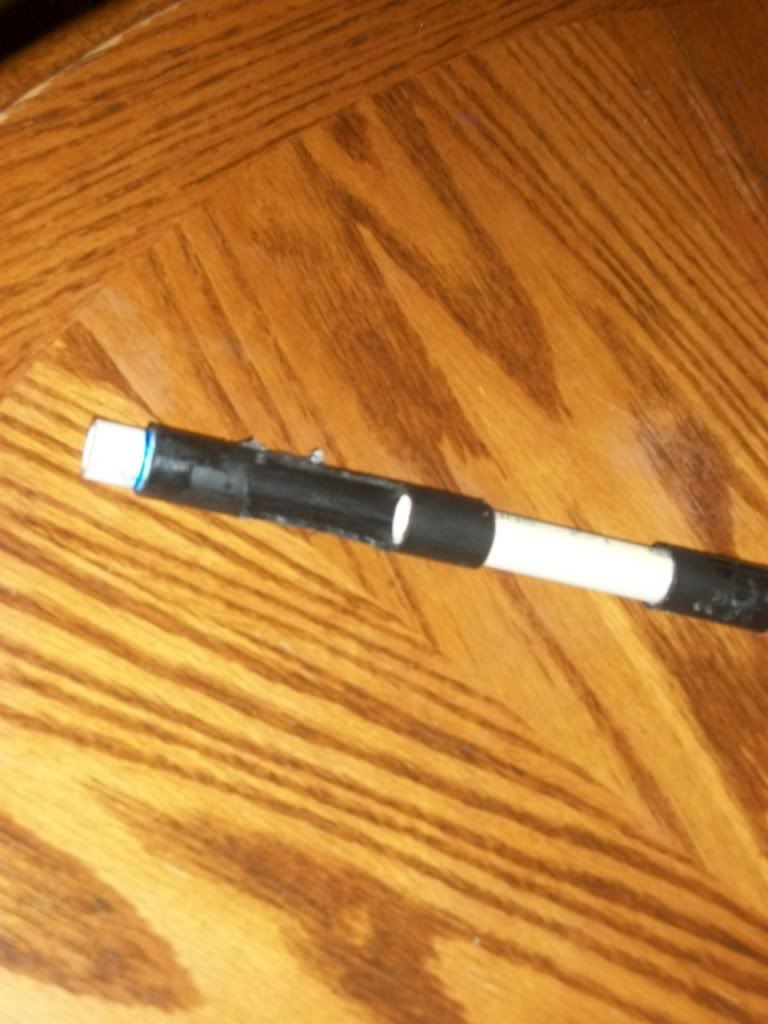
I figured I should show the breach that I use on the hunter, so here it is.
As much as I hated to do it, the SBK couldn't operate a hopper with the stock OPV in place so I had to plug the pump, but there is a bright side to it. If you pump the blaster eight times it takes about 5 seconds for the air to release becase it is a back-pressure blaster.
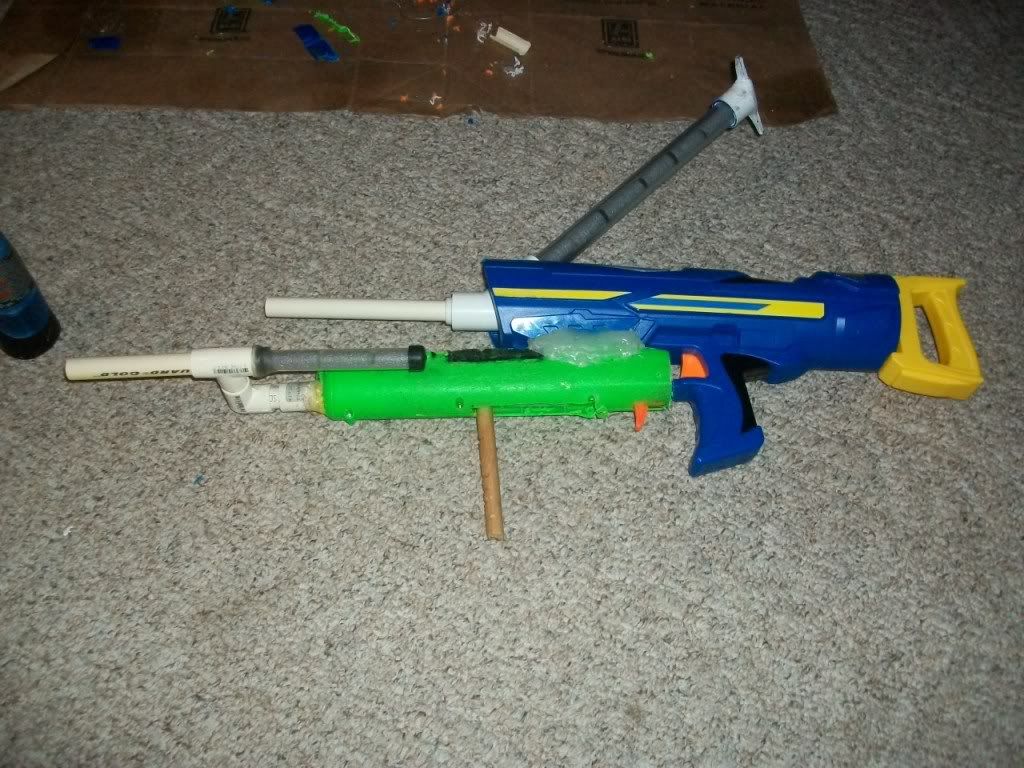
Finished internal shot:
(I had to cut a slot in the shell for a hopper)
Put the blaster back together and your done!
(It doesn't work well with the RSCB, I don't even know why I put it on).
The ranges of the SBK are around 70-80 with glue domes and and a 6in, CPVC barrel. It doesn't work well with a hopper. I added a LSFG spring to the hunter and I'm getting around 60-70ft. flat with glue domes and a 4in. CPVC barrel.
Edited by Techshooter, 22 June 2011 - 08:48 PM.


