WARNING EXTREMELY PICTURE HEAVY
Alright guys I’ve been working on this writeup for awhile. Its is extremely detailed and in depth. I hope you enjoy it.
Tools and Adhesives Recommended:
Dremel with:
-cutting wheel
-cone sanding bit
-carbide cutting bit
-sanding drum
Various size drill bits
Goop
Epoxy putty
Packing Tape
hot glue gun and a few sticks of hot glue
Ok heres your materials list.
Body and Priming slide:
-25 5/8’’ 1.25 pvc
- 1’’ to ½’’ bushing (preferably round lip)
-1.25 tee and endcap (and a short length of 1.25 pvc)
-9x #6 ½ inch sheet metal screws
-About 18 1/8 inches of 1.5 inch thin wall
-2 ¼ inch ¼-20 bolt with matching nylon locknut
1/16th acrylic or similar material
A maverick shell and slide that you are willing to repurpose.
Craft foam
Plunger rod:
-16 inches ½ cpvc
-½ cpvc endcap
- ¾ cpvc coupler
- 2x 1.25 inch OD ¼inch ID washers
-¼ inch ID nylon spacer (appropriate height)
-1.25 inch 1/4x20 bolt with matching nylon locknut
-#10 finishing washer
-1.5 inch rubber washer (1/16 thick)
-1.25 inch rubber washer
-[k26] spring
-2x ½ inch sheet metal screws
Trigger:
-clothespin (plastic ones from walmart are best for this)
-½ inch angle bracket
-roofing nail
- #6 ½ inch sheet metal screw
1. Plunger Head
Alright were going to go ahead and make our plunger head. (it’s a superlative)
First drill a pilot hole in the center of your ½ inch cpvc endcap then widen it with a ¼ inch drill bit.
Then sand the top flat with your method of choice.
Then assemble the parts as shown below from left to right
And you are left with this (make sure you put some epoxy putty around the base to act as your catch ramp)
Then affix it to the plunger rod (the 16 inches of cpvc) with 3 of the ½ inch #6 screws
2. Body
Now lets start the journey on the messiest part of the build (trust me pvc dust EVERYWHERE)
Start with your 25 5/8 inches of 1.25 pvc and draw 2 lines on opposite sides that are parallel to each other.
Then cut back 3 3/8 inches from what will become the front of our blaster (try to keep this close to 90 degrees)
3. Front bushing
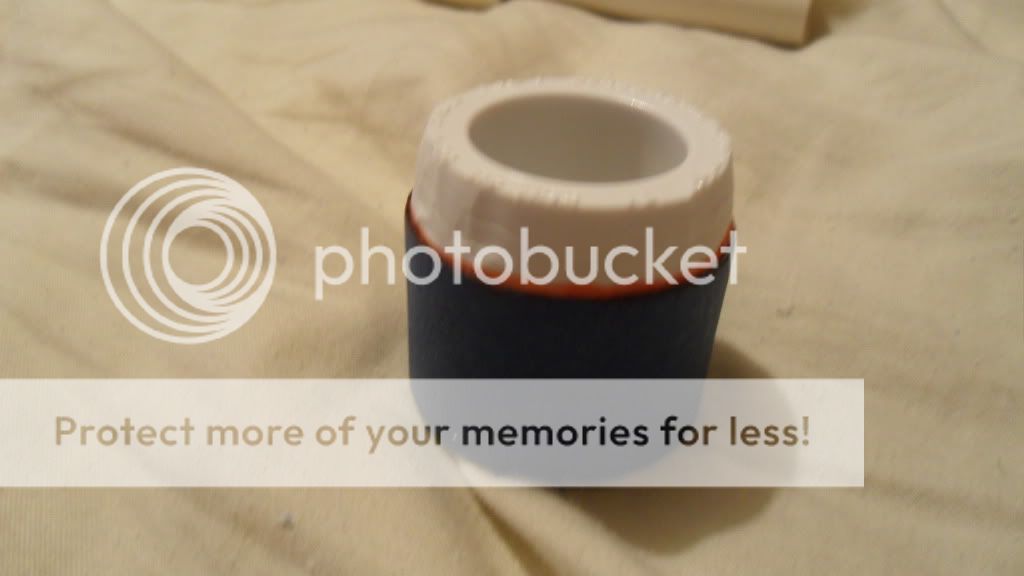
Then take one of your bushings and sand down the rim and wrap with packing tape until it’s a snug fit into the front of your blaster (Make sure to mark around the rim with a marker to help line up the correct depth)
Slot it into the front portion (NO GOOP YET) and drill 4 5/64th inch holes (they grip the screws very well) and screw them in partially this is just to hold it in place for the next step.
Then countersink the holes one by one so that the screw heads do not peek above the pvc at all. Then remove all the screws, slather the bushing in goop, and slide it in and re-insert all the screws tightly.
Then slather the countersinks in epoxy putty.
Once it dries sand it down so that its smooth with the pvc.
6. Body cont.
Then measure 14 inches from the edge of the pvc (not the bushing) and draw a line all the way around.
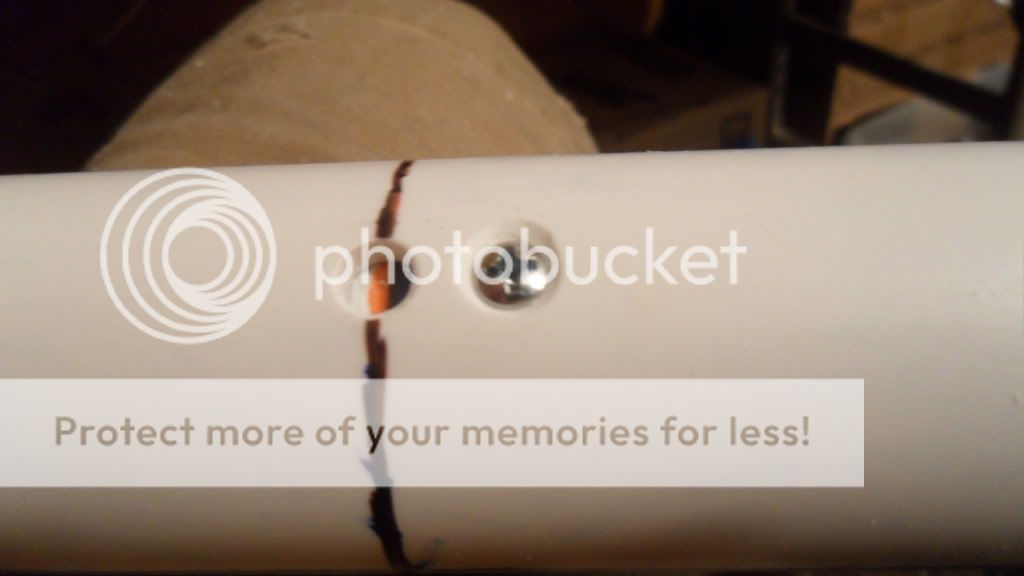
Drill a ¼ hole in the top along that line we just drew (it will be a sight hole so we can line up our rear bushing easier)
Then drill and countersink another 5/64 inch hole back enough so that it will still catch well on the bushing
7. Rear Bushing
Grind down the lip of your other bushing, draw a colorful line around where the lip used to be, and wrap in some kind of tape to that it still slides easily into the rear of the body.
Line up that line we just drew on the bushing with the one on the body.
Go ahead and screw it in (giggity)
Then put 2 more screws on the bottom part of the blaster (so that they wont interfere with the pump-grip)
Then drill a few small holes unstill you can get the drill bit right against the rear bushing.
Lay out some tape parallel to the lines we drew down the length of the body. And draw some guide marks.
This needs to be about 6.5 inches long (from the hole we drilled)
Cut it out with a cutting wheel.
Then expand the slots
I use this kind of bit...
Here they are finished
Now draw a line 6.25 inches from that rear line
That line will be where your trigger hole will sit (try to get it centered relative to the body), and drill it with a 1/8 inch bit
10. Clothespin Trigger
Alright heres what you’ll need Clothespin, ½ inch by 1.5 inch angle bracket, ½ inch #6 screw, roofing nail, epoxy putty.
Lop off the rear portion of your clothespin
Drill a 1/8th inch hole through your clothespin
Take your clothespin into 2 halves, put a small amount of putty into the clothespin, and shove your nail through the epoxy and press it in (you may need to trim the nails head a bit)
Don’t post yet picture limit.
Edited by Aeromech, 04 December 2015 - 10:48 PM.


