Video tutorial part 2.
Video tutorial part 1.
Updated firing test.
Okay guys! Here's the write up to my Octo-shot.

This is my very first write up so I hope it will be satisfactory.
Since most of you interested in this have already created a Quadshot I won't waste your time with the mods that Badwrench and Zorn have done to the LSG/AZ3hot. Most of those have been done to mine as well. But here's what I've done differently to create my Octo-Shot. (I haven't given it a name yet, but S.O.B seems fitting.)
The first thing I'll deal with is, structure:

After I first built it and fired several shots, I opened it back up to find MANY stress points. As you know, the plastic used in this gun is very cheap!
As you can see, I've epoxy puttied the plunger tube support and the rotation sled support towards the front of the gun (on both halves).

Here you can see how I've puttied around the catch support and the rear plunger tube support.

...the other half

I've since added putty here, around the trigger and added an extra spring. The plastic for the trigger guide is particularly flimsy.

Here's the priming handle with foam and hot glue. The foam and hot glue used throughout the blaster is for sound muffling and an attempt to minimize the cheap plastic sound that it makes when handling it.

I also added epoxy putty to the front of the shell around the area that supports the turret towards to top part of the shell. for some reason this area (stock) is very flimsy as well. I suggest doing this, even for your Quadshots.

Once the blaster is put back together, I added an extra spring here for the catch...

...because of the main spring I chose.
This is how I handled my turret to plunger seal.

You're going to need one of these:

I cut a 1/2 inch of 3/4 inch CPVC and beveled the inside (both ends) with a Dremel like so:

The suction cup has a little nub thing on the back that you have to cut off.


I superglued the suction cup into the CPVC.

Once I did that, I Dremeled out the center, e-taped, gooped and nested the stock white thing inside. This creates a wider surface area covering more of the rear loading holes in the new turret.

...Here it comes....
I used this:

To quote ForsakenAngel24, "SACRFICE!!!!"
After I brought this up to the alter, held up my mighty screw driver and cut out it's still beating heart, I placed it in boiling water to loosen the glue towards the front of the turret. The part that looks kind of like a star. Poor thing never got to blow it's load... not even once.
sorry no pics of the procedure.... yet
Here you can get an idea of what I had to do. I cut around the barrels leaving 1/2 an inch for my new barrels to be nested in, being very careful not to cut or damage the center post.

Shot at 2011-03-24

Shot at 2011-03-24
For the new barrels to nest in snuggly, I also had to Dremel out the remaining barrels. It took me quite a while to achieve this, I didn't want to ruin it now.
I had to cut off a little bit of the back of the turret-mech to make it fit in the LSG. Don't cut it too short. Make it fit EXACTLY.


The back of the turret has a lot of holes/spaces. I thought about hot gluing or epxy puttying them but I knew I could never get a smooth surface. My solution was this:

...a duo-tang folder. I sized and cut out a circle to fit. Super glued it careful to make sure that it completely covered the soon-to-be rear loading holes. The translucent plastic helped with being able see the rear loading holes to Dremel out.

The turret fits in perfecrly with the shell. With the new plunger seal, it pushes quite heavily against the turret, but with the added support to the front shell (shown earlier) it shouldn't be a problem.
THERE YOUZ ALL GO!!!
Put it all back together and you have an Octo-shot!

Good Luck!!!
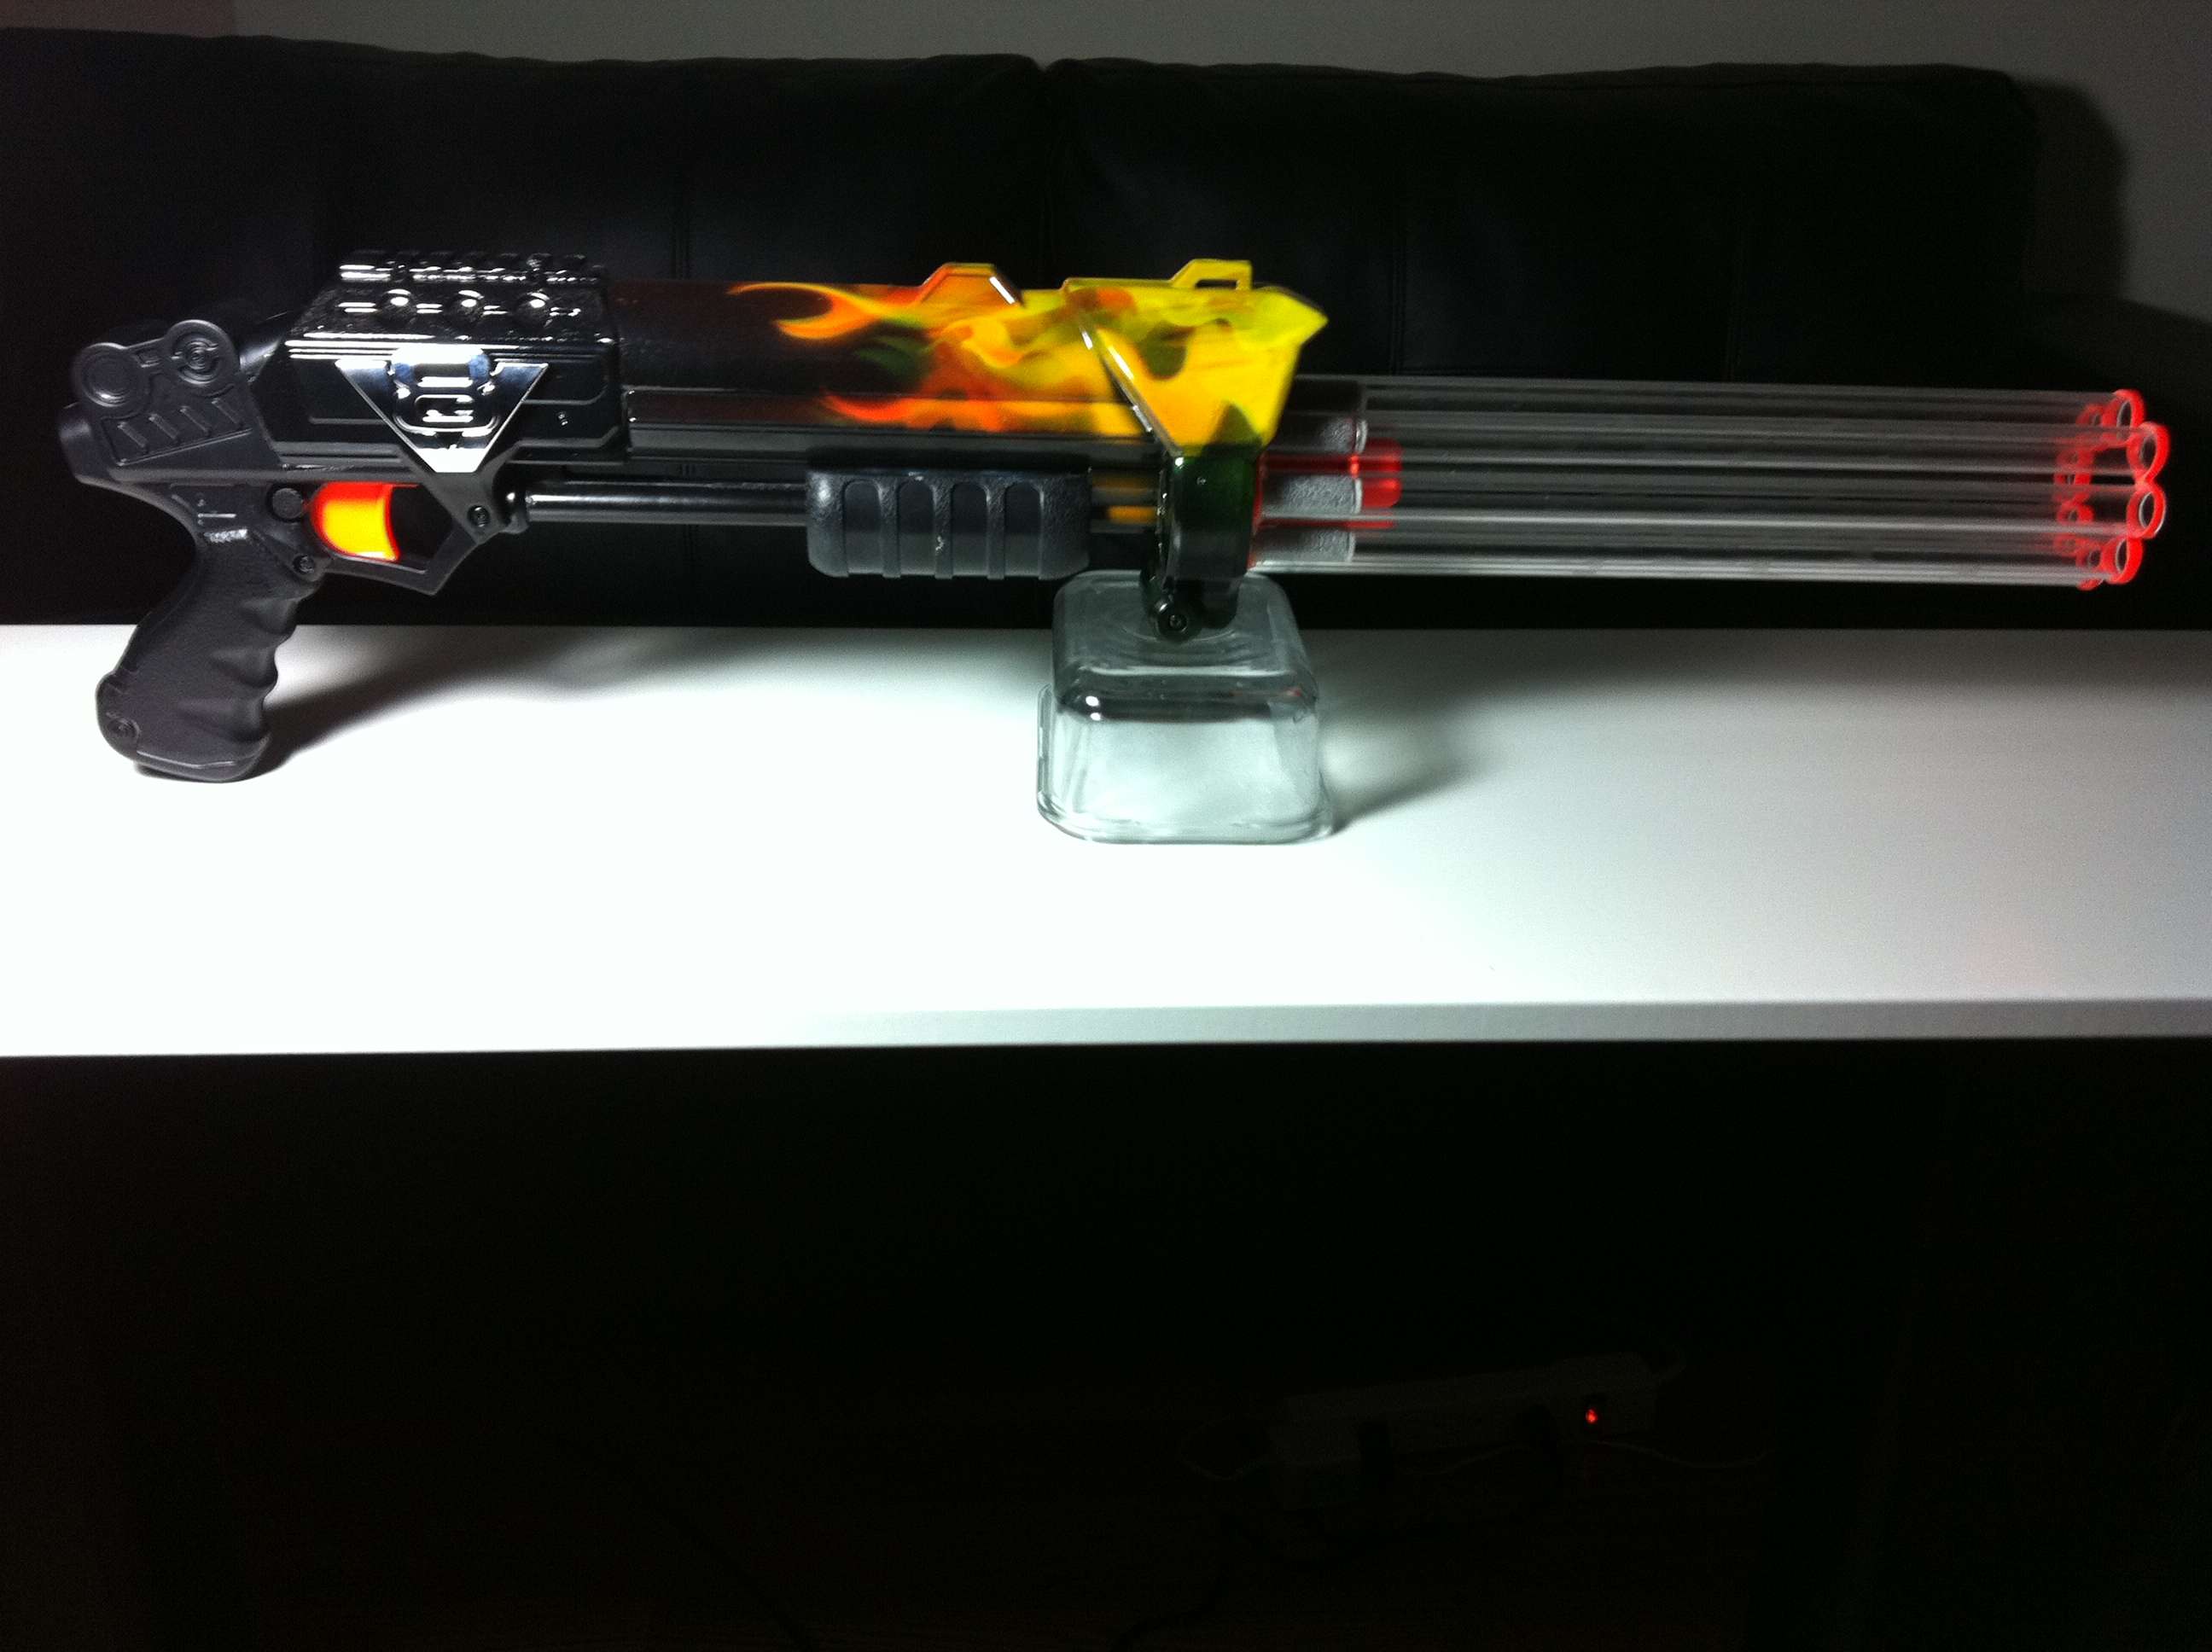
*Current Octo with paintjob:

Ranges are 110' to 120' with industrial spring + recon spring. Initially, with the 'Man' spring, ranges were 140'+. But I decided to down grade the spring to improve ROF.
The current industrial spring is a six inch spring with a max load of 36 pounds. The 'Man' spring is a six inch spring rated at a max load of 50 pounds.

In order from left to right; stock TS spring, current industrial spring, original mod 'Man' spring.


