So, I decided I wan't an insanely awesome secondary, so I was going to make a super extended draw NiteFinder, but it evolved into this. The writeup with be divided into two parts, super extened draw and plunger tube replacement.
Super Extended Draw
Tools/Materials
Dremel
Nitefinder
Hot glue
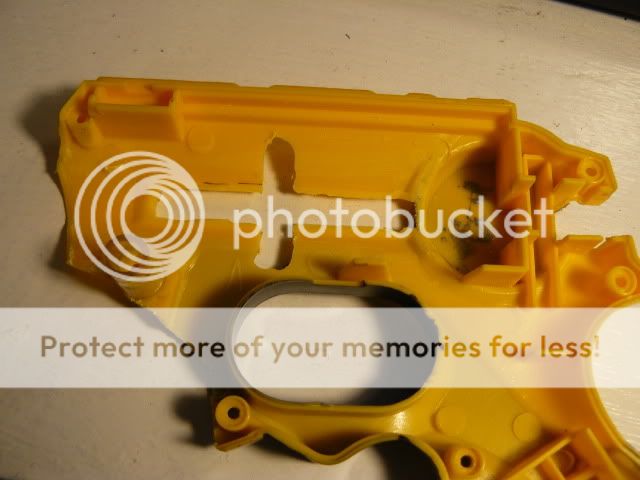
So, first take out your plunger tube and cut off those little screw holes that hold the plunger tube down. Next, cut slots in the back of the Nitefinder in between the two screw ports and make it go up to the catch holder:
Chop off that nub on the plunger rod:
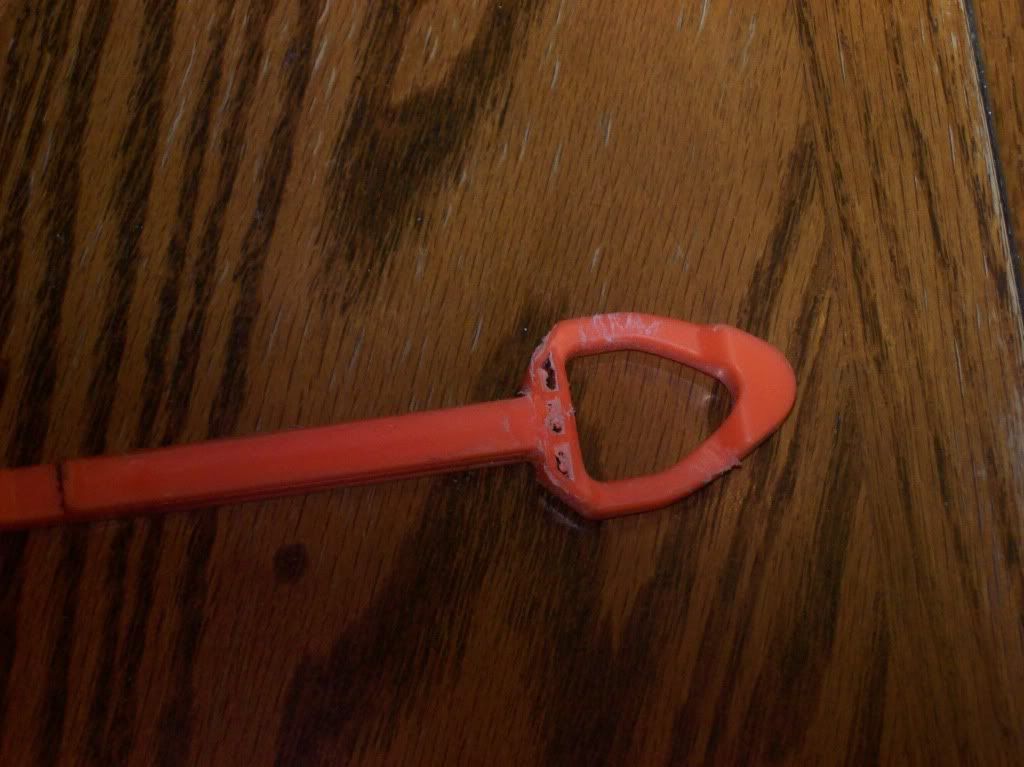
Now, you are going to want to minimize your Nitefinder:
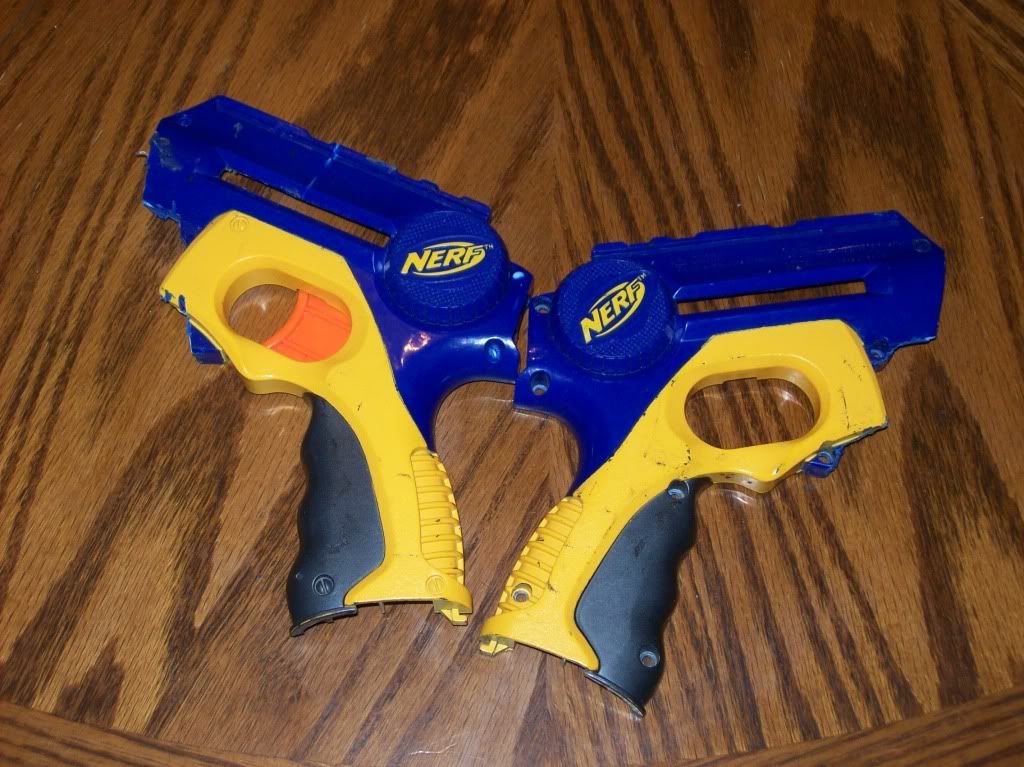
(If you did it how I minimized it (like Rogue) then you should have most of the screw ports left.)
Set the plunger tube forward and glue it down.
Plunger Tube Replacement
Materials
1/2in. CPVC coupler
Super Glue
Goop
Electrical Tape
Lube
BBBB Pump tube and head
Hot glue
A screw
[k25] spring
3/4in. screws*3
E-putty (maybe)
Tools
Dremel
Hot glue gun
Ruler
First, you are going to want to cut your BBBB pump tube to a length of about 4 1/2 in.
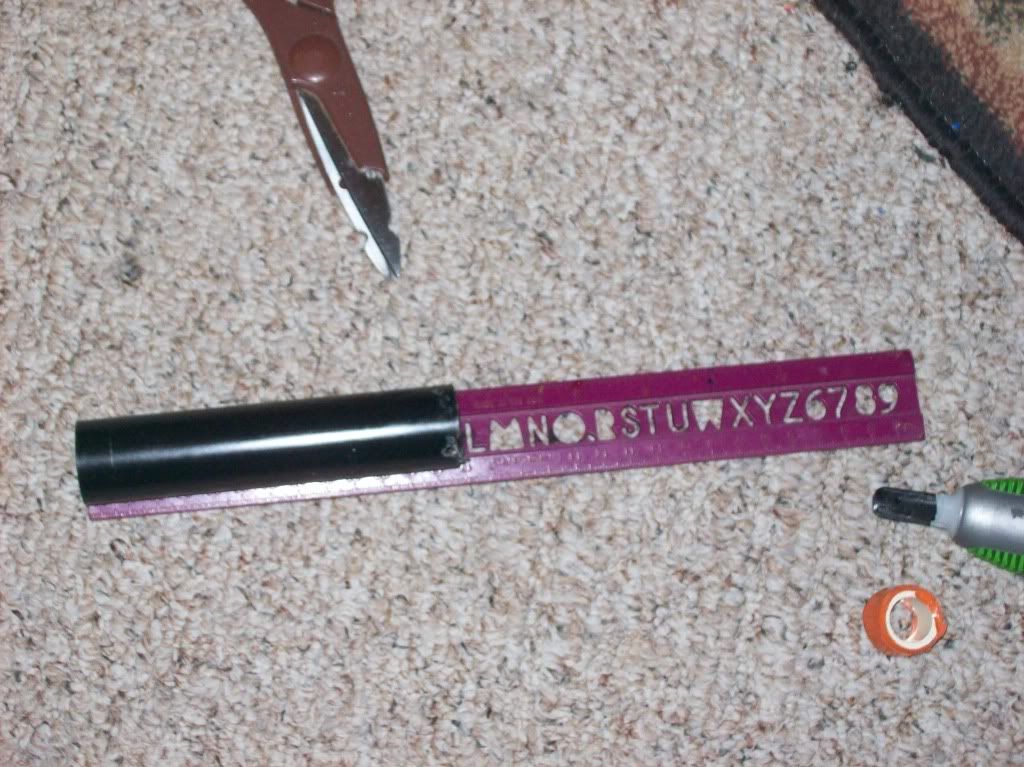
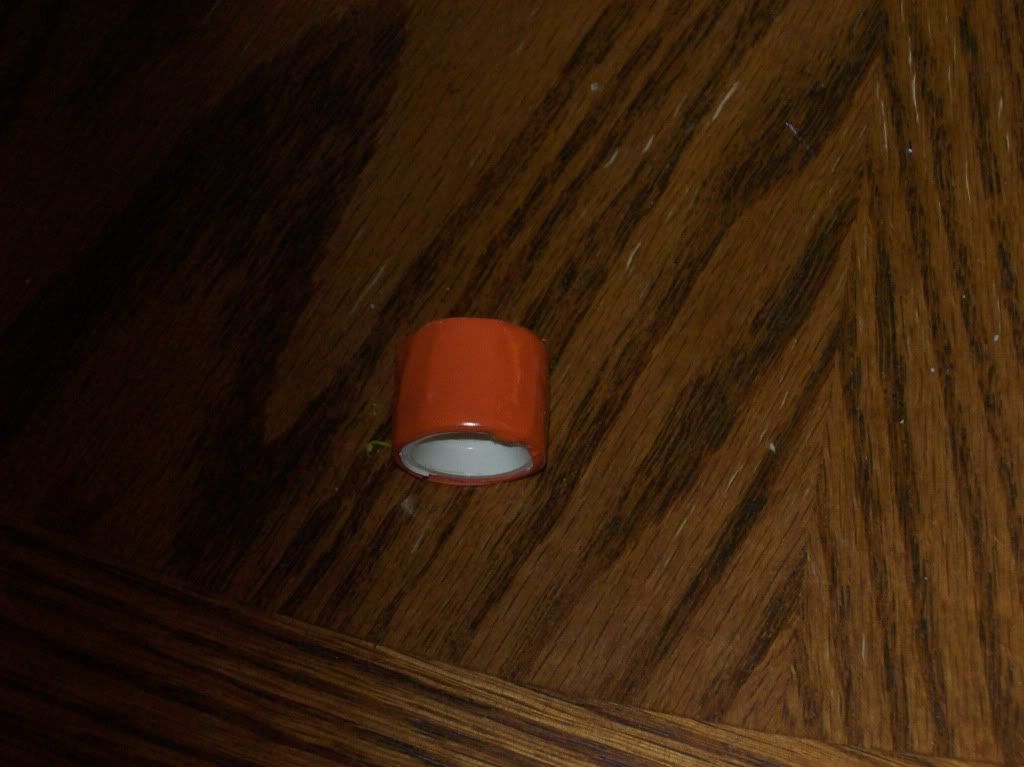
Now, get your 1/2 in. CPVC coupler and cut it in half:
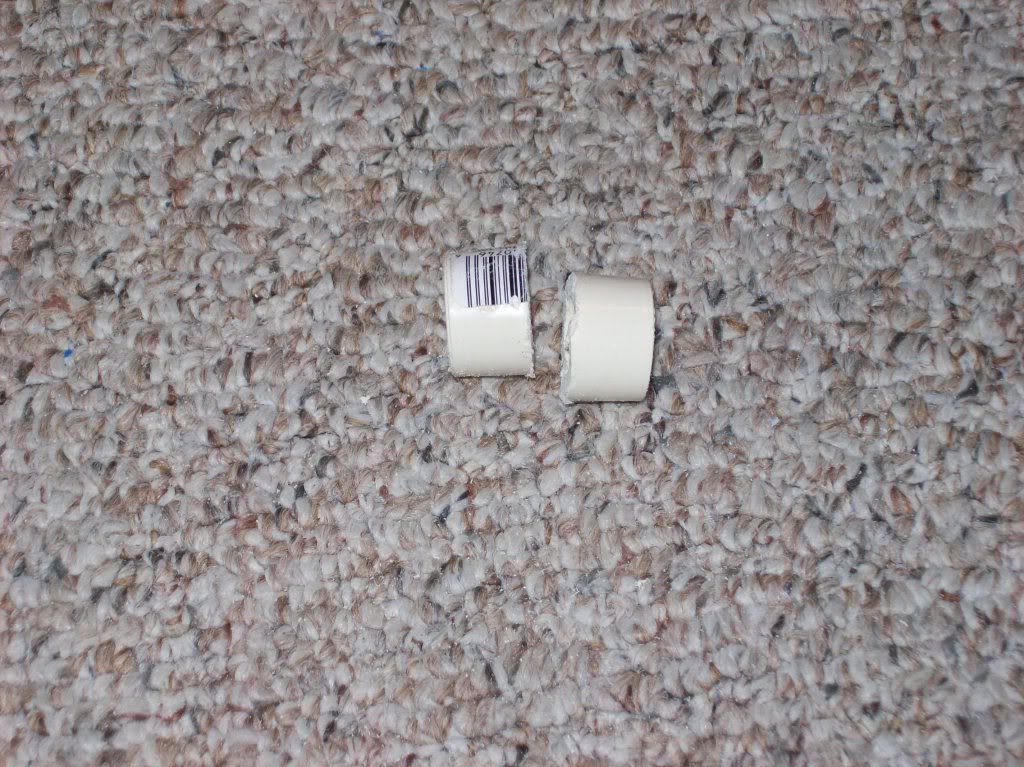
Now rap it several time in electical tape until it fits tight in BBBB pump tube:
Super glue it into your BBBB pump tube (make sure the coupler is all the way in). After it dries, put lubricate a piece of CPVC and put in your coupler. Put Plumber's Goop around it and the coupler and let it dry:
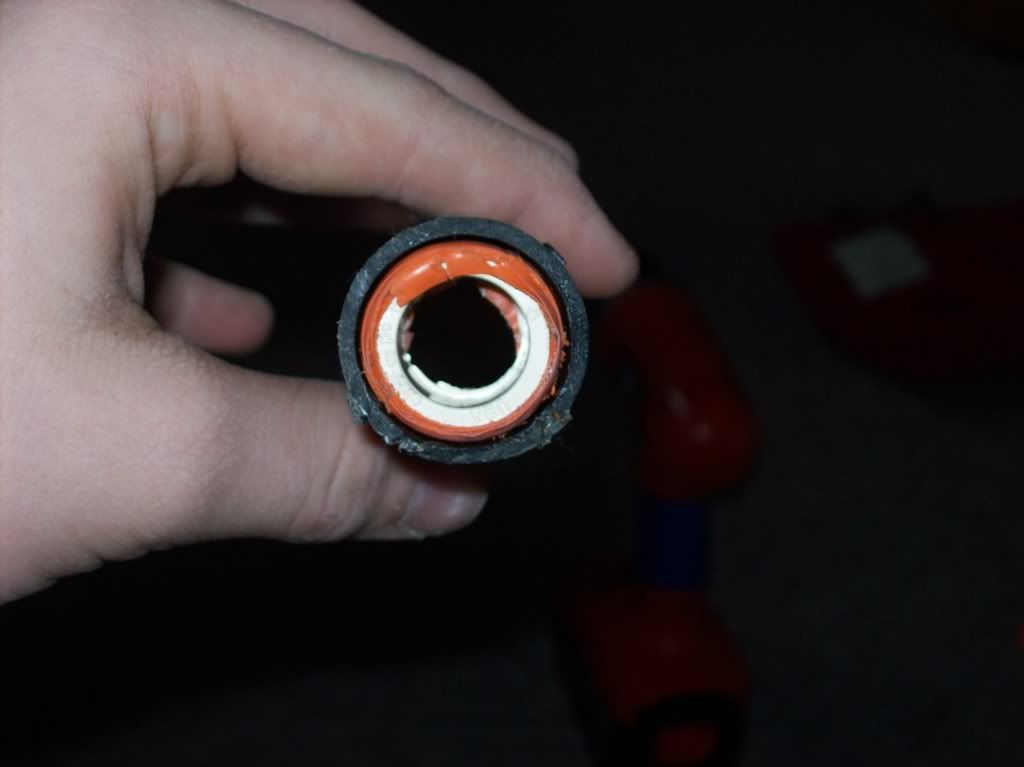
(This does not have the goop around it yet)
While that's drying, gut your BBBB pump head like this:
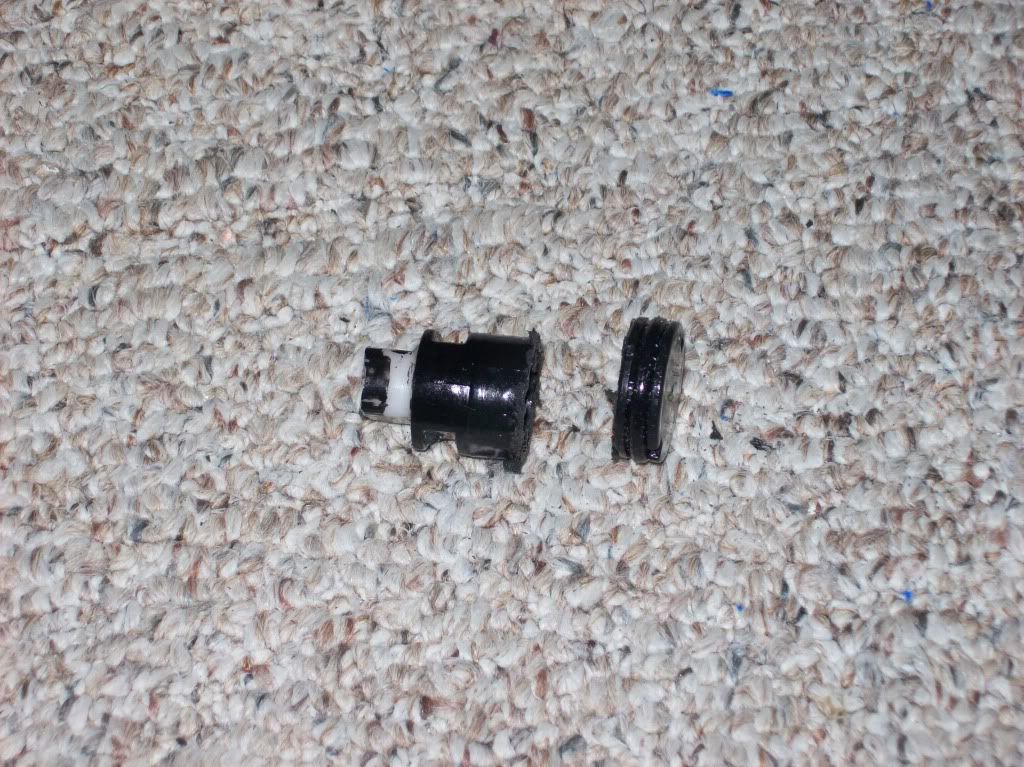
Put a screw in the hole and fill the face with hot glue:

The screw doesn't have to stay in the hot glue, it just makes the plunger head stay on better, and it adds more pre-cumpreshion and allows you to use a shorter spring.
Also, add three wraps on teflon tape or 1 wrap electrical tape under the o-ring to get a perfect seal:

(Note: In one this picture, it has teflon tape, but in another picture it has E-tape. I switched the teflon tape out for E-tape.)
Now, you are either going to want to fill in the back of you plunger rod with hot glue or E-putty. I used hot glue, but would recomend E-putty:

Now your going to want to cut your [k25] spring to a length of about 5 in.
[img]http://http://www.mediafire.com/imgbnc.php/d06e552db340db179d65e847de98c4e1f7ef7441c536ffc2b039abfac48824d94g.jpg[/img]
Here's a spring comparison. The [k25] on the right, the home depot spring in the middle, and the stock spring farthest to the right:
[img]http://http://www.mediafire.com/imgbnc.php/2617e263518fd7bf2805d611437c42c744caebe42d4f44181a1c67fd2e0a35194g.jpg[/img]
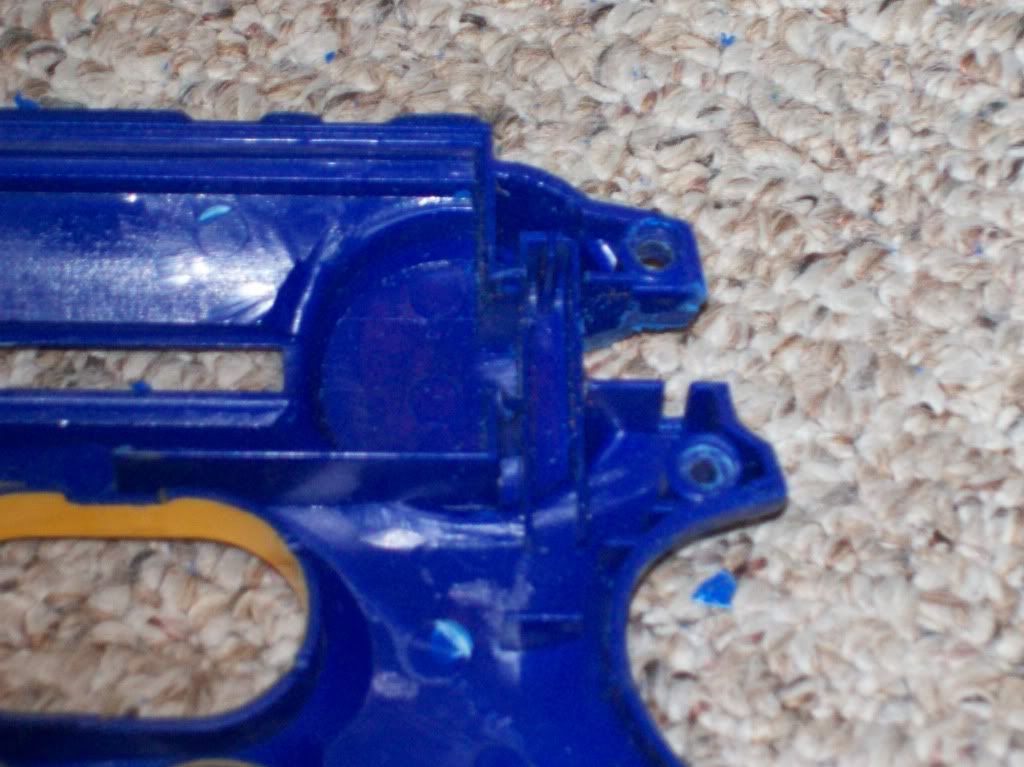
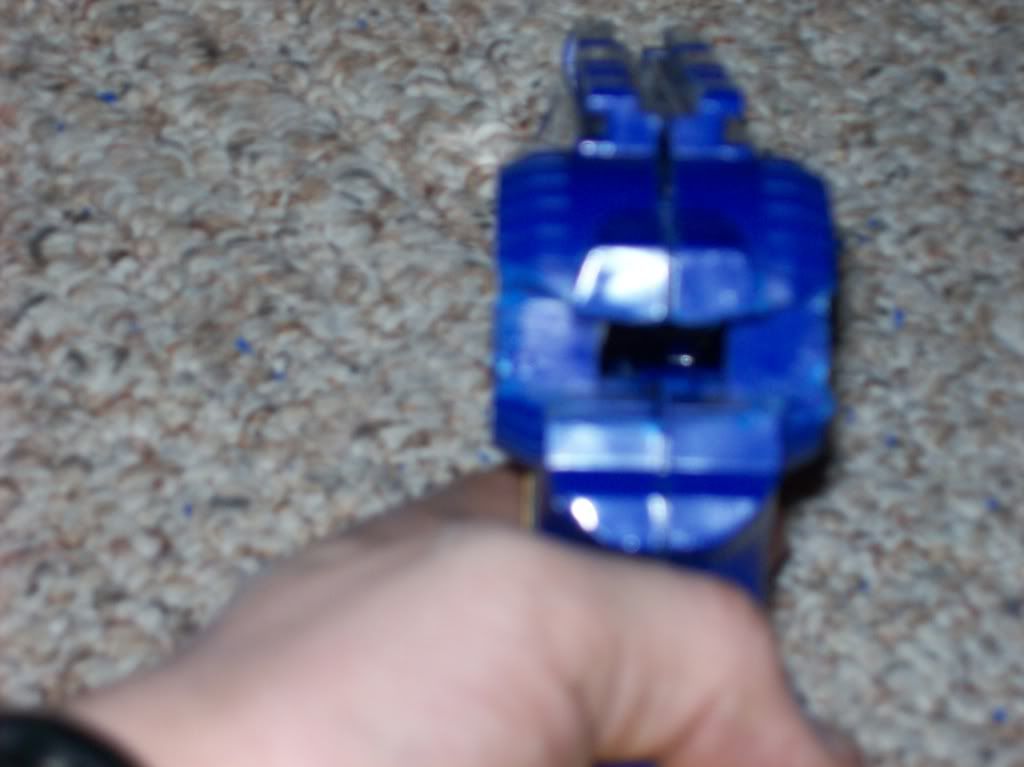
After the BBBB pump tube is finished drying, glue it in with all your internals in like this:
[img]http://i789.photobucket.com/albums/yy173/techshooter7082/100_5532.jpg?t=1302046827[/img]
(You will have to do Dremeling to make it fit)
Put it back together and your not done!
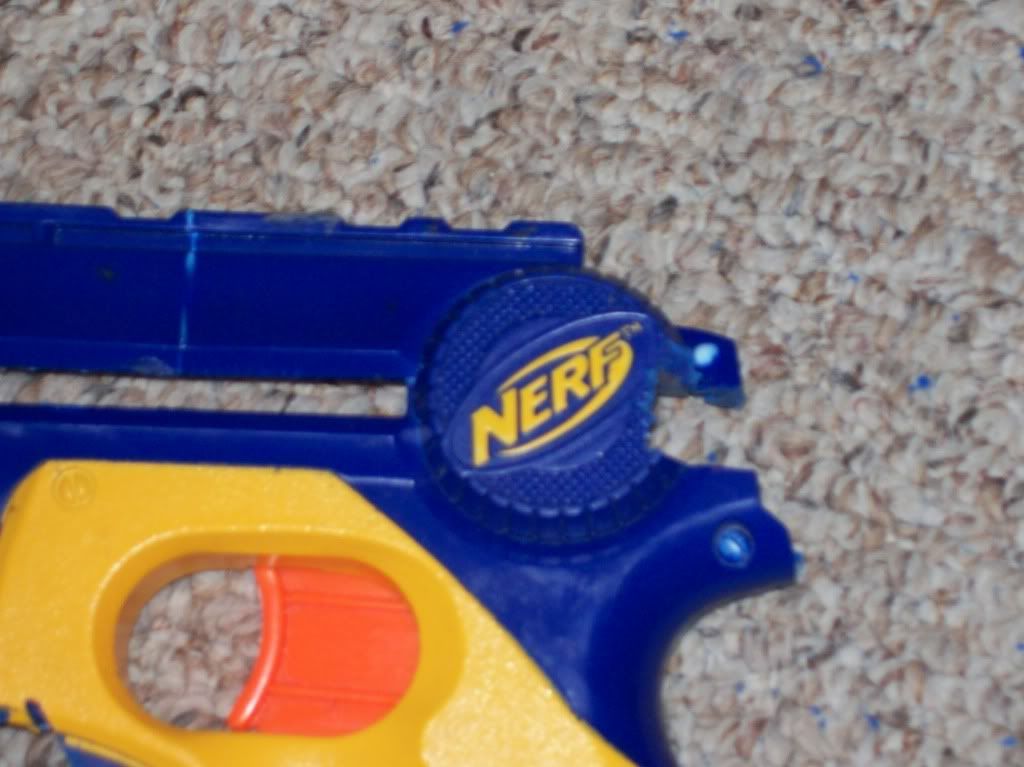
In the process of making room for the new PT, I knocked out the front swrew ports and messed up another. To fix this I added some 3/4in. screw there.
[img]http://i789.photobucket.com/albums/yy173/techshooter7082/100_5534.jpg?t=1302046919[/img]
I am incredible pleased with this blaster. It puts out a good amount of air and is pretty powerful. Shadow has already asked this question, so I figured I should answer it: the reason I am using a [k25] spring is because the [k26] had to high of a compression rate to work in this blaster.
Edited by Techshooter, 27 May 2011 - 10:22 AM.