
My overall objective with this was to make Lt. Stefan's PVAT more robust and easy to disassemble/reassemble.
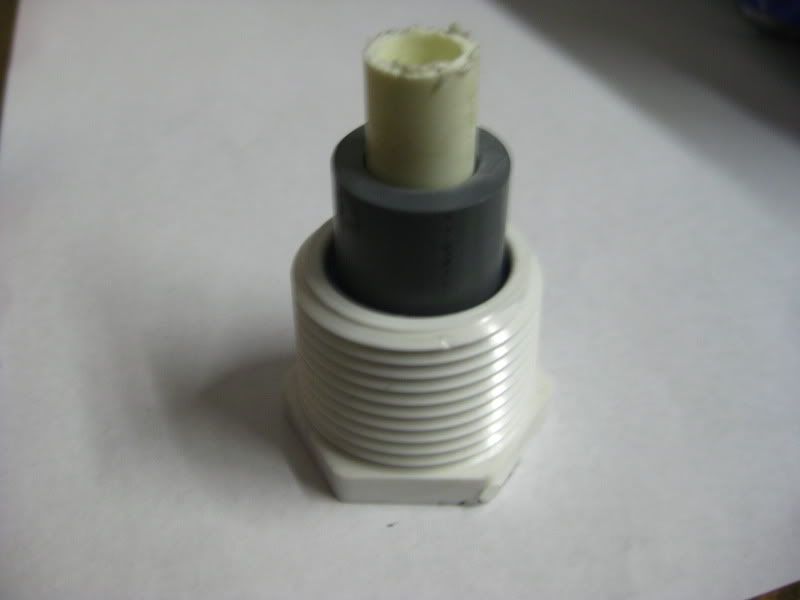
First, I took a small piece of 1/2" SCH80 PVC and 3/8" ID PEX Tubing. I wrapped electrical tape around the SCH80 until it fit snugly in a 1" Threaded PVC Plug. I then wrapped electrical tape around the PEX until it fit snugly in the SCH80. This is to make the hole I drilled as centered and perpendicular as possible. I drilled down the PEX with a 3/8" Drill bit and continued through the plug.
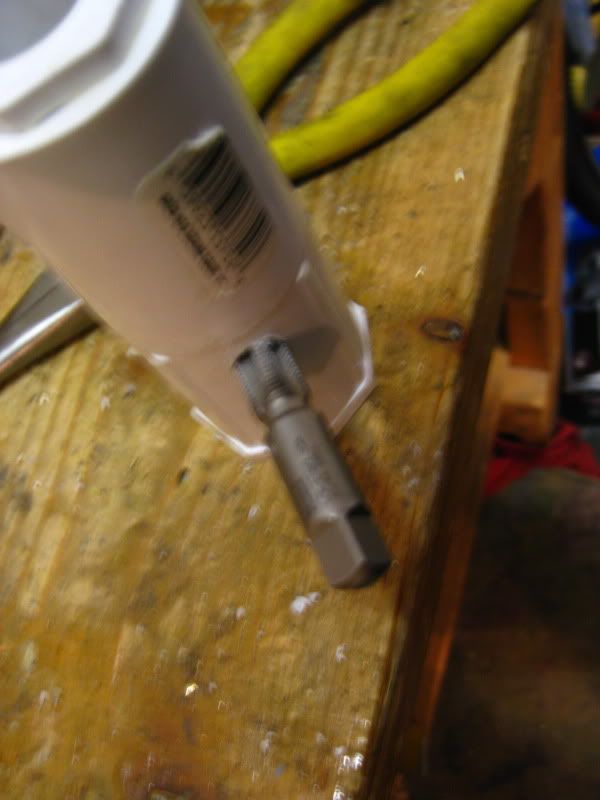
Once the hole is drilled, tap it with a 1/8-27 NPT Tapping Bit.
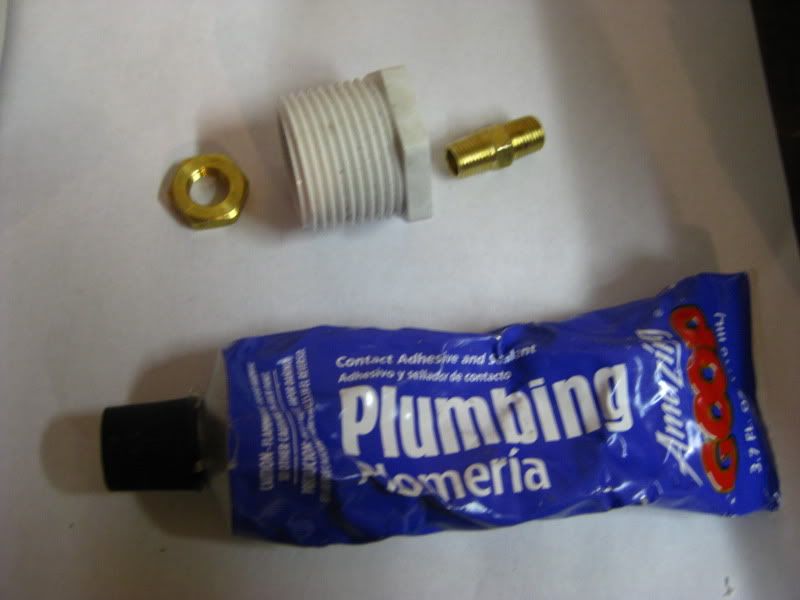
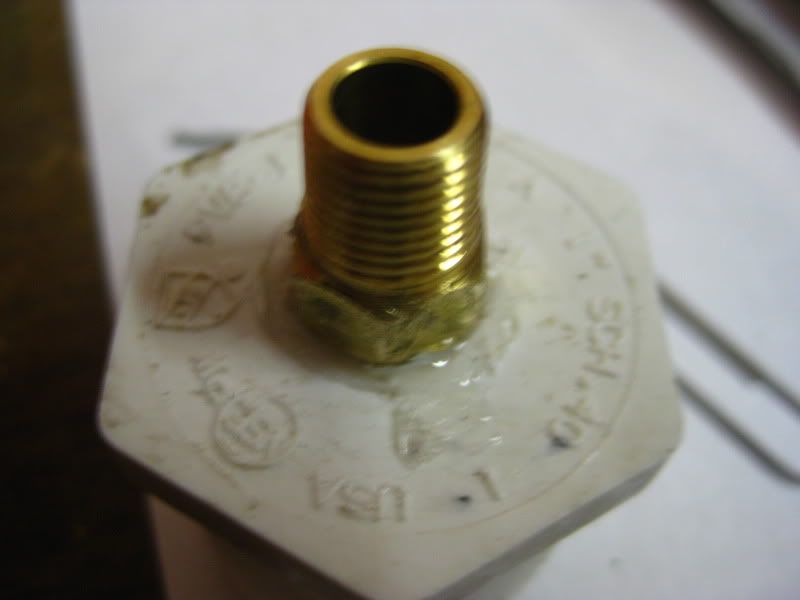
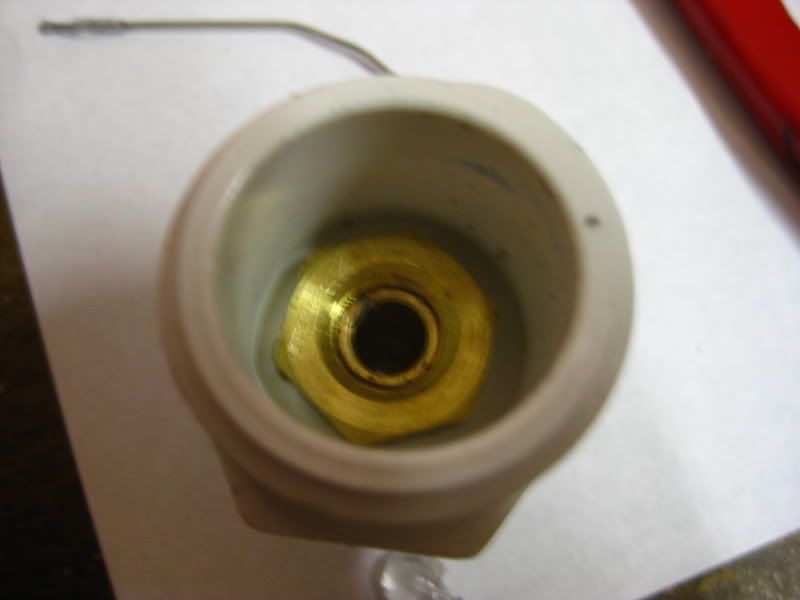
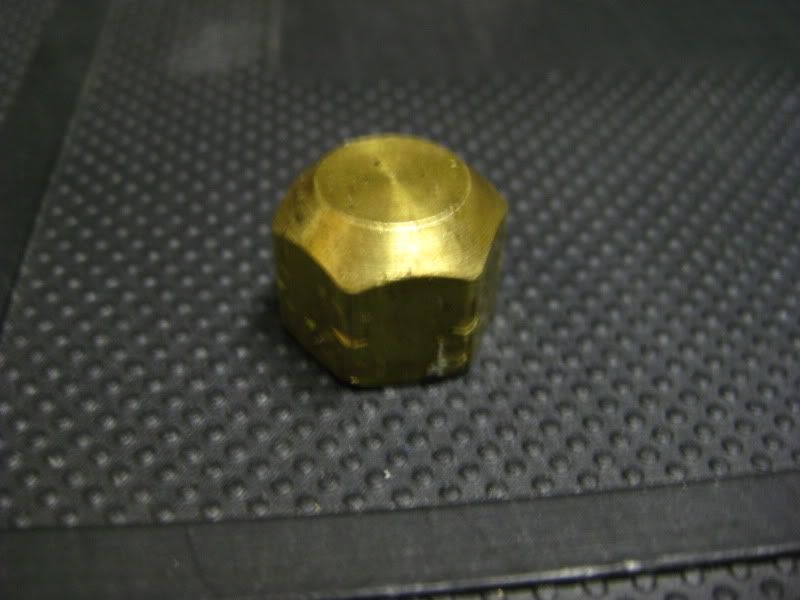
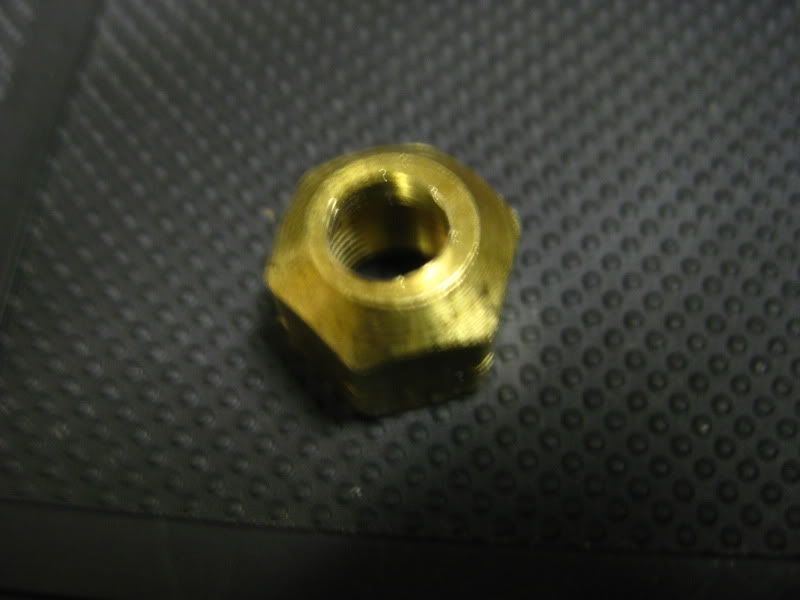
Next, I took a 1/8" NPT Nipple (the kind with the hex center) and a 1/8" NPT Nut. I applied Plumber's Goop to one end of the nipple and threaded it in to the PVC plug as far as it would go. I then used needle nosed pliers to thread the nut onto the nipple where it protruded into the inside of the plug.
I proceeded to take a 1/8" NPT Cap and Drill a hole in the end of it slightly larger than 1/4". The inside of the cap is already dimpled where the center is so the drill bit should be guided fairly well by that.
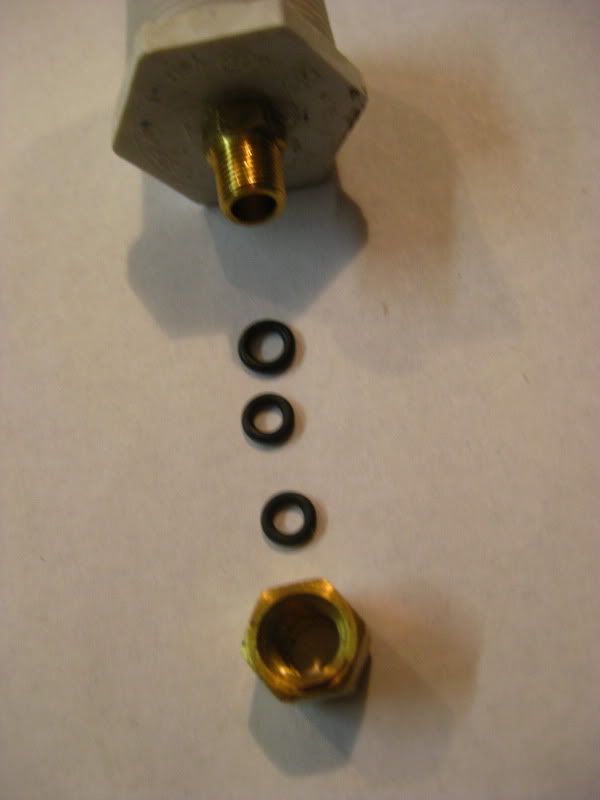
Here's the new rear sealing set up. It is 2 3/16" ID 5/16" OD O-rings. There is a third one there (1/4" ID 3/8" OD) but I ended up not putting it on so ignore it. The idea is that the O-rings are sandwiched between the nipple and the cap so that they have nowhere to move but they can still be adjusted by taking apart the cap and nipple.
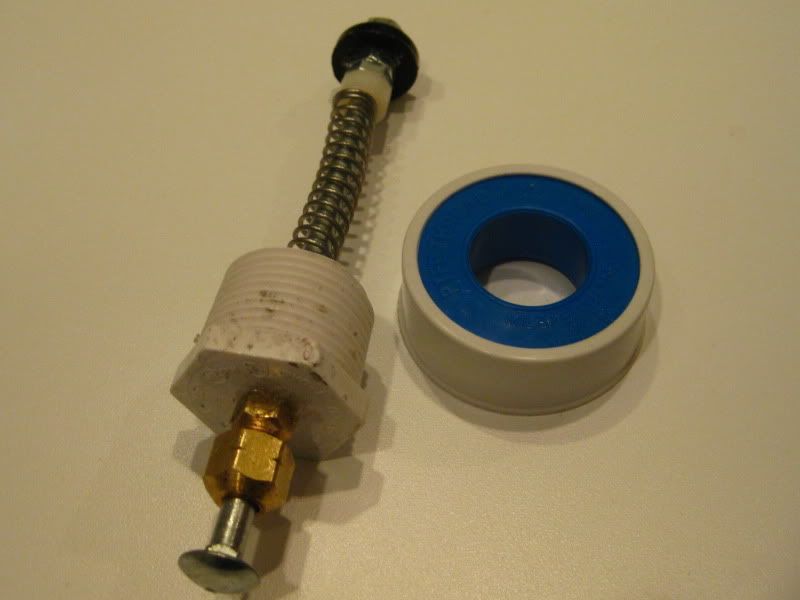
Lube up the carriage bolt, but the cap on it, and put the O-rings on it (again, ignore the third O-ring). Put goop all around the O-rings and on the end of the nipple. Thread the cap and nipple together using two wrenches, thus sandwiching the O-rings between them.
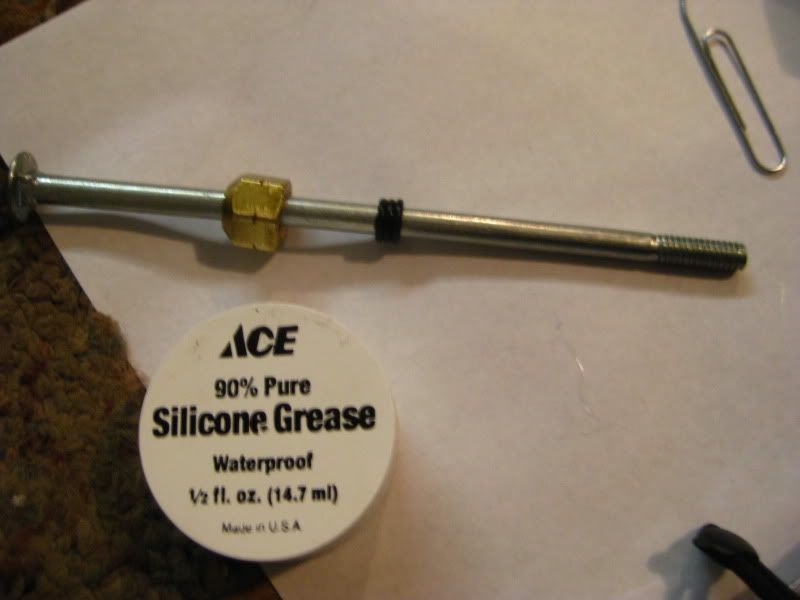
Make sure the bolt can still slide through and it is not being glued in place as well. It should look like this
While that is drying you can assemble all of the other internal parts. Mine is pretty much the same as Lt. Stefan's, but I added some nylon spacers because my spring wasn't quite long enough. The assembly goes Spacer-Spring-Spacer-Nut-Nut-Washer-Nut. The spacers are 1/4" ID 1/2" OD. The nuts are 1/4-20. The Waher is a 5/8L beveled faucet washer. The hole in the washer must be expanded with a 1/4" Drill Bit to fit on the bolt.
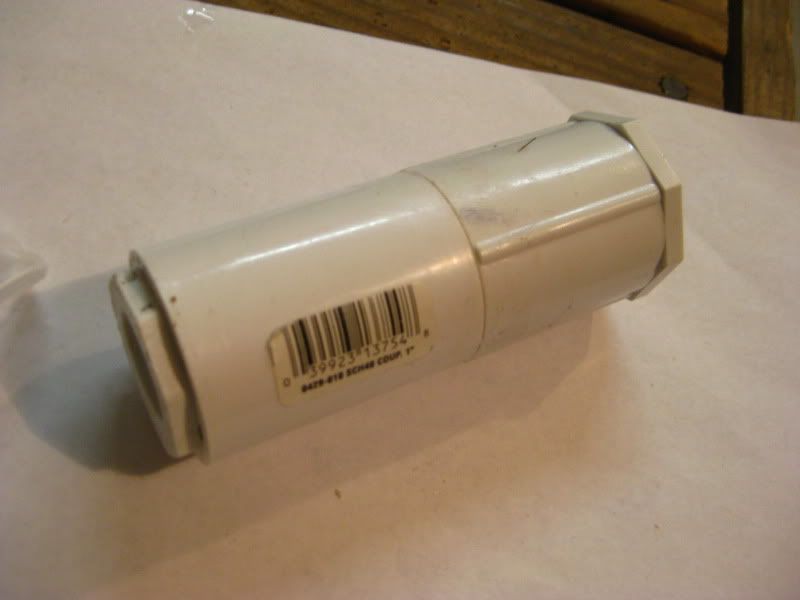
Cut a 2 1/4" Piece of 1" PVC. I used thinwall, but I doubt it makes much of a difference. PVC cement this piece between a 1" Coupler and a 1" to Female Adapter. Also, cement a 1" to 1/2" Reducer into the other end of the 1" Coupler.
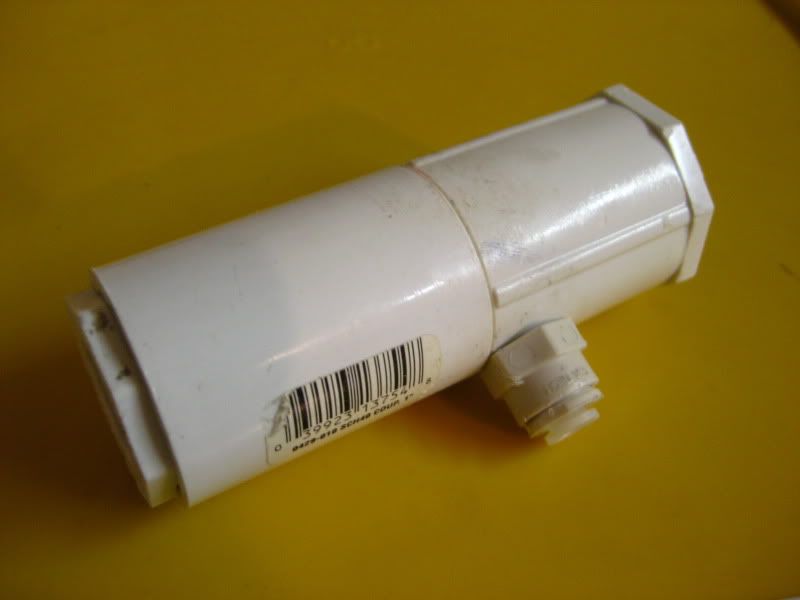
I needed a way to get air into the tank of course. I chose to use the method Whisper101 posted, but there are many other options. Drill a 3/8" Hole into the side of the adapter. Tap it with a 1/8-27" Tap.
Now you can thread in whatever 1/8" NPT fitting you want. An example is a 1/8" NPT to 1/4" OD Quick Connect. I decided to go with a 1/8" NPT to 1/8" Hose Barb because I needed the other fitting for another project. I gooped in the adapter, but Teflon seal tape can keep it sealed fine as well.
Edited by venom213, 13 March 2011 - 02:39 PM.


