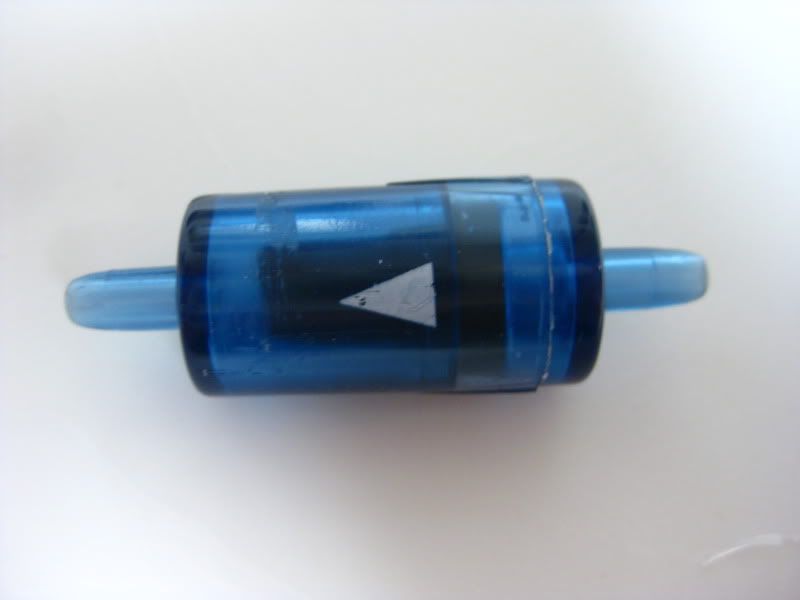
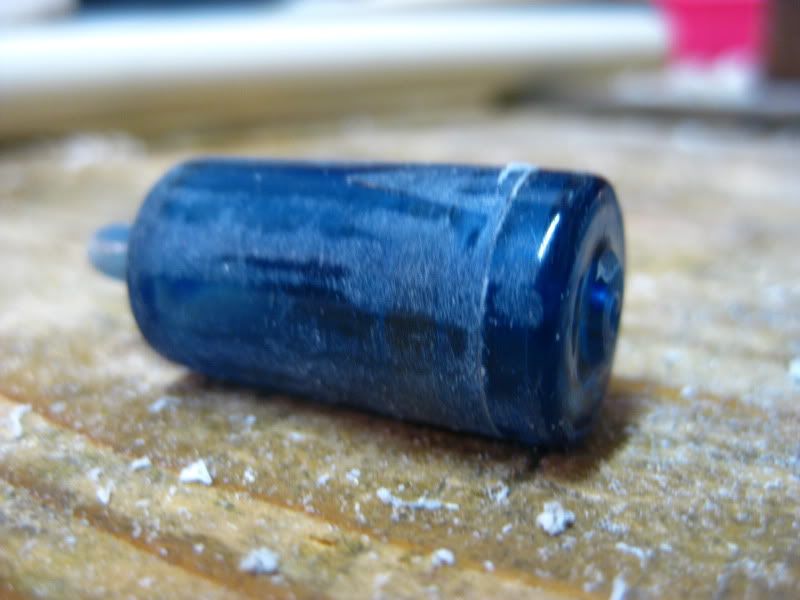
The basis of this is the check valve. These are available at Wal-Mart for about $2 and Petco for a bit more.
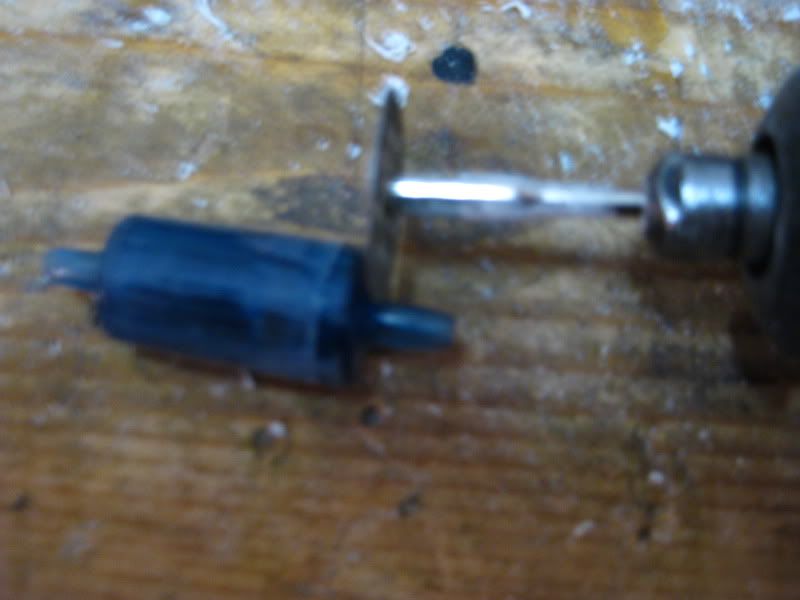
I cut off the one of the connectors on the valve with a dremel. I then sanded it down flush. I also roughed up the sides of the valve so it will bond into the PVC better.
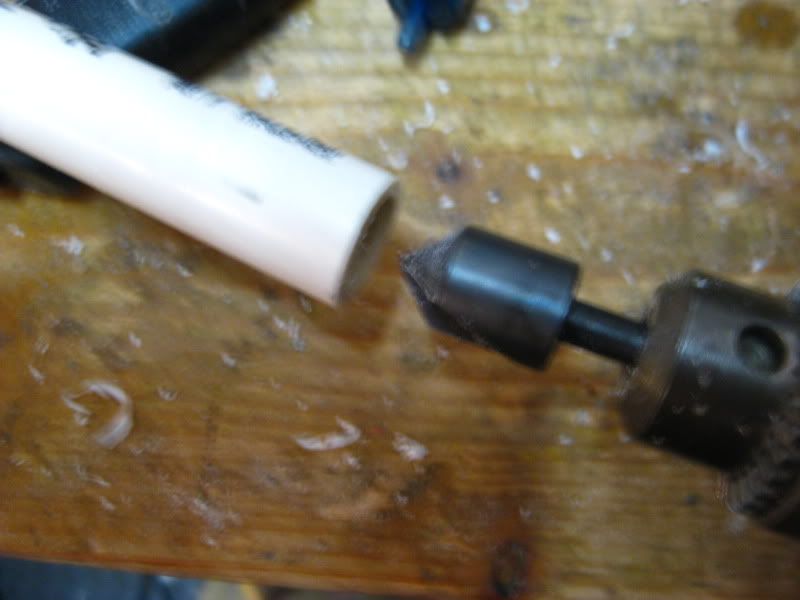
I drilled into some 1/2" SCH 40 PVC using a 5/8" countersink bit. For some reason, using a standard 5/8" Spade bit made the hole too large. You want the check valve to fit in snugly. Drill in as far as roughly the length of the check valve (it doesn't need to be super precise).
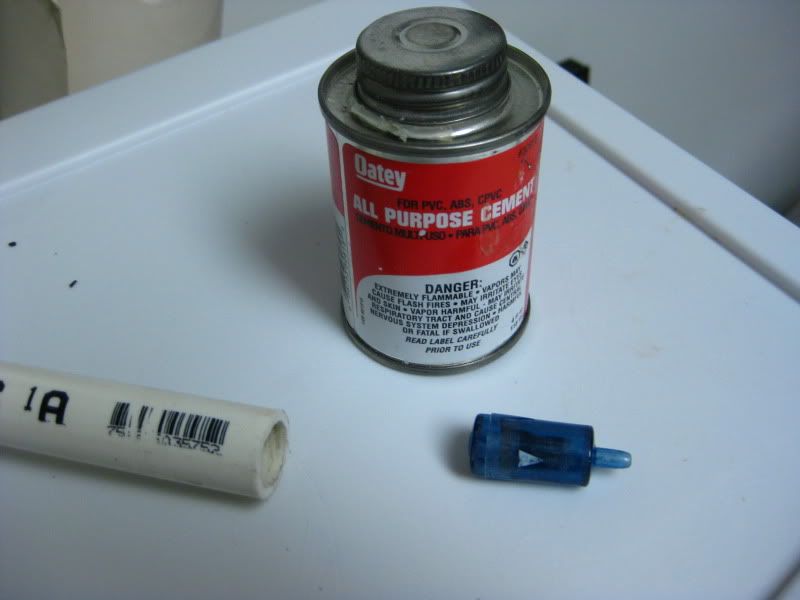
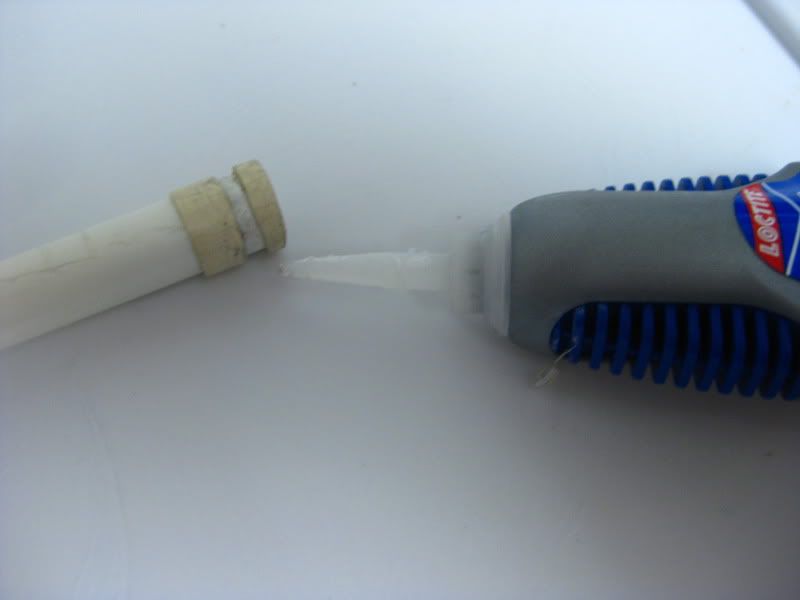
I solvent welded the check valve into the PVC. I then used a rag (avoid contact with skin!) to clean up and even off the excess.

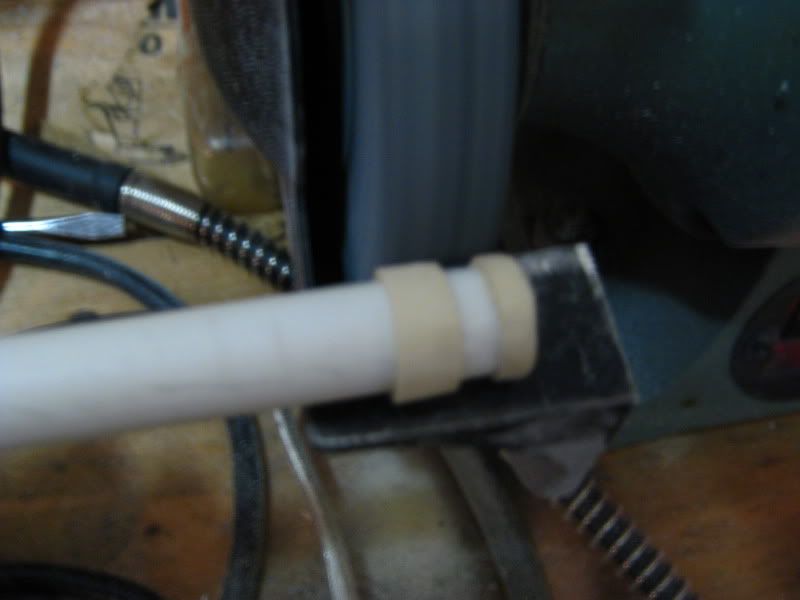
I took a length of 1/2" CPVC, drilled through it with a 1/2" Spade Bit, and cut some small pieces off of it (about 1/4" or less). Next, I took some 3/8" ID 1/2" OD PEX (this is the pump rod) and test fitted the CPVC pieces on it. They need to slide on with a little friction, but not too much. If the CPVC doesn't slide on well, expand the ID of it more using a dremel with a sanding drum bit. Once I had the CPVC on the PEX how I liked it, I ground the CPVC rings down using a bench grinder. They need to be able to slide easily in and out of the 1/2" PVC pump tube. Test fit them as you go.
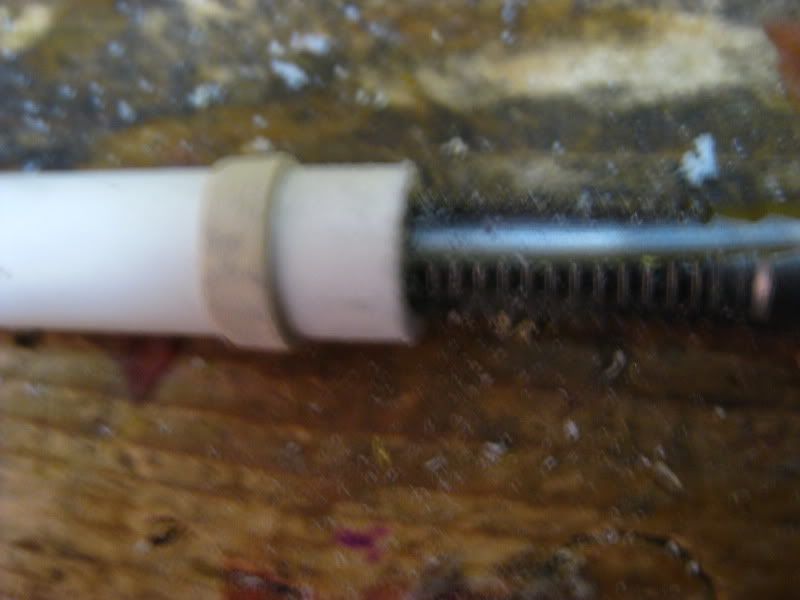
To plug up the nylon rod, I use a small section (1" long or less should be fine) of 3/8" Threaded Rod. I cut a slot in it with my dremel to make a crude set screw.
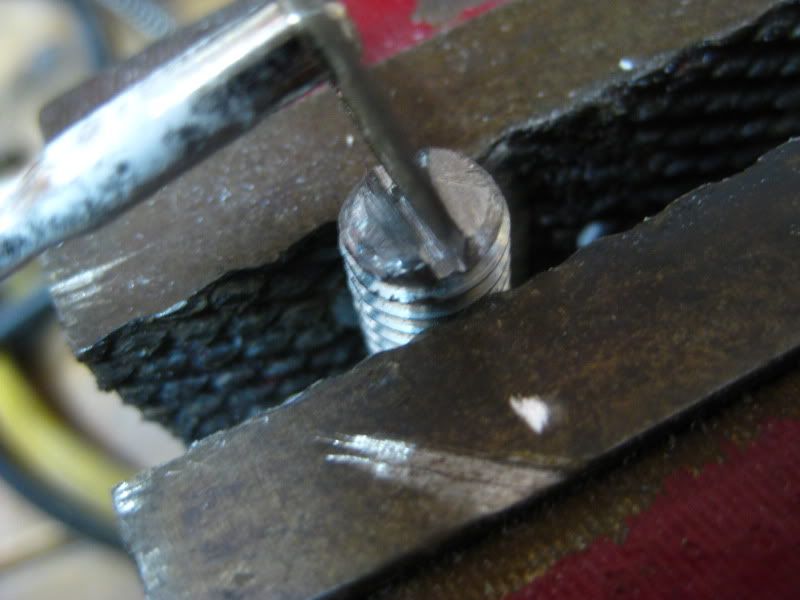
I tapped out the nylon rod with an according tapping bit. I could have probably threaded the 3/8" Rod in without tapping, but I figured why not. I didn't use any adhesives on this part, but if it ever leaks I plan on threading it in with some plumbers goop on it. I threaded the rod so that the head of it was about 1/4" in past the edge of the PEX.
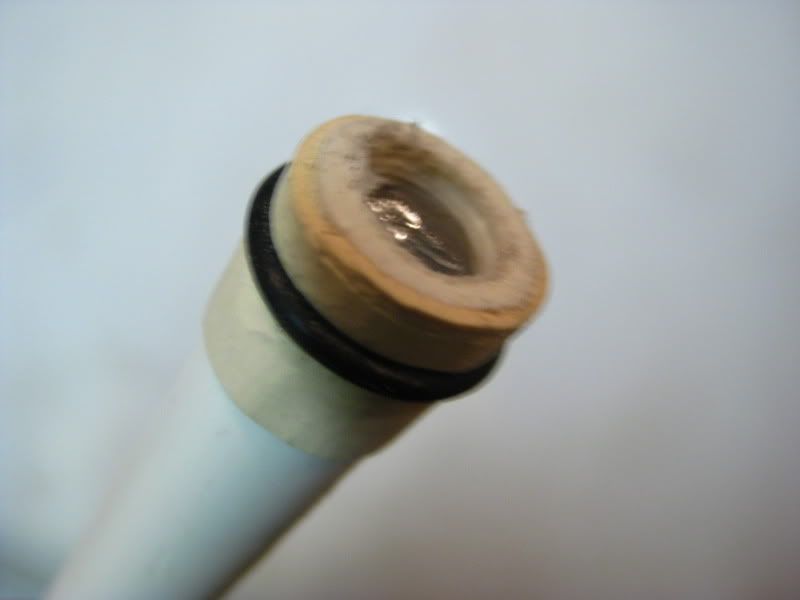
I took a 5/8" OD 1/2" ID O-Ring and put it on the pump rod between the CPVC rings. I spaced the rings accordingly to make room for the O-Ring. The O-ring may or may not need modification in order to fit in the plunger tube. This is due to the inconsistency of PVC and (to a lesser extent) O-rings. I had to grind the outside of the O-ring down a bit to get it to fit well in the PVC. Keep lubricant in mind as it can majorly change the level of friction. Test fit the O-ring frequently and lube it some as well.
When I was sure that the CPVC was spaced apart right, I glued the rings in place with super glue. I took the O-ring off of the rod while doing this. Avoid contact between super glue and the oring as well as your flesh.
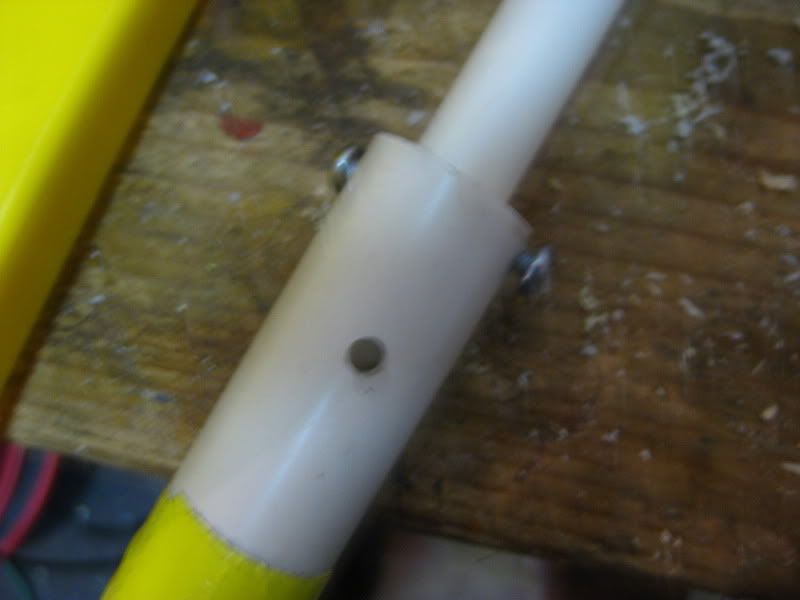
I drilled a hole right below where the pump head extends to when the pump is fully extended out. This was so that in case a vacuum was created, more air could get into the pump. I hope to phase out this element in future designs. I drilled and tapped two holes at the end for small 6-32 Screws to go into so that the pump shaft stays in. There are many ways to do this and this is not the best, just preliminary work.
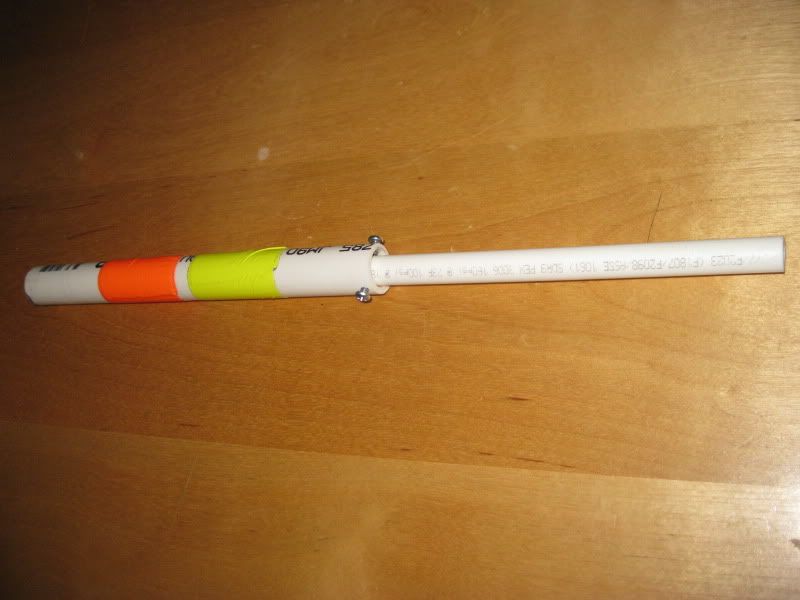
The end result.....for now. The tape is on it for identification.
So, did it work? Sort of. Sometimes it wouldn't really build pressure at all. Other times it would take a great deal of pumping but could in fact make some decent pressure. This will take a great deal more experimenting to perfect. Basically, before I could get any serious testing done, the CPVC rings on the pump head broke off (I only gave the super glue a few minutes to dry) so I couldn't use them anymore. I tried this crude solution:
Just wrapping e-tape around the rod seemed to form somewhat of a seal. I also tried using an AT2K pump rod, which worked the best. I didn't seal the vinyl tubing to the check valve at all. Since the connector on the check valve is not barbed, it was probably leaking. My testing was very sparse and inaccurate, I'm going to hold off on posting my results thoroughly until I have everything more organized and thought through. The bottom line is: This isn't a reliable build, but it has much room for improvement.
Edited by venom213, 13 February 2011 - 01:32 AM.