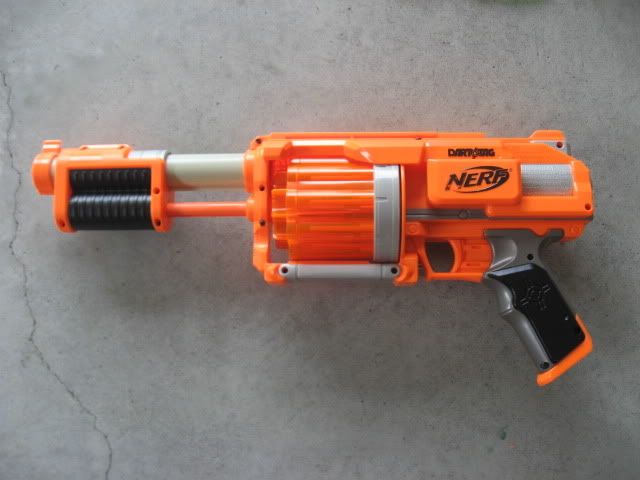
Hey dudes, phuonguyen and me were modding the 4 FuryFires I had in my garage and we decided to do a little write-up for you guys who are interested in a FuryFires but didn't know whether they should get one. However, before we begin, the FuryFires is a fairly intermediate gun to mod. There are so many fragile pieces that if you don't do it properly, you can cause it to break, fire like shit and make you rage. Successfully modifying this gun will bring great rewards because it can be a great side arm in an outdoor war OR a very good primary indoors. This is just a brief overview and won’t get into great detail.
Step 1:
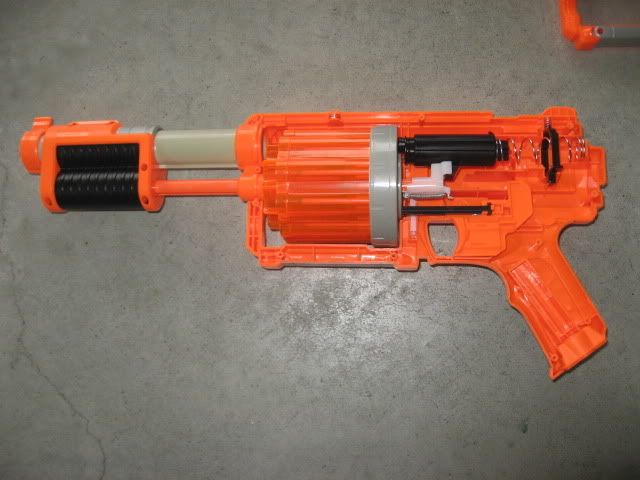
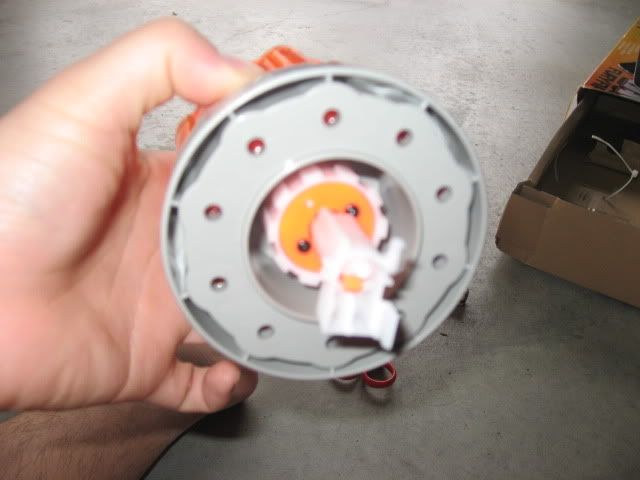
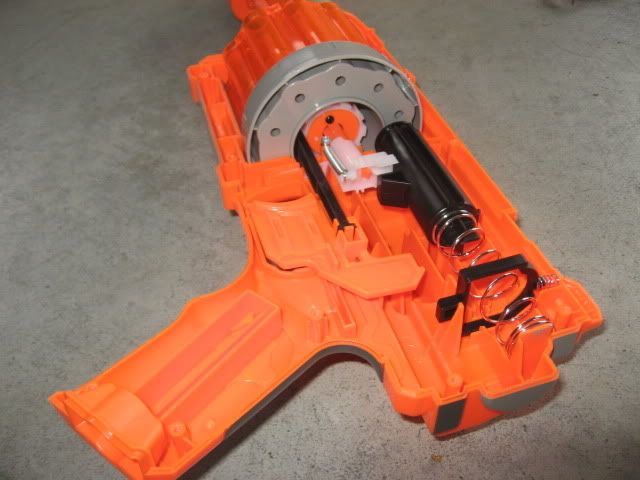
Open up your FuryFire of course! There are many angles of the internals because they are somewhat hidden.
Step 2:
This is somewhat very similar to a maverick but…
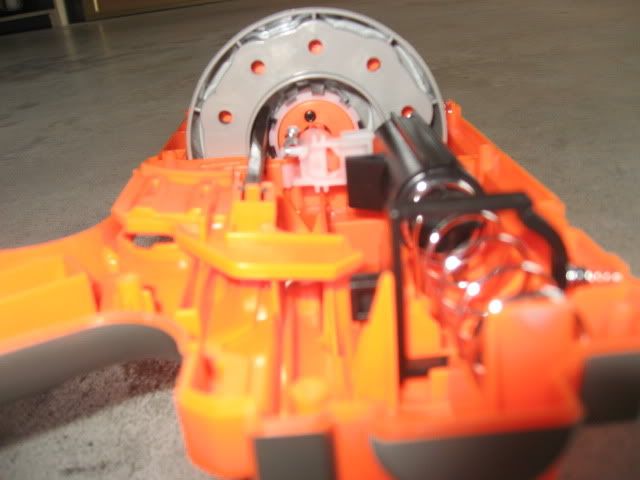
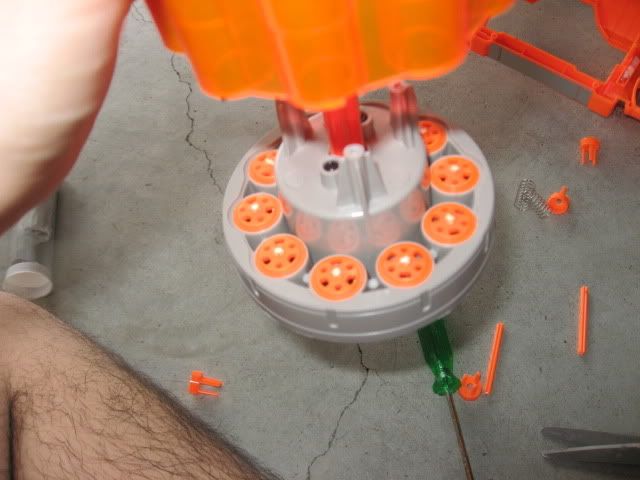
DO NOT OPEN THE SCREWS FROM THIS SIDE…
There are THREE hidden screws in the three holes presented in the picture below. You may need a thin screw driver to into the small area.
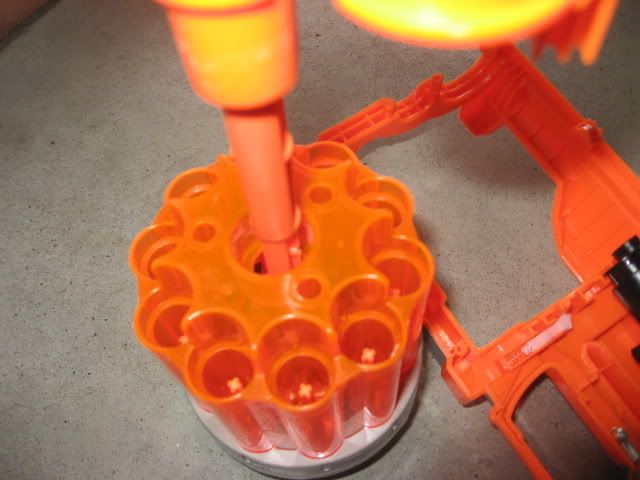
Step 3:
Remove the ARs, they will fall all out just like the Maverick would.
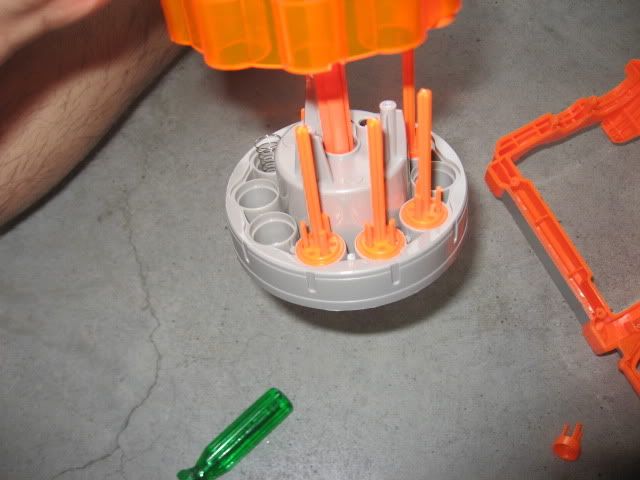
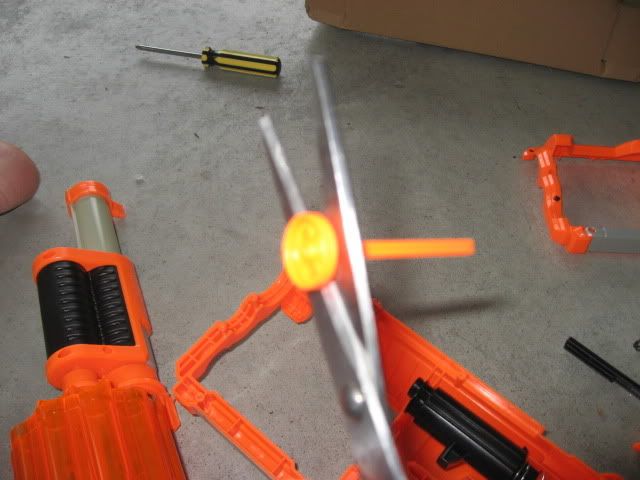
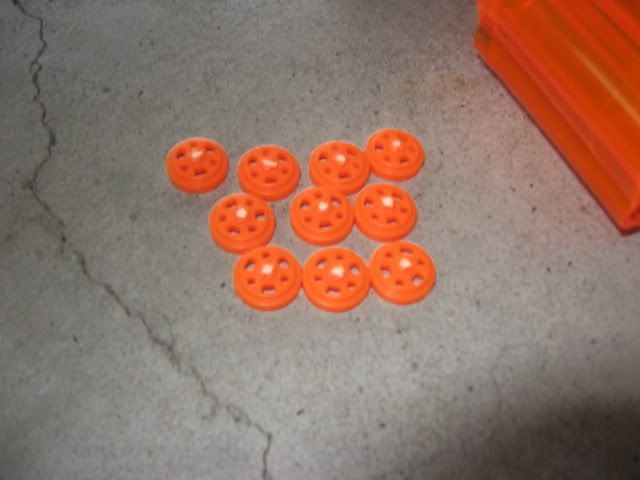
Step 4:
Remove the pegs by cutting it down with scissors. It is optional to drill it out or dremel it, but if you don’t do it properly, the seals will be crap and thus your gun will perform crap. It is very similar to the Maverick if you guys have modded one.
Step 5: Place the pegs back in and close up the barrel. Remember to line it up with the screws! There is even a groove marked in the gun on where you need to position the turret. Forgot to take a picture of that, will do it later.
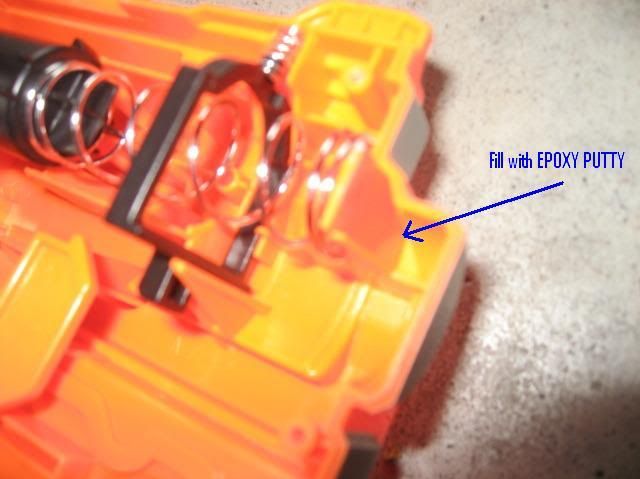
Step 6:
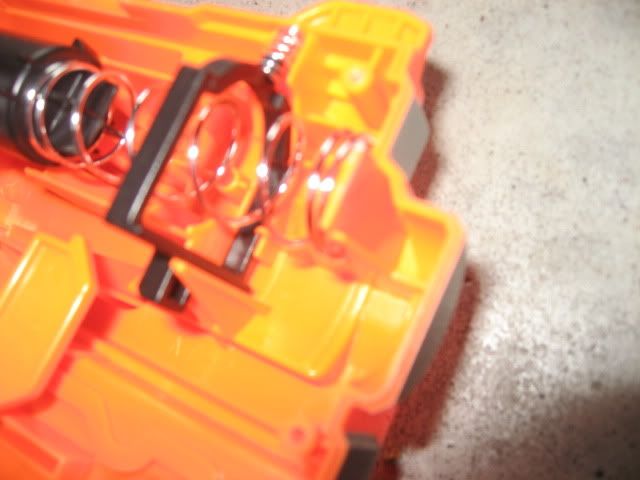
You will need to put some epoxy putty behind the arrow pointed in the picture below. If you were to use a stronger spring, that thing will snap right off. Inf0rm3r has experienced this so I took this into consideration. In the second picture below Step 6 you will see that with my upgraded spring I filled that dead space with epoxy putty.
Step 7: Time replace the spring! As you know replacing the spring in the FuryFire and Maverick is fairly hard as there isn’t any springs with ‘good compression’ or ‘the right size’. I bought my spring from black-tactical and work very well. Unfortunately you cannot purchase the spring anymore as they do not sell it on the Singaporean site anymore.
Above Picture: Stock Spring (from the internals picture) Below Picture: DTG upgrade spring from black-tactical.com
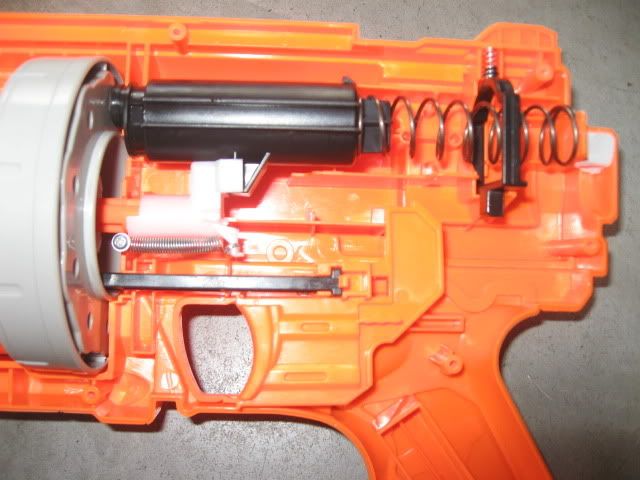
Step 8:
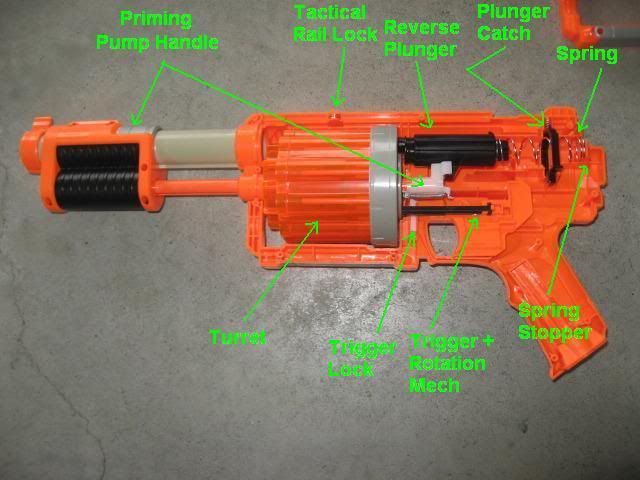
Place the gun back together. I can’t really explain how you would do this as there are many bits and pieces, but the internals picture will give you somewhat of an idea on what you need to do. The best I can do is label bits and pieces shown in the internals pictures for you. The rest is up to you.
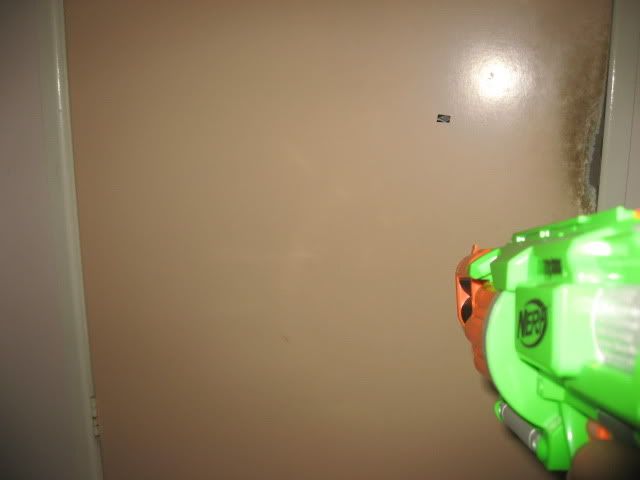
You’re done! Ranges are very impressive for a small reverse plunger gun.
PTG: 15metres (45-50ft) ATG: 20metres (60-65ft)
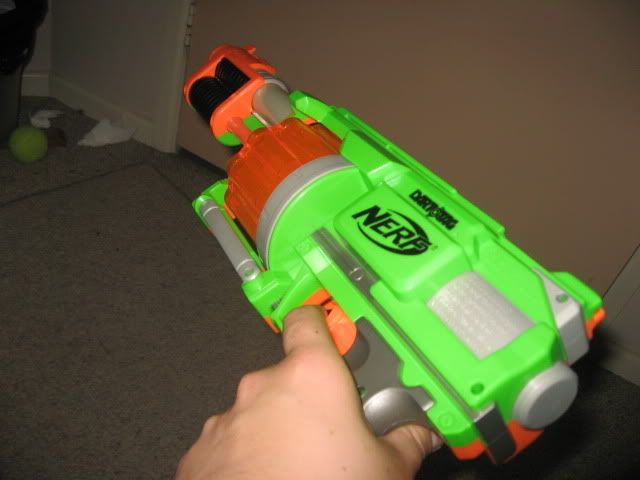
It’s a great all rounder gun to modify, but only recommended if you have at LEAST modified the maverick and a few other guns. It dominates in a lot of wars. The best example being that inf0rm3r’s best mate is almost impossible to rush when combined with his Big Blast and FuryFire. Signing off with another first person shot...
Video:
I've seen one or two write ups on this modification, but this is my outlook on it. Enjoy .
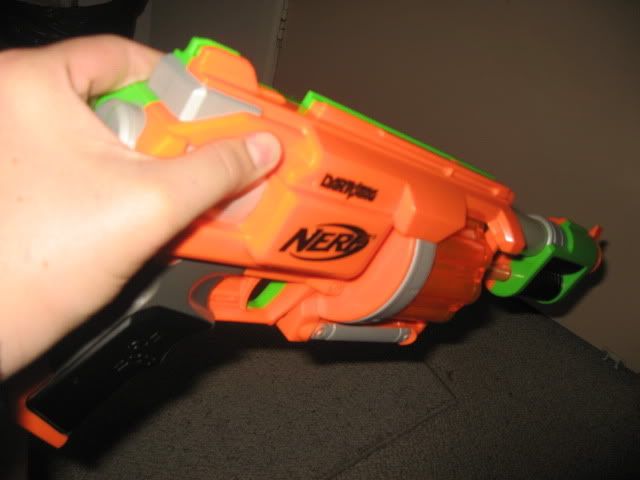
Here's something you can do with your Furyfire sets. I dual toned mine and they're pretty mad looking...
When you removed the air restrictors, you only removed the pegs. You should probably remove the whole thing, as to improve air flow.
I agree. Also very nice, I have a stock Furyfire laying around so I might do this.
0
Draconis:"Youtube is a cesspool of coagulated troll urine, created by the inane electronic babble of people with no better use of time than to comment on videos silly people post."
@the mod man & utahnerf - The only real purpose I saw in removing the pegs is to be able to use streamlines (for those who use stock darts for Nerf Wars). From my experience, I have tested drilling out the PEG for 'better airflow', it does not improve the range at all. So I didn't see the point of putting unnecessary effort.
It's just a 'tiny' common misconception of modders in increasing air flow. I doubt it really gives you the extra 5 or so feet from what I've tested.
@cheerios - I'm not sure what you mean I got the pictures of the springs mixed up. However, the stock furyfire spring is EXACTLY like the stock Maverick spring. The spring I used actually has some 'kick' to it. Unfortunately, you can't purchase this spring from SG anymore cause it's out of production .