
The key to it all: #684 838

They come in 4 packs, 2 of this spring (24.8 lb load) and 2 of a much shorter 44.7 lb spring. All for cheap.
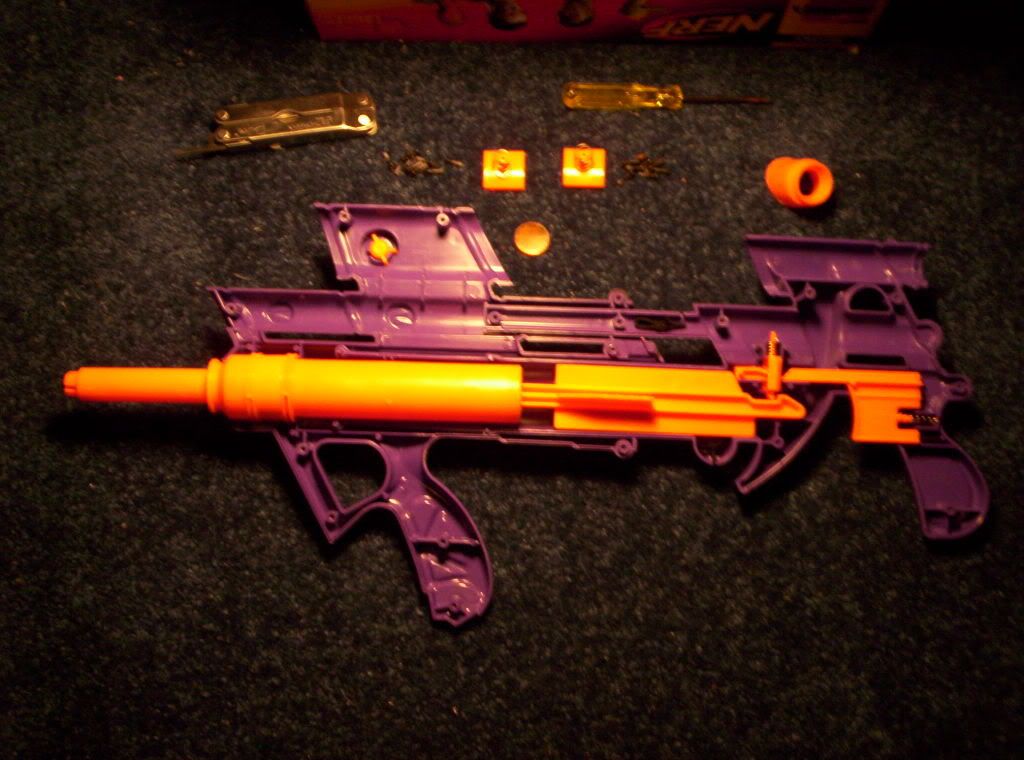
Open up your blaster, pop apart the two halves of the back piece, and take out your plunger assembly.
LINK TO INTERNALS DIRECTORY FOR REFERENCE
Pop the rubber plunger head off, long with the plastic disc used as the spring rest.
Take a 1 1/16" piece of 1/2" PVC (yes, that is an exact measurement. Any more, and you can't actually prime the blaster), and file out 4 corners for sliding the plunger rod inside. Take ~1/2 a PVC coupler (without the ridge on the inside), and slide it to be flush with one side of the pvc pipe. Cement in place to make it solid. Slide down the plunger rod, wide end facing the end of the plunger tube. Easy to figure out on assembly; the wide end is supposed to spread the load out on the rest of the tube.


Take that plastic disc and use a 5/16" steel washer to reinforce it. Cut the slice out so you can still slide it back on, of course.

Slide on your spring (should rest against the PVC pipe), slide the disc back in place, and slide back on the rubber plunger head. Replace that by your preferred method; since mine seems to be mostly airtight, I'm skipping that for now.
The front piece with the arrow barrel? Cut that off. I kept mine and placed some CPVC inside it, so I can still fire arrows. Anyhow, the leftover hole fits 1/2" CPVC perfectly. Carve out the inner ridges on the orange piece, epoxy in half of a CPVC coupler, then fill in the dead space with hot glue and 3 layers of craft foam donuts. With holes slightly smaller than your barrel material, of course. Dart stop/plunger cushion combo all the way.


Reassemble everything, and you're set. It's a bitch to prime, relative to some other things, but with a 6" barrel, I hit 90+, and an 8" barrel is passing 100 feet consistently. I got lucky with the stock seal.

And that's that. I need to reinforce the internals a lot more (epoxy putty, anyone?), but for how cheap the materials were, the results are awesome.


