Jump to content


Photo

Expand A Blast, Sane813 Style (picture Heavy)


7 replies to this topic

#1 SlightlySane813

SlightlySane813

    Member

  • Members
  • 213 posts

Posted 31 December 2010 - 04:37 PM

So for christmas my parents got me an actually good, full of vintage, lot of nerf guns. In this lot contained an Expand a Blast. So normally I hopped on nerfhaven and didn't find any mods that mainly contained supplys that I had on hand, and so I went to work keeping in mind that I want to at least make this gun secondary worthy.

This was the outcome
Posted Image
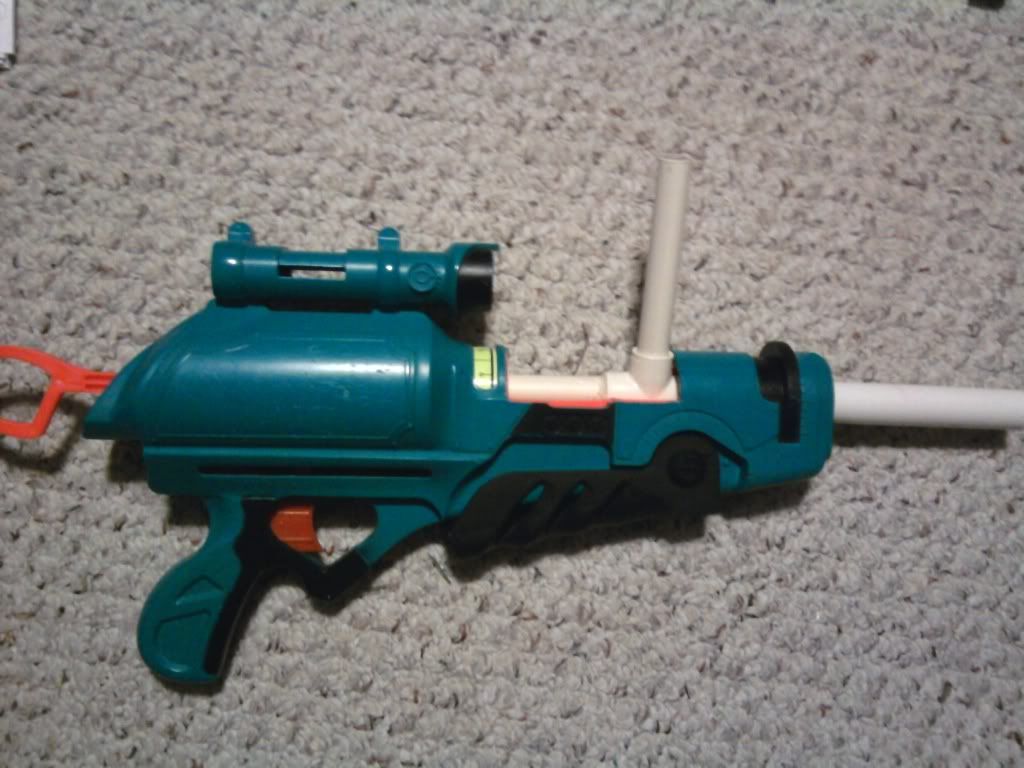
I thought Effeminate Longshot style Expand a Blast

Now to make this you will need

Tools:
dremel
sandpaper
hot glue gun
wire snips
needlenose pliers
screwdrivers (of course)

Supplies:
Buzz Bee missle (yellow one)
Longshot front gun long barrel
2: 1/2" CPVC couplers
1/2"
1/2" PVC coupler
1/2" CPVC tee
1/2" CPVC
1/2" PVC
extra springs
electrical tape
sheet plastic
epoxy
One bone stock Eab

First open up the gun and take out all of the internals throw away the useless stock but before you throw away the front barrel you need to take your needlenose pliers and remove the rubber black piece on the back. Put this aside for later. Throw out the barrel and remove the ar's using the neddlenose pliers

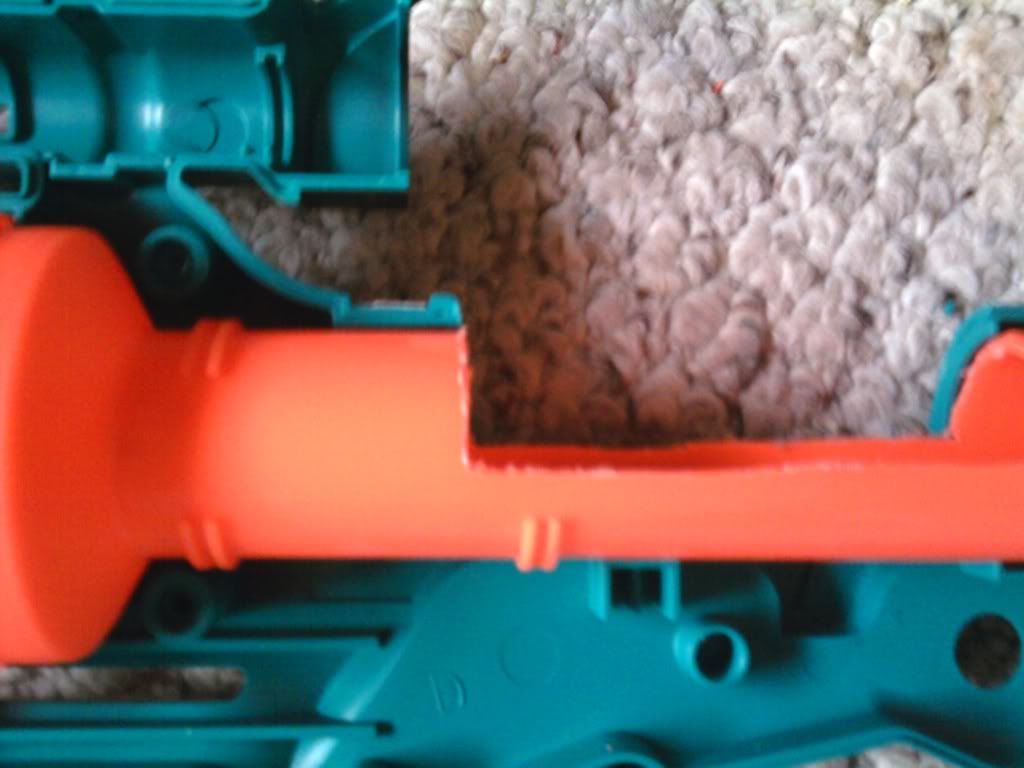
Then you need to cut down the shell.
On the inside you need to cut up to the line that holds the ridge of the orange piece
Posted Image

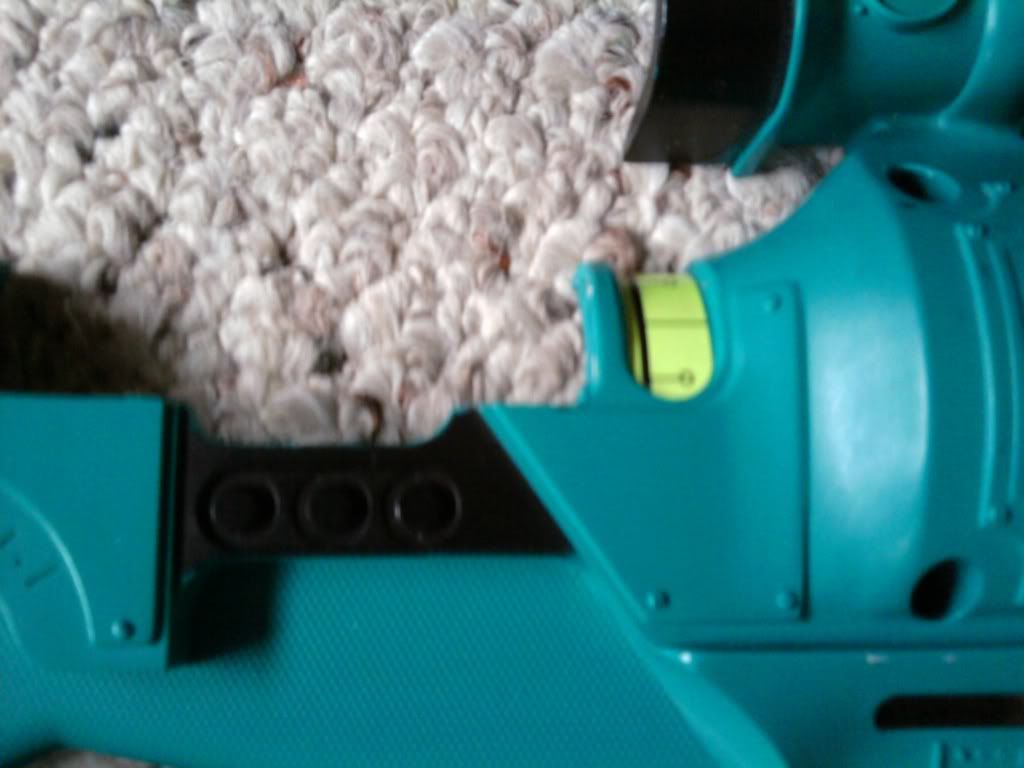
Then on the outside right in front of the scope you need to cut out the smaller sticker ditch and then connect these two cuts in the middle of the oval on the side. (shown below)
Posted Image

Then take the orange plunger tube and barrel piece and replace it back in the shell and cut the same hole that you cut in the shell.
Posted Image

Next you want to cut up your Buzz Bee missle and save a .5-.75 inch bottom part of the missle that wraps around the dart peg.
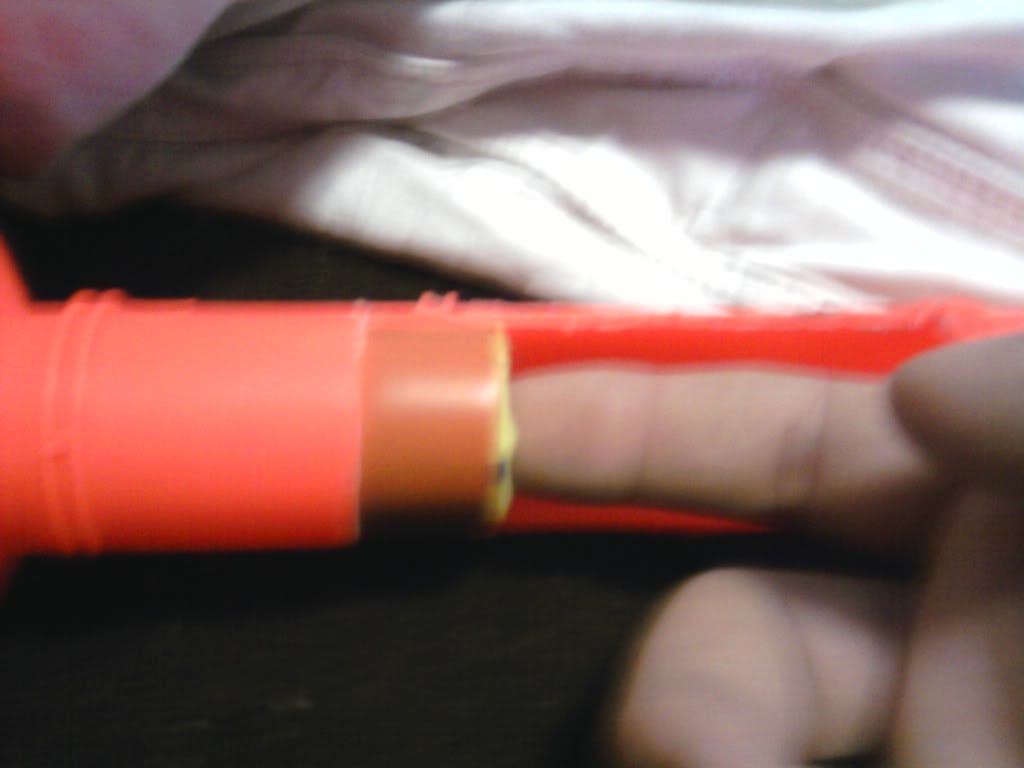
Then take the longshot barrel and cut a segment and glue it in the Buzz Bee foam. Wrap a good amount of electrical tape around the foam and glue the black piece from the front barrel on top
Posted Image

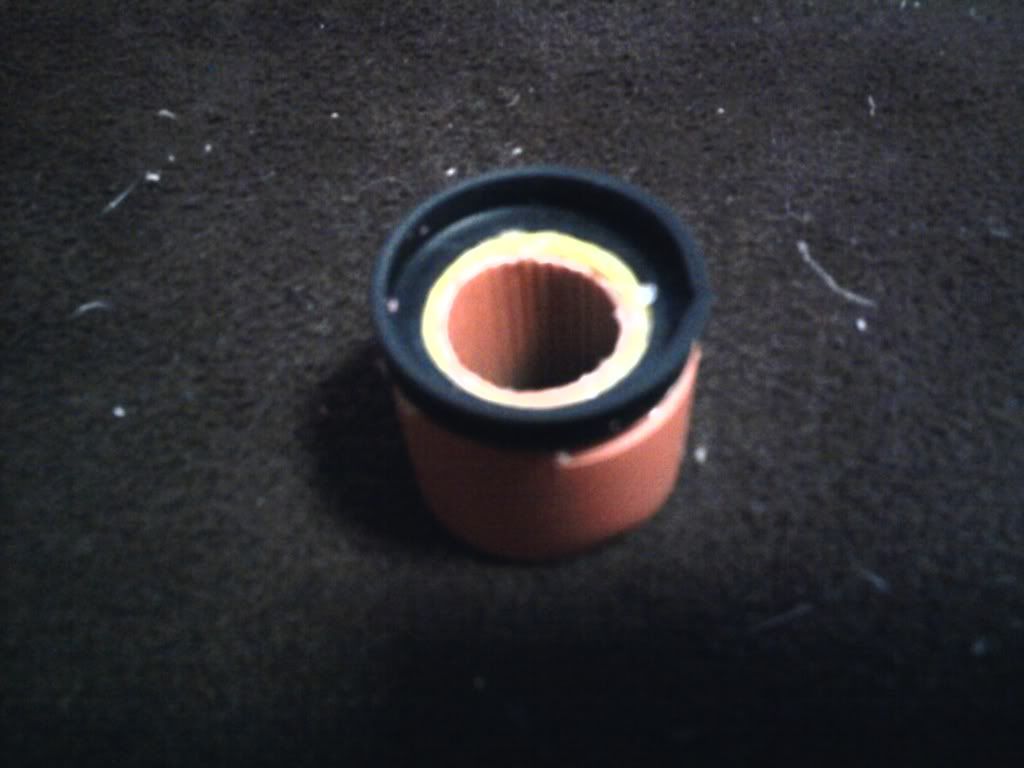
Glue this piece inside the barrel at the back of the orange tube, black piece first.
Posted Image

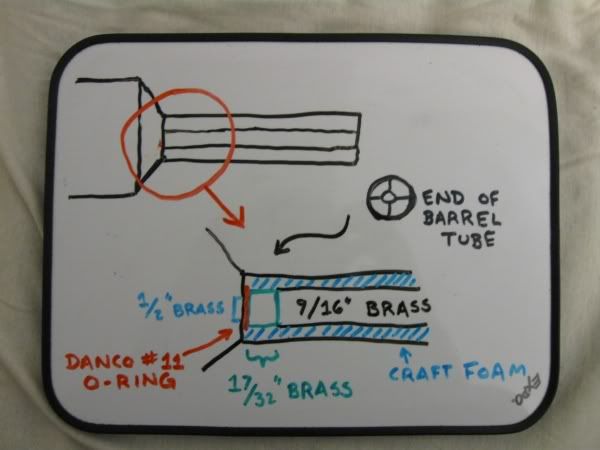
After that we need to assemble the front barrel.
Take the 1/2" PVC coupler and wrap only on half in electrical tape until it fits snugly in the front of the orange barrel. Take a 1/2" CPVC coupler and push it in to the side of the PVC coupler with the tape on it and insert a segment of scrap CPVC in the coupler. Push this piece in the barrel so the electrical tape is just inside it. Then mark where the CPVC comes out of the tube.
Posted Image

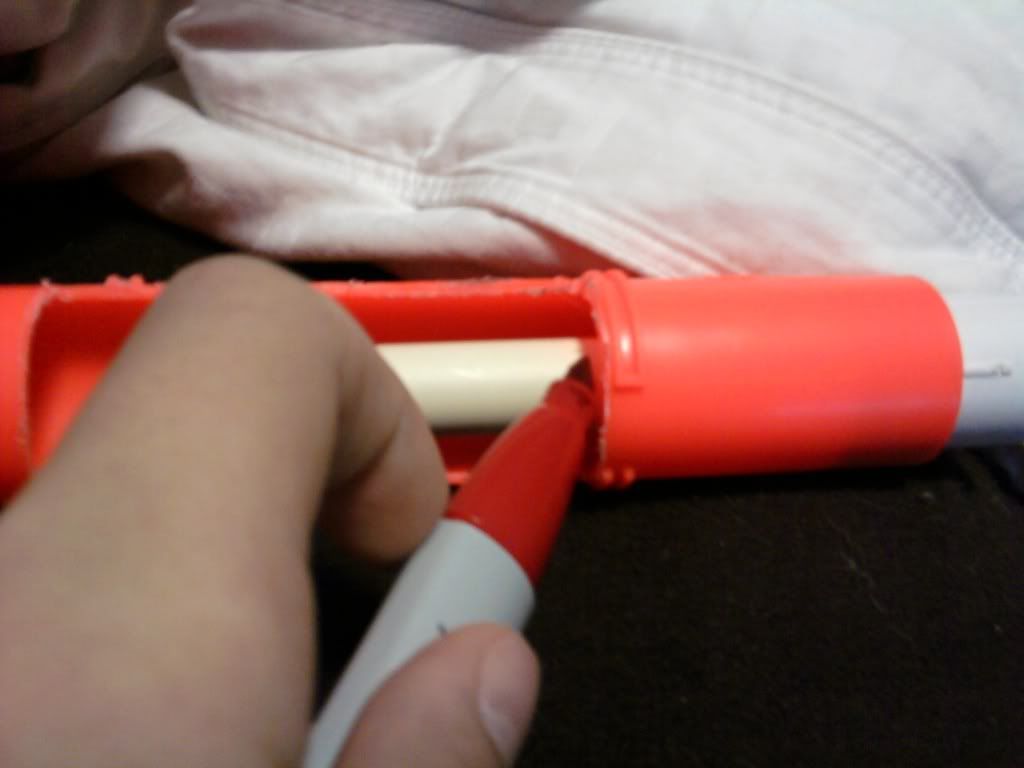
Cut this line and tape it on to the end of another segment of CPVC.

Posted Image

Next cut the other CPVC coupler slightly of from the middle and sand inside so CPVC can slide through nicely. Then assemble by raming the CPVC coupler ring in the 1/2" PVC coupler like so.
Posted Image

After that string the piece of CPVC into it so it looks like this.
Posted Image

Now measure from the halfway point of the 1/2"PVC coupler to the end of the barrel and cut a segment of 1/2" PVC to that length.
Posted Image

Remove the taped piece of scrap CPVC and hammer the CPVC barrel into the PVC.
It might help to boil the piece of PVC before hammering.
Then finish the front piece by epoxying the front barrel on.
Do not epoxy front piece into barrel yet

Next the bolt. Insert your plunger with no springs and take a segment of CPVC and push it down the orange tube until catch on plunger rod lines up with the catch. Mark the length of the CPVC where the cut in the plastic is.

Posted Image

Take your sheet plastic and cut out a circle the size of the orange barrel. Then center the piece of CPVC that was just cut and draw a circle of where it is. Then remove the plastic in the middle. I personally melted it away using the tip of my hot glue gun.

Push the CPVC into the newly made hole, the tighter the better. put some glue around the bottom and the result should look like this.
Posted Image

O.K. almost done.
Double check the fit by inserting the piece above through the plunger tube and attach the tee with the handle to it. When fit on the handle should be hitting the front part of the breech opening. Epoxy these pieces together and push the bolt foward.

Finally put epoxy around the electrical tape on the PVC coupler and push it into the front of the orange barrel.
Keep pushing until the CPVC out the back of it is fully on the CPVC tee.

End result should look like this.

Posted Image

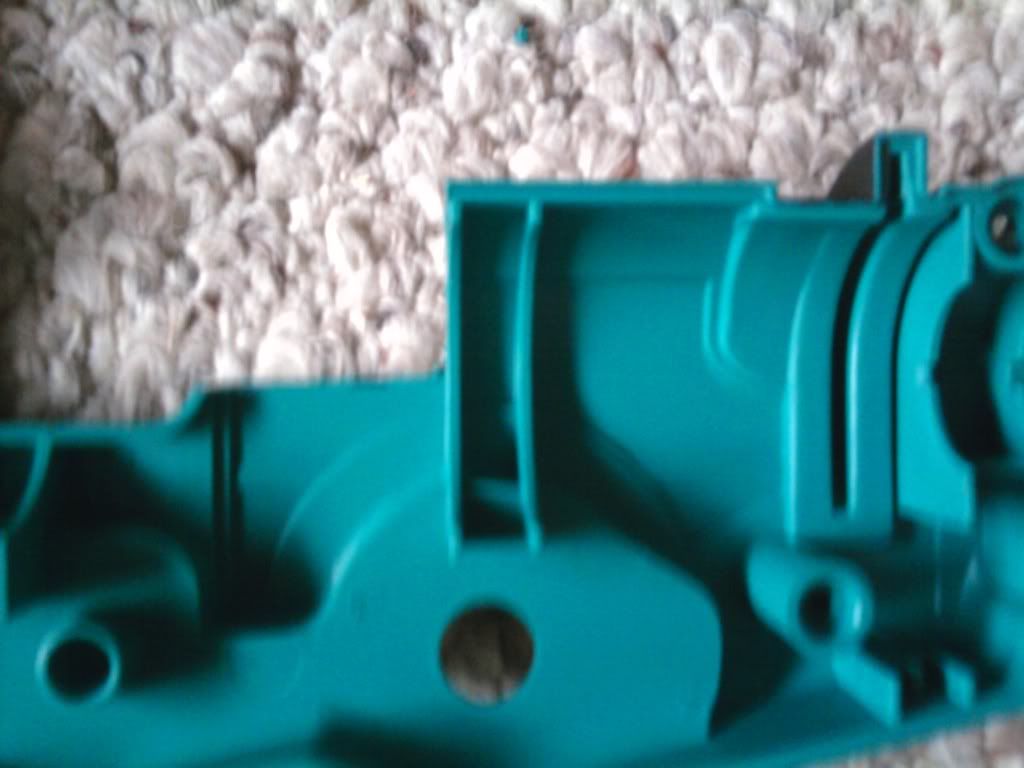
Exposed internals should look like this.

Posted Image

Shave down any plastic in the front of the gun.

And your done.

I have no ranges.

But I need a name.
  • 0
Also known as the French Canadian eh!

#2 Goldie

Goldie

    Member

  • Members
  • 62 posts

Posted 31 December 2010 - 05:07 PM

I like it, Blue add this post hast!

As for a name I would call it "moduler EaB breech".

Props dude.
  • 0

Longshots are terribad and you should feel bad.
Crossbow shells suck and your mom sucks.


S.C.U.N.

#3 NerfGeek416

NerfGeek416

    Member

  • Members
  • 151 posts

Posted 31 December 2010 - 05:37 PM

Does opening the breech cock the gun, or am I not understanding this?
Either way, props.
  • 0
 

#4 Abyss Mods

Abyss Mods

    Member

  • Members
  • 205 posts

Posted 31 December 2010 - 05:38 PM

Very nice. This makes me want to get my hands on an EaB. Do you have ranges or estimated ranges?
  • 0

#5 SlightlySane813

SlightlySane813

    Member

  • Members
  • 213 posts

Posted 31 December 2010 - 05:47 PM

Does opening the breech cock the gun, or am I not understanding this?
Either way, props.


Ya the plastic piece pushes the plunger back. I need to add a stock the plunger rod kinda gets in the way.


Very nice. This makes me want to get my hands on an EaB. Do you have ranges or estimated ranges?


I do not have ranges as stated before and a christmas tree blocks the longest part of my house. Plus the big blizzard that hit New England is stopping me from getting ranges.
  • 0
Also known as the French Canadian eh!

#6 the mod man

the mod man

    Member

  • Members
  • 79 posts

Posted 31 December 2010 - 06:02 PM

Great mod, finally I have something worthy of my EAB.
  • 0
Draconis:"Youtube is a cesspool of coagulated troll urine, created by the inane electronic babble of people with no better use of time than to comment on videos silly people post."

#7 dizzyduck

dizzyduck

    Member

  • Members
  • 627 posts

Posted 31 December 2010 - 07:23 PM

Nice work.

I have a question:
At the end of the "funnel" part of the EaB plunger tube right where it reaches the narrower diameter, there is a small barrier (In my EaB Mk. II I managed to fit a piece of 1/2" brass through the center of it). Did you have to remove that part or did you dremel the opening wider so that the CPVC could fit?

*EDIT*

Posted Image

Should explain what I'm referring to.

Edited by dizzyduck, 31 December 2010 - 08:44 PM.

  • 0
Duck off.
Art & Stuff

#8 SlightlySane813

SlightlySane813

    Member

  • Members
  • 213 posts

Posted 01 January 2011 - 03:21 PM

Nice work.

I have a question:
At the end of the "funnel" part of the EaB plunger tube right where it reaches the narrower diameter, there is a small barrier (In my EaB Mk. II I managed to fit a piece of 1/2" brass through the center of it). Did you have to remove that part or did you dremel the opening wider so that the CPVC could fit?


As stated in the small paragraph below materials it say to remove the ar's with the needlenose pliers. The "end of barrel tube pic" that you have is the air restrictors I didn't go into much depth about it because i thought it was pretty common thing to rip out the air restrictor when removing any useless internals.

Edited by SlightlySane813, 01 January 2011 - 03:27 PM.

  • 0
Also known as the French Canadian eh!


0 user(s) are reading this topic

0 members, 0 guests, 0 anonymous users