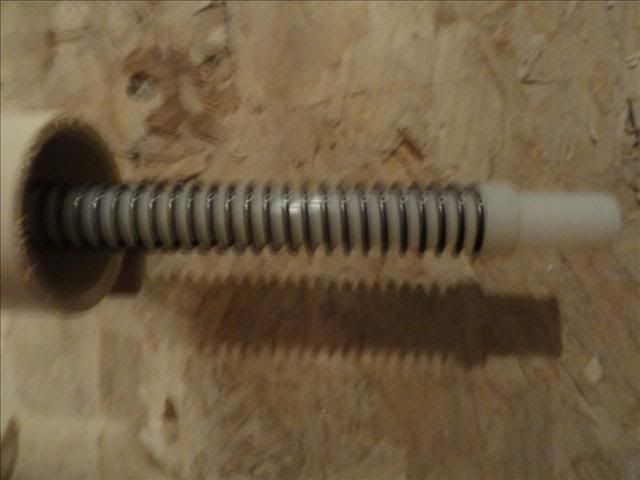
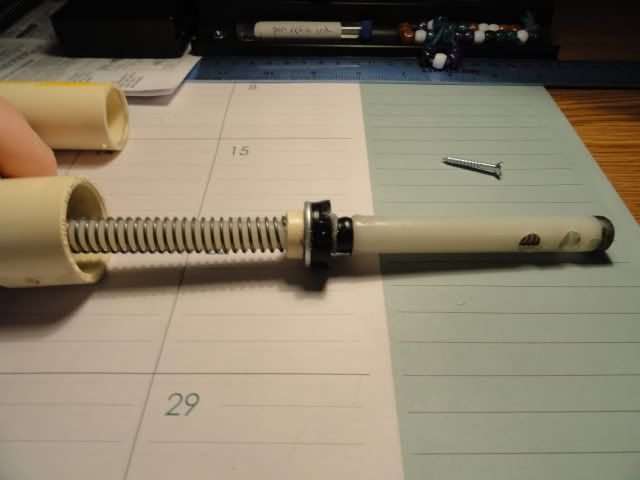
I have always been wanting to build a magstrike piston from the ground up, but also modify the design a little to allow for increased volume and capability of being integrated into a breech system to work with clips or magazines like in the stampede, longshot, etc. So, I got to work and came up with this:
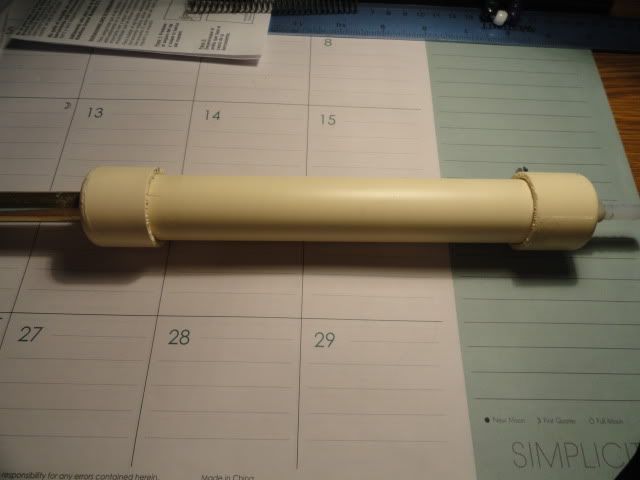
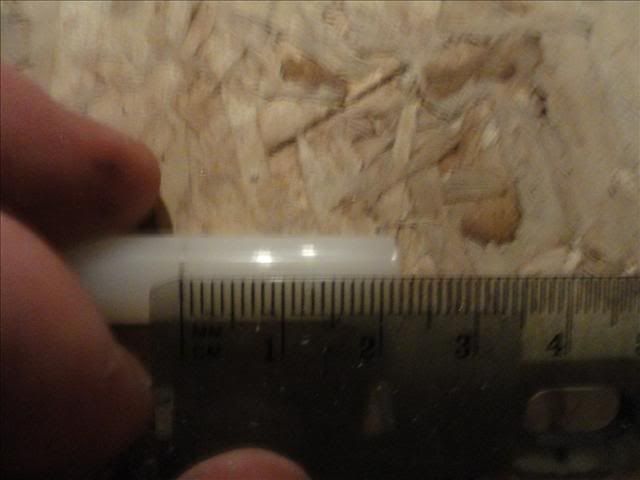
It is about 11 inches from end to end including the brass breech, so it is much larger than the magstrike version. The increased size is for increased volume and to accommodate a 2 inch breech. The cylinder is 1 inch cpvc.
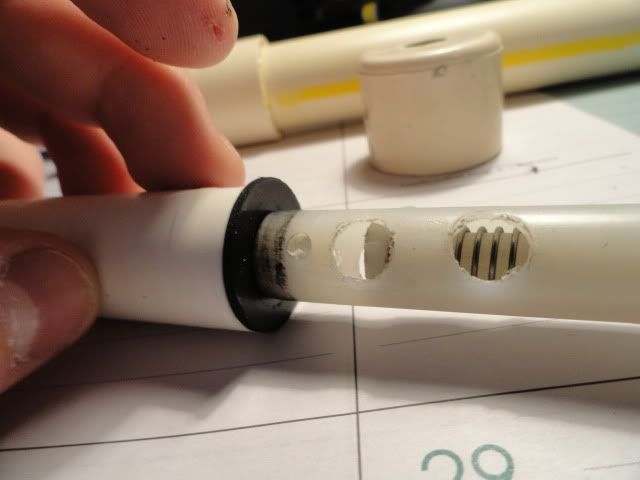
Internal Pictures:

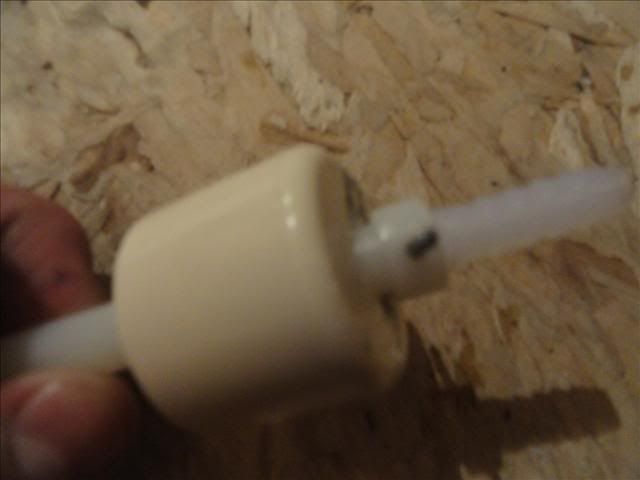
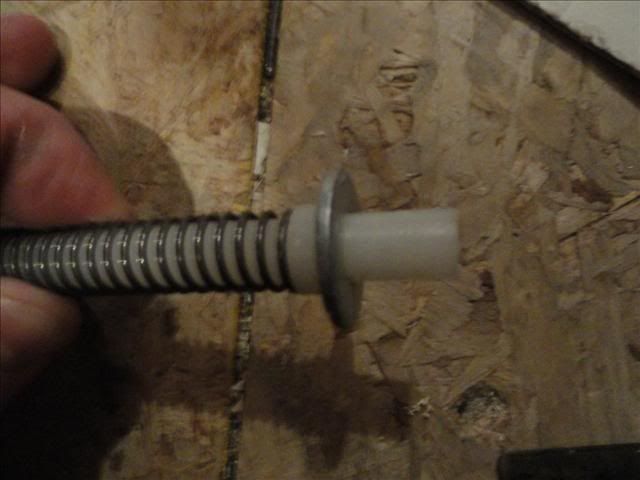
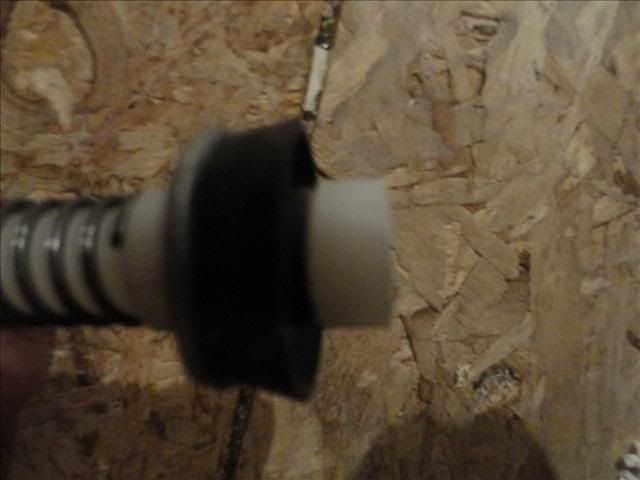
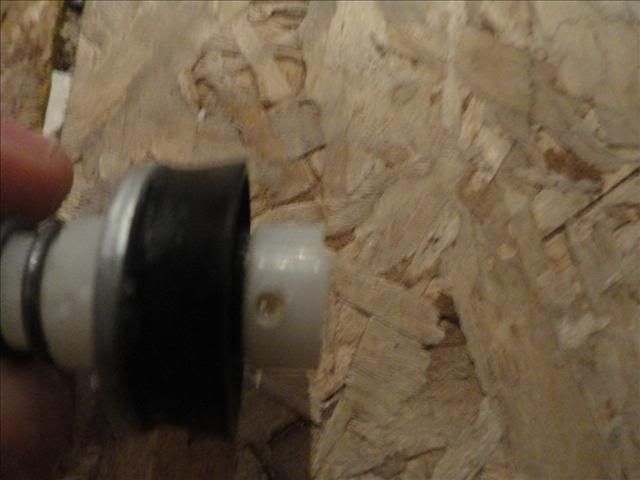
These two photos show the front portion of the piston in the retracted and forward positions that occur during firing.
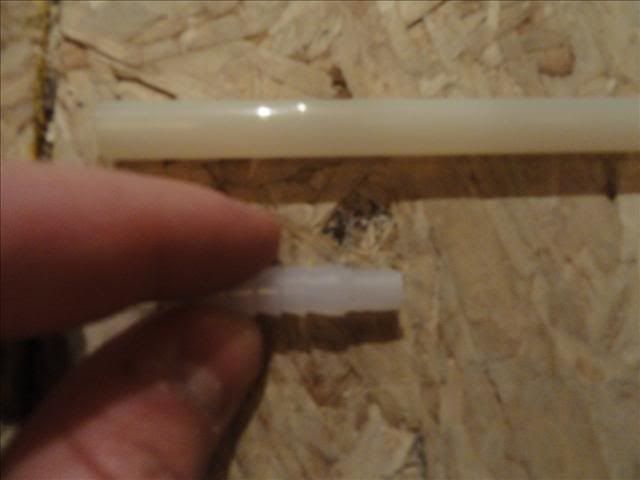
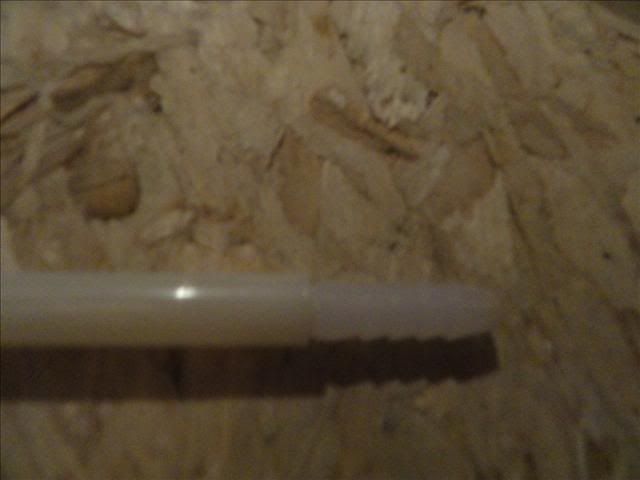
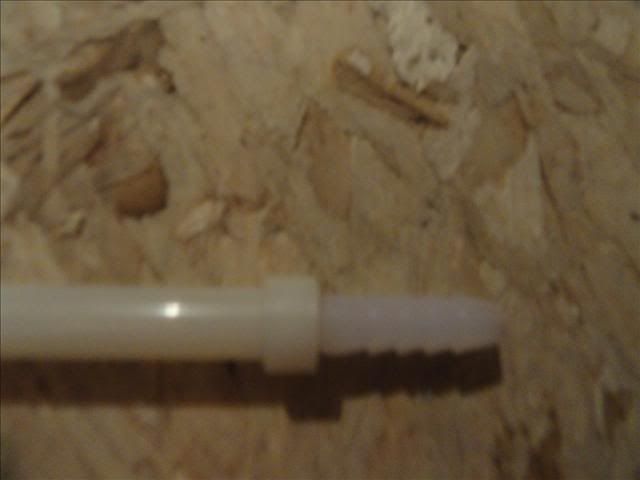
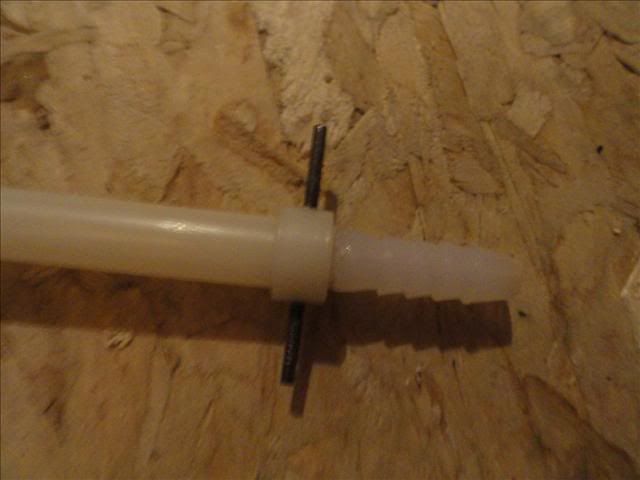
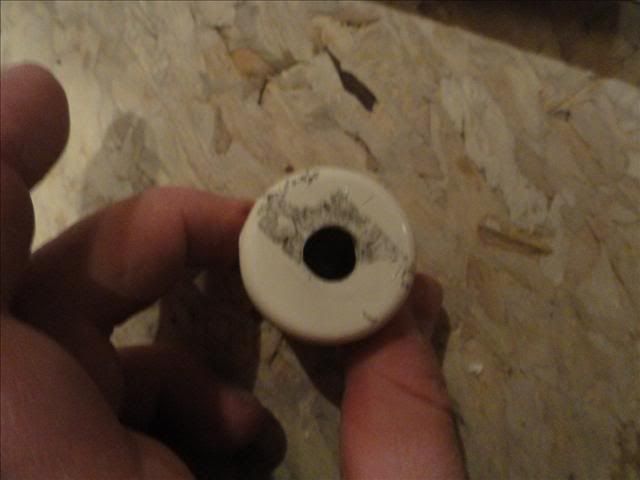
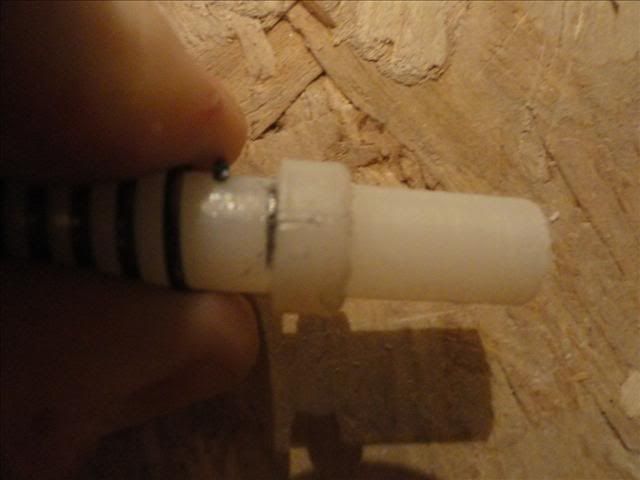
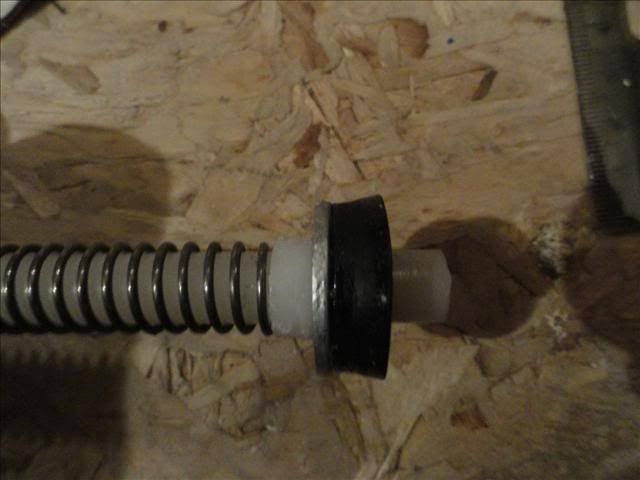
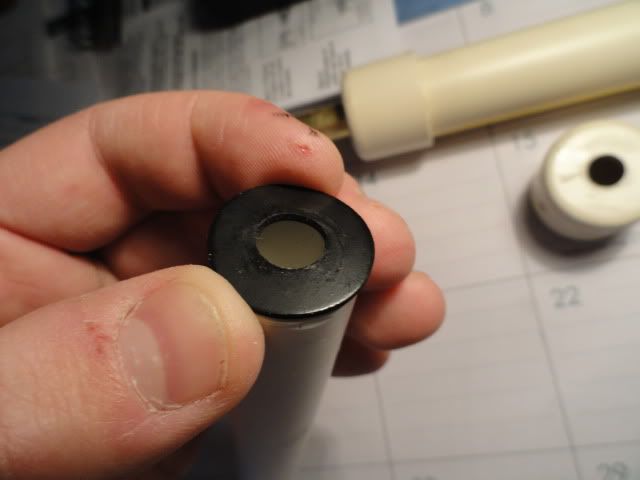
Front Seal:
This was the most frustrating component of the piston. I tried 6 different front seals, and this is the most reliable. It consists of a rubber washer glued to a piece of .5 inch pvc. The ID of the washer is 3/8 inch. The pictures below show the concept of the seal since the actual one is glued in the cylinder of the piston.
Sealed
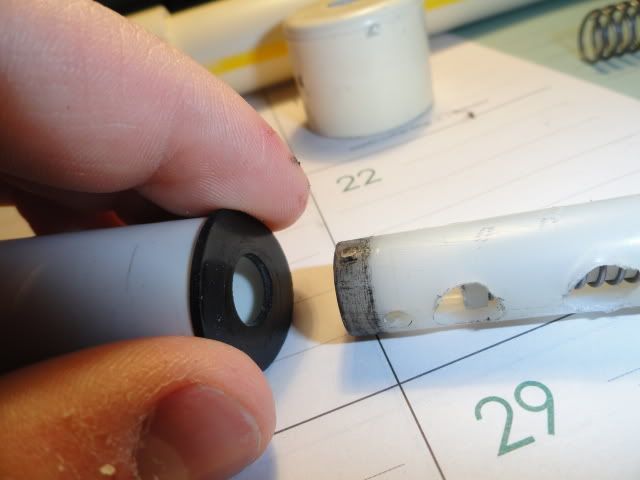
Seal broken
Video of the piston when pressurized:
Video
I tested the piston with a 14 inch brass barrel and got ranges of 80-90 feet flat. I will be making a second piston with a small improvement soon, so keep your eyes pealed. Once the second one is up, I will hopefully work on a write up. Feedback is welcome and encouraged.
Edit: The piston used 1/2 inch nylon tube, 3/8 inch nylon tube, 1/4 inch nylon rod, two different springs, 17/32 inch and 9/16 inch brass, and a 7/8 inch U-Cup seal, all of which were purchased from McMaster. The rubber washer, pvc, cpvc, and metal washer can be purchased at your local hardware store.
Edited by ricochet, 03 January 2011 - 07:56 PM.