Just a head’s up: I will be covering new mods and revisiting/elaborating on tried and true mods in this write-up.
Let us begin: get a beer/Dew, this may take a minute.
A little internal N0rp for reference. I should say I acquired this particular guy here with the standard mods (see directory) already in place.

First big change? BAM! Plunger tube replacement!

Step #1: remover the peg here if starting from stock, or spend an annoying amount of time cutting off hotglue. NOTE: if you really wanted just slap a coupler on here and you could have a plenty fine side-arm…but I am NOT satisfied!
Widen the air flow hole here to desired size. I went much bigger than this pic here but you get the idea.

Sand the ever lovin’ piss out of the plunger tube face: you want it smooth and uniform, plus the scoring will come into play later.

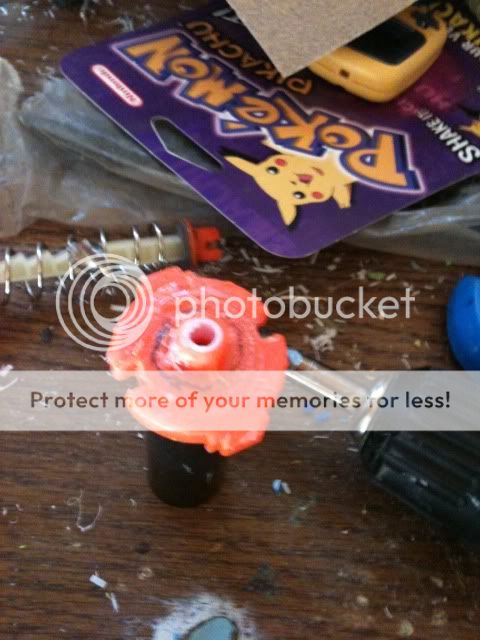
Now this is almost scary amazing: the end nub from a Longshot plunger tube is exactly the perfect diameter to fit inside the end piece of a FirstShot. Srsly, you almost don’t need to use adhesive.

I will say this as much as possible: JB Weld. EVAWERE! Here is a pic of size for reference.

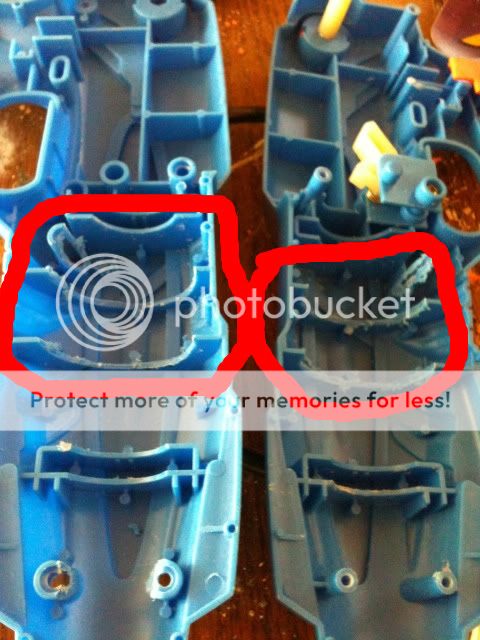
You will need to do some internal shell reduction to make room for your new fat as hell plunger. Despite the increased size this is really a very easy task.
Oh yeah, this is turning out well.

Here is the coupler I used: ½” cpvc end-cap violently sanded, bored, and skewered with a c-blocking bolt. I HIGHLY recommend a c-blocker as vacuum loading is very likely here. You can see the pic above with it attached…WITH JB WELD!!

On to more aspects. Just to clarify: this piece DOES serve a purpose. It applies upward pressure to the leaver to make it “easier” to prime. Some would call this a “waste of effort and resources” so just rip it out and use the spring to double up on the trigger spring.

The trigger is in the stupid wobbly section, here is a common way to fix it.
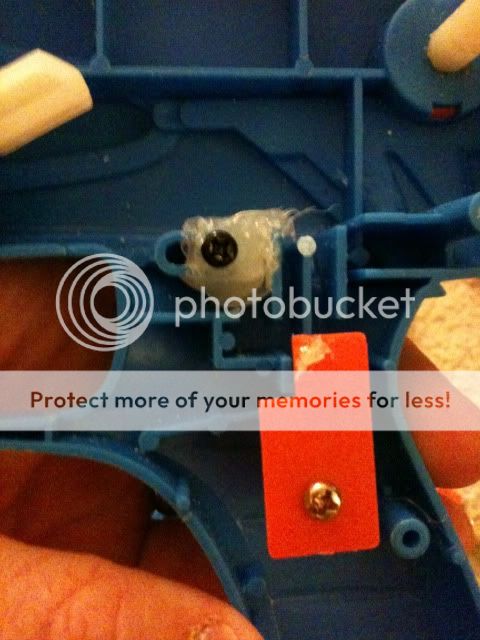
Here is MY Motherfarglin’ way to fix it! Plumbers’ epoxy putty on both sides with indents from teh trigger for a perfect fit and sturdy hold.