Jump to content


Photo

Scrappy, A Hornet Reborn

proof of the flexibility of back pressure systems

7 replies to this topic

#1 Boot

Boot

    Member

  • Members
  • 90 posts

Posted 31 October 2010 - 12:17 AM

If you're lazy and don't like long intro's scroll down for some incredibly ugly (but interesting :o ) pictures.

Scrappy was an entirely unintentional project. After taking parts from my hornet for Tiny tim and the mirage I was left with 5 unused tanks, 2 release valves, and a bunch of other scrap. Not liking waste, the only option was to hook up several tanks to a single trigger for a kind of "shotgun" blast, and use up the parts sitting around gathering dust. The result was one of the most effective secondaries I own (yup, better than Tiny Tim). This is part 5 of my 7 part writeup of all the stuff I have done, and so in my opinion is the third most impressive / unconventional project I have worked on.

Welcome to the most image intensive of my posts so far. Read on from here (see? that wasn't too bad compared to my other long winded intros).
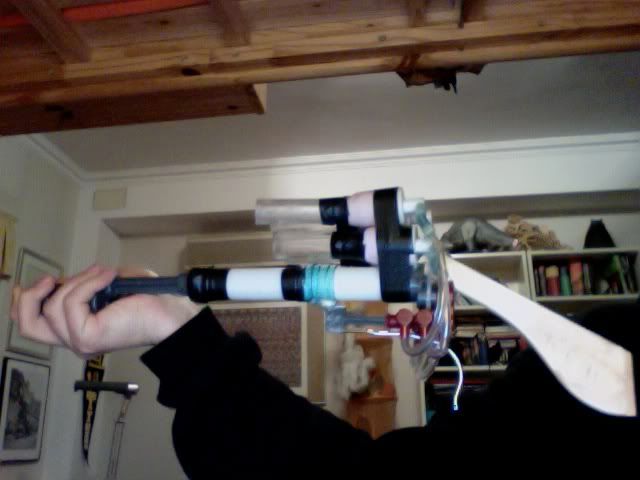
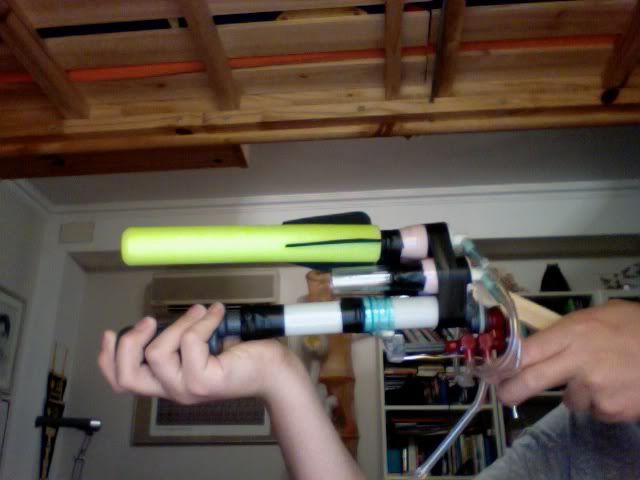
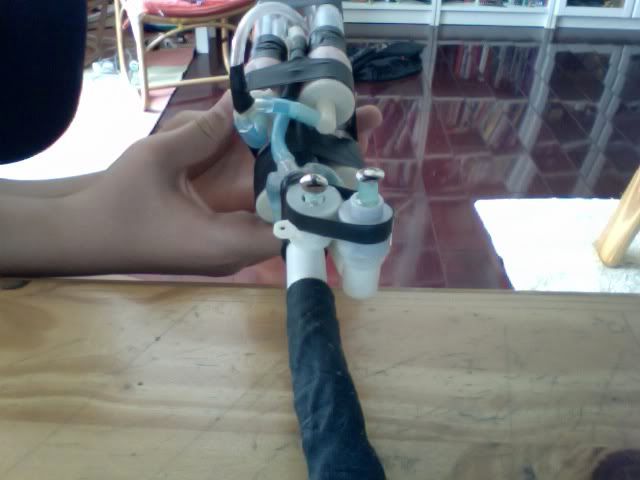
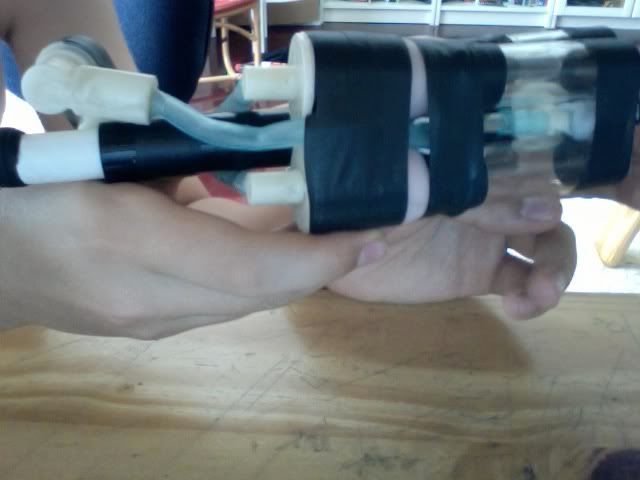
Here it is:

Posted Image

Ugly, but very functional. Imagine 4 Tiny Tim's strapped together. The whole thing is only about a foot long (with barrels), and is surprisingly comfortable to hold

Posted Image

The entire build consists of 4 major components:

-4 hornet tanks
-2 hornet blast valves
-1 cheap pump (the same type used in all of my builds, taken from a cheap water pistol, but the original hornet pump can also be used)
-1 hornet check valve (from where it is supposed to attach to the titan)

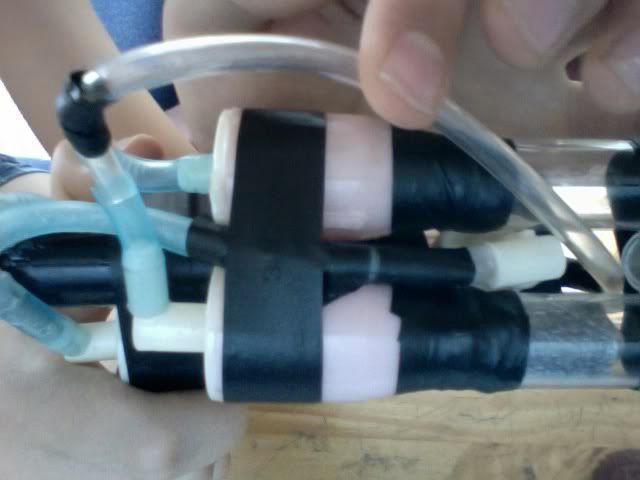
its function is simple, but the construction wasn't really so I'll try to explain this with pictures. Bear with me.

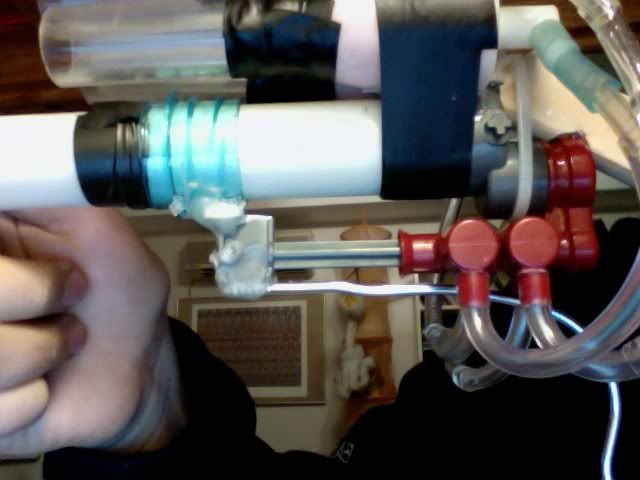
The pump output is split two ways in a homemade Vinyl T

Posted Image

one feeds directly into one of the blast valves

Posted Image

which then is connected to the bottom two air tanks, completing one of the blast systems:

Posted Image

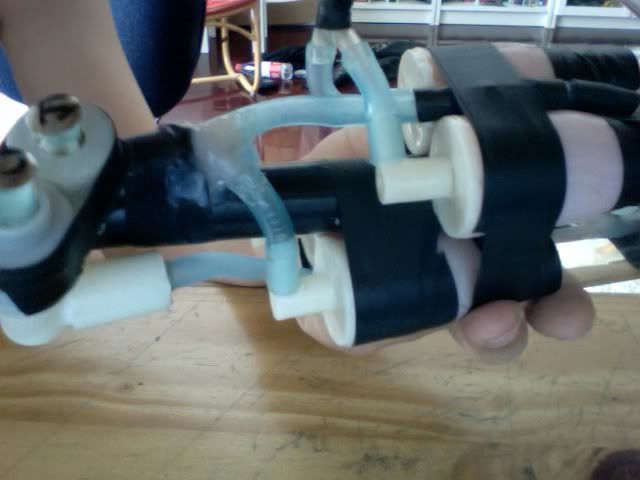
while the other goes to the check valve, which has an output that is split two ways

Posted Image

one feeds to the blast valve

Posted Image

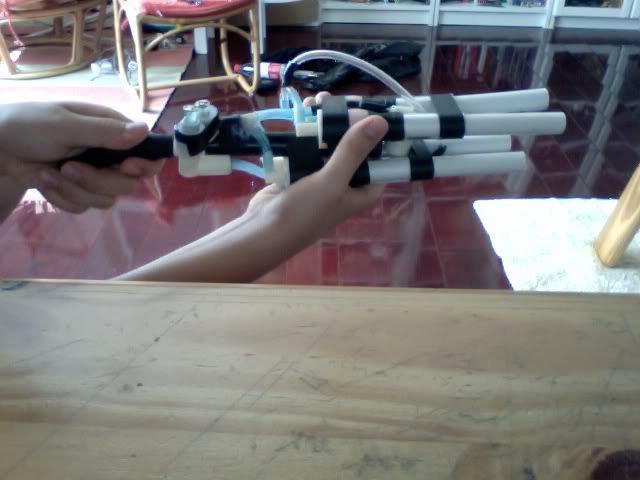
and the other to set of tanks on the bottom of the blaster

Posted Image

Although this may seem complicated at first, it is actually quite simple. The pump first pressurizes the whole system, priming all of the tanks. Then the first two tanks are fired with the blast valve that is on the non-return side of the check valve. Then the first set of tanks is not pressurized, but the second two remain pressurized because the check valve keeps air from escaping back into the de-pressurized tanks. The merit in this system is that you can keep the top two tanks primed and filled, and still be able to prime and fire the bottom two tanks multiple times.

In terms of actual loading, this works exactly the same way as Tiny Tim. Megas can be rammed down the acrylic coupler

Posted Image

or micros can be loaded into the barrels

Posted Image

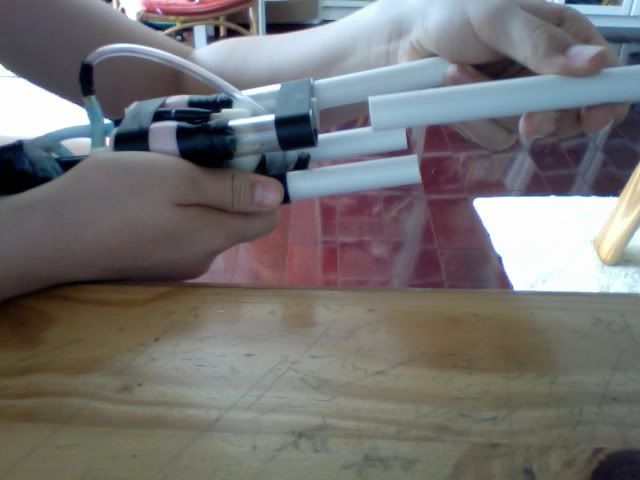
The concept is simple, however this uses up much of the junk that people have left over from hornet mods or integrations, and is very effective as a secondary. also, besides the blasts of two darts, multiple darts can be loaded in each barrel to launch clouds of foam into the air (made all the cooler by the fact that you can do it again immediately afterwards).

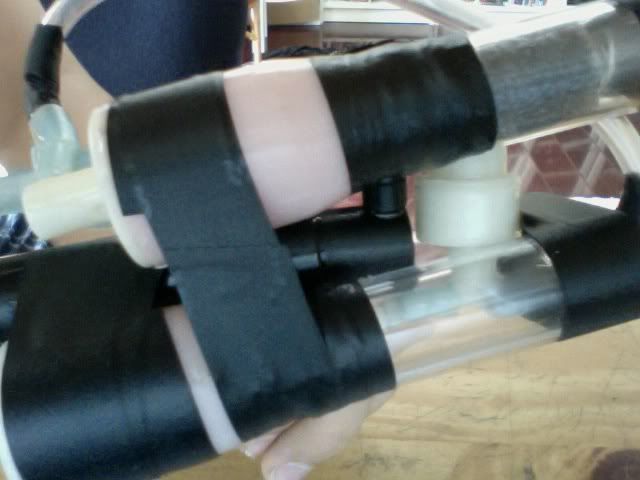
The main difficulty in this build was down to materials for me. With proper tubing connectors, and perhaps some machined spacers this would be both much easier to make, and look at.

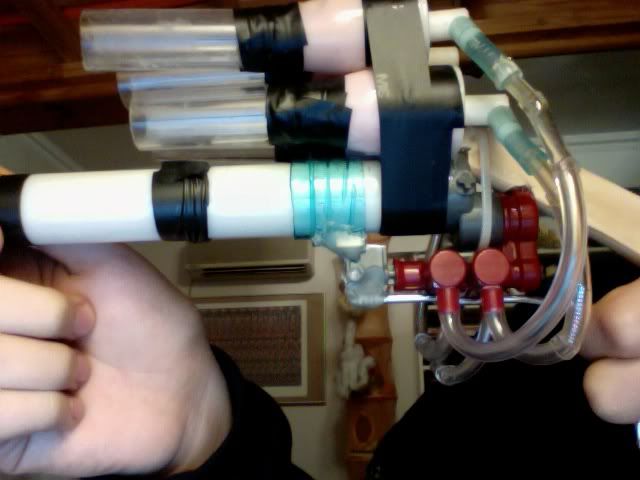
In my case, the whole thing is arranged and held together (quite solidly) with E-Tape. My greatest challenge however had to do with connecting the actual tubing. Using vinyl tube that could be forced inside the stock hornet tubing for an airtight seal, I fashioned multiple connectors by jamming these in place. For the T's and connections to the blast valves I drilled or cut holes in the tubing or valves, and epoxied everything in place. It was a lot of work, but well worth it for the result. When I have more time I may revisit this design and make it cleaner.

in terms of performance however there is little to be gained. Because of the dead space between the tanks of blast valves the ranges aren't as good as those of Tiny Tim, but the 80 foot ranges are certainly respectable for a shotgun type blaster of this size. It takes just 15 full pumps from the reinforced water pistol pump to bring this to pressure:

Posted Image

Posted Image

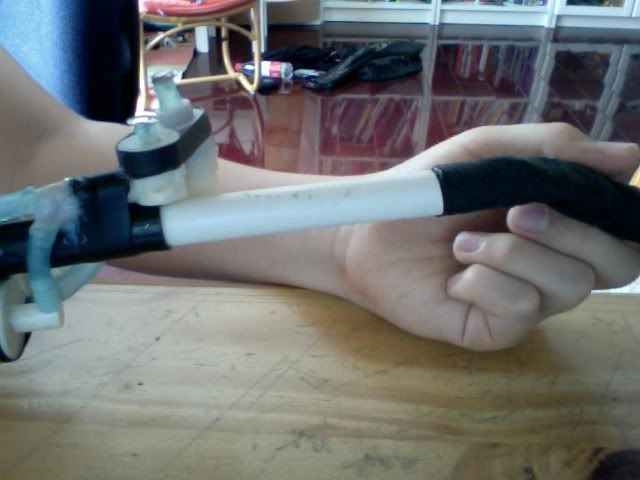
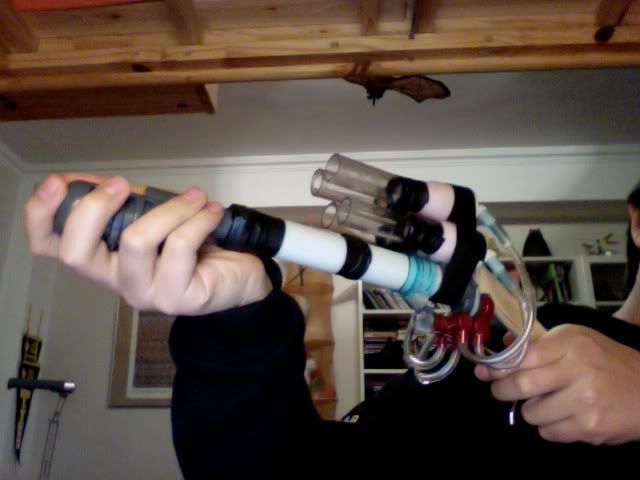
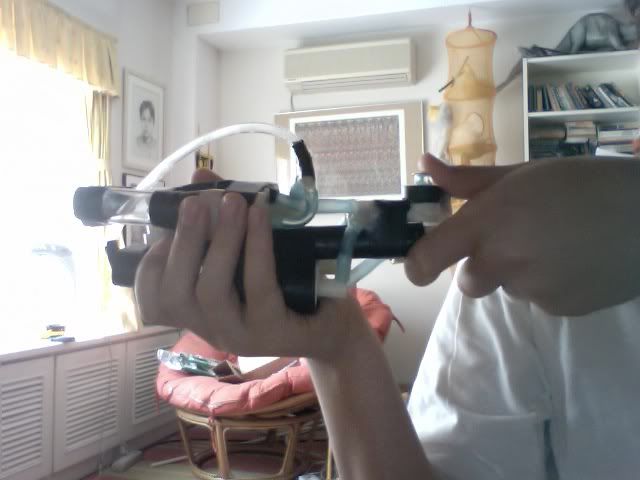
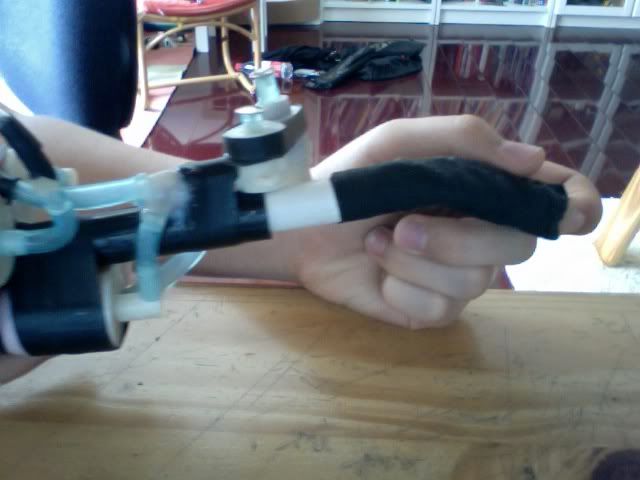
and the function of everything is very smooth. The handle of the pump is the actual grip meaning that you're hands don't have to move to prime the system. Although the location of the blast valves are unconventional for a trigger, using you're thumb to activate this blaster feels right, and the hornet tanks themselves make a great foregrip. The valves are even numbered. If I release them in order everything works fine. If I hit "2" everything goes off, because the check valve will let the pressure spill out of system "1".

Posted Image

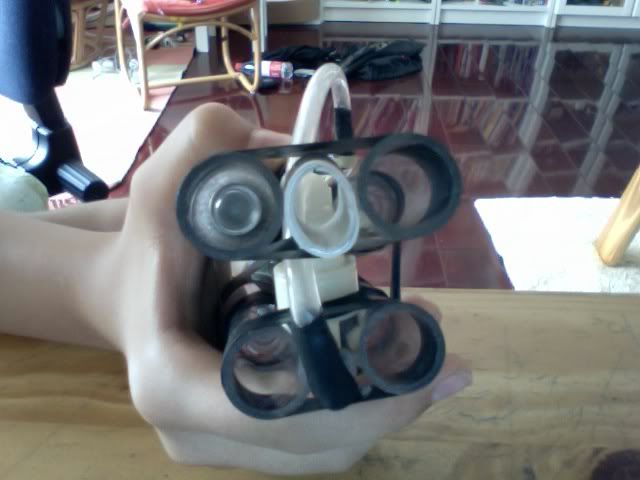
Overall the whole thing is quite comfortable to hold:

Posted Image

And yes, of course there is a video; or two:

Micros (Oops! the barrel fell off. That one must have been made out of my thinwall barrel material :lol: )

Megas

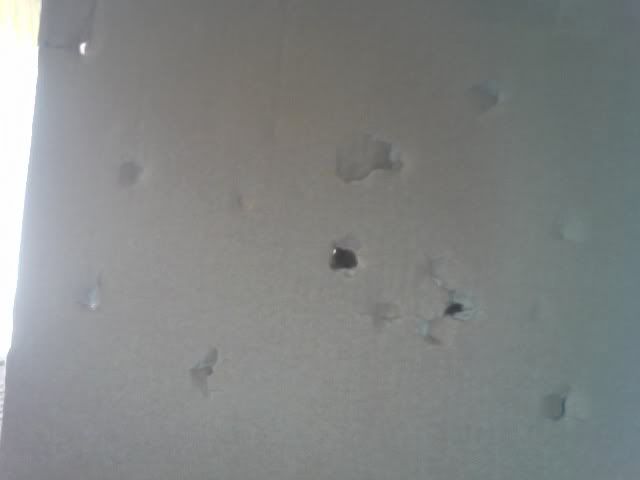
And the damage after the two videos:

Posted Image

I realize this is probably very confusing, so again, feel free to ask any questions, and please mention anything I can do better in these writeups, because the top two out of the 7 writeups are coming soon!

Edited by Boot, 31 October 2010 - 12:23 AM.

  • 0
QUOTE
If you try to shoot over 45 feet with a magstrike accurately you fail

I beg to differ

#2 Boot

Boot

    Member

  • Members
  • 90 posts

Posted 31 October 2010 - 03:16 AM

Edit!

Although I was going to post all 7 of my original series of creations before posting anything else, this is relevant to this particular build. Because all of the pictures and videos for all 7 builds were taken at the same time a few months ago, I've had plenty of time to experiment with this build. As expected, my homemade T connectors eventually gave away because Epoxy doesn't hold well to flexible tubing. Instead of simply repairing the blaster with more durable parts, I decided to apply the same concept (in terms of using scrap parts) to different components. The result is effectively the smaller brother to the Big salvo.

Posted Image

Again, not pretty, but it works well. This blaster is both much more comfortable, and much faster to prime.

Posted Image

it functions literally like a Big salvo, but allows you to take the wonderful BS tanks for other builds, and uses the left-overs to create a still functional blaster.

One merit this has over the standard BS is that it takes a mere 4 pumps to prime (but make SURE to plug the pump, or else you're not going to get much pressure at all).

The layout is simple, but looks reasonably good. Although this is by no means a completed product, the four tanks are currently just stuck on top of the BS pump in a way that provides ample room for the operators hands:

Posted Image

Although this gives more control in terms of firing shots (as you can now shoot all four shots individually) I do not find it as practical just because it is bigger and more unwieldy, and so wouldn't make as effective a secondary as the original Scrappy.

It is exceedingly comfortable though. It uses the same coat hanger handle in many of my homemades, and the trigger is a bent piece of coat hanger wire. The difference is that the handle is mounted at an angle and is thinner than my normal handles kind of in a pirate pistol format. It is notched to grip onto the BS pump, and is incredibly solid while being held on only with hot glue and a single zip tie.

the most difficult part of the build was keeping the BS release valve perfectly aligned. In the end I used part of a bottle that slid over the pump tube as a guide.

Posted Image

After firing the blaster will look like this:

Posted Image

To prime simply pump, fill the barrels, and pull bottle ring back to starting position.


And finally, the picture that everyone who liked Tiny Tim has been waiting for:

Posted Image

Yes, it still shoots BS rockets.

A final step would be to expand the tanks like in Shmmee's well executed mod to have something that works just as well (or better) than a BS

Edited by Boot, 31 October 2010 - 03:19 AM.

  • 0
QUOTE
If you try to shoot over 45 feet with a magstrike accurately you fail

I beg to differ

#3 blitz

blitz

    Member

  • Members
  • 285 posts

Posted 31 October 2010 - 10:46 AM

Very nice! I want one!

The only flaw I can see in this is how ugly this thing is.
  • 0
Blitz, member of the FNBS
"sexual innuendo no intendo"

#4 shmmee

shmmee

    Member

  • Members
  • 467 posts

Posted 31 October 2010 - 01:39 PM

I'm actually liking the concept of your homemade tee. (even though it eventually failed) Using a barbed Tee adds a lot of dead space in the tubing and fitting, chopping them down encourages leaks. and when you're plumbing multiple tanks, having a Y shape looks cleaner and allows you to put tanks closer together. A few months ago i started over on an entire project because i didn't like the rats nest that was forming in the tubes, and how the lines would kink if i placed the tanks too close together. Very nice mod! I choose function over form whenever they conflict.
  • 0
"and we should respect the people who make our blasters. Even if we do molest the hell out of them..."
~BritNerfMogul


#5 lionhawk

lionhawk

    Member

  • Members
  • 218 posts

Posted 31 October 2010 - 09:41 PM

At first I didn't want to read the whole thing, but I evntually got to it. I like the whole concept of this gun, good job. This is ugly, but I really like it.
  • 0

#6 Broderick

Broderick

    Member

  • Members
  • 279 posts

Posted 31 October 2010 - 09:59 PM

This gun is like a pug; it's so ugly it's adorable.

You may want to fix that exposed tubing though, that scares me.
  • 0

#7 Abyss Mods

Abyss Mods

    Member

  • Members
  • 205 posts

Posted 01 November 2010 - 04:37 PM

This is awesome. If I had a big salvo I would definitely make one.
  • 0

#8 Abyss Mods

Abyss Mods

    Member

  • Members
  • 205 posts

Posted 01 November 2010 - 05:04 PM

Oops, computer lag :)

Edited by Abyss Mods, 01 November 2010 - 05:05 PM.

  • 0


0 user(s) are reading this topic

0 members, 0 guests, 0 anonymous users