Jump to content


Photo

Slide Action, Magazine Fed Side Arm: Sas-5

My newest creation

14 replies to this topic

#1 ricochet

ricochet

    Member

  • Members
  • 108 posts

Posted 03 July 2010 - 12:05 PM

After 4 months of designing, building, and re-designing components of the SAS-5, it is finally finished. First off, the name stands for slide action system, and the number 5 is its magazine capacity: nothing too fancy. The design was to incorporate 2 key things: Rate of fire and compact size. The achieved distances are 45-50 feet flat, 65-70 angled, so it isnt obviously going to be used from longer distances.
Posted Image
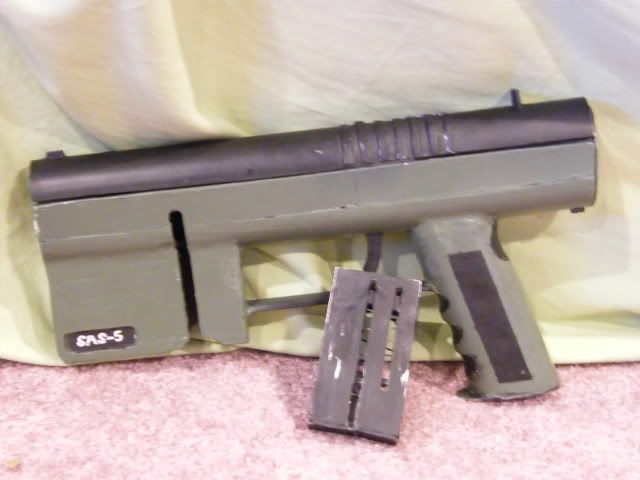
SAS-5 with magazine removed
Posted Image
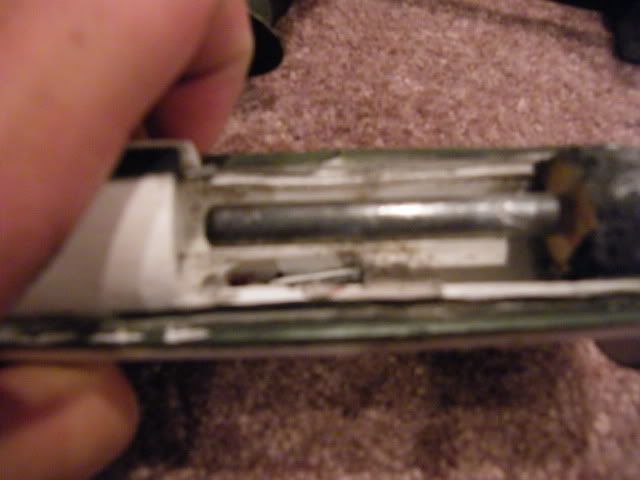
Slide pulled back. Notice there is no protruding plunger components like in boltsniper's bs-9 (which,yes, was the inspiration for the SAS-5).
Posted Image
And here would be a look down the sights, sorry not the best picture quality
Posted Image
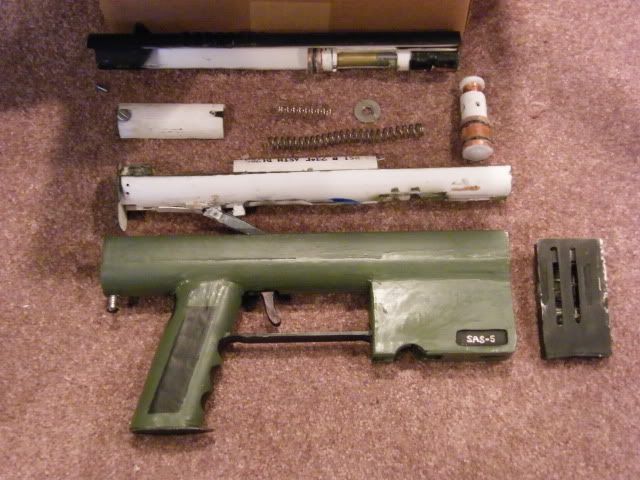
THis is the SAS-5 fully disassembled making it much easier to maintain than the LDR.
Posted Image
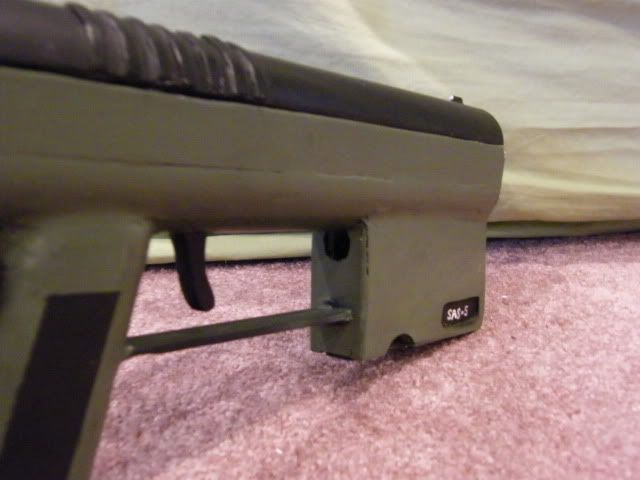
Here is the hole for loading darts, the slit on the left side of the SAS-5 seen in above pictures is for pulling down the follower to perform this method, which is only 1 loading method. The other is removing the magazine and stacking the darts, then putting it back in the magazine well (like shown in the first picture).
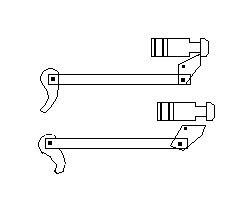
Trigger Mech Detail
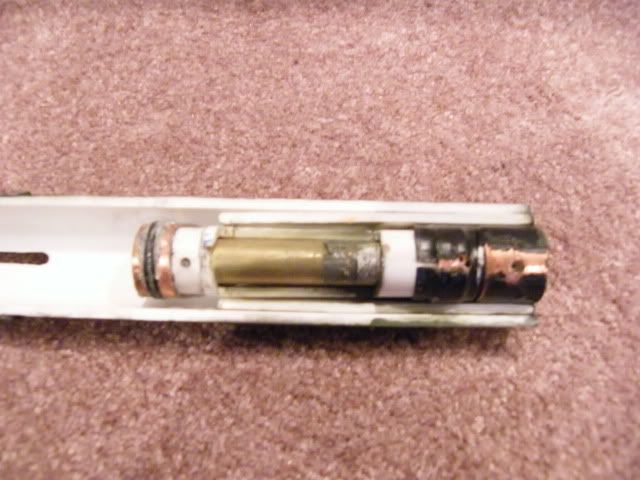
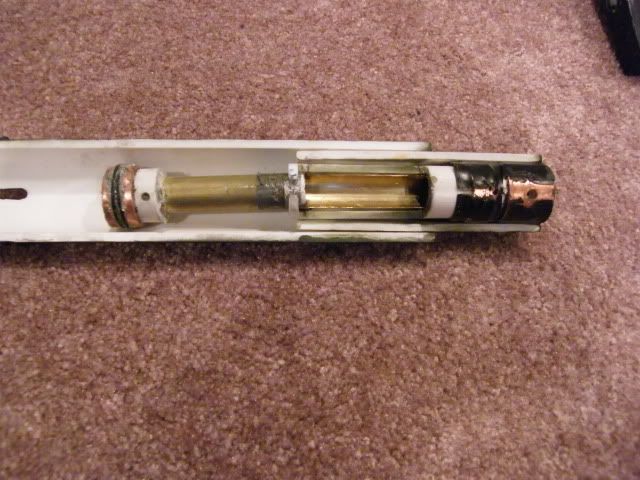
The following pictures are a look at the sear and the rod that pulls the sear in each stage of firing.
Posted Image
Posted Image
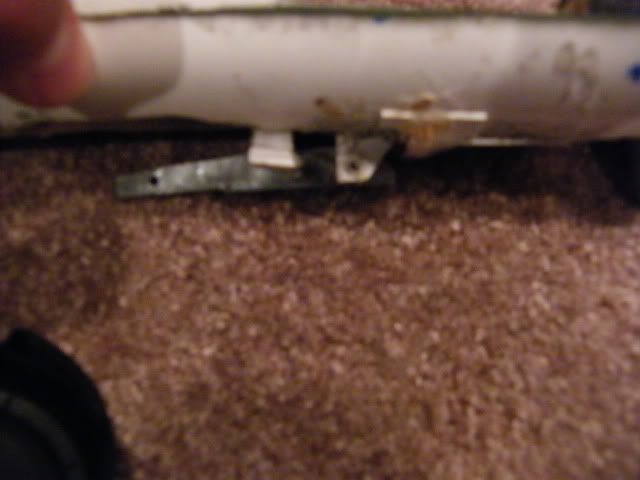
This is it in the locked position that will catch the plunger (picture 1: pull rod picture 2: sear/catch)
Posted Image
Posted Image
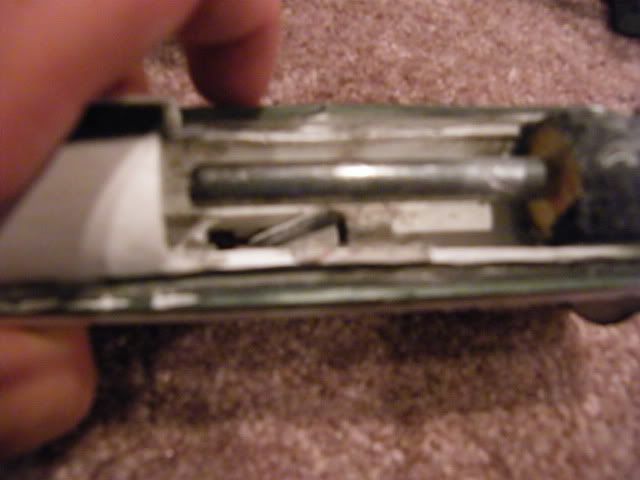
This is the sear when the trigger is pulled, the pull rod goes forward and the sear lowers, releasing the plunger.
Posted Image
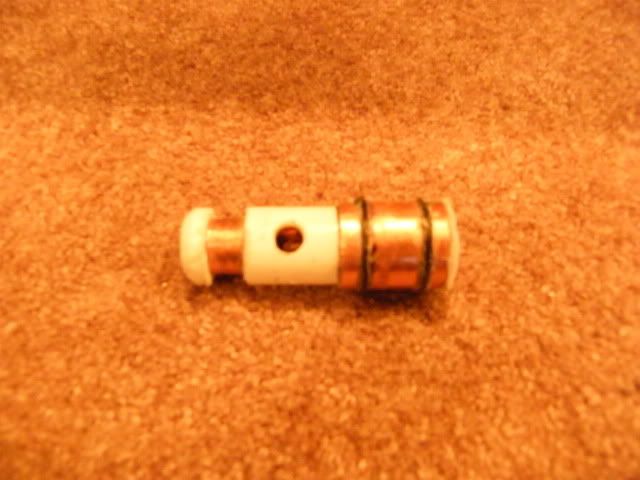
And here is the plunger, pretty self explanitory
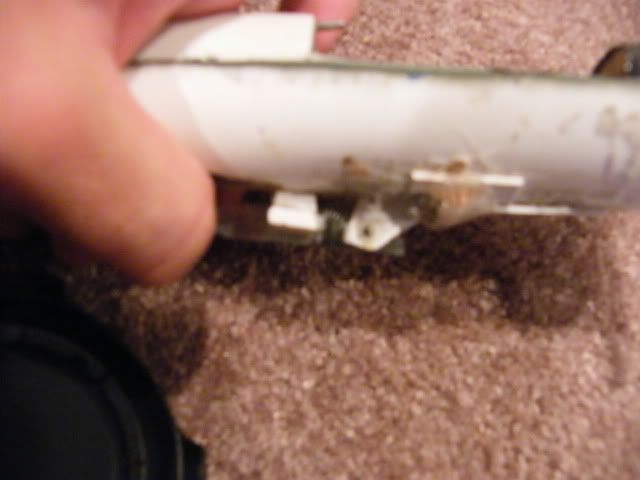
Posted Image
Bolt/Breech Closed
Posted Image
Bolt/Breech open
Posted Image
Here is the magazine, if you look into the slits you can see the wave type of spring, which eliminated the need for any type of a spring guide. I made this spring myself, which is a tedious process.
Posted Image
Here is a picture of the springs loaded on the guide, again self explanitory

I hope you guys will like this, I don't think I left anything out but if I did feel free to ask any questions. There will be a video coming soon as well.

Note: The paint job this time around shouldn't be testing the legal limits, so I hope you appreciate it. The scheme was taken from another persons paint job online, but I don't remember who. Either way, I liked the scheme and it fit the SAS-5 well.

-Ricochet
  • 0

#2 Nerfer Dude

Nerfer Dude

    Member

  • Members
  • 4 posts

Posted 03 July 2010 - 12:24 PM

Thats cool, how hard was it to make???
  • 0

#3 nostyleguy

nostyleguy

    Member

  • Members
  • 54 posts

Posted 03 July 2010 - 03:25 PM

That's an amazing looking homemade. Right up there with BoltSniper's imo.

Can you elaborate a little more on the catch mechanism? Idk if its just the pictures, but the contact rod seems long and angled, but the plunger's catch hole is a circle. I'm likely just misunderstanding.

Great work though, These always make me jealous
  • 0

#4 durka durka

durka durka

    Member

  • Members
  • 364 posts

Posted 03 July 2010 - 03:45 PM

Is there anyway you could provide more detail on exactly how you made your magazine spring? I've been looking for a way to make one, and this seems perfect.
  • 0
"The warrior who cultivates his mind polishes his arms"

#5 ricochet

ricochet

    Member

  • Members
  • 108 posts

Posted 03 July 2010 - 11:46 PM

That's an amazing looking homemade. Right up there with BoltSniper's imo.

Can you elaborate a little more on the catch mechanism? Idk if its just the pictures, but the contact rod seems long and angled, but the plunger's catch hole is a circle. I'm likely just misunderstanding.

Great work though, These always make me jealous


Here is a quick paint diagram I made of the mech. Primed is top picture, firing is bottom picture. I hope it helps.
Posted Image
  • 0

#6 ricochet

ricochet

    Member

  • Members
  • 108 posts

Posted 03 July 2010 - 11:58 PM

Is there anyway you could provide more detail on exactly how you made your magazine spring? I've been looking for a way to make one, and this seems perfect.


Well to start, I use the springs from inside soap/shampoo pumps. Initially they are strong, but when formed into magazine springs, they become the perfect stiffness. Start by stretching the spring into a wire as straight as possible, some pounding on the mostly straightened wire with a hammer will bring it to its straightest shape. Then bend the wire into a zig-zag shape with the overall length slightly smaller than that of the magazine length. Make the "bends" at the start and end of each zig-zag slightly under the width of your magazine, which is most likely just shy of a dart width. You may have to make multiple ones to increase their height. Hot glue them together with hot glue and cardboard (or a different method of your own if you choose) and whalla you have a magazine spring. No heat required!

Note: height is from bottom to top, width is the portion that is equal to dart width, and legth is from left to right: if that all makes sense.
  • 0

#7 durka durka

durka durka

    Member

  • Members
  • 364 posts

Posted 04 July 2010 - 06:48 AM

Thanks, that'll help a lot.
  • 0
"The warrior who cultivates his mind polishes his arms"

#8 ricochet

ricochet

    Member

  • Members
  • 108 posts

Posted 08 July 2010 - 12:56 PM

Here is the youtube video of the SAS-5. Tell me what you think.
SAS-5 on Youtube
  • 0

#9 JATDO

JATDO

    Member

  • Members
  • 350 posts

Posted 08 July 2010 - 08:11 PM

I really like this, I have just one question for you.
How fast can you get all 5 rounds in the clip off? Can you shoot them all without any jams?
  • 0
QUOTE
I remember when some girl in my English 101 class in college tried to cite The Onion as a source for her paper. The teacher lol'd.
QUOTE
The only time I got hit was when my spotter got hit and the enemy team realized there was a marksman in the bushes

#10 ricochet

ricochet

    Member

  • Members
  • 108 posts

Posted 08 July 2010 - 11:47 PM

I really like this, I have just one question for you.
How fast can you get all 5 rounds in the clip off? Can you shoot them all without any jams?


Well here is the delema. I recently got new fbr which sticks in the barrel so it has been having problems (any ideas for making it slide in the barrel smoothly/form to the barrel?). I was using my older fbr which worked like a charm with no problems. That being said, using quality fbr I can fire off all five in 3 seconds, but it does take longer if you want more time to aim(obviously).
  • 0

#11 TheRedRanger

TheRedRanger

    Member

  • Members
  • 11 posts

Posted 09 July 2010 - 09:24 AM

That is one impressive build. I did not realize just how clean/ easy to disassemble it was until I watched the video. What tools did you use to fabricate this?
  • 0
Looking for other MA nerfers

#12 ricochet

ricochet

    Member

  • Members
  • 108 posts

Posted 09 July 2010 - 10:48 AM

That is one impressive build. I did not realize just how clean/ easy to disassemble it was until I watched the video. What tools did you use to fabricate this?


The primary tool used was a dremel tool, with a large variety of attatchments.
  • 0

#13 hawkshot

hawkshot

    Member

  • Members
  • 200 posts

Posted 09 July 2010 - 02:25 PM

How did you construct the shell?
  • 0
Call me Hawk.


Hawkshot, one of the founding FL Nerfers.

#14 ricochet

ricochet

    Member

  • Members
  • 108 posts

Posted 09 July 2010 - 03:12 PM

How did you construct the shell?


The shell consists of 1.25 inch pvc piping and flat pvc rain gutter covers. The rain gutter was used on the magazine well and sides.
  • 0

#15 Zorns Lemma

Zorns Lemma

    Sir Scrt

  • Moderators
  • 1,277 posts

Posted 09 July 2010 - 11:40 PM

How did you construct the shell?

flat pvc rain gutter covers. The rain gutter was used on the magazine well and sides.

Finding nerf construction materials outside of industrial suppliers is the true spirit of homemades!
Those are probably a much cheaper per-unit-area alternative to styrene or pvc sheet for body work.
  • 0
"In short, the same knowledge that underlies the ability to produce correct judgement is also the knowledge that underlies the ability to recognize correct judgement. To lack the former is to be deficient in the latter."
Kruger and Dunning (1999)


0 user(s) are reading this topic

0 members, 0 guests, 0 anonymous users