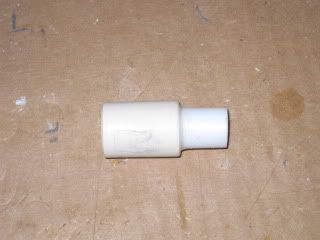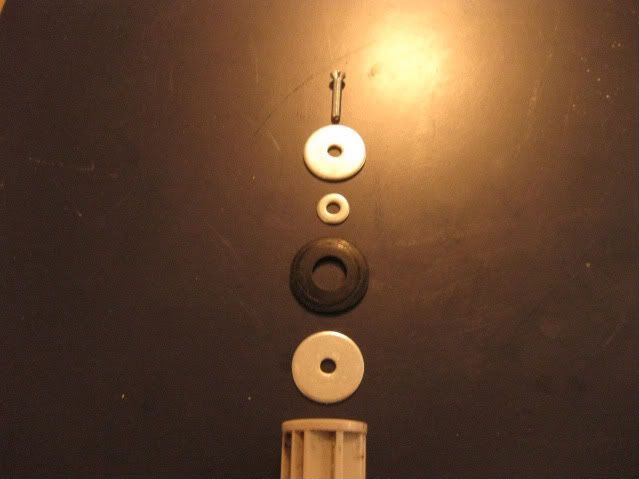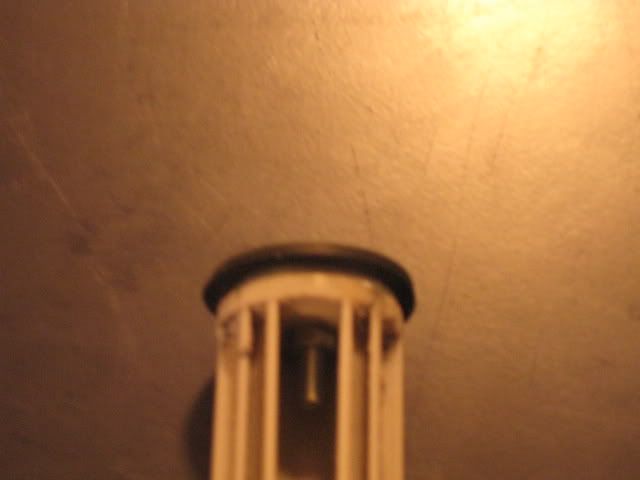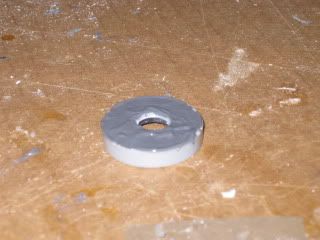
Now add the coupler on top of the JB weld, try to make it as centered as possible
Take the plunger and glue the plunger head to it. Then wrap the plunger head with electrical tape until it makes a good seal with the plunger. Put goop into the gas in the plunger head. Then, add some craft foam on top for extra padding.
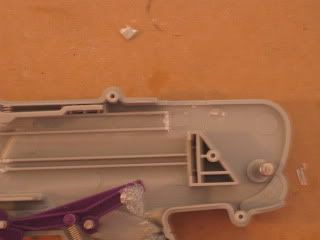
Now take a piece of FBR and hot glue it to the shell. Then take a small spring and hot glue it to the foam and the catch.
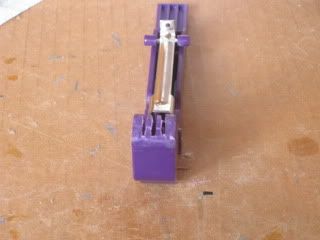
Now for the plunger draw extension. Cut about a 1/4" off these rails.
Then do the same to this part.
You should get something like this.
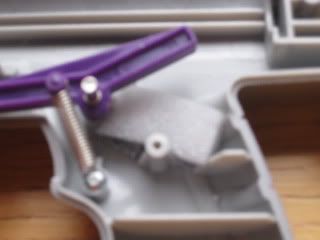
Now, grab the lever and cut off a part on the bottom.
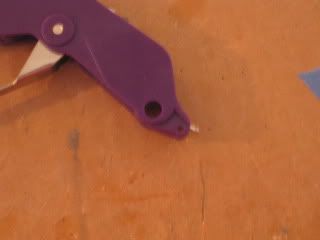
You should be left with this if you did it correctly.
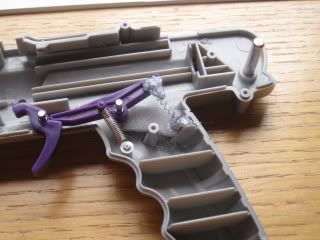
Now, add epoxy putty to the catch notch so that it catches when the plunger runs into the spring rest. It would be a lot better to solvent weld some PVC there instead of epoxy putty, but I did this a long time ago.
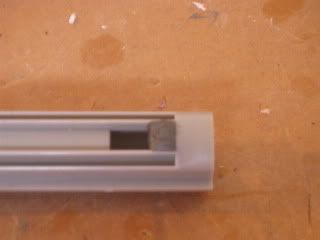
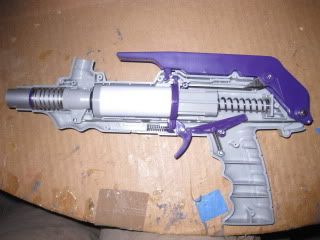
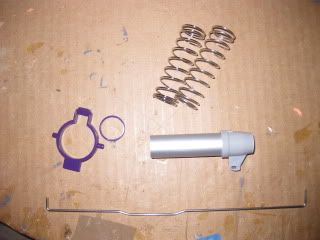
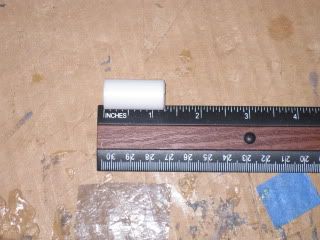
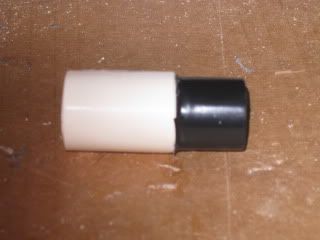
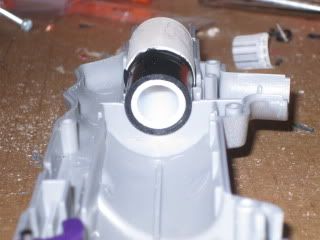
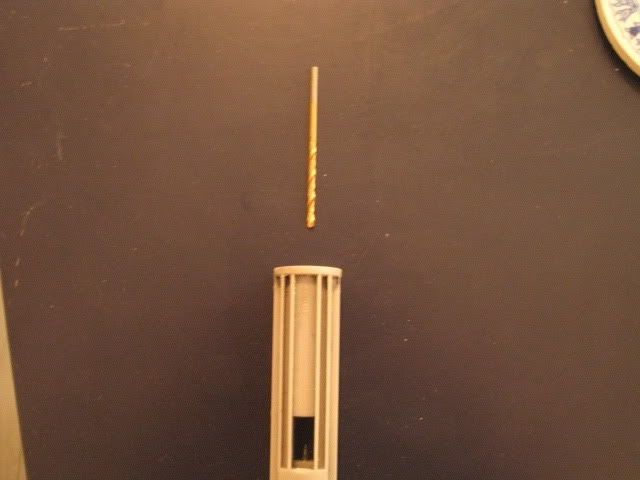
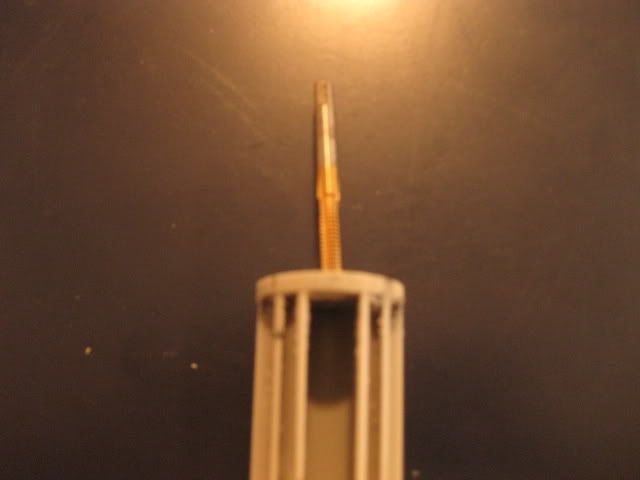
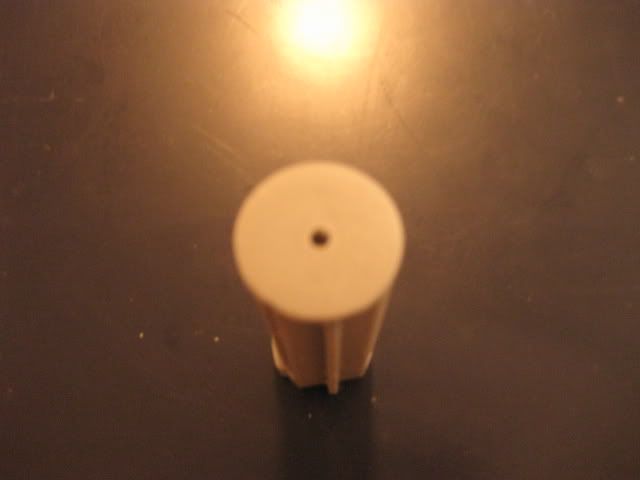
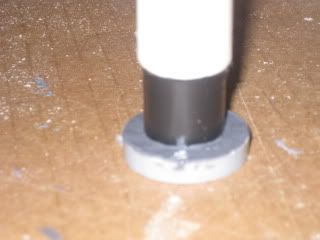
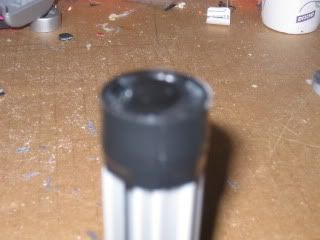
Now, make the plunger tube out of the clear tube that comes with epoxy putty. Cut the new plunger tube 1/4" longer than the original one. This tube is a little bit wider than the original plunger tube. Wrap it in electrical so that the coupler assembly fits it snug. The electrical tape also make the plunger tube fit in the shell better and it makes it more rigid.
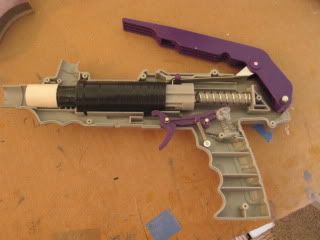
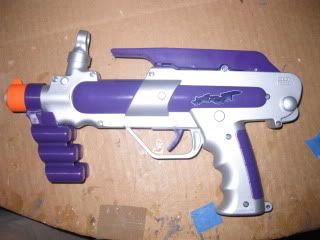
Now, assemble the internals and you are finished. Here's the finished product. And yes, that is as far as the lever will go down.
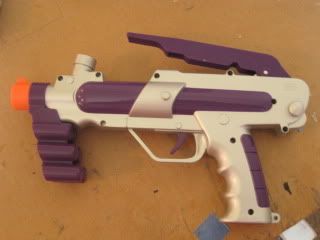
I know someone will ask for ranges, it shoots very similarly to my BBB which has a recon spring added and a 3/4" long PVC coupler behind the spring. It also performs comparably with a pistolsplat. It shoots through cardboard with ease.
Quesions, comments, flames?
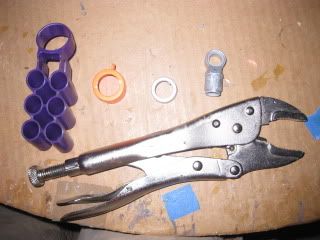
The yellow balls are also slightly smaller in diameter than the green ones.