Jump to content


Photo

Sharpshooter I Overhaul

It's dank, yo.

21 replies to this topic

#1 venom213

venom213

    Member

  • Validating
  • 1,294 posts

Posted 19 March 2010 - 11:15 PM

Find a Sharpshooter I (SSI). I had to take mine form this monkey.

Posted Image

I had to hit him with something first, though.

Posted Image

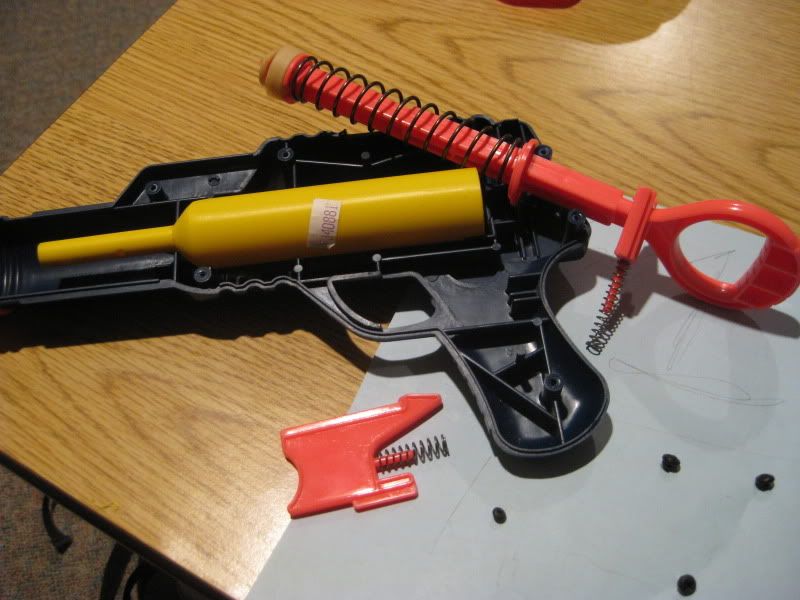
Open up this bitch. Notice the paper next to it. I used that to sketch the shape of the shell, and then put the screws in the paper where to correspond to their spots in the shell. It's a great way to stay organized.

Posted Image

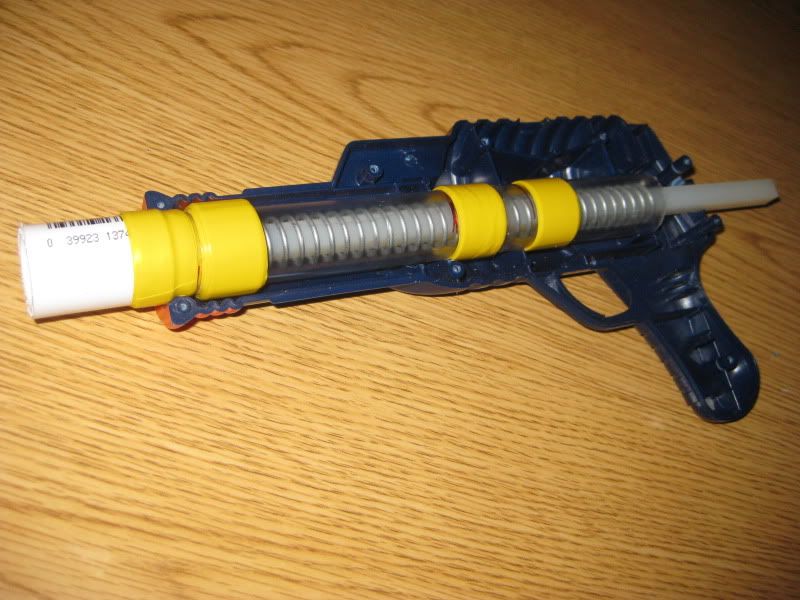
So, the first order of business is to replace the plunger tube. I used 1" thinwall PETG, which is available at Petco and Petsmart. There's a problem though:

Posted Image

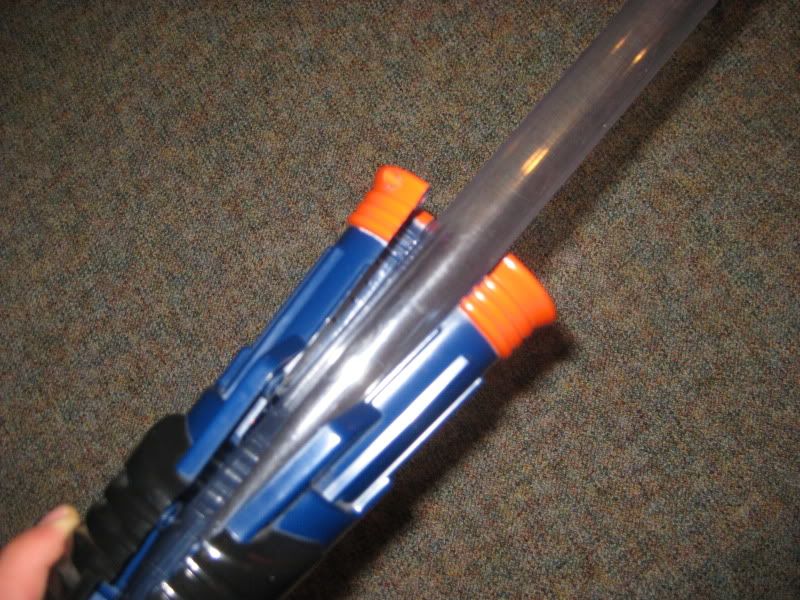
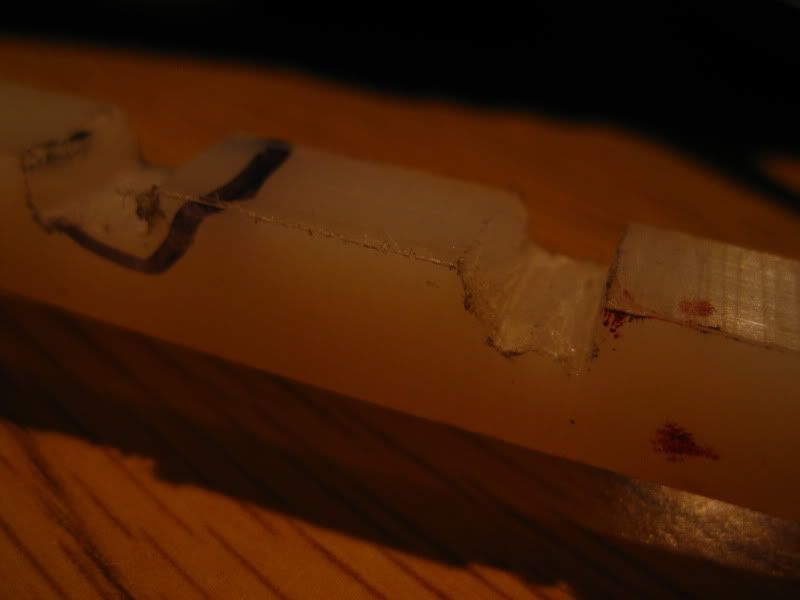
There are ridges (one on either half of the shell) that need to be sanded down for the tube to fit.....so sand those down until the tube fits!

Posted Image

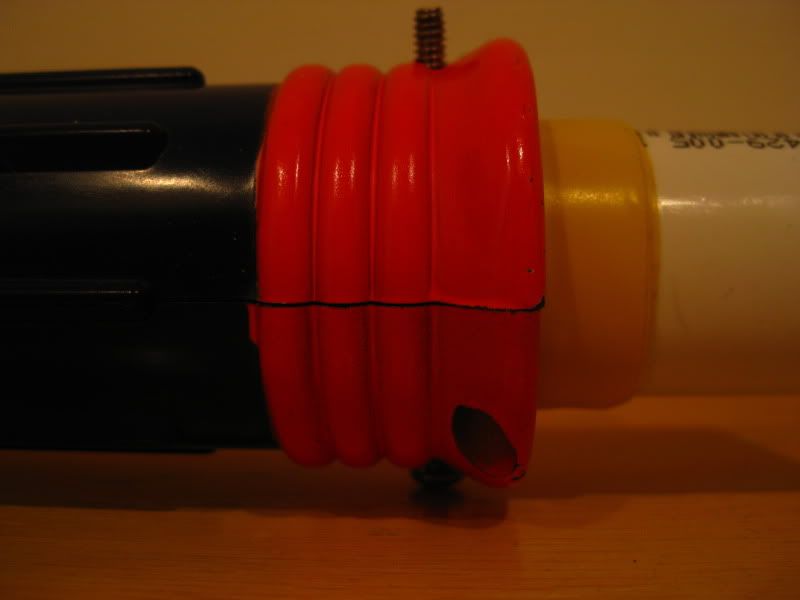
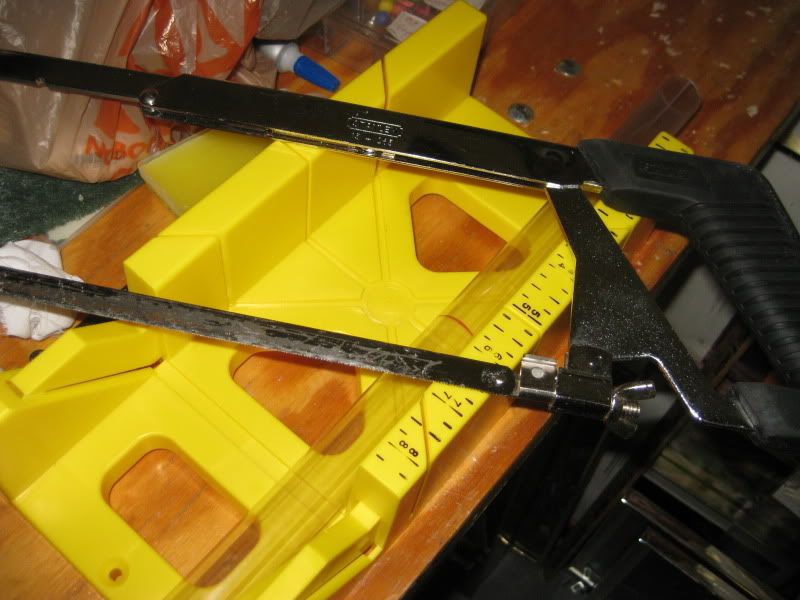
Success! Next, place the tube in shell so it's up against the back spring rest area and everything. Mark the end of it, flush with the very edge of that orange tip on the shell. Cut at the mark. Hacksaw+Mitre Box works great. I believe I cut it to around 8".

Posted Image

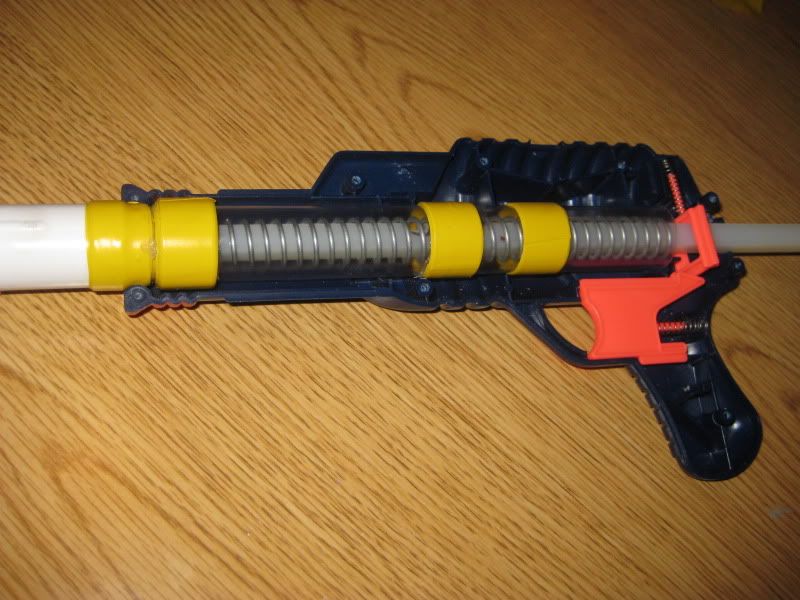
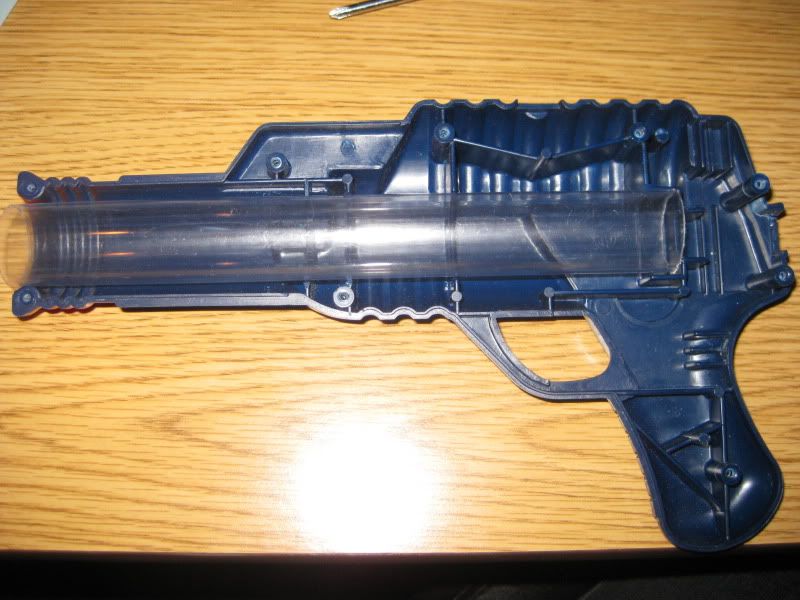
Here it is placed in the shell:

Posted Image

Next, grab a 1/2" PVC coupler and a short length of 1/2" PVC. I used SCH 80 PVC and it was around 1 1/2" long. Use solvent weld to connect the coupler to the length of PVC.

Posted Image

Make sure that the length is long enough to fit all the way into the coupler, as well as have space to wrap E-tape around it. Next step is to wrap E-tape around the PVC until it fits snugly into the PETG.

Posted Image

Glue the Coupler assembly into the plunger tube. I used solvent weld, again, but I recomend using Plumbers Goop instead.

Posted Image

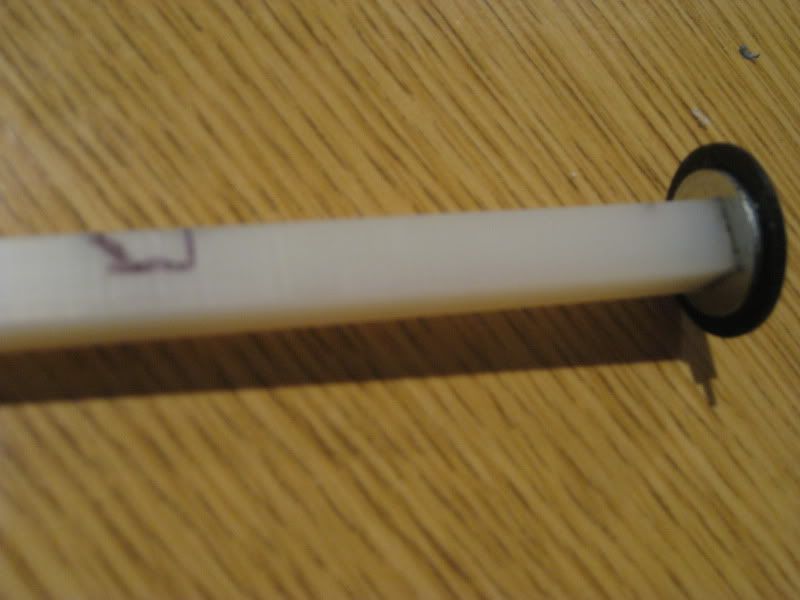
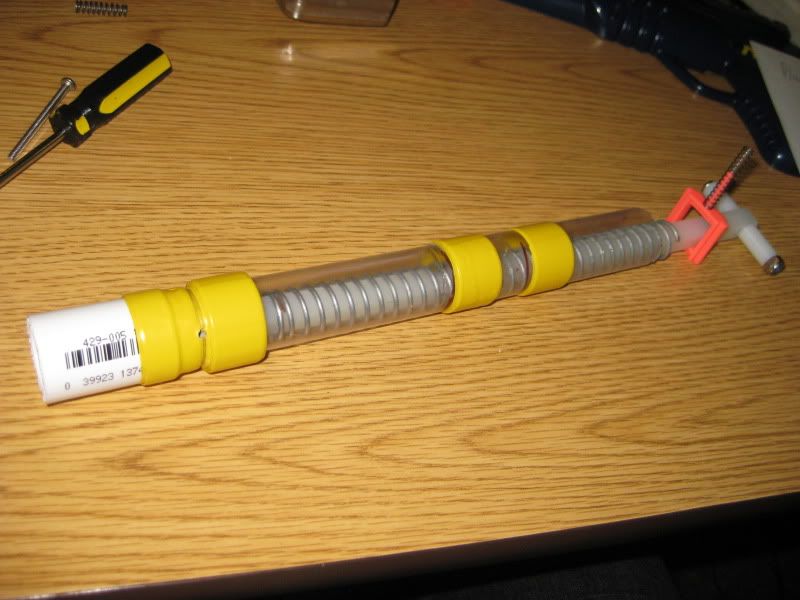
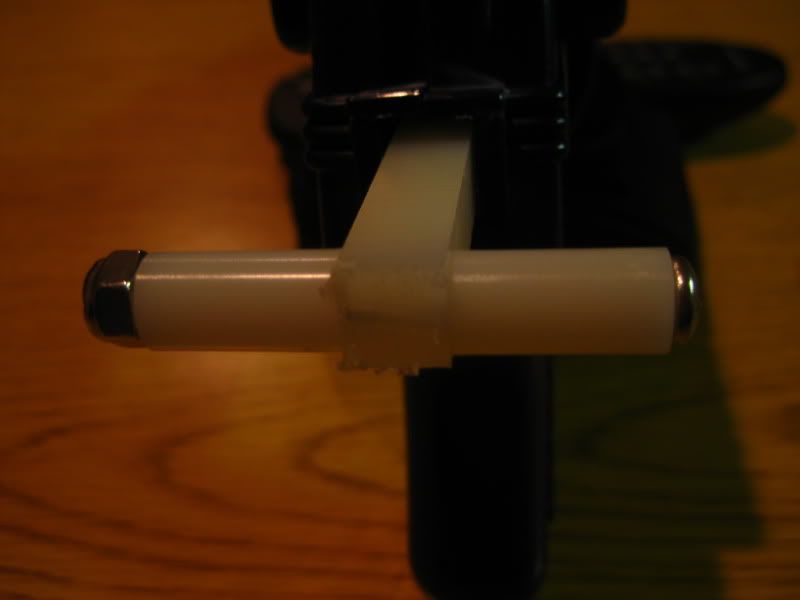
Stick your replacement plunger rod in the blaster. I used 3/8" Square Nylon rod from McMaster. Mark the rod where it sticks about 1.5" out of the back of the blaster. Cut it at that mark. The total length of mine was 9.75".

Posted Image

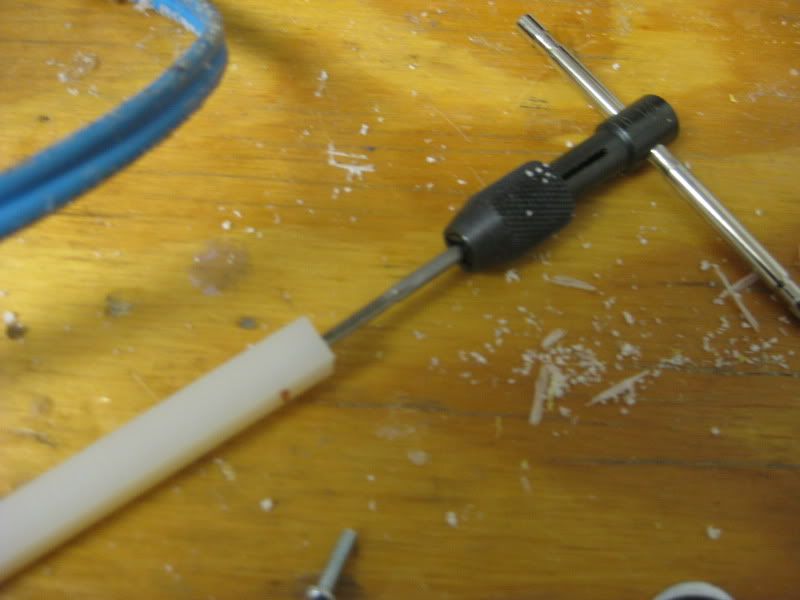
Drill a 6-32 hole in the center of one end of the rod. Make it as straight and centered as possible. It shouldn't be more than maybe an inch or so deep, in most cases. In the words of BustaNinja, "I'd tap that". Use a 6-32 tap, obviously.

Posted Image

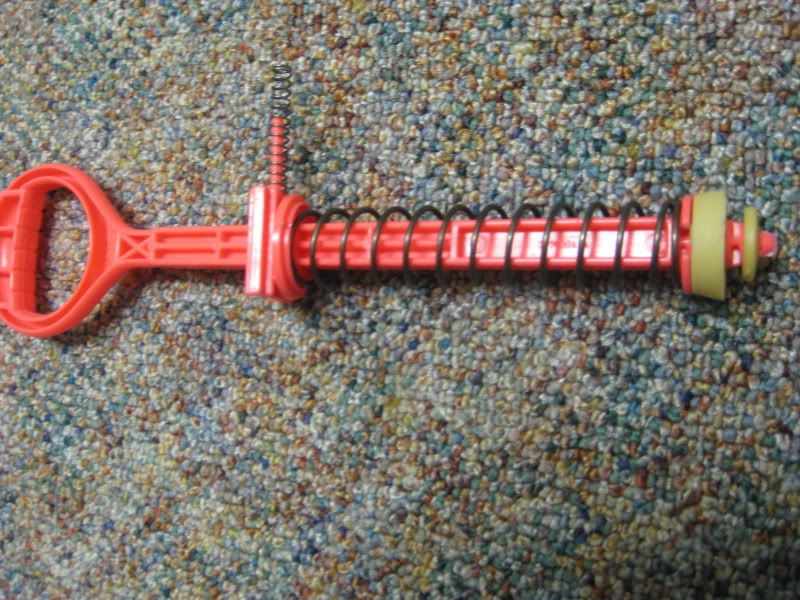
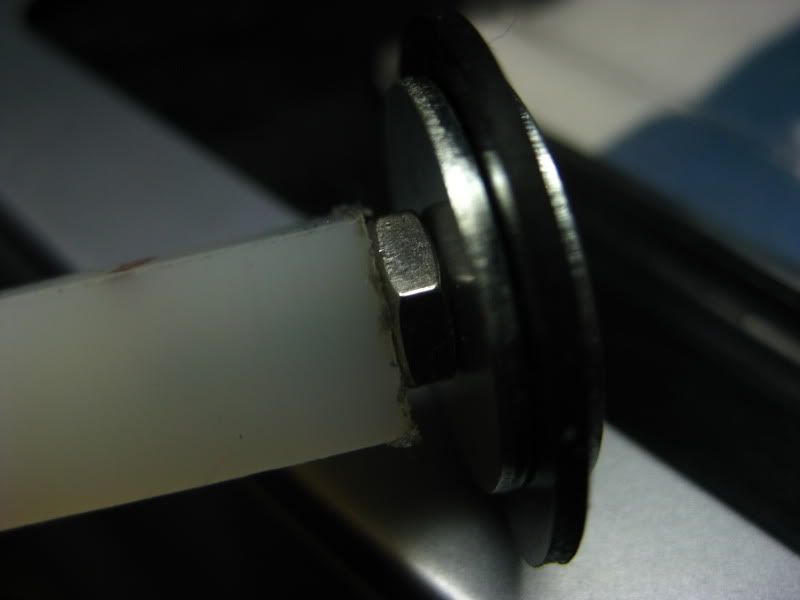
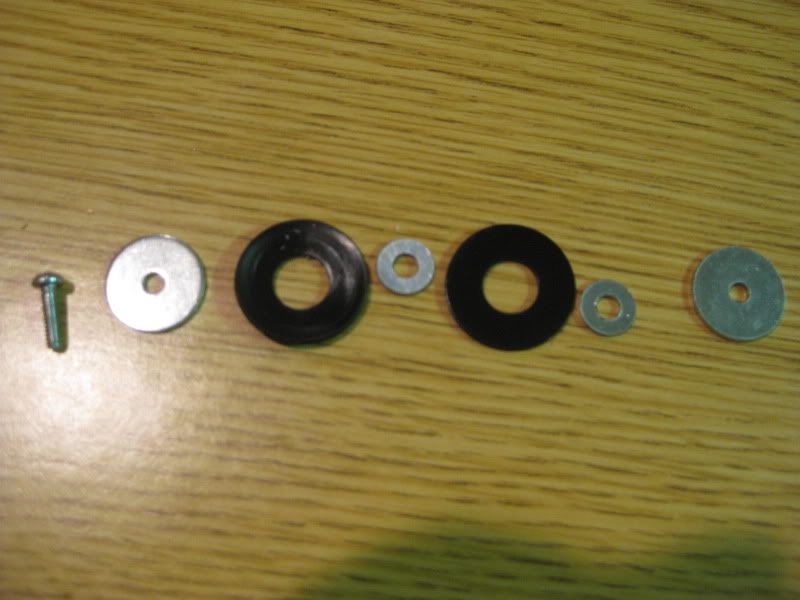
This is the plunger head assembly. Originally, it just had one rubber washer (and one of the corresponding 8-32 washers that goes inside of it), but I decided to add another of both. I'm not sure if it really helps or not, but I'll give it a try. The parts needed for this are: A 6-32 screw, 2 3/4" OD 1/8" ID Washers, 2 8-32 washers, and 2 1" OD 3/8" ID Rubber Washers.

Posted Image

Attach the plunger head assembly. Also, use Ace Silicone Lube. It's awesome stuff. I do warn you though, that it shares a very similar consistency to semen, but no worries.

Posted Image

Edited by venom213, 19 March 2010 - 11:52 PM.

  • 0

#2 venom213

venom213

    Member

  • Validating
  • 1,294 posts

Posted 19 March 2010 - 11:39 PM

Add E-tape stabilizers to the plunger tube in various parts. I put them right next to the parts in the shell where there are supports (those curved parts that the tube fits into well). I also put E-tape partially on the coupler to make sure it's straight. Once that is done, take an Ace #62 spring, and line it up with the plunger tube. Cut it down so it's just a bit longer than the amount of open space in the plunger tube. I believe my spring was somewhere around 8". Test fit it in the shell.

Posted Image

Put on the other half of the shell, pull back the plunger rod, and mark the plunger rod as close as you can to the shell, so where it's just barely sticking out. Open the gun back up, and cut out the back end of your catch notch at that line, or possibly slightly ahead of it (meaning, slightly more towards the plunger head end of the gun). Notice in the pic below, I drew the shape of the notch backwards. Not good.

Posted Image

Then, cut out the catch notch using a dremel. Notice, I have two catch notches. The first one I made was too far forward on the rod, because the method I used to find it's location was inaccurate.

Posted Image

Here's the stock plunger rod assembly. All you need from it is the catch. Getting the catch off if it is pretty self explanatory, just pop off all the pieces at the end, take off the spring, and there.

Posted Image

Put the catch on the plunger rod, and put the plunger rod assembly in the plunger tube.

Posted Image

Put all the insides back in the blaster shell.

Posted Image

Now reassemble the blaster. Something I added after I screwed it back together was this long 6-32 screw, for holding in the plunger tube better, as well as a dart stop.

Posted Image

I also added this nice plunger handle. It's made out of 2 3/4" long nylon spacers, a 2" 8-32 screw, and an 8-32 lock nut. Make sure to tap the hole! That way, you can swap it out for different plunger handles, if you choose.

Posted Image

And here it is, finished (minus the plunger handle).

Posted Image

So now to the big question.........RANGES. Sadly, I don't have much conclusive data on ranges yet. I've been testing this blaster with total incorrect barrels, darts, and other conditions. So far, I can say it hits at least 70-80 feet or so. Again, it needs some fine tuning, which I have not spent any time on. It also works pretty well with a 3-4 shot inline clip, hits 60ish with that (it needs some fine tuning as well). I'll be sure to update this once I have some conclusive data.

You may post now!

Edited by venom213, 19 March 2010 - 11:40 PM.

  • 0

#3 flamincows

flamincows

    Member

  • Members
  • 195 posts

Posted 20 March 2010 - 12:36 AM

I recently replaced the plunger tube in a lnl with the same PETG (in exactly the same way actually) and found that the 1" OD washers created too much friction and would deform in the plunger tube. I mean you really had to jam it in there even when using copious amounts of silicone grease. I'm assuming that this was not the case for you?

I ended up using a NF plunger head with a TTG o-ring (with a little e tape under it). This gave me a great seal. I suppose it could be attributed to to slightly different IDs in the two pieces of PETG, but I've always found that pet store PETG is about the same wherever you buy it.
  • 0
Sex Dwarves: Drug test? What kinds of drugs are we testing?

#4 venom213

venom213

    Member

  • Validating
  • 1,294 posts

Posted 20 March 2010 - 12:41 AM

I believe I have had some of those problems too. I've used the plunger head style on a number of similar blasters. The seals are usually pretty good, but they could be better. I plan on experimenting. The size of the washers around the rubber one also make a big difference because of how much they do, or do not let the washer bend. In your case, did it just stop sealing pretty much altogether or what?
  • 0

#5 flamincows

flamincows

    Member

  • Members
  • 195 posts

Posted 20 March 2010 - 01:39 AM

It barely sealed. I didn't actually fire it with that plunger head though. And I was using 3/4" OD washers around the neoprene washers. No dice. Honestly, I don't see how you got the plunger head in the plunger tube with two neoprene washers on it. I tried that and it didn't work at all.

Honestly, for a perfect seal I'd go with an o-ring and e tape. There's so much more room for adjustment, and I've never had any issue with durability.
  • 0
Sex Dwarves: Drug test? What kinds of drugs are we testing?

#6 Chessler

Chessler

    Member

  • Members
  • 337 posts

Posted 20 March 2010 - 07:32 AM

An impressive job you did there. Funny enough, I do the same thing with the screws with every one of my mods.
  • 0

#7 wingd man

wingd man

    Member

  • Members
  • 514 posts

Posted 20 March 2010 - 08:21 AM

Check the seal. When I made my plunger tube extended nitefinder I had to glue in the screw and put a little bit of super glue on the plunger head.
  • 0

#8 Hi Yah

Hi Yah

    Member

  • Members
  • 294 posts

Posted 20 March 2010 - 08:30 AM

Try having only 1 rubber washer. This should loosen up the seal, I think it has too mich friction giving you crappy ranges.
  • 0
The yellow balls are also slightly smaller in diameter than the green ones.

#9 venom213

venom213

    Member

  • Validating
  • 1,294 posts

Posted 20 March 2010 - 08:54 AM

Try having only 1 rubber washer. This should loosen up the seal, I think it has too mich friction giving you crappy ranges.

I tried it for quite a while with just one, it doesn't seem much different now that I added a second. I will experiment though, like I said.
  • 0

#10 FatNerfer

FatNerfer

    Member

  • Members
  • 127 posts

Posted 20 March 2010 - 03:29 PM

That's Sexy.
  • 0
QUOTE(SchizophrenicMC @ Feb 8 2010, 08:57 AM) View Post
Because calling a nerfer a nerd is like calling water wet.

QUOTE(PunkPictures @ Oct 9 2009, 05:26 PM) View Post
nerfhaven is so fucking gay.

#11 Merzlin

Merzlin

    Member

  • Members
  • 589 posts

Posted 20 March 2010 - 03:52 PM

That's Sexy.

And you're fucking retarded.


Anyways, Venom, good job. Super clean, looks efficient, and probably hits good ranges. The only think I never liked about the SS1 was the handle, super uncomfortable for me.
  • 0

#12 FatNerfer

FatNerfer

    Member

  • Members
  • 127 posts

Posted 20 March 2010 - 04:00 PM

That's Sexy.

And you're fucking retarded.

And you have a gay Avatar.
  • 0
QUOTE(SchizophrenicMC @ Feb 8 2010, 08:57 AM) View Post
Because calling a nerfer a nerd is like calling water wet.

QUOTE(PunkPictures @ Oct 9 2009, 05:26 PM) View Post
nerfhaven is so fucking gay.

#13 meatballica

meatballica

    Member

  • Members
  • 130 posts

Posted 21 March 2010 - 05:35 PM

That's Sexy.

And you're fucking retarded.

And you have a gay Avatar.


Whoa Merz and Fatnerfer nice way to show some love.

Edited by meatballica, 21 March 2010 - 05:37 PM.

  • 0
"You've waged your war on nerves, but you can't crush the kingdom."

#14 Warthawk

Warthawk

    Member

  • Members
  • 73 posts

Posted 21 March 2010 - 05:39 PM

I'm not going to modify mine.
  • 0

#15 VACC

VACC

    Vacc is Legend

  • Founders
  • 3,265 posts

Posted 21 March 2010 - 06:44 PM

I'm not going to modify mine.


Do all your teachers tell you you're NOT very intelligent? No, it's just one of those things that goes without saying.

The fact that your NOT going to modify a nerf gun is not something any of us need to know.
  • 0

#16 HOTH

HOTH

    Member

  • DO NOT TRADE
  • 557 posts

Posted 21 March 2010 - 10:21 PM

Wow, thats really cool. Nice work.
  • 0
My YouTube

Solved the Rubik's Cube in 46 seconds

"Nobody understands quantum mechanics" - Richard Feynman

#17 SonReeceSonJensen

SonReeceSonJensen

    Member

  • Members
  • 662 posts

Posted 22 March 2010 - 01:07 PM

This mod licks balls because YOU, in fact, lick balls.

S’kidding, I like the use of e-tape for fitting of the plunger tube and the attention to detail in things like the plunger head and handle grip.

Paint it peach with a mauve tip and call it Venom Jr.
  • 0
The Difference:
-Guns shoot bullets that kill people
-Blasters shoot darts that tag people

I do not play with guns.

#18 venom213

venom213

    Member

  • Validating
  • 1,294 posts

Posted 22 March 2010 - 01:49 PM

This mod licks balls because YOU, in fact, lick balls.

S’kidding, I like the use of e-tape for fitting of the plunger tube and the attention to detail in things like the plunger head and handle grip.

Paint it peach with a mauve tip and call it Venom Jr.


Uh-oh, SonReece has already started the pre-war shit-talking! We'll see how well you handle Venom Jr. on Saturday, my friend.

Also, a small, but significant update. I have the plunger head problem figured out for now at least. Thanks to Mr. Badwrench for this suggestion. The change was simple, place a nut between the rear plunger head washer and the the plunger rod. This nut makes sure that the washer sandwich plunger head stays held together. It has improved my seal significantly. I also removed the second rubber washer, because I'm not sure if it even helps at all. Apparently, this nut idea is applicable to a lot of washer plunger head type mods.

Posted Image

Also, some of the previous posts in this thread are prime examples as to why I am hesitant to post contributions on here. Way to take a shit on a good thread, dumbasses.

Edited by venom213, 22 March 2010 - 01:55 PM.

  • 0

#19 VelveetaAvenger

VelveetaAvenger

    Member

  • Members
  • 630 posts

Posted 22 March 2010 - 09:58 PM

Paint it peach with a mauve tip and call it Venom Jr.


You'll need to start using that white foam as well! (or find some yellow, that would also be funny)

On a more serious note, this is pretty cool. You should do an entire series of pistols with full shell length homemade plungers.

Edited by VelveetaAvenger, 22 March 2010 - 09:59 PM.

  • 0
"I never saw Beastmaster, I just wanted to be cool..."

#20 venom213

venom213

    Member

  • Validating
  • 1,294 posts

Posted 22 March 2010 - 10:22 PM

Paint it peach with a mauve tip and call it Venom Jr.


You'll need to start using that white foam as well! (or find some yellow, that would also be funny)

On a more serious note, this is pretty cool. You should do an entire series of pistols with full shell length homemade plungers.

I pretty much have been. First it was a PETG tube'd NF, a PETG tube'd Disk Shot, the Overhauled TTG , and finally this. I already know what's next...........

Edited by venom213, 22 March 2010 - 10:22 PM.

  • 0

#21 oodalumps

oodalumps

    Member

  • Members
  • 219 posts

Posted 23 March 2010 - 08:27 PM

Now what would impress me is if you modded a Sharpshooter I to shoot like that. Not build a homemade and put it in it's shell.
  • 0

#22 Mr BadWrench

Mr BadWrench

    Member

  • Members
  • 781 posts

Posted 23 March 2010 - 11:59 PM

Now what would impress me is if you modded a Sharpshooter I to shoot like that. Not build a homemade and put it in it's shell.


stock shell, trigger and catch... looks like a sharpshooter to me.
  • 0
NerfChat IRC Chatroom Click to chat!


1 user(s) are reading this topic

0 members, 1 guests, 0 anonymous users