://You will need:
:// Hacksaw or Pipe Cutter
:// Rotary Tool
:// Scissors
:// 3" or more of your favorite barrel material
:// Philips Screw Driver
:// Glue of choice i.e Hot Glue, Plumber's Goop, Epoxy, J B Weld
:// Brain. also know as safety tools. i.e Eye Protection
:// Industrial Spring of choice. I used a Tek 4 spring.
:// Lubrication of choice. i.e Silicone Spray
Vaseline may seem like a tempting choice. But seriously. Stop *censored* your blasters.
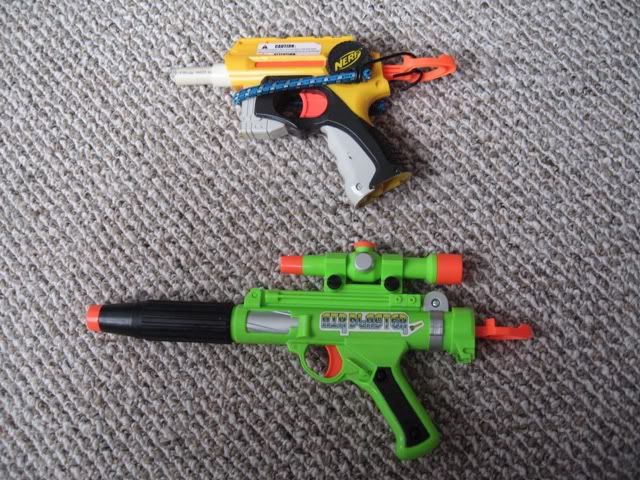
Here it is, fresh off the shelves.
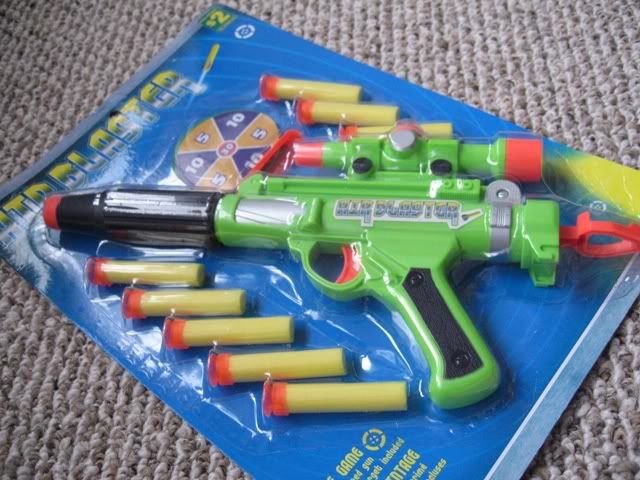
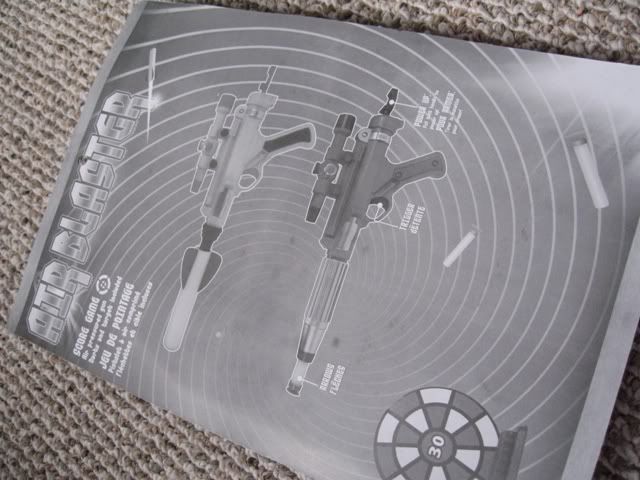
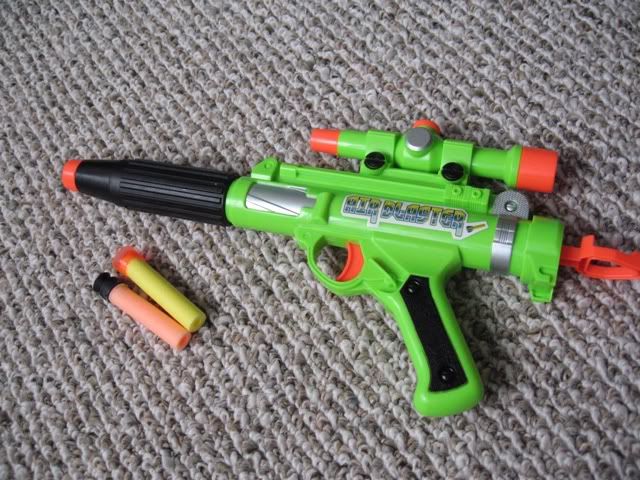
The darts seemed a bit wider in diameter than average Micro darts, appearing to have vague similarities with Nerf Mega darts. I was pleased that this poor blaster could fire such large darts. In fact, another version of this blaster, colored red, was able to fire arrows.
I loaded a stock dart. It only entered half way in. I cocked and fired. Less than pleased, the stock dart landed ten to fifteen feet away from me. I was beginning to question the quality of this two dollar toy.
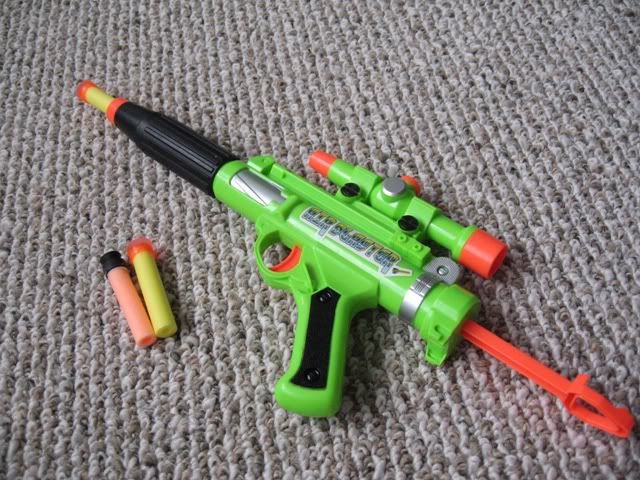
The blaster was very ergonomic, despite my medium sized hands. I also appreciated the soft fore-grip in front of the blaster. The toy was slightly larger than a minimized NiteFinder.
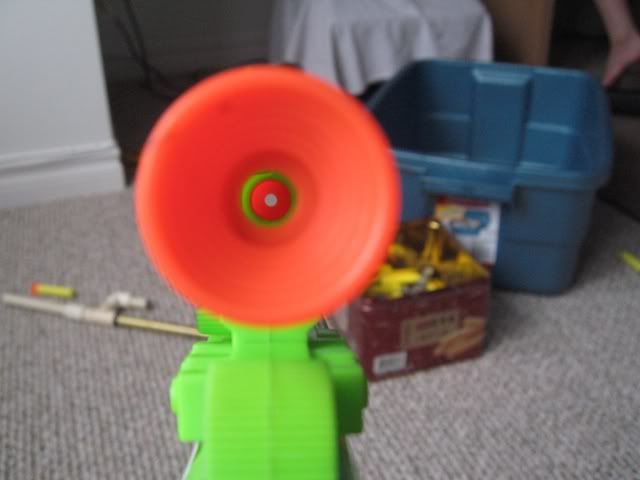
I recently noticed the scope on the top of the gun and looked inside. I was more than displeased to learn that the sight was only semi accurate. The dart hit two to three inches below where I aimed. Decent, but only practical to a certain range.
Then, I chose to investigate upon the internals. I was very joyful to learn that the blaster had a decent plunger and the inner mechanisms followed that of the common NiteFinder. Simple and effective.
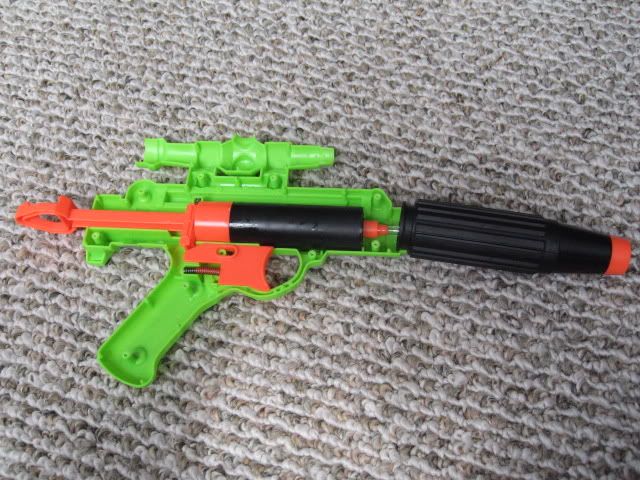
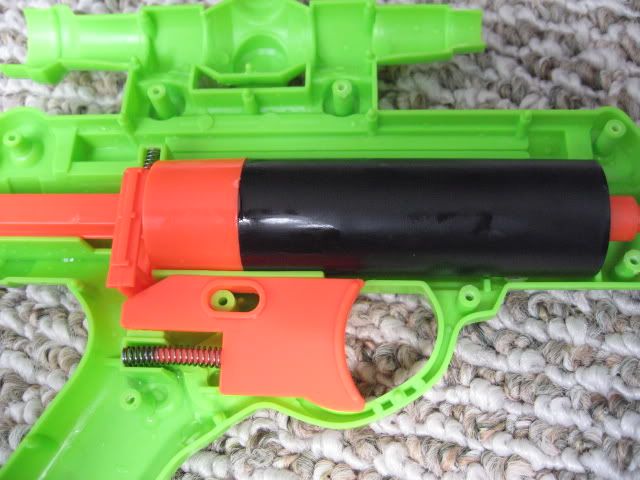
The plunger rod was different from that of a NiteFinder. The head was machined from rubber. I assumed that this was in fact an improvement, knowing that it would cushion the impact over time. However, this lead to the unfortunate absence of an o-ring.
Furthermore, it was shown that shell could not fit a NiteFinder plunger tube. I had high hopes thinking that I could expand the air volume of the toy. Thankfully the entire fore-grip section of the blaster is easily removable. This allows for easy access to the short barrel.
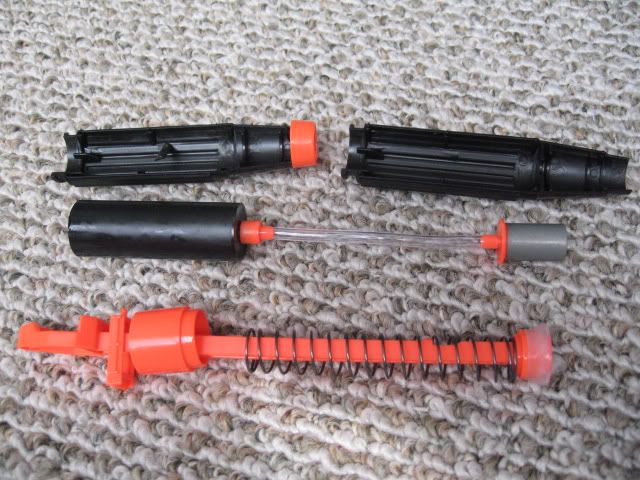
Later I understood why such a decent sized plunger tube would cause such low ranges. The toy had an enormous amount of dead space. I had to fix it. You can too.
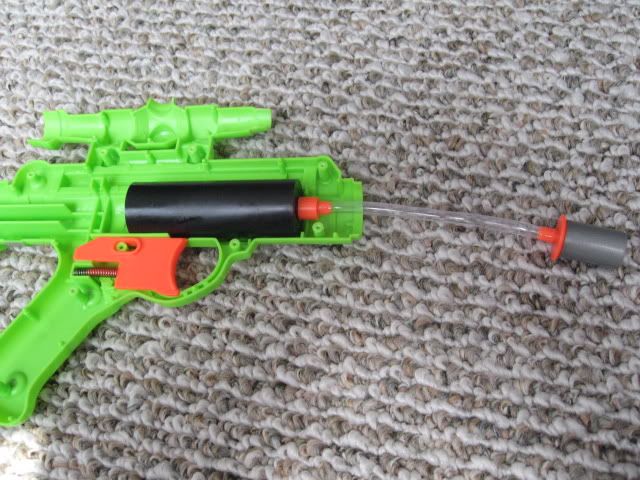
://Actual Modding Happens Here://
Cut away at the useless vinyl tube.
Then, using your trusty rotary tool, you should rub away at the plastic near the tip of the plunger tube, allowing for better air flow. Be careful. You should be drill out a hole large enough for a dart to fall in. In addition, it should be smaller than your actual barrel material's inner diameter.
Then, glue on your favorite barrel material on top of the plunger tube. Center the barrel as much as possible. It should be air tight. You can be as creative as you want in this step. Add a coupler or a breech instead if you want. It's all decided by you, the modder.
Later, I added a Tek 4 spring into the set up and lubed up the inside of the plunger tube. Be sure to reinforce the plunger head, as it will shatter in time under the stress of the industrial spring.
Here, I highly recommend that you replace the catch spring. However, I did not have it at hand and went along with the modification.
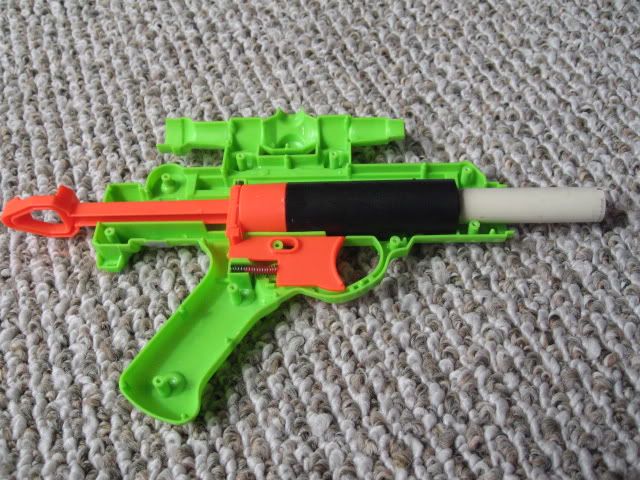
Add the second part of the shell and you're done. Enjoy your new two dollar toy !
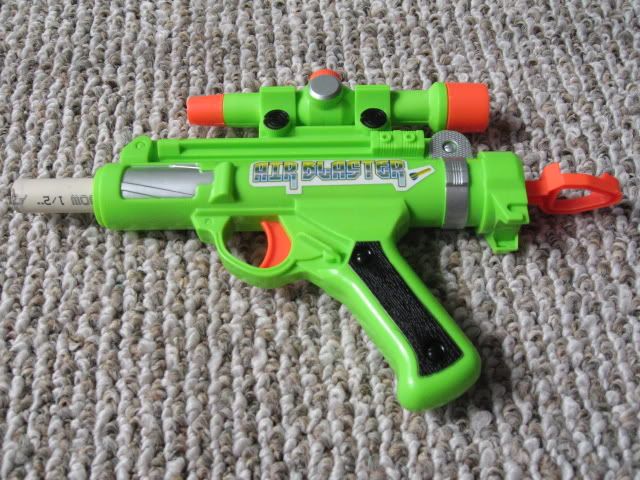
I ventured into the parking space of my condo and fired a few stefans. After five shots, I learned that the average range of my toy was sixty-five feet flat. Not bad for a dollar store toy, isn't it ? Basically a two dollar NiteFinder, if you ask me. In fact, this blaster out ranged my bungee powered NiteFinder. I also assume that this gun can hit perhaps eighty feet with a proper seal and a longer barrel. I used three inches in this case.
Edited by bleachmaniac, 11 February 2010 - 05:11 PM.


