See my first DT3 mod.
I'd like to make a shout-out to HOTH for letting me acquire his DT3 set.
What you need
Part 1--DT3 Arrow shooter improvements
-1/2 thin wall pvc
-1/2 pvc endcap
-3/4 to 1/2 reducer and 1 pvc OR a +bow PVC bushing
-6-32 locknuts (2)
-6-32 screws one 2 and another 1/2 and a third 1 1/4
- +bow plunger washer and spacer
-1/8 polycarbonate
-leftover Polycarbonate tube from an L+L
- other modding materials
Part 2--More Arrow Shooter, Pistol, and attachment
-3/4 thinwall pvc
-Nightfinder spring
-1/2 coupler (2)
-1/2 pvc
- some 6-32 screws 3/8, 1 1/4
- a small but powerful spring.
-other modding materials
Part 1- Arrow Shooter internal replacement
Internals
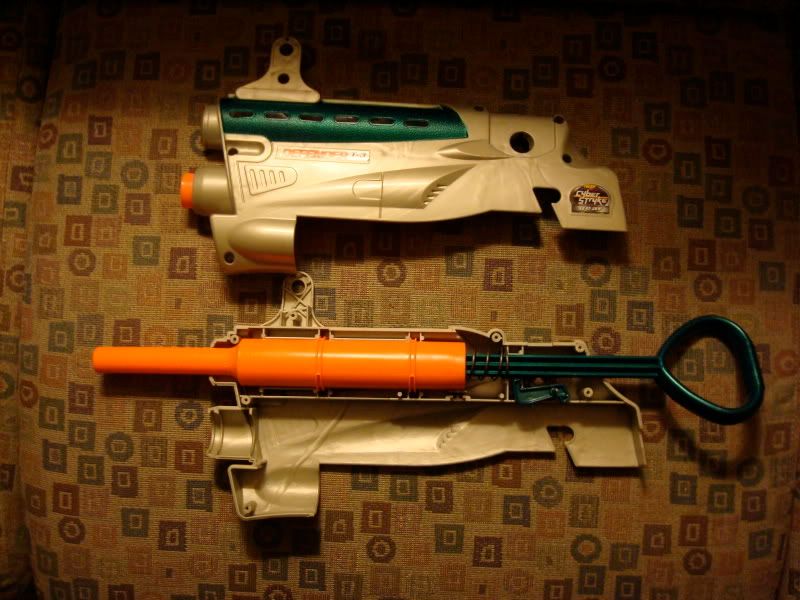
*picture taken by Koree at Nerfhaven
See that orange plunger tube take it out and throw it away or keep it.
Now the plunger rod needs some work take off the stock skirt, and washer off and chop off the peg.

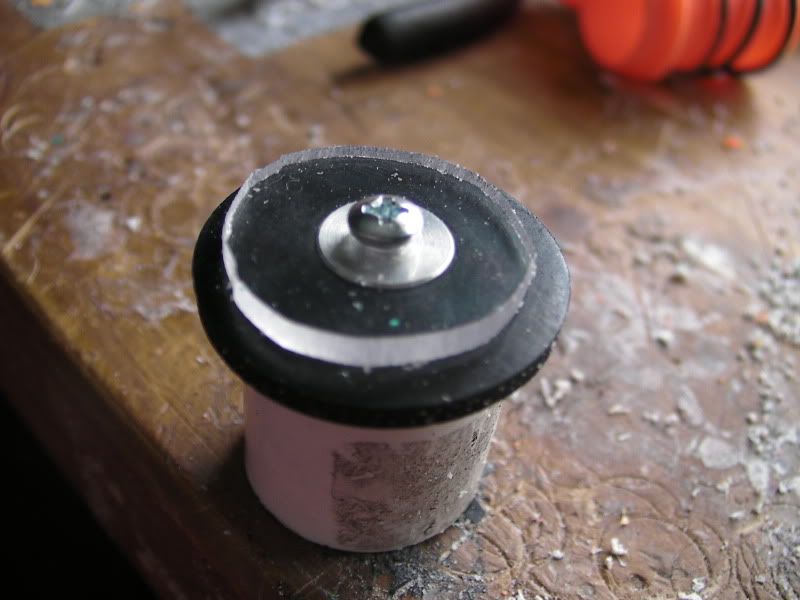
Make a polycarbonate circle about 1 diameter, and drill a 5/32 hole in the middle.
Take your 1/2 endcap and drill a 1/8 hole in the middle, and put the thinwall pvc in it as far as it will go then cut it flush with the endcap.
Assemble the plunger head like so.

Slide the plunger head on and attach it to the plunger with a 1 1/4 screw
(you might need to grind it down a bit to fit in the new plunger tube.)

With the reducer put a 1/2 section of 1 PVC on and wrap it in E-tape till it is snug in the plunger tube.

The plunger tube is the leftovers from making a L+L which is 4.5 of 1-1/2" OD, 1-3/8" ID polycarbonate tube.

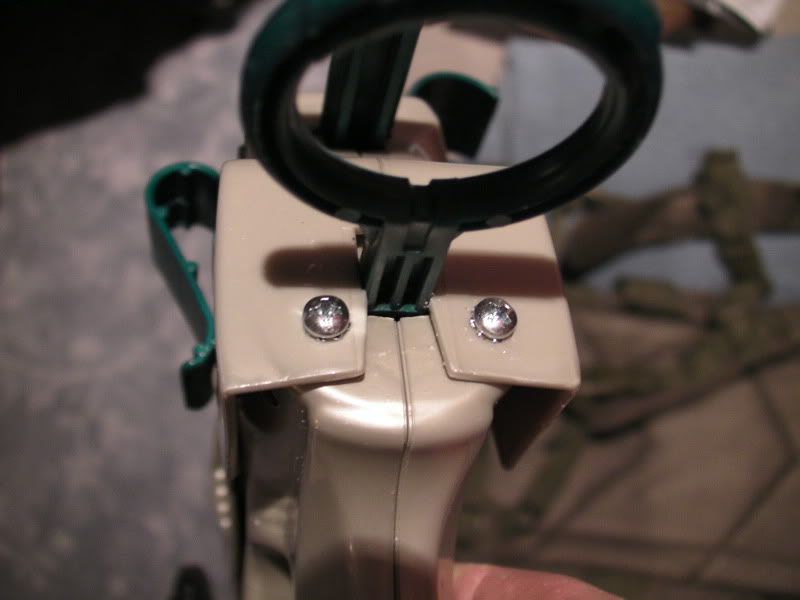
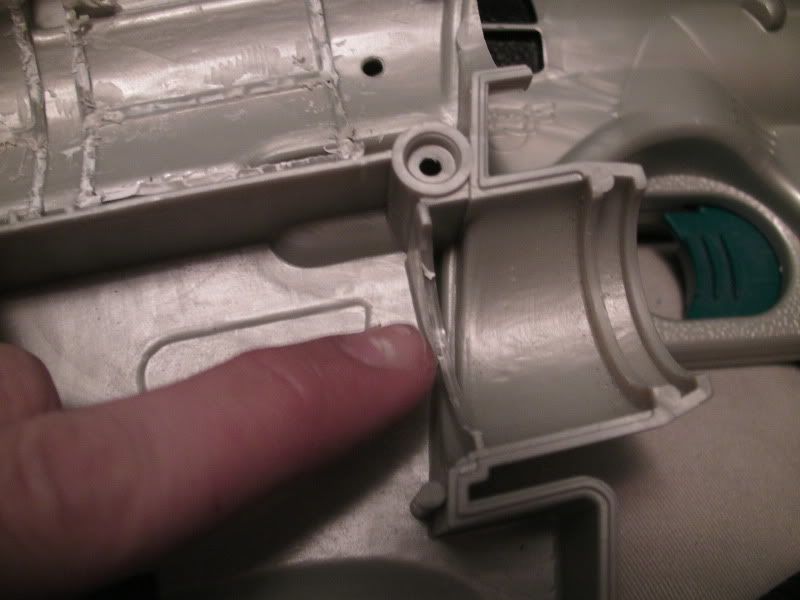
See that screw in the plunger tube you need that goes through both sides of the shell so the plunger tube won't move.
But first you need to do a lot of dremeling to both sides of the shell so the plunger tube will fit.

I also needed to chop off about 1/2 from the front of the shell.
Screw it back together.
Here is the finished product.
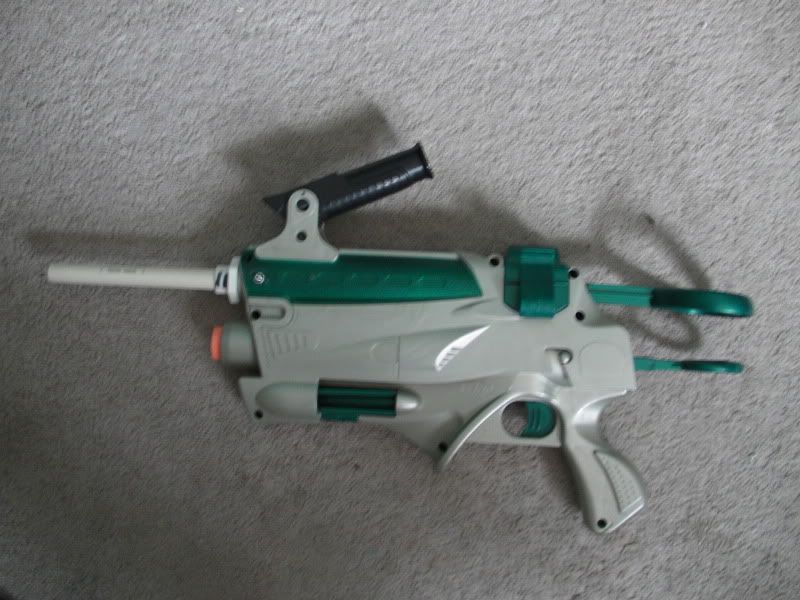
Ranges are about 65-70ft
End of Part 1
Part 2- In-lined pistol, attachment, and AS catch work
Lets start with the Arrow Shooter.
Open it back up after you finished the above, and take the catch piece and glue a little spring on it like this.

This will let you add more springs. I did a light spring addition; I want to get a [k25] to replace it eventually, but it is a lot better than stock currently.
If you do the pistol part to attach the guns together you will need to dremel down this ridge a little bit.
Pistol with in-line clip
Now crack open the pistol through away the plunger tube and stock barrel.
Get some thinwall 3/4 pvc cut it to 6. Take half a coupler and grind it down so it will fit in the pvc and put it in like the picture.
(don't forget the screw in it)

It should be about 6.5 total.
Cut a 3.5 piece of 1/2 pvc and glue it into the coupler.

Put another coupler at the end of that.
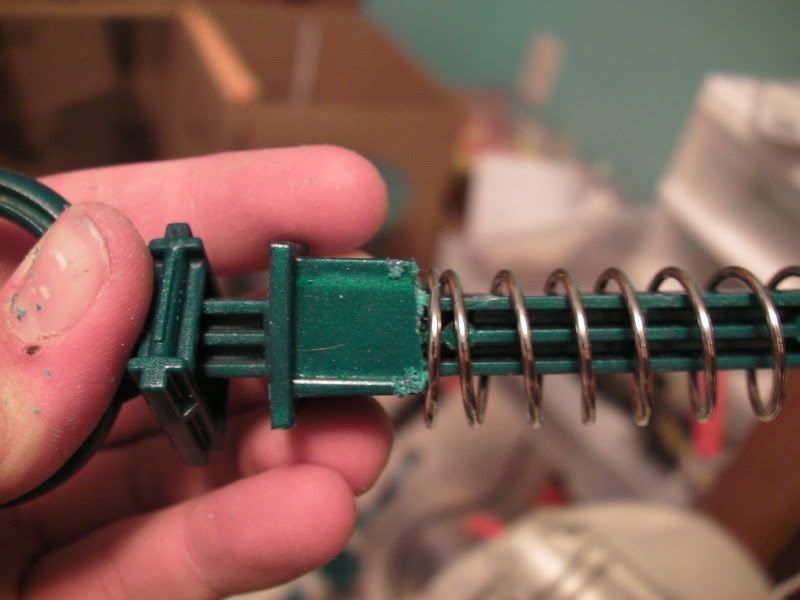
With the stock plunger rod cut the square thing down about 3/8.
Get a spring replacement I used a stretched nightfinder spring it works fine.
Do any seal enhancements you want.
Start dremeling down the shell so the new plunger tube will fit.
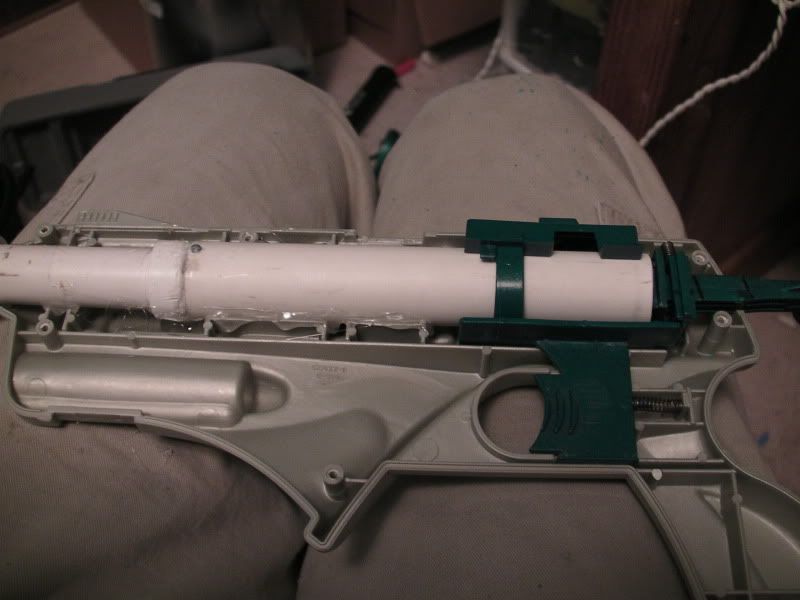
Glue everything down and it should look like that.
Continued in next post...
Edited by louiec3, 01 January 2010 - 02:50 PM.