
MaterialsNite finder
1 mm thick plastic styrene (Brands include Plastistruct or Evergreen and can be found in most hobby shops)
- The styrene I purchased came in a pack of two 1mm sheets that are 12" x 6" in size for about $5. Here is a link to www.towerhobbies.com that sells it and so you can see the product.
ToolsSharp Blade
Glue (Zap-A-Gap)
Zip ties (a lot of them)
Files
Sandpaper
Dremel
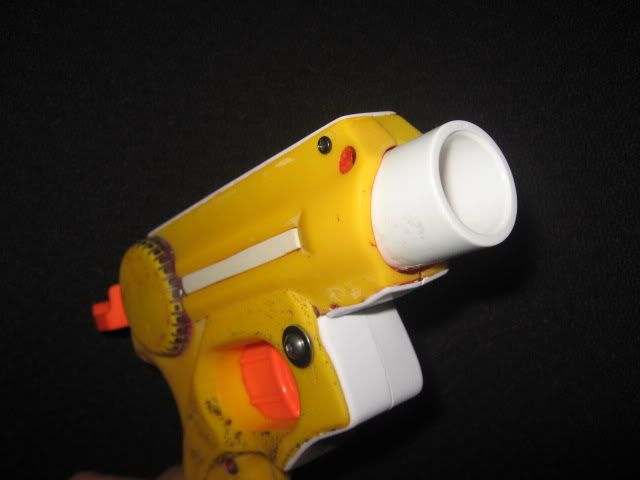
Step 1: Minimize your blaster shell.
I opted to remove the top rail and front light. Make sure to sand the down the areas to be smooth.
Step 2: Prepare the styrene.
Cutting styrene is really easy. Just score the cut line with a sharp knife a couple times and you can snap it off by bending the styrene at the cut mark at the edge of a table. For each of these areas, I cut wide of the measured mark and sanded down to the desired point. This was done so I didn't undercut any areas and have to trash any pieces. Be sure to measure as your dimensions may be different.
Top rail: 13/16" x 4 3/16" (I cut about at most about 1/4" wider than the finished dimensions). This was then cut in half and marked to know which ends connected.
Front: This was done in two sections. Underneath the barrel and around the trigger guard.
- Underneath: 15/16" x 14/16" (because this was not a straight section I left it complete and cut it once glued to make sure the middle area didn't warp)
- Guard: 1 2/16" x 2 1/2" (also complete and cut after glued)
Once you have your styrene cut, lightly sand the area that will be glued to the blaster shell. This will help the styrene adhere better.
Step 3: Glue!
Remove the internals of your nite finder and close the shell. Starting at the top, place a small amount of glue on the top shell making sure to not get too much around the join of the shell. Take one side of your styrene and line up the inside of it with the join in the shell on both ends and press firmly. Quickly take the other side, making sure your match marks meet, line it up, press it down firmly.
Let this sit for a couple hours.
NOTE: I tried using a heat gun to get the bend right, but the plastic warped too much and I wasn't able to get it uniform.
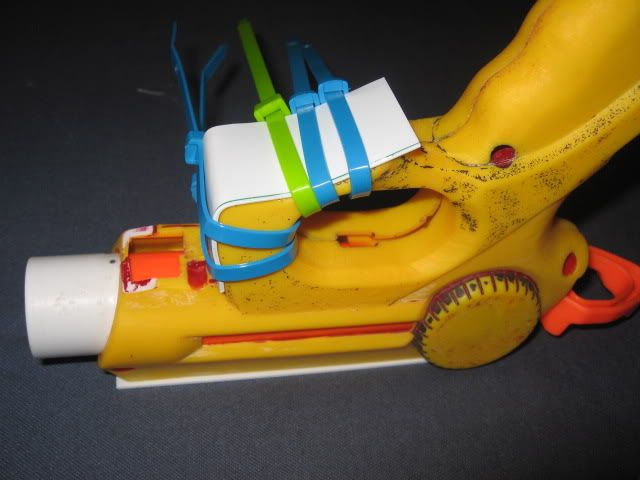
Get your zip ties ready.
I started with the trigger guard since that was going to be the most difficult. Place a small amount of glue along the front of the guard and a little around the corner. Quickly place down the styrene press firmly. In a couple minutes, slowly bend the styrene around the guard making sure that the front area doesn't move during the bending process. Once you have the styrene bent relatively well, put some glue along the bottom, again be careful not to get too much by the join, and press down firmly.
Now grab your zip ties and start wrapping them around the guard. This will hold down the styrene to the shape of the guard. Make sure to get the zip ties tight and to pay special attention to the curves. You can use spare styrene underneath the zip ties to help keep the styrene straight and tight against the shell.
Let this dry overnight.
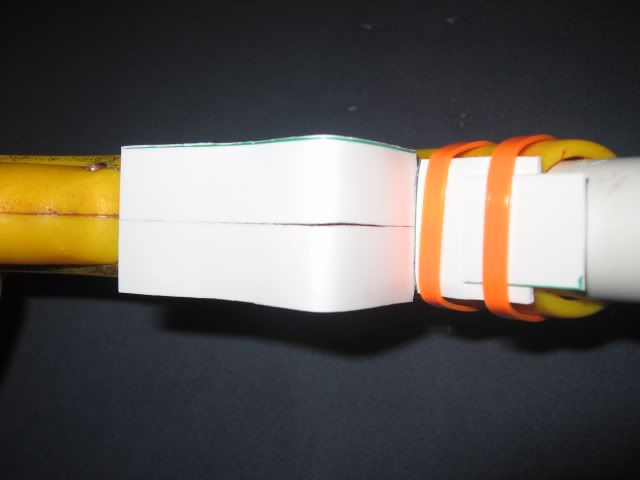
Once the guard is dry, remove the zip ties and inspect the styrene to make sure it fits correctly. Using your knife and a bendable ruler, lightly score a join down the entire length of the styrene. Go light and easy making multiple light passes rather than one heavy pass. In a couple minutes, the styrene will separate.
Now follow the same process for the area underneath the barrel.
Once all the areas have been covered, open the blaster and add glue to the interior of the shell for further strengthening the bond of the styrene to the shell.
Step 4: Sanding
Now that you have the shell covered up, use your dremel/files/sand paper to reduce the styrene to fit the shell any way you see fit.
Step 5: All done!
This process can work for any blaster shell and just takes time, patience and an abundance of zip ties.
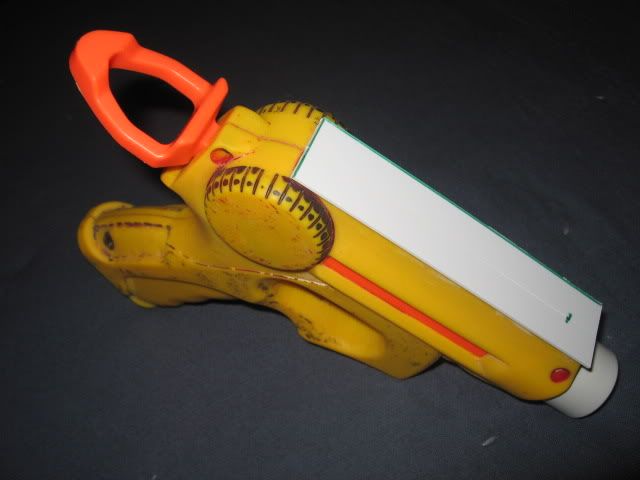
Extended Draw
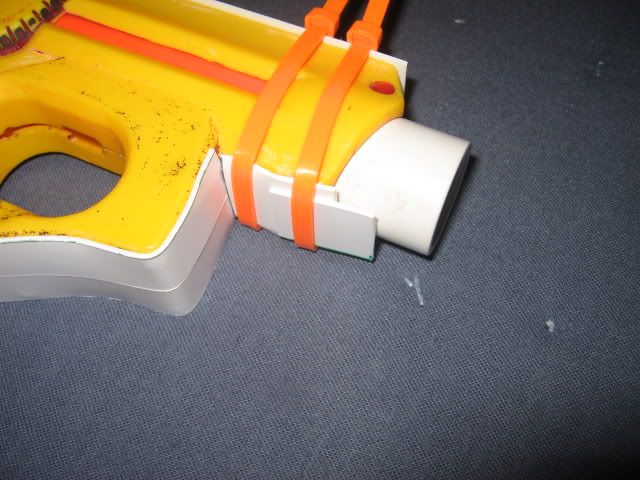
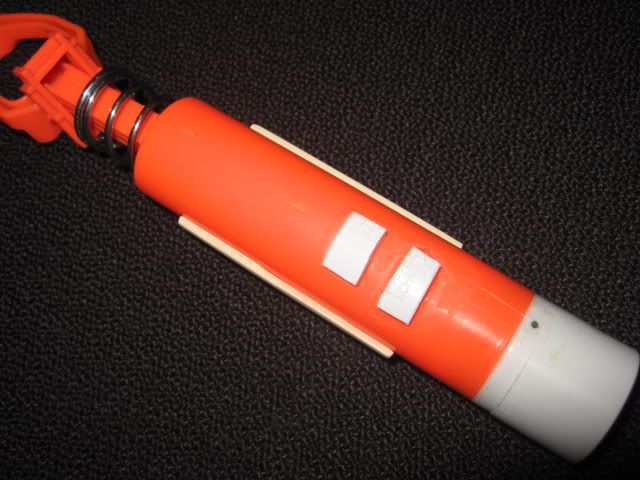
For the plunger, I glued on a PVC end cap and drilled through the cap to create a coupler and added a dart stop wire made from a paper clip. I then widened the hole in the front of the blaster to allow the PVC to fit.
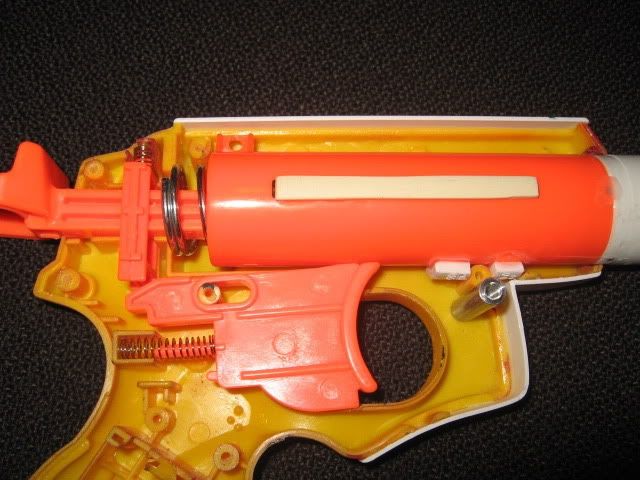
To extend the draw, find the point where the plunger rod almost hits the outside of the shell and make a mark through the outside of the shell onto the plunger tube. These marks can be used to add CPVC strips to the plunger tube to secure it into the shell. I also added some supports for a post but that wasn't completely necessary.
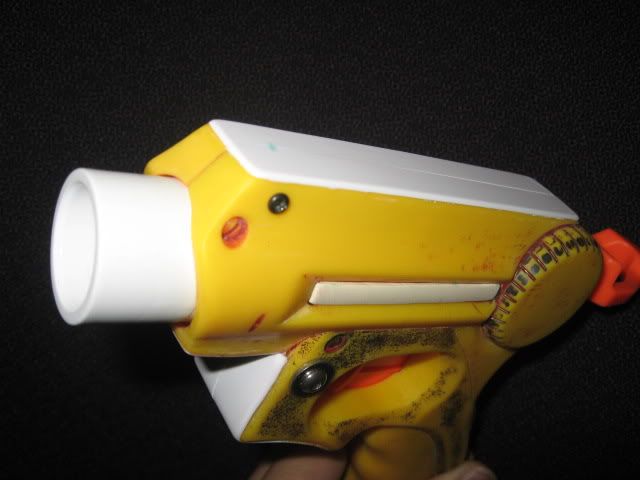
In order for the front of the shell to close properly, I found a 1" post at Ace Hardware for the guard and cut one of the existing posts from the Nite Finder's front area for the top of the shell. The second picture doesn't show the top post.
If you have any questions, reply and I'll try to answer them as best I can.
Ranges: Averaged 75ft with a single BB stefans.
Edited by popatachi, 08 March 2010 - 05:02 PM.


