Jump to content


Photo

Raider With 2k Integration

Fugly fun, tricky but useful

8 replies to this topic

#1 ice

ice

    Member

  • Members
  • 895 posts

Posted 15 November 2009 - 01:03 PM

I'm sorry I don't have any pics of actually cutting the shell to fit the 2k, but I do have pic of how it fit. I simply attached a elbow cpvc coupler to face the outside of the right half of the shell, and made sure the tubing connector was pointed down, tword the trigger. I then placed it in, and glued the hell out of it. The yellow balls in the picture are airsoft BB's which I used just to fill space and make it completely solid, for I thought it was better to use them then just straight hotgule.

Posted Image

Posted Image

Posted Image

Posted Image

Posted Image

Then, on the outside of the shell, where the eblow coupler comes out, fill the surrounding space (if any) with hotglue, and proceed to sand. With all this glue, that coupler wouldn't move even if I wanted it out.

Posted Image

Pretty flush.

Posted Image

Posted Image


Before installing the 2k, make sure you have enough room in the shell for the firing pin to fully extend, to get the max range out of your 2k.

Posted Image

Posted Image

Posted Image

Posted Image

Posted Image

Edited by ice, 24 November 2009 - 07:24 PM.

  • 0
<!--quoteo(post=206428:date=Jan 25 2009, 05:17 PM:name=Mukersman)--><div class='quotetop'>QUOTE(Mukersman @ Jan 25 2009, 05:17 PM) View Post</div><div class='quotemain'><!--quotec-->
Turd stefans. When I pulled these out of the pillow case i was just like, what... the... fuck...
Muker
<!--QuoteEnd--></div><!--QuoteEEnd-->

#2 Coop

Coop

    #sogoodmuchtacticswowinit2winit360noscopehax0rleetbeastmodeactiv

  • Members
  • 775 posts

Posted 15 November 2009 - 01:04 PM

Looks nice, how did did the trigger turn out? Is it easy to fire?

Where do you plan on putting the pump?

EDIT: Fuck, I didn't know there was more. Whoops

Edited by Coop, 15 November 2009 - 01:07 PM.

  • 0

On the other hand, the guy who posted before me used the word 'fuck' a lot so he probably knows what he's talking about.


#3 ice

ice

    Member

  • Members
  • 895 posts

Posted 15 November 2009 - 01:05 PM

I attached the key ring to the right side of the trigger, which does allow for full extension, even thought there is very little room for it. Then, we move on to the raider internals. There are a couple peices you have to shave down of cut off to get the 2k to fit in, and keep the raider working smoothly.
Darttooth:
Posted Image

Posted Image

There are also two nubs on the boltsled that face where the 2k is placed (not pictured) which must be shaved off. If done correctly, then your raider should still work fine.
Posted Image

Posted Image

Posted Image

Edited by ice, 24 November 2009 - 07:25 PM.

  • 0
<!--quoteo(post=206428:date=Jan 25 2009, 05:17 PM:name=Mukersman)--><div class='quotetop'>QUOTE(Mukersman @ Jan 25 2009, 05:17 PM) View Post</div><div class='quotemain'><!--quotec-->
Turd stefans. When I pulled these out of the pillow case i was just like, what... the... fuck...
Muker
<!--QuoteEnd--></div><!--QuoteEEnd-->

#4 ice

ice

    Member

  • Members
  • 895 posts

Posted 15 November 2009 - 01:08 PM

Posted Image

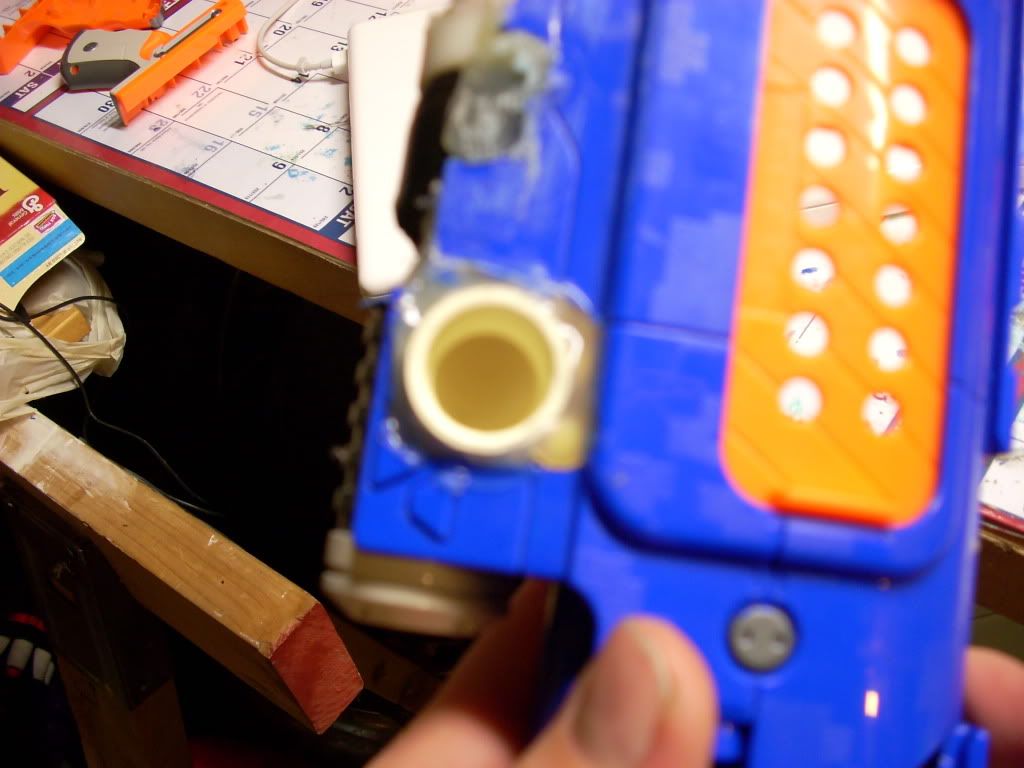
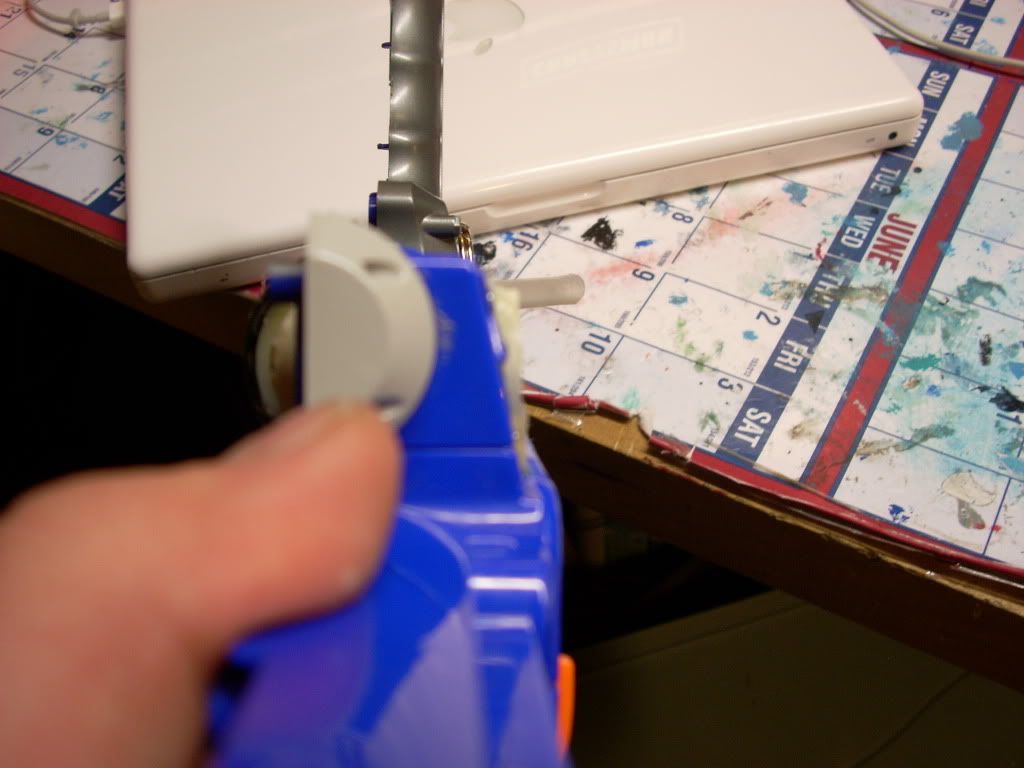
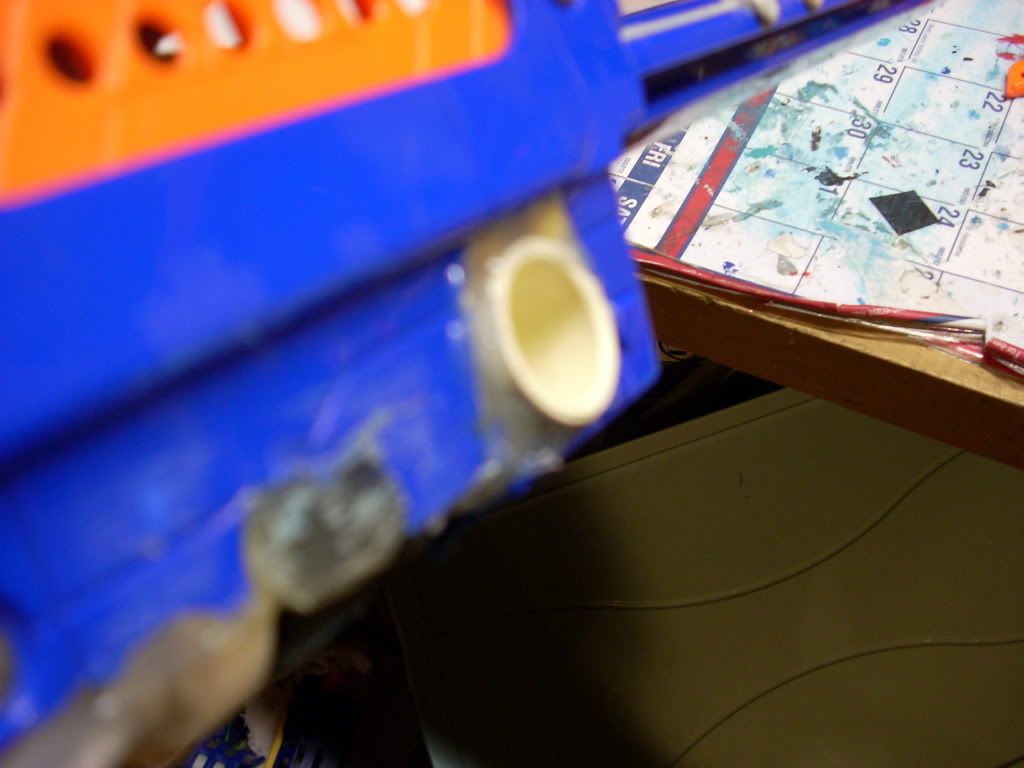
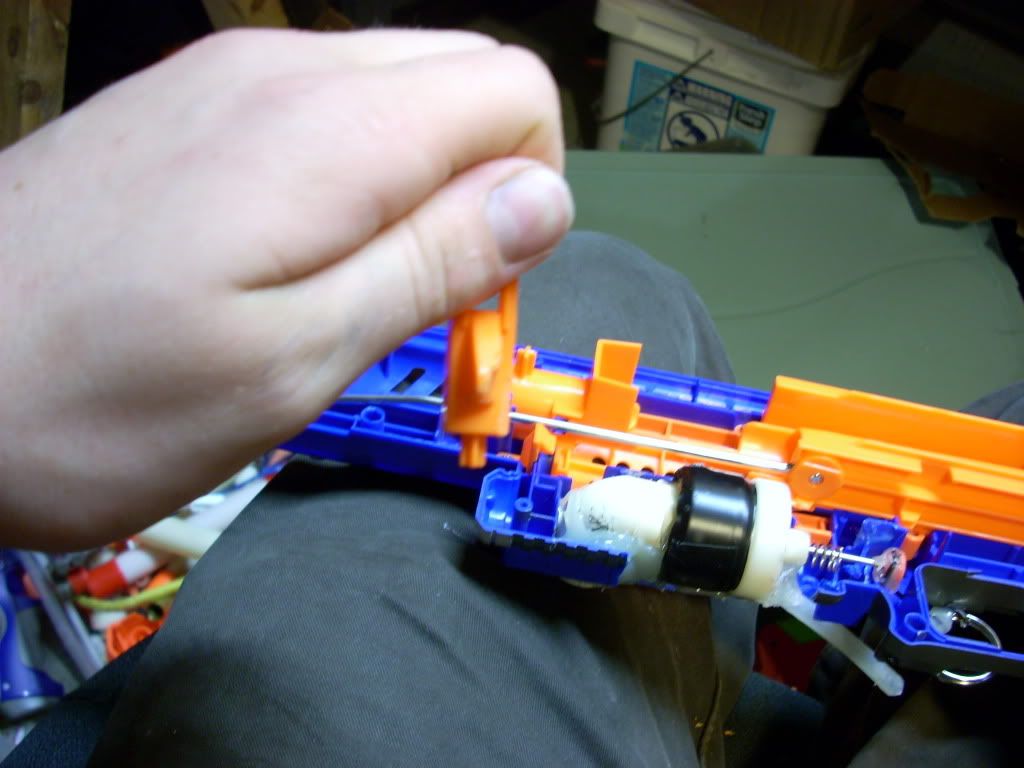
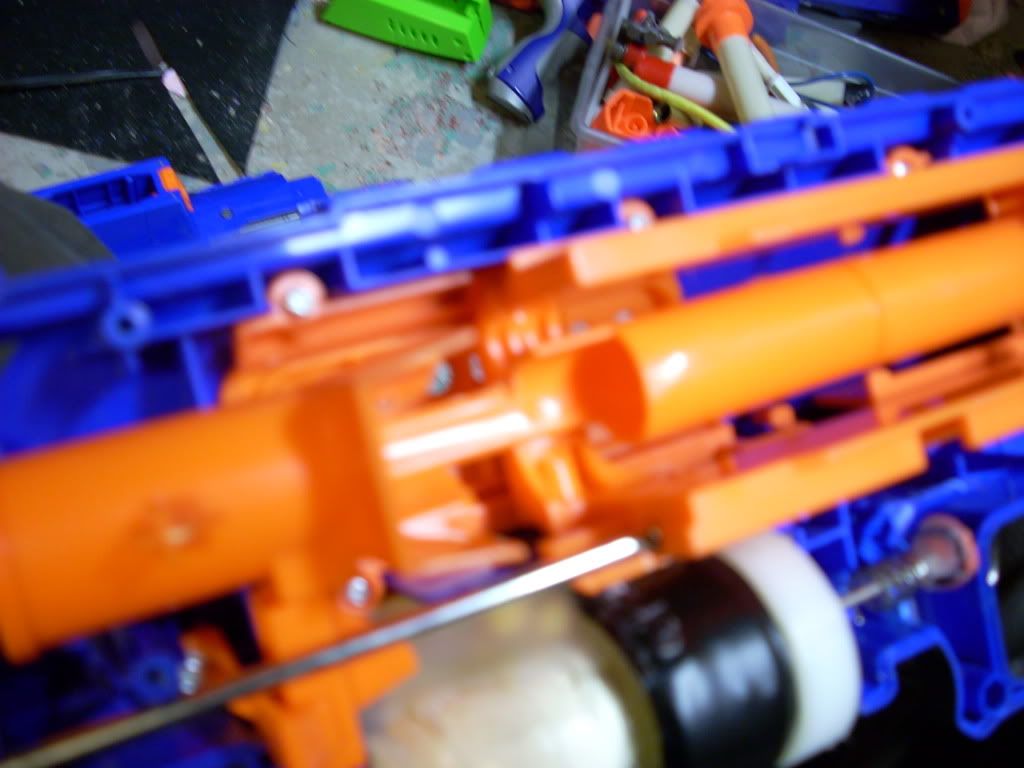
Heres how the tubing was done
Posted Image

Posted Image

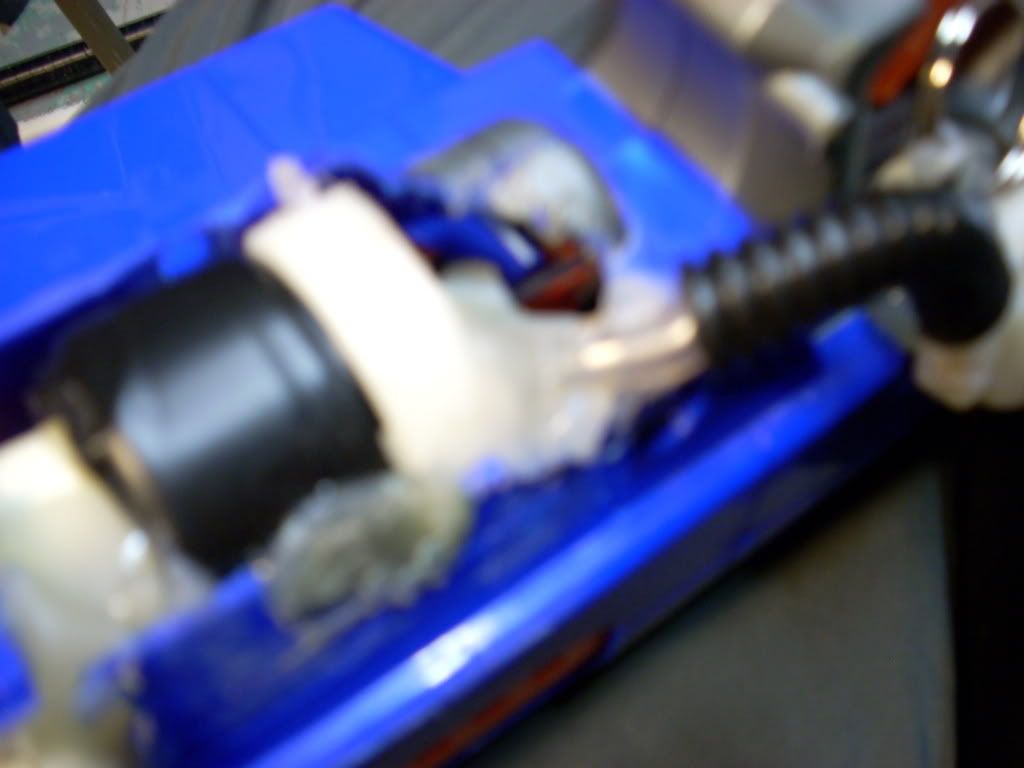
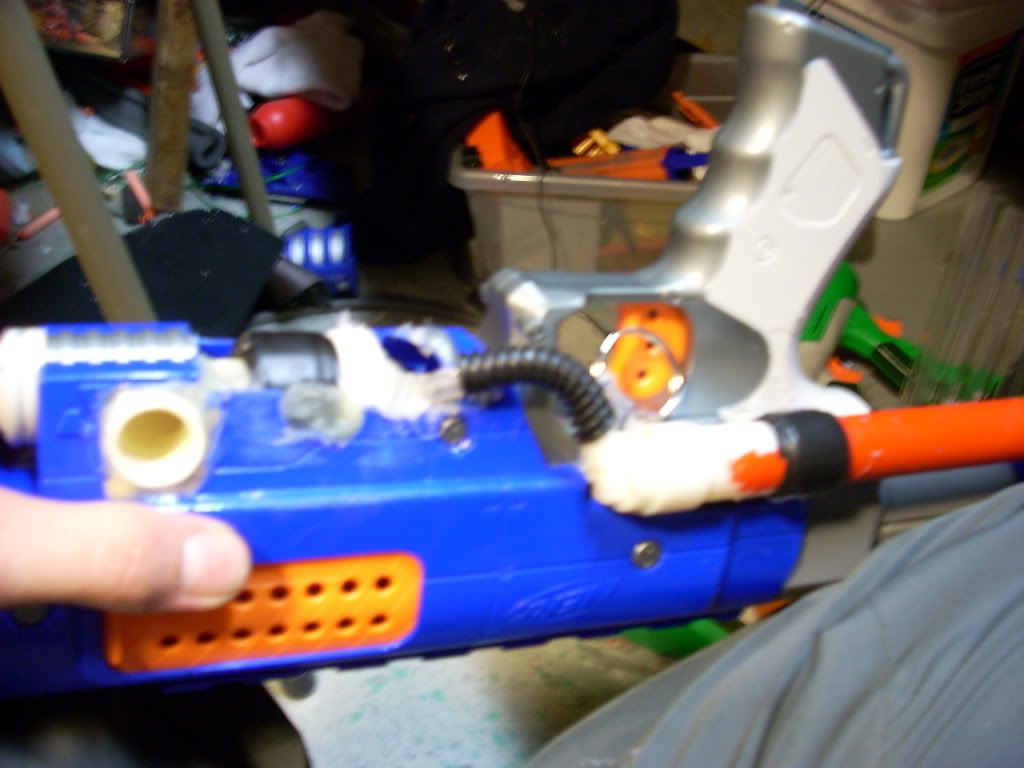
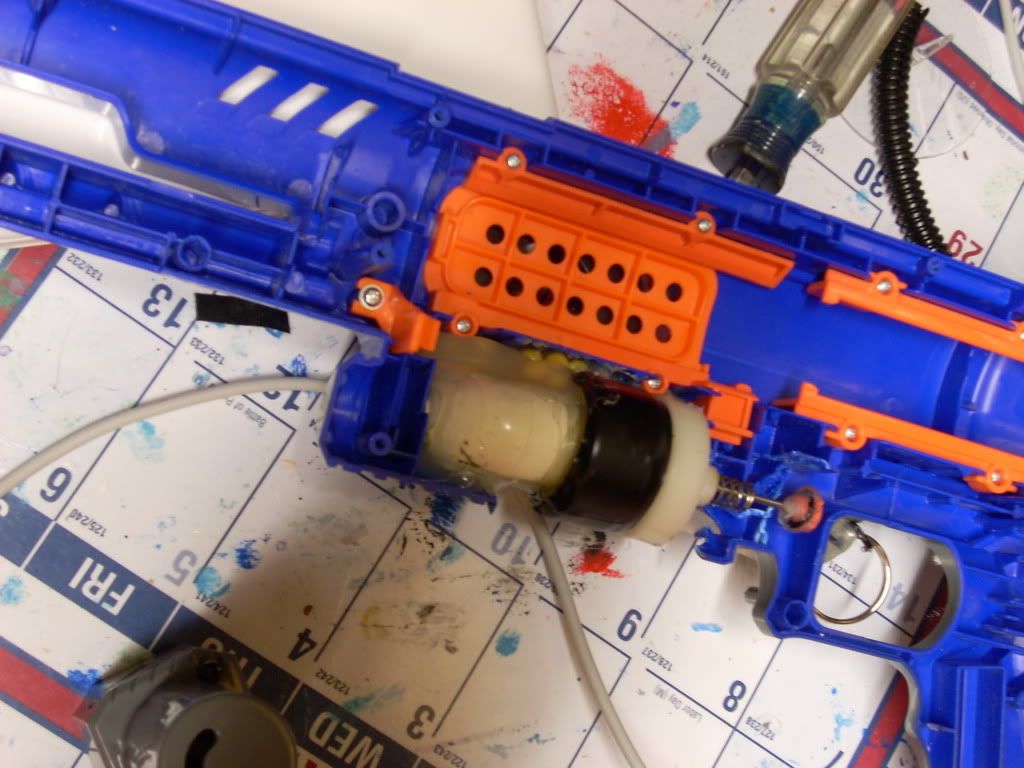
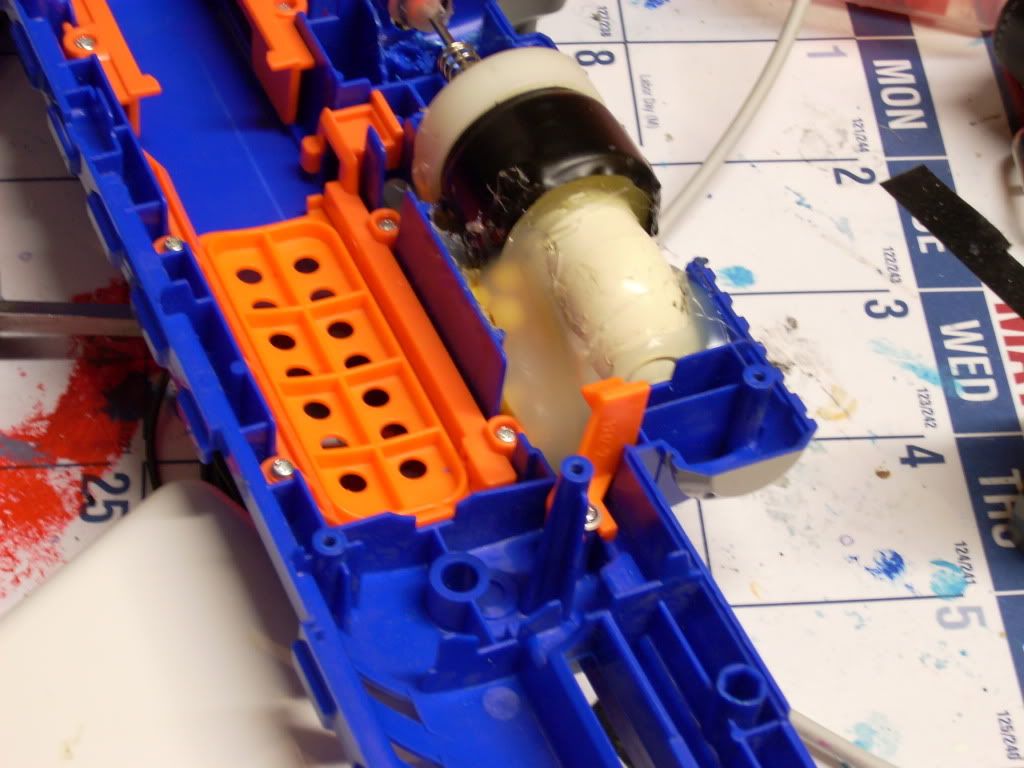
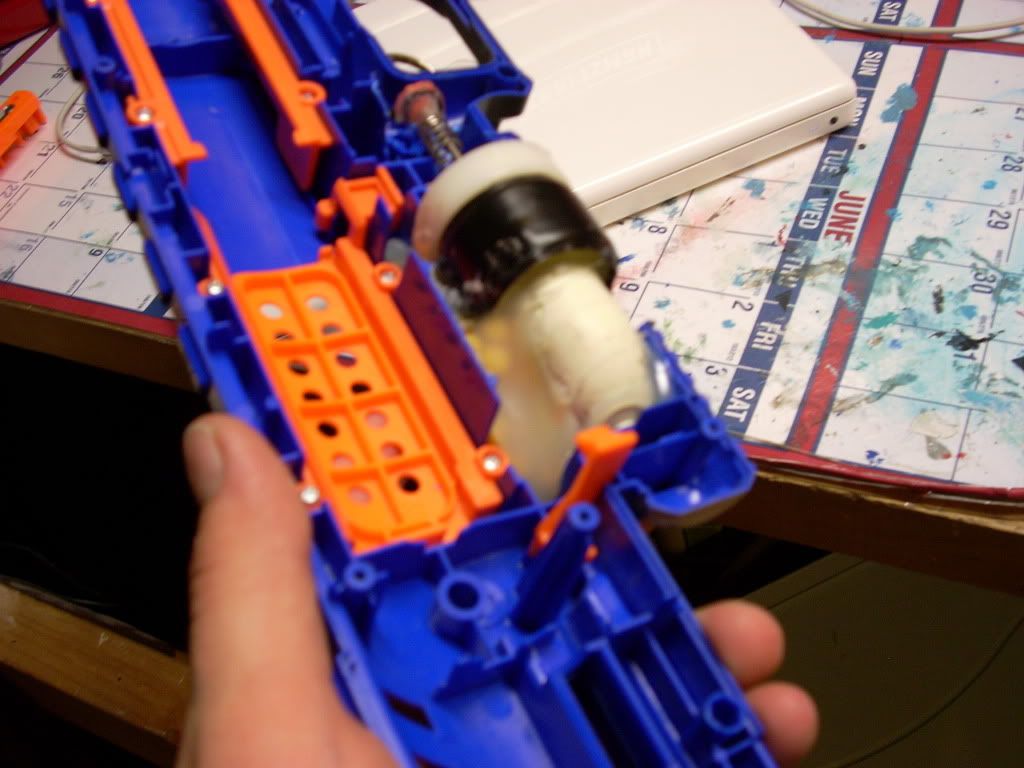
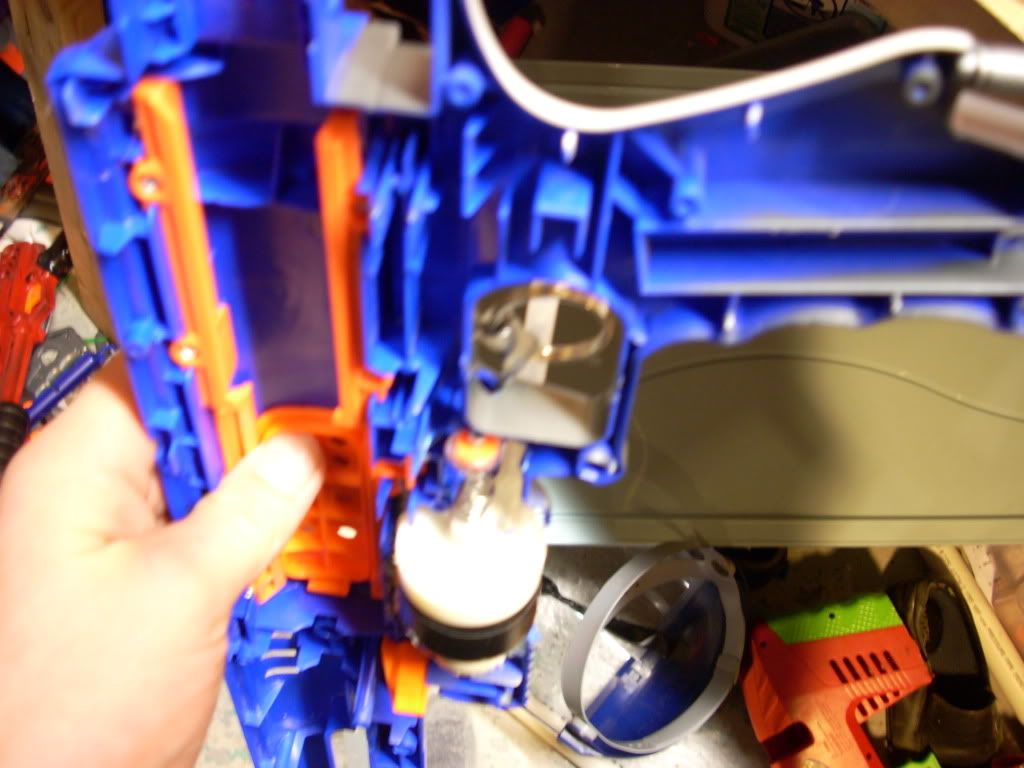
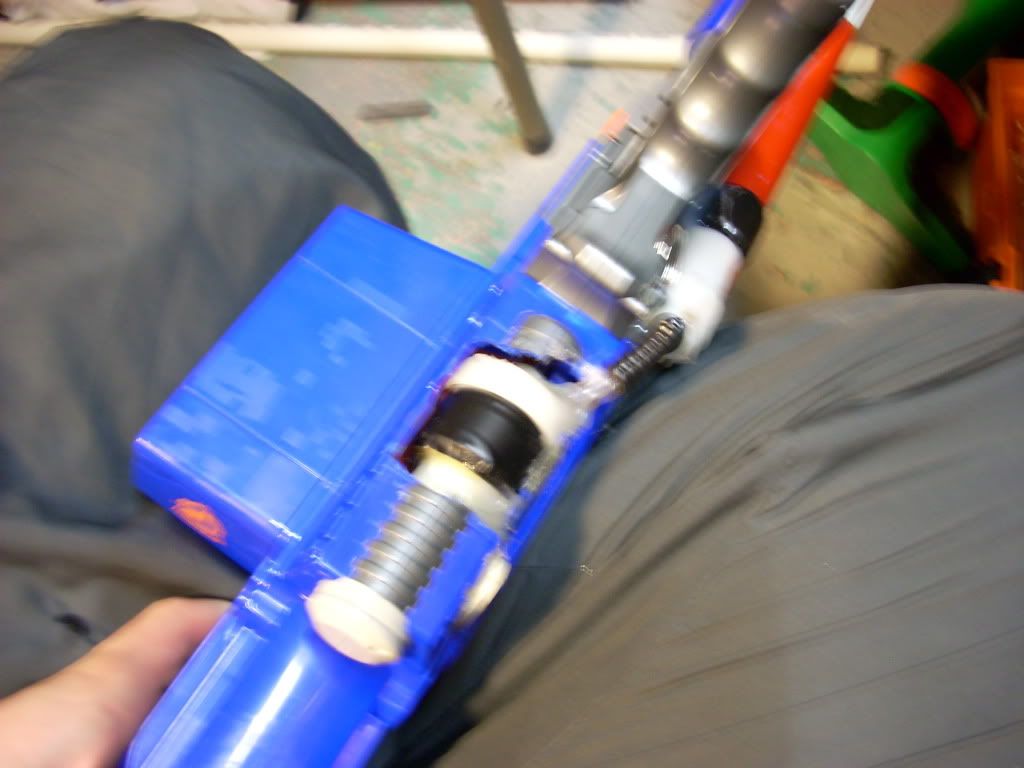
The pump was the hot glued to the side (shown above and in next pictures). It's a basic 2k pump, just happens to be red.

Posted Image

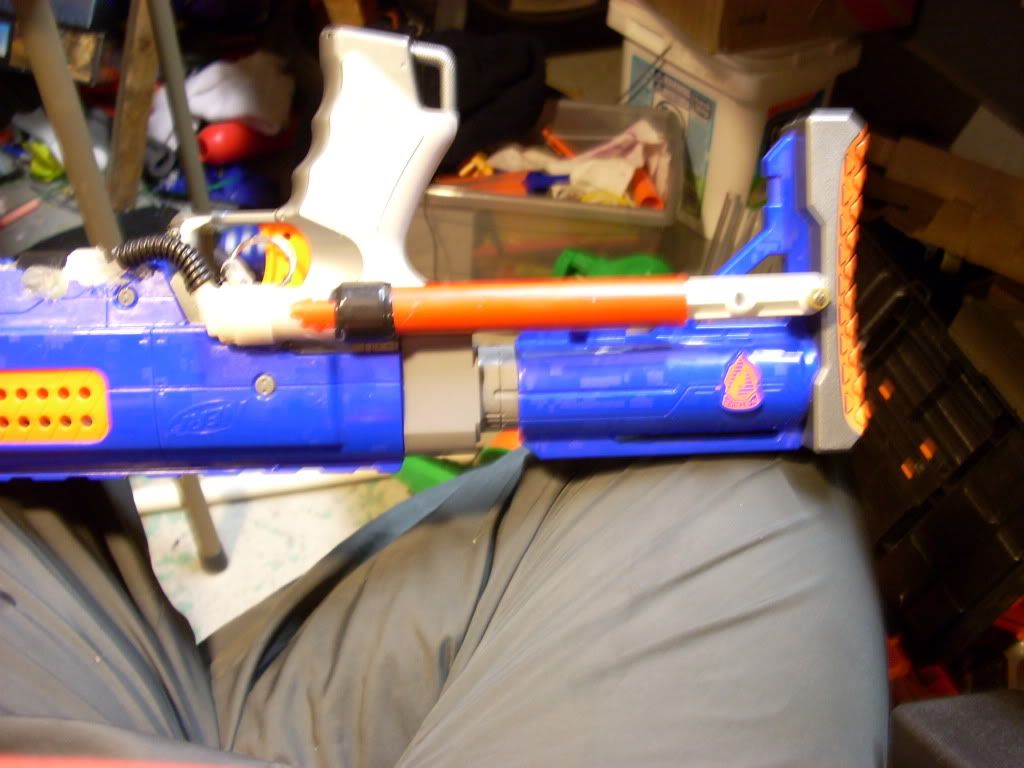
Then, threaded wire was added to the stock. Very simple, just drill or dremel a hole through the back of the stock, and use 2 hex nuts to hold the wire to either side of the stock. Cut the one end flush with the stock, and extend the other end to connect it to the pump, and use another hex nut to keep it there.
Posted Image

Now, when the stock is pulled back, the pump is pulled back. When the stock is pushed forward, the 2k is pumped. It does limit the pump stroke a little though, so 6-7 pumps are suggested to fill and a little bit over fill the 2k tank, which is about the equivalent of 4 normal pumps from a plugged pump. Also, make sure your 2k and tubing is airtight BEFORE you install it in the shell. I didn't, and had major problems with it sealing. It works now, but was a major pain.

Special thank to Ballistic Joe for tubing and sealing help.
Posted Image


POST AWAY!

Edited by ice, 24 November 2009 - 07:26 PM.

  • 0
<!--quoteo(post=206428:date=Jan 25 2009, 05:17 PM:name=Mukersman)--><div class='quotetop'>QUOTE(Mukersman @ Jan 25 2009, 05:17 PM) View Post</div><div class='quotemain'><!--quotec-->
Turd stefans. When I pulled these out of the pillow case i was just like, what... the... fuck...
Muker
<!--QuoteEnd--></div><!--QuoteEEnd-->

#5 TantumBull

TantumBull

    Member

  • Moderators
  • 1,929 posts

Posted 15 November 2009 - 03:19 PM

Good idea, but why isn't the pump in the stock? Also, please learn how to focus your camera, I skipped over most of the pics because they were so painful to look at.
  • 0

#6 ice

ice

    Member

  • Members
  • 895 posts

Posted 15 November 2009 - 03:31 PM

Good idea, but why isn't the pump in the stock? Also, please learn how to focus your camera, I skipped over most of the pics because they were so painful to look at.

Sorry, my camera skills are weak, but I couldn't fit a 2k pump in the stock because the plunger from the raider comes out and would hit it. Maybe a 3k pump would fit, but I don't have one.
  • 0
<!--quoteo(post=206428:date=Jan 25 2009, 05:17 PM:name=Mukersman)--><div class='quotetop'>QUOTE(Mukersman @ Jan 25 2009, 05:17 PM) View Post</div><div class='quotemain'><!--quotec-->
Turd stefans. When I pulled these out of the pillow case i was just like, what... the... fuck...
Muker
<!--QuoteEnd--></div><!--QuoteEEnd-->

#7 louiec3

louiec3

    Member

  • Members
  • 316 posts

Posted 15 November 2009 - 04:51 PM

When I did my raider I had to cut down the 3k pump quite a bit for it to fit in the stock, and then I needed quite a few pumps to fill up the tank; that's why I moved my pump to below the breech.
  • 0

#8 cheesypiza001

cheesypiza001

    Member

  • Members
  • 752 posts

Posted 15 November 2009 - 05:19 PM

Also, please learn how to focus your camera, I skipped over most of the pics because they were so painful to look at.

Sorry, my camera skills are weak


If you are using a point shoot camera, remember to push down the shutter release button (the thing you press to take the picture) halfway and let the camera focus before pressing down completely. On most point shoot cameras, the camera will make a click noise once the lens is focused.
  • 0

#9 balisticjoe

balisticjoe

    Member

  • Members
  • 311 posts

Posted 15 November 2009 - 10:48 PM

Posted Image

That's one handsome dude I tell you what. I can say from experience-this thing is nice and shoots pretty hard.
  • 0
There Are No Stupid Questions, But There Are A Lot Of Inquisitive Idiots.


0 user(s) are reading this topic

0 members, 0 guests, 0 anonymous users