Jump to content


Photo

Lanard Sawed Off Hand Cannon Modifitcation

WANRNING PICTURE HEAVY

16 replies to this topic

#1 Darken

Darken

    Member

  • Members
  • 166 posts

Posted 24 July 2009 - 10:17 AM

Sorry about pic size, photobucket has issues with resizing.

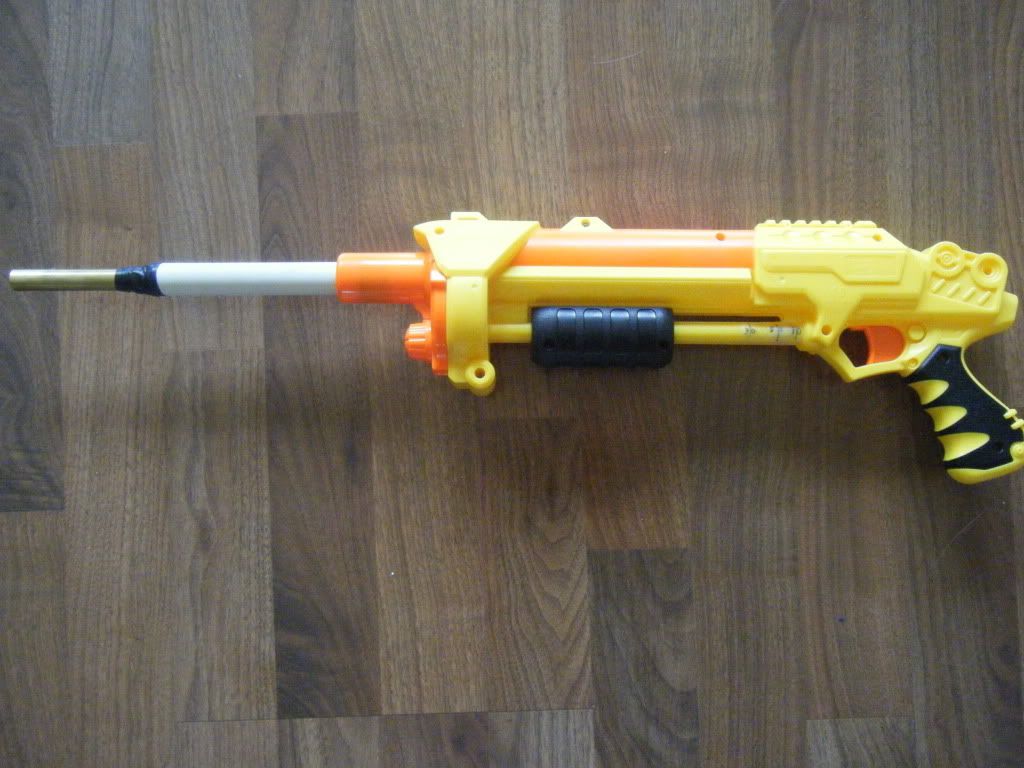
Ok, since I got beat to showing the Hand Cannon, I decided to be the first one to mod it. So here we go.

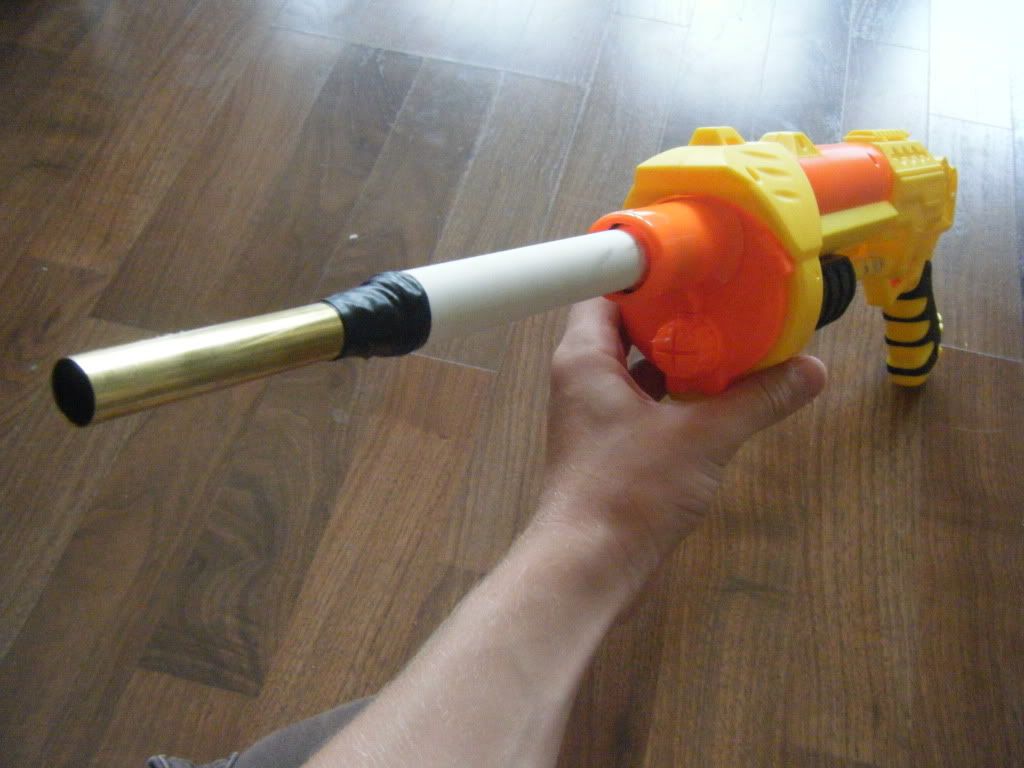
Gun: Lanard Sawed-Off Shotgun

Tools:
Dremel/cutting tool
Power drill
Screwdriver
Wire Cutters


Materials:
Hotglue
Electrical tape
Steel wire
1/2 PVC coupler
Recon spring


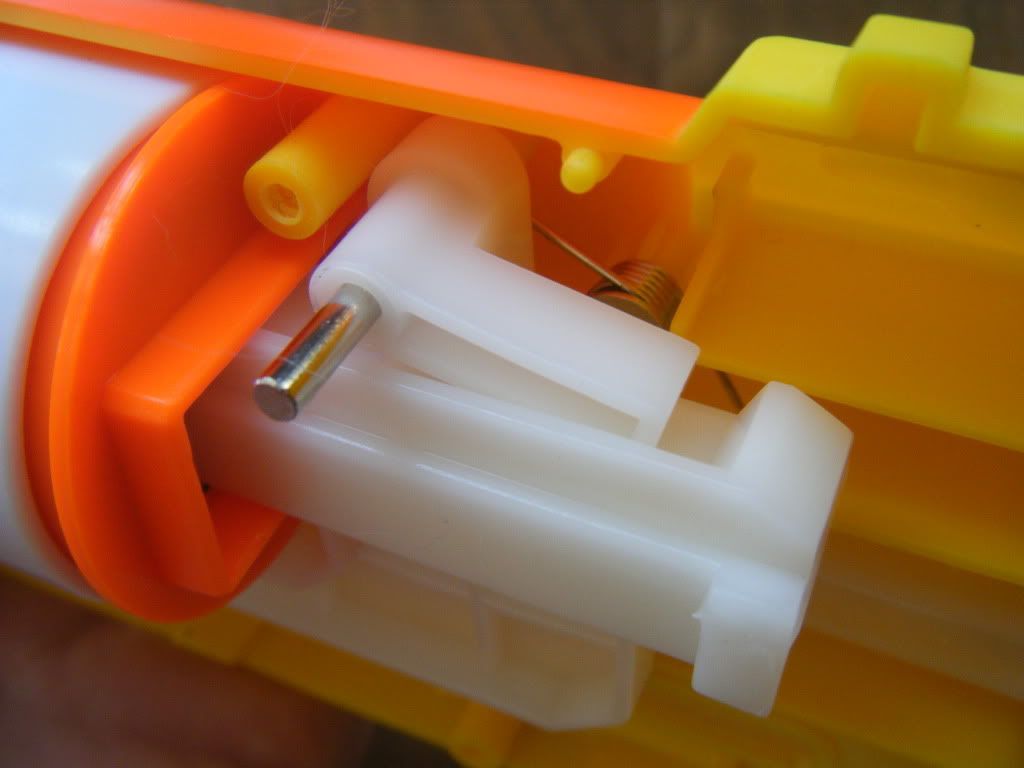
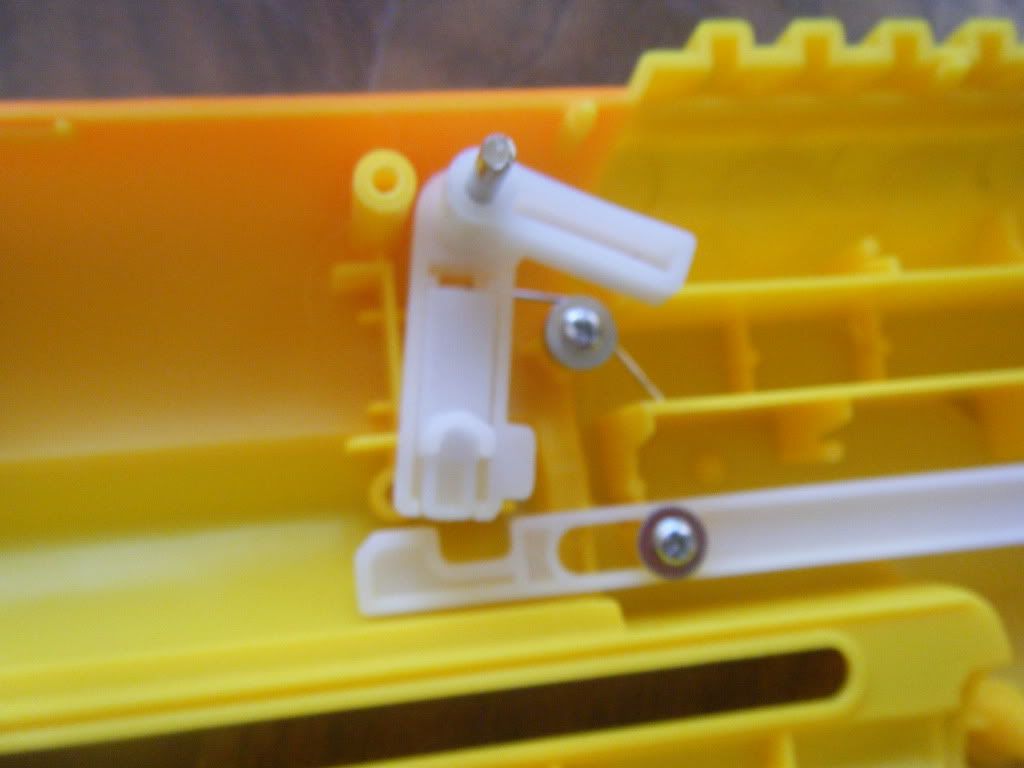
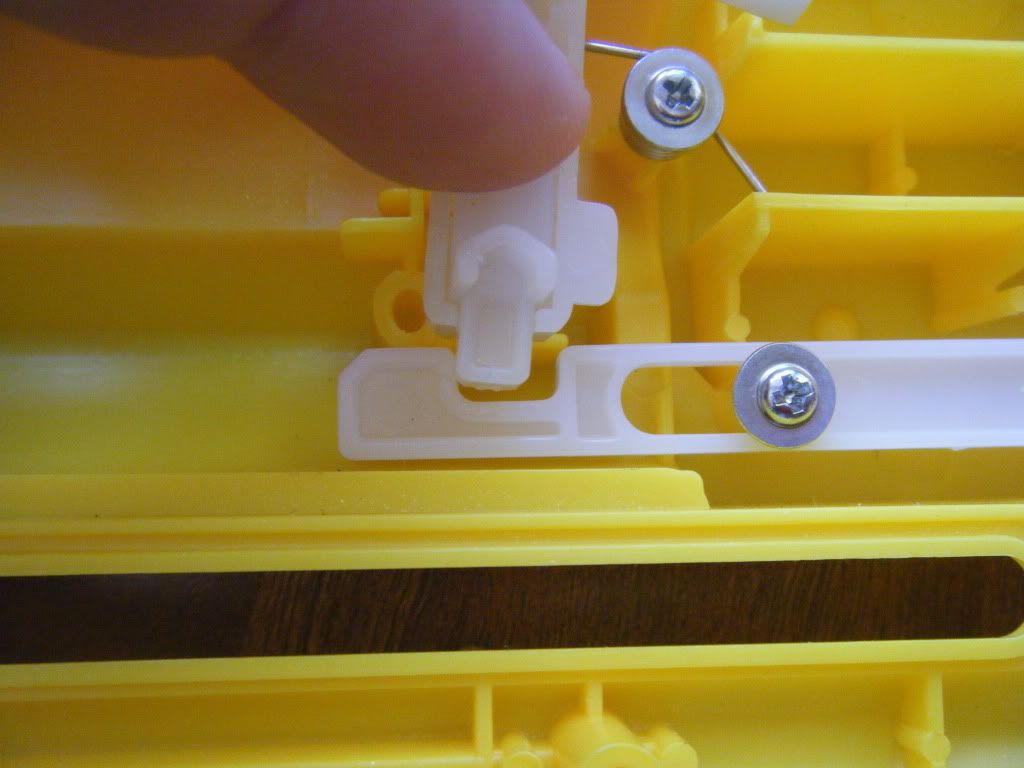
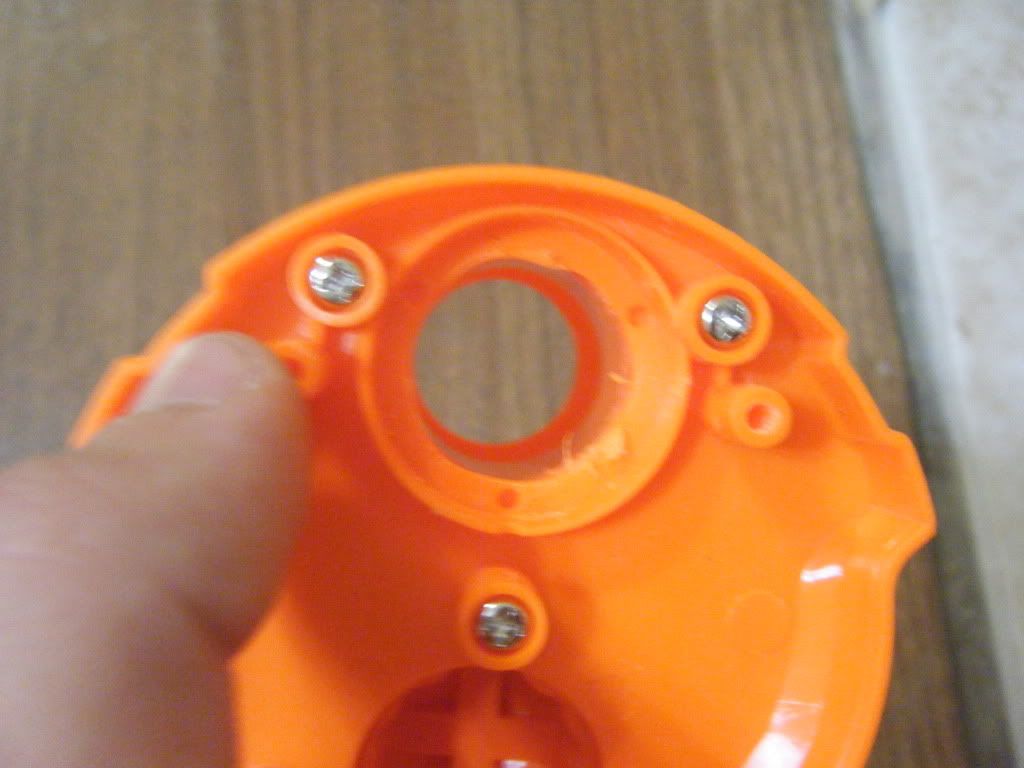
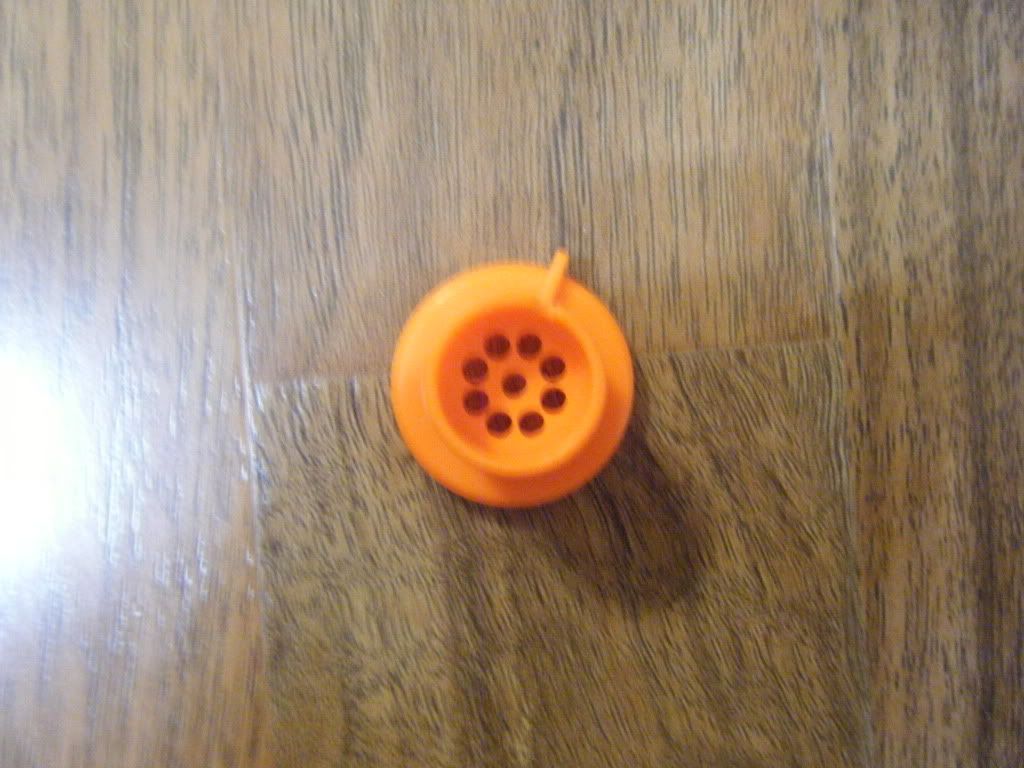
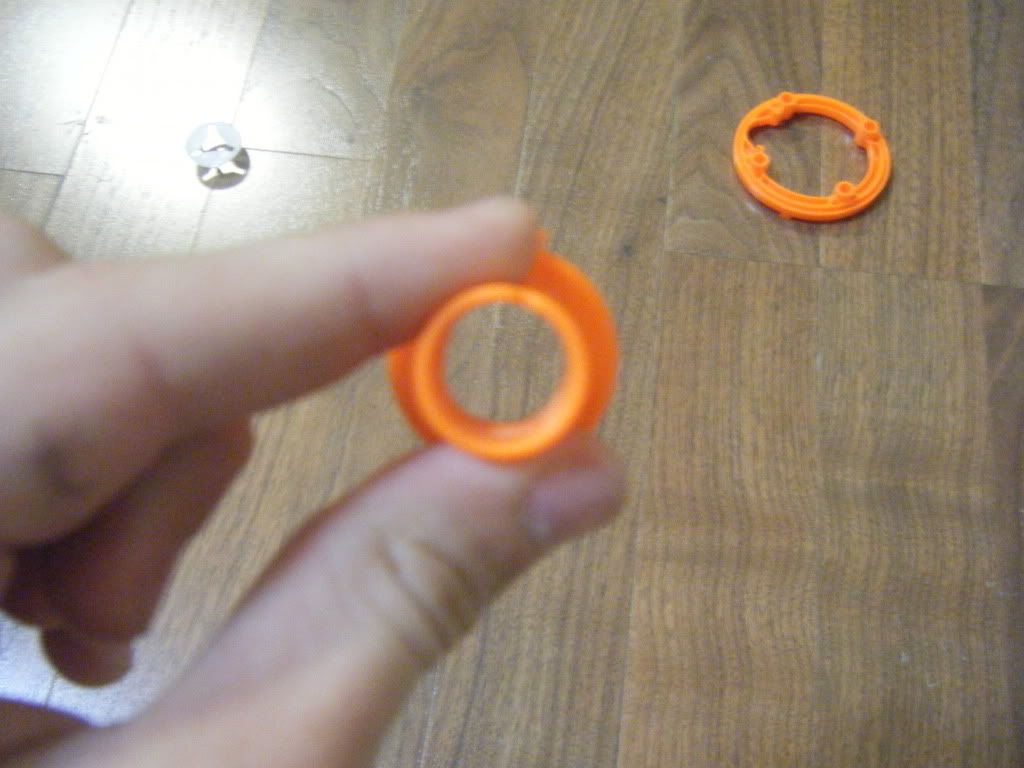
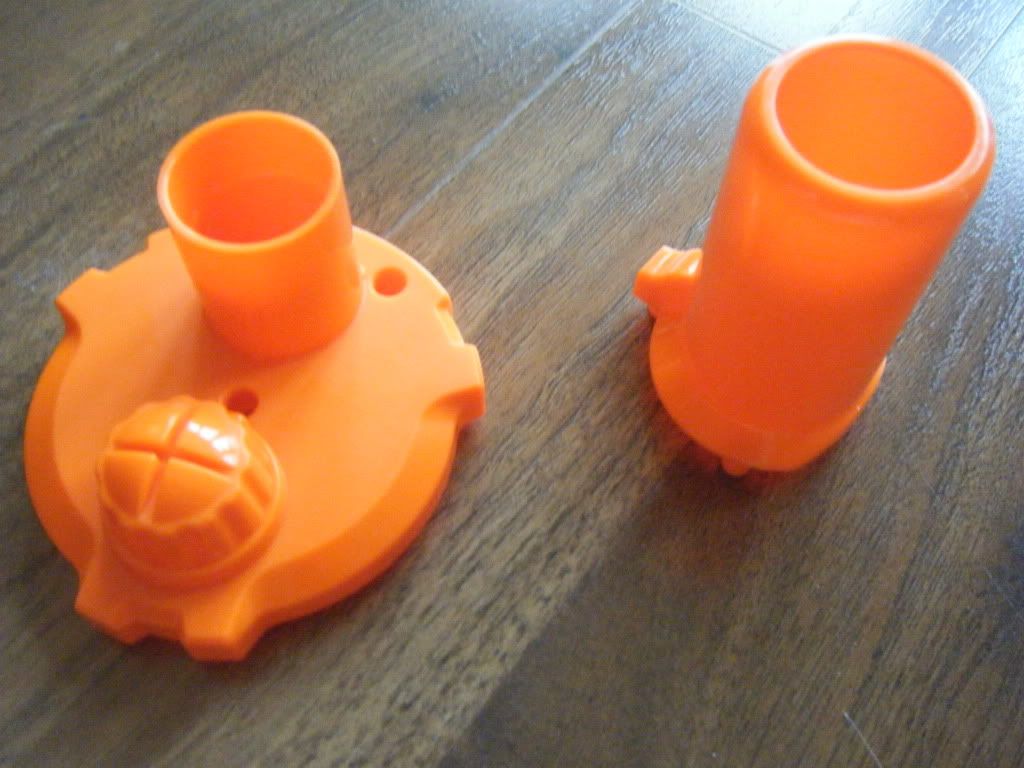
Take apart your gun and go straight to the orange turret piece in the front. Unscrew the little orange ring with the four screws and take it off. Then take off the air restrictors.
Posted Image

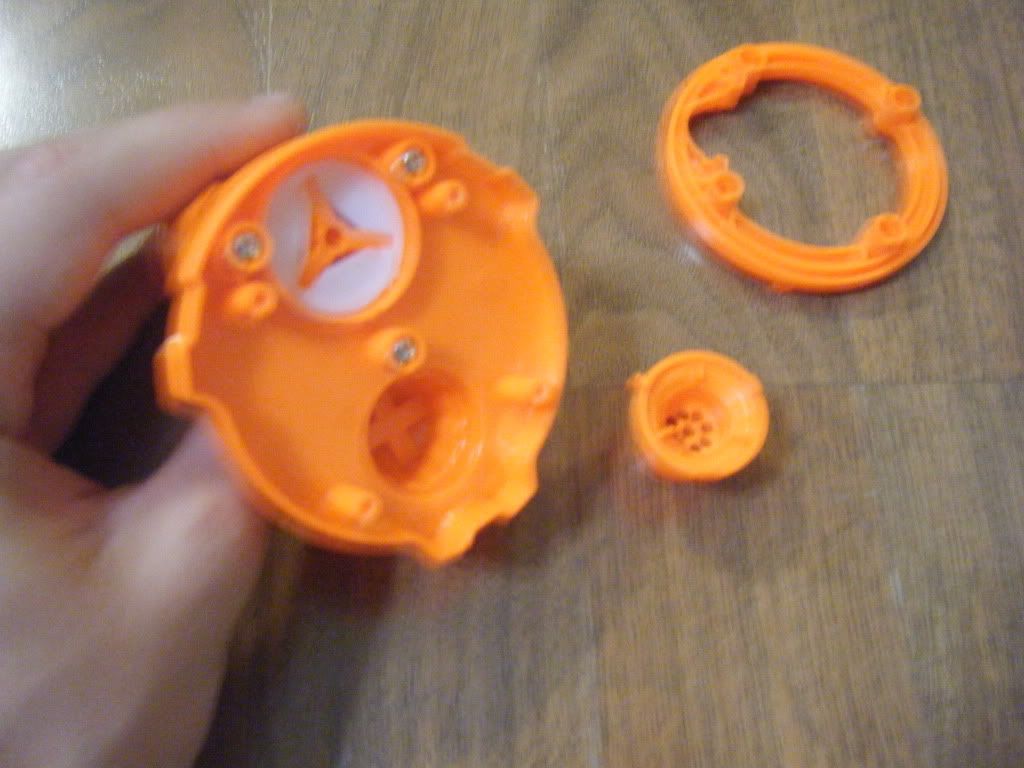
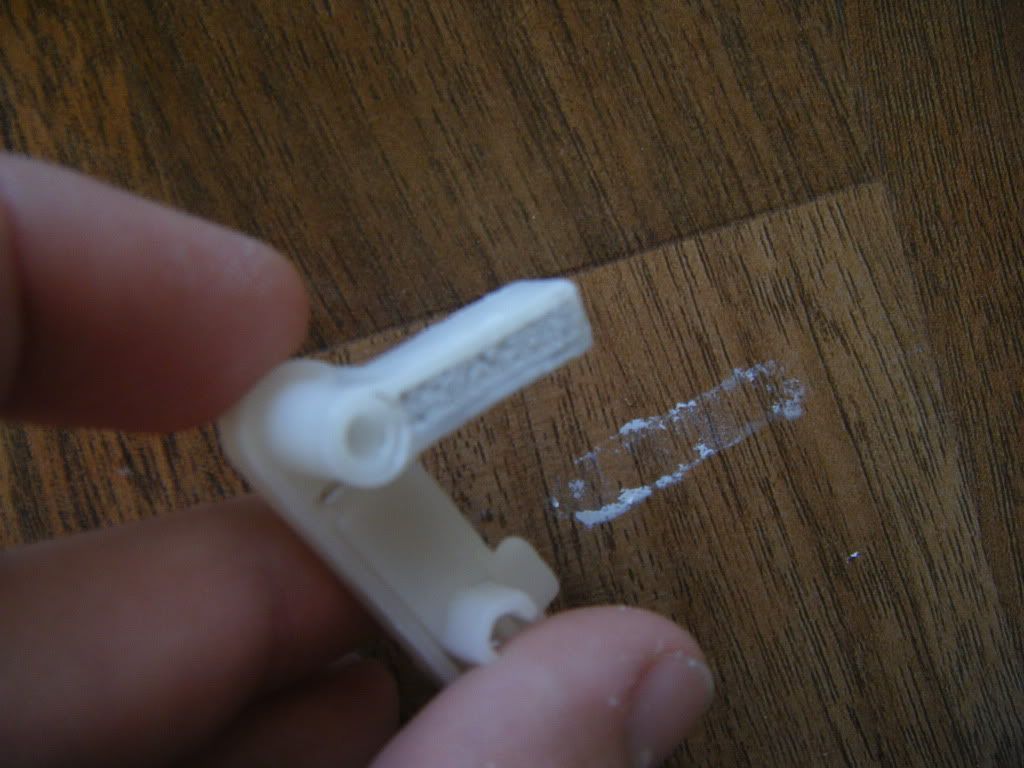
You'll come out to a little peg held in there. Cut it out and all the bits holding it in, and smooth it out:
Posted Image

Now get the air restrictor piece you took out and drill through it, smoothing is not necessary:
Posted Image
Posted Image

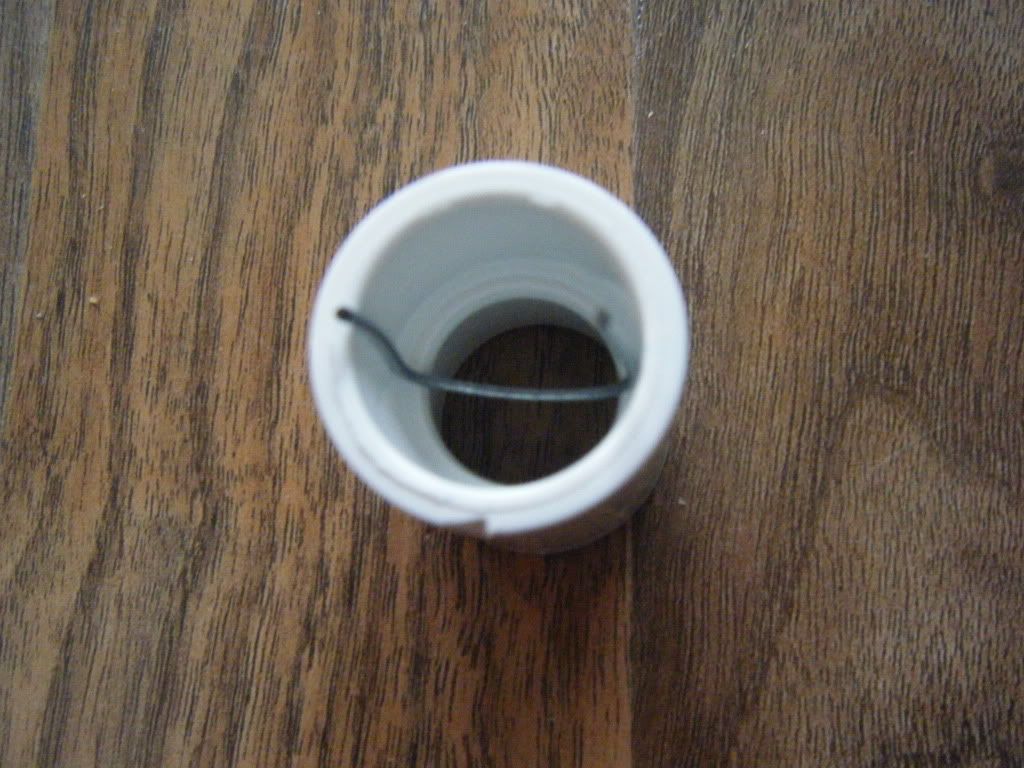
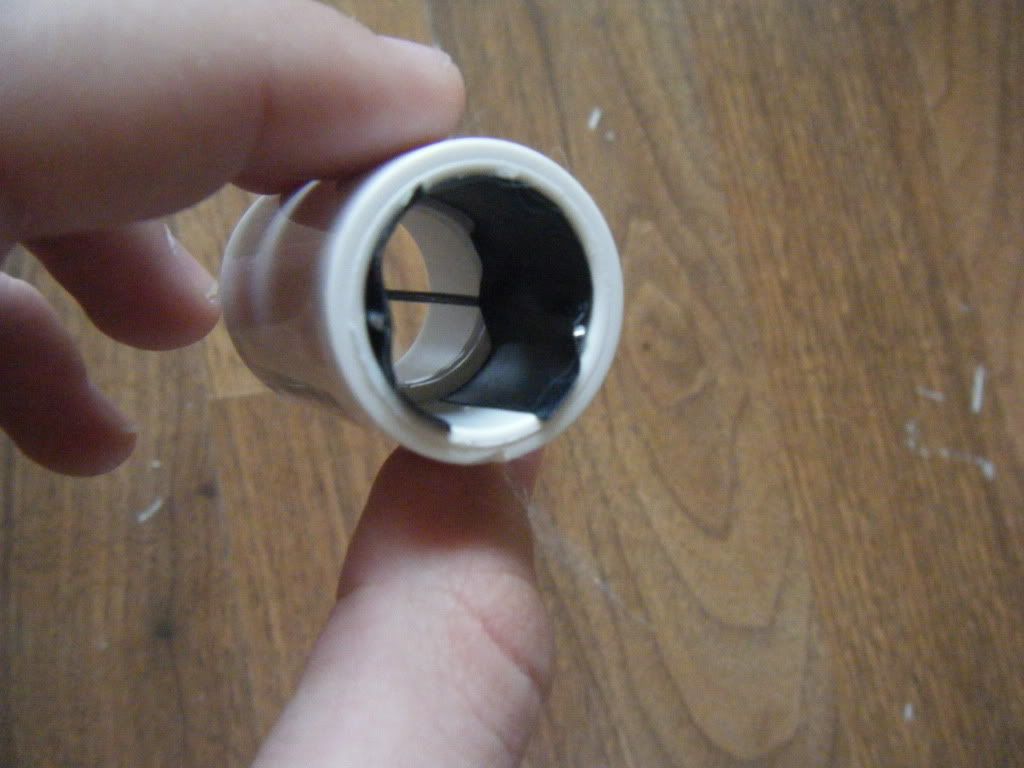
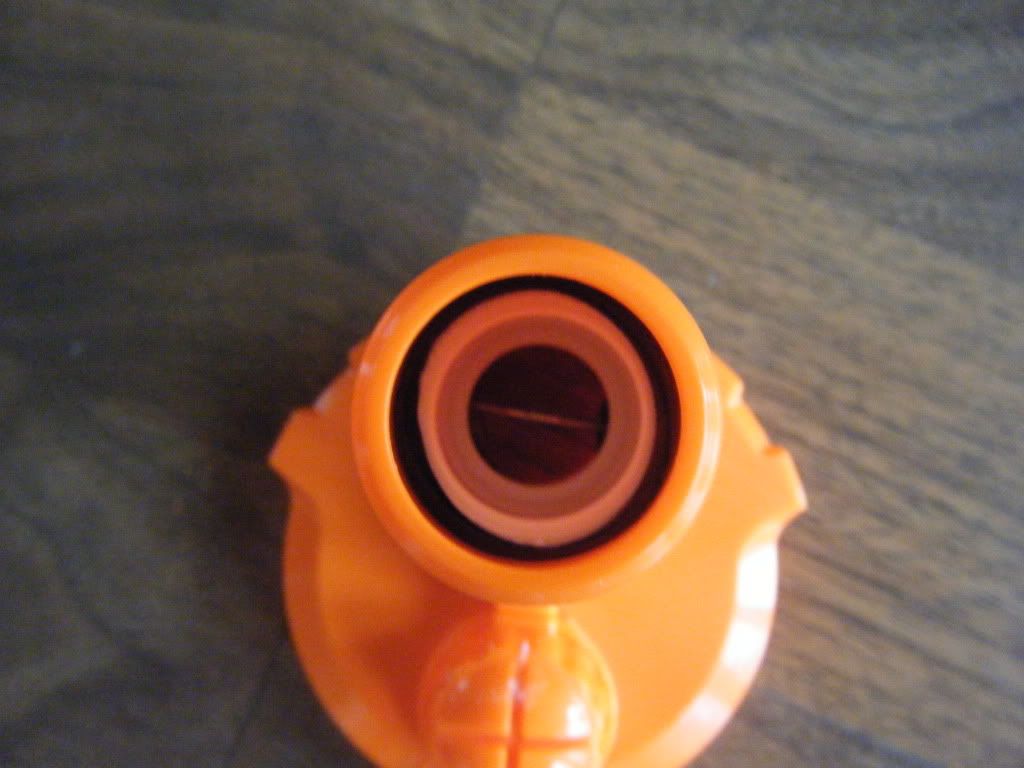
Once the air restrictors are removed, you're going to need some wire, electrical tape, hot glue, and a dremel. Take the wire and bend it to fit inside the 1/2" PVC coupler as a dart stop:
Posted Image

Now put it in and clip the ends that are sticking out of the coupler with your wire cutters. Use electrical tape to hold it in place, glue it if you feel the need:
Posted Image
Posted Image

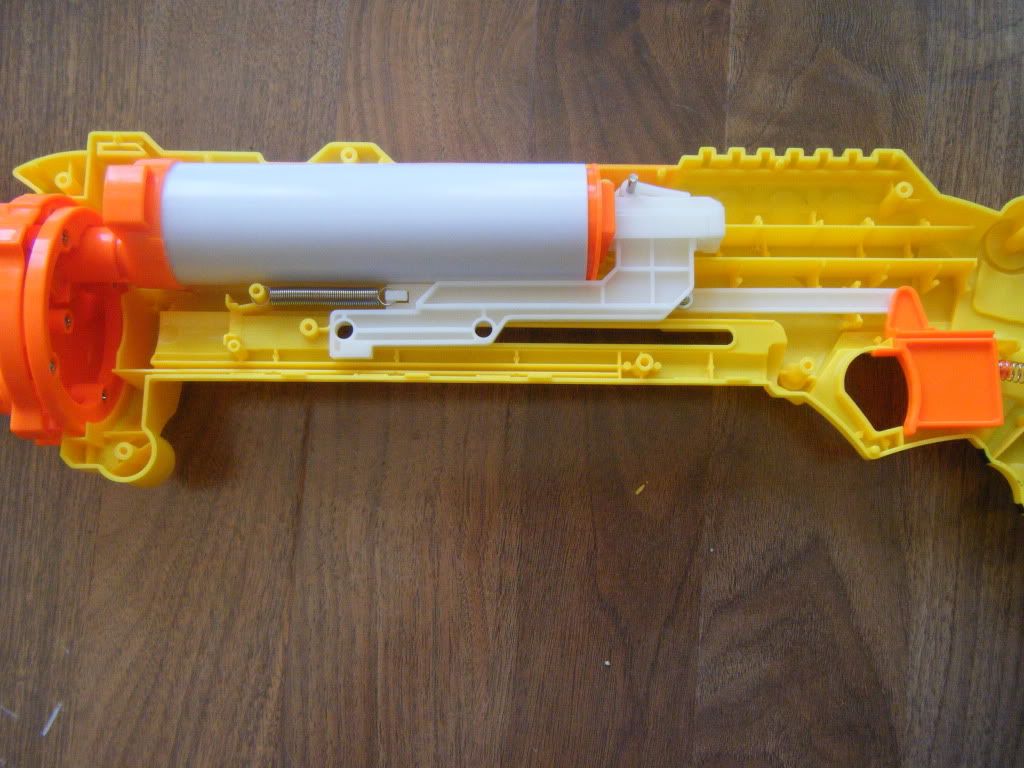
Now, put that aside and unscrew these screws, and take off the outer barrel:
Posted Image
Posted Image

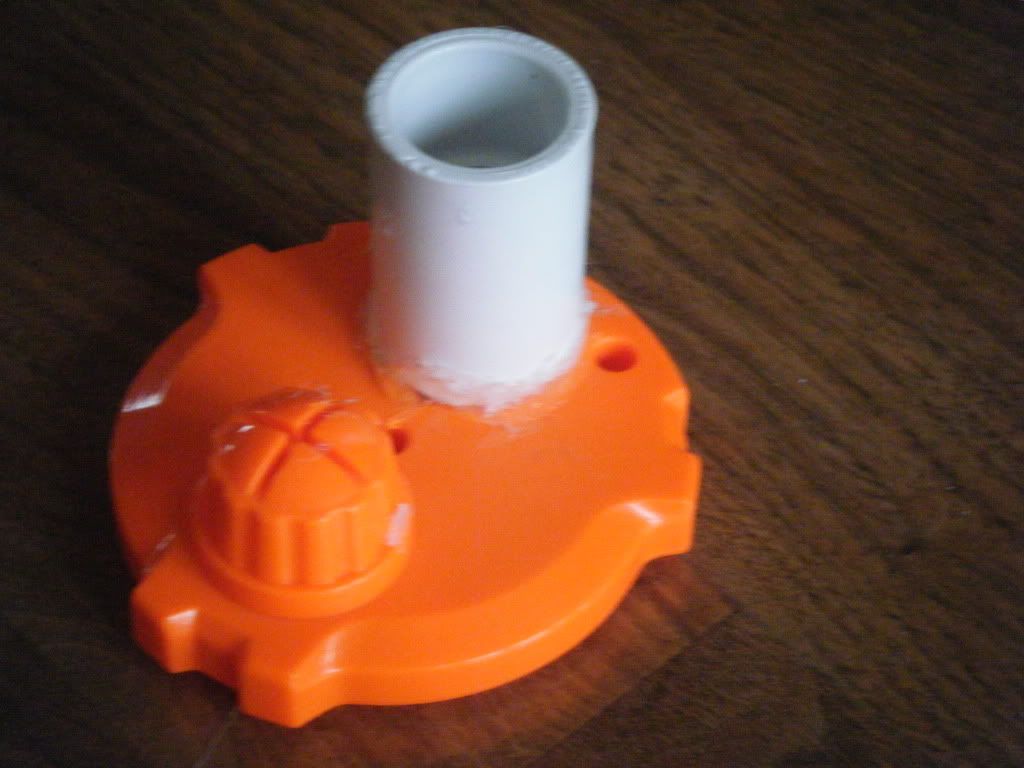
You'll be left with the inner barrel. Cut it off and glue the coupler in it's place, with the side with the wire towards the inside of the gun:
Posted Image


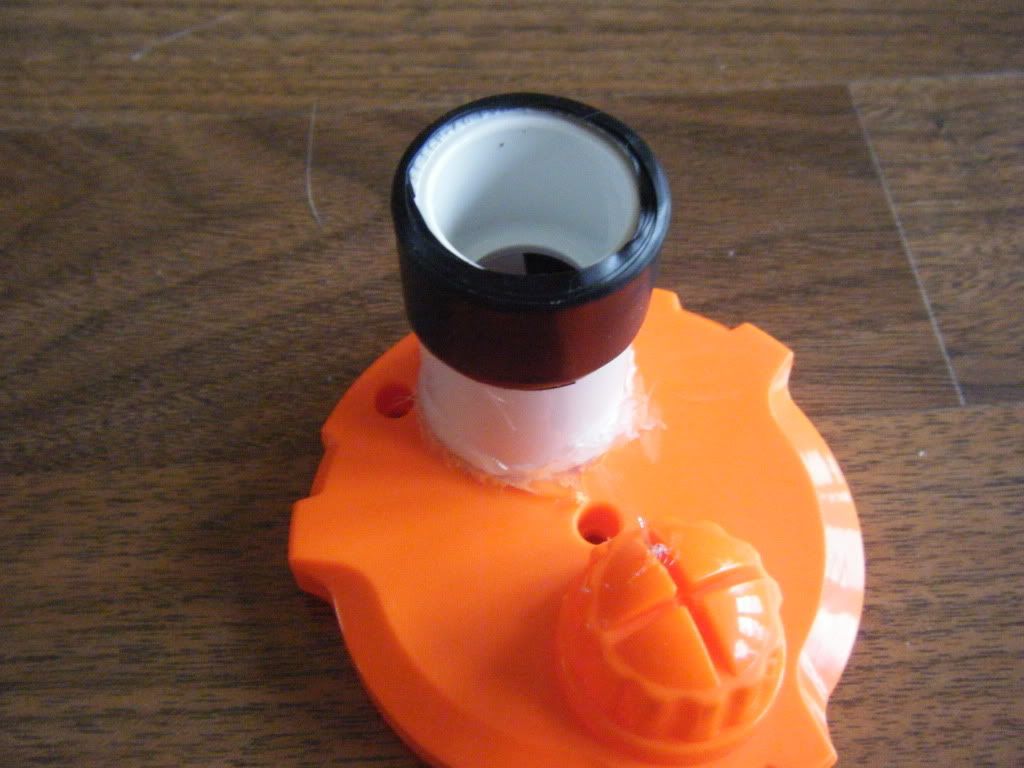
The coupler fits pretty well inside the outer barrel, but not snug enough, so wrap the top of the coupler with electrical tape until it's a tight fit with the outer barrel:
Posted Image

Now screw it all back together and you have your couplered turret assembly finished.
Posted Image

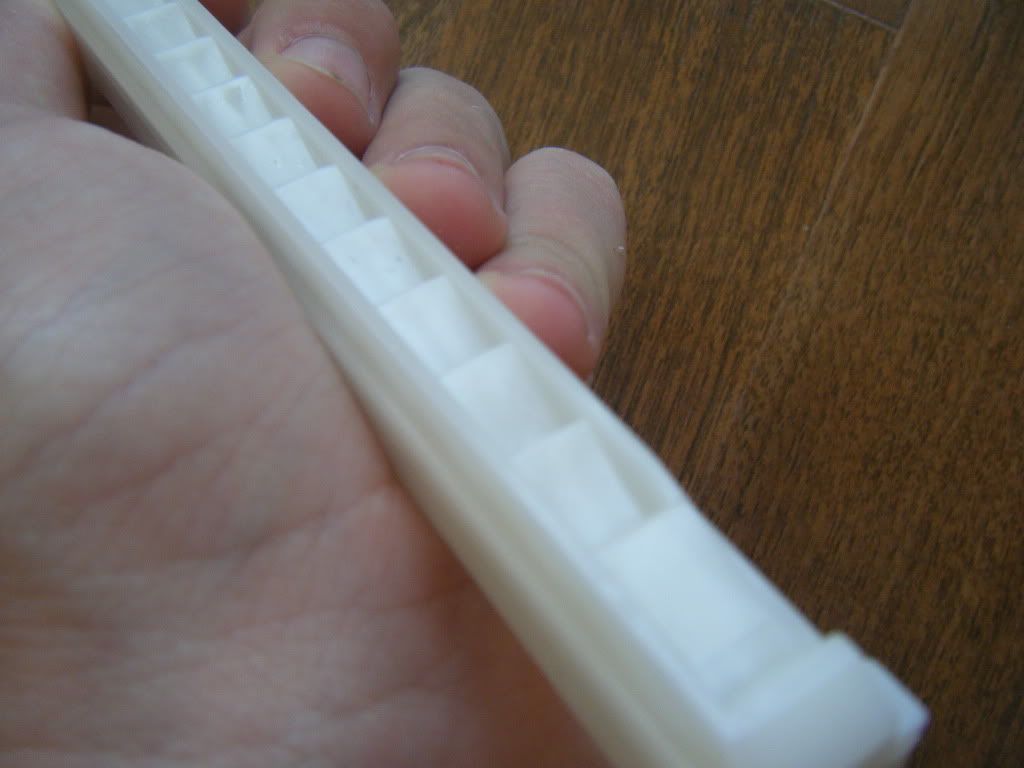
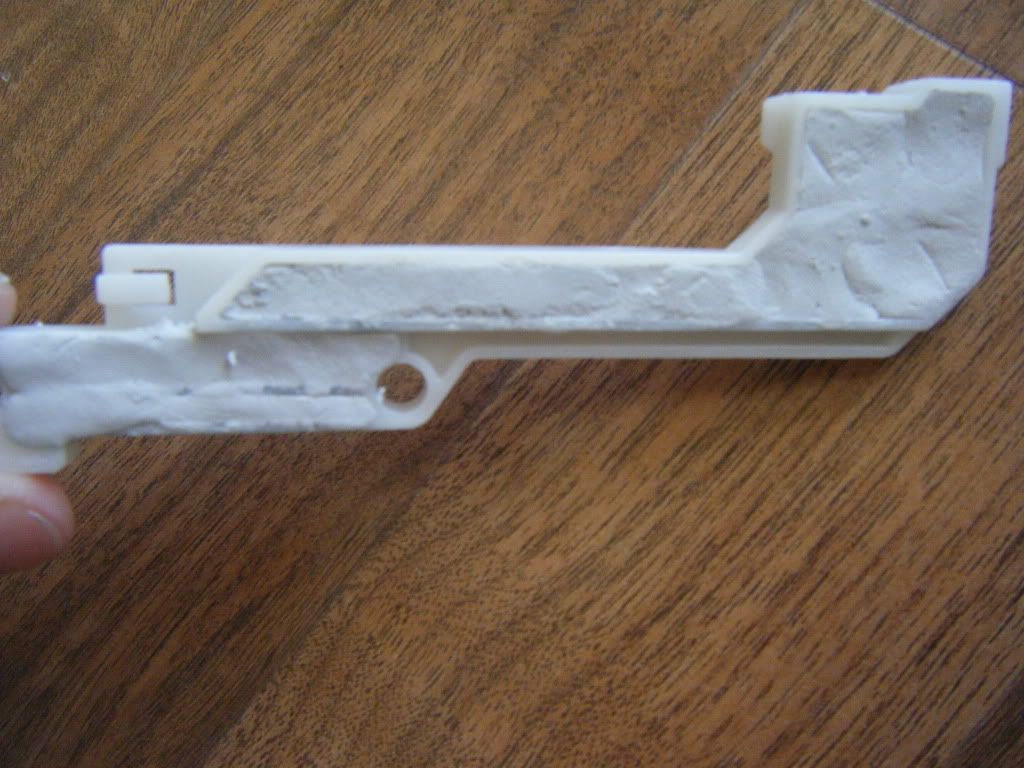
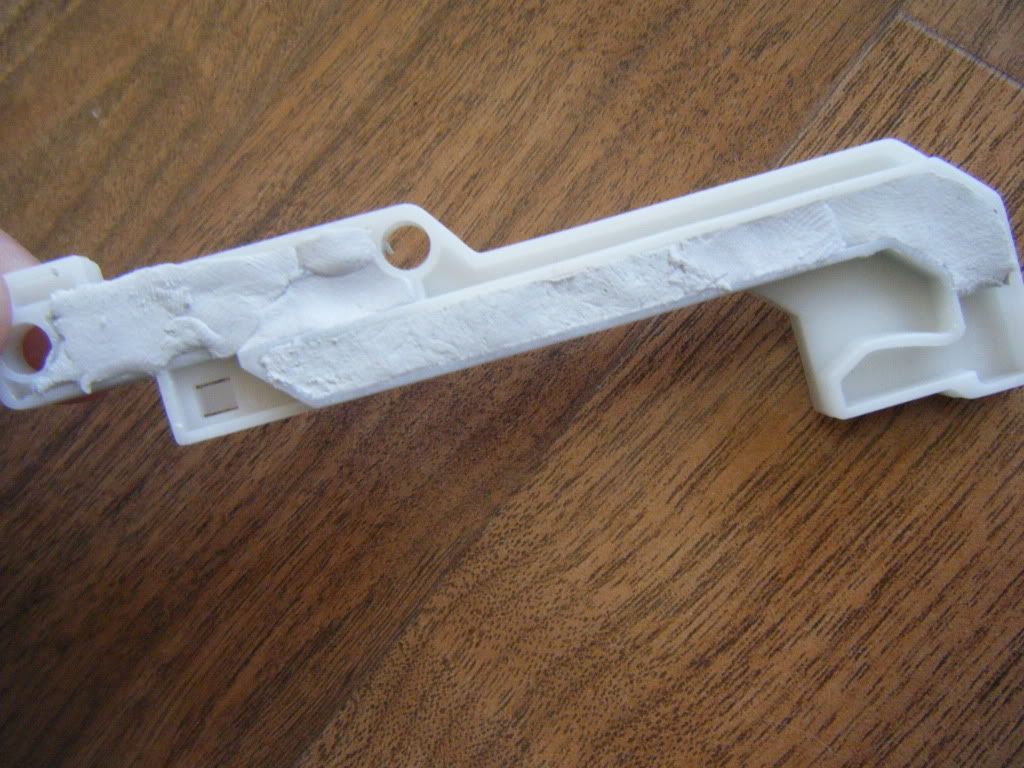
Now for the plunger head:
Posted Image

The seal is quite horrible, so you're going to need to improve it, but hold on there. We have to get rid of some dead space too. Fill all those empty places in the plunger head with hot glue. Then, wrap electrical tape 1 1/2-3/4 times around the head, whichever makes the fit you want, leaving the excess electrical tape up on the plunger head. Then fill in the gap between the excess electrical tape and the plunger head with hot glue. In the end it should look something like this:
Posted Image

And now for your springs. The one in there is beefy as is, but lets shove some more power into it. Stick a recon spring in it and you'll be good.
Posted Image

Now put it all back together and you're done.

Edited by Darken, 24 July 2009 - 10:20 AM.

  • 0

#2 Darken

Darken

    Member

  • Members
  • 166 posts

Posted 24 July 2009 - 10:19 AM

Now slap it all back together and you're done.

The finished produce with nested brass barrel:
Posted Image
Posted Image

Without the barrel it's impossible to tell it was ever modded.

Ranges for it were in the 80s, but the cool thing was it has different power levels, so I was able to write distances for different pullback lengths on the pumping bar:
  • 0

#3 randomnerfninja

randomnerfninja

    Member

  • Members
  • 37 posts

Posted 24 July 2009 - 10:22 AM

Nice job! My hand cannon is on its way and im going to do this mod when it arrives.
  • 0
Nerf brings everyone together until a dart hits somebody in the eye. Then the hospital trip brings everyone together again.

Proud Oklahoman NERFer.

#4 white moonlight

white moonlight

    Member

  • Members
  • 305 posts

Posted 24 July 2009 - 11:07 AM

That's sweet.

These guns look like they have A LOT of potential.

I really want to get one.

Do you have any plans for a paintjob?

Edited by white moonlight, 24 July 2009 - 11:08 AM.

  • 0
On his trec to Colonfest...
VengefulWaffle BOY, 12 KILLED IN MOUNTAIN PASS BY WILD RACCON, EXPERTS SAY HE ATTEMPTED TO HOLD IT OFF WITH NERF NITEFINDERS
POLICE SAY: ALCOHOL MAY HAVE BEEN INVOLVED
Guess who he was talking about...

#5 Banshee

Banshee

    Member

  • Members
  • 668 posts

Posted 24 July 2009 - 11:09 AM

I didn't see any any internal pictures of the whole gun. Can we get some?
  • 0
Like my page on Facebook! PM me, I do commissions!

#6 randomnerfninja

randomnerfninja

    Member

  • Members
  • 37 posts

Posted 24 July 2009 - 11:29 AM

I didn't see any any internal pictures of the whole gun. Can we get some?


Check galaxy613's thread in General Nerf.
  • 0
Nerf brings everyone together until a dart hits somebody in the eye. Then the hospital trip brings everyone together again.

Proud Oklahoman NERFer.

#7 CA13

CA13

    Nude Nerfer

  • Members
  • 234 posts

Posted 24 July 2009 - 11:40 AM

It is sort of like a miniature PAS. You probably should get a bushing to replace the plunger head and use a longer spring to add power. Other then that, the cannon is good-to-go.

The front part looks like you could fit a turret on it perfectly. Hopefully the Rapid-Fire version is like this.
  • 0
Doing this as I speak. I have no idea when I got it...my DAD got it some 15 years ago, but that doesn't matter. Anyways, it keeps jerking around all over the place. I try to hold it with a rag...It doesn't look like...much.

#8 Galaxy613

Galaxy613

    Member

  • Members
  • 999 posts

Posted 24 July 2009 - 01:10 PM

It is sort of like a miniature PAS. You probably should get a bushing to replace the plunger head and use a longer spring to add power. Other then that, the cannon is good-to-go.


I don't know how this can be a miniature PAS when it's roughly the same size..
  • 0
[Former Caretaker of the Guru Mk2]

#9 Phibonnachee

Phibonnachee

    Member

  • Members
  • 28 posts

Posted 24 July 2009 - 02:31 PM

Nice work. Hitting 80s with just a barrel and added recon spring is pretty good. I'm sure you'll be able to hit more once you put an even stronger spring in and may very well be able to dethrone the PAS. How sturdy are the internals, does it look like it needs a lot of reinforcing?
  • 0
De-single your longshot Longshot --- 4B magazine breech BBBB

#10 Darken

Darken

    Member

  • Members
  • 166 posts

Posted 24 July 2009 - 06:03 PM

I'm not the best at paintjobs, but I might try.

The plunger head I just kept because I could easily kill dead space.

I wanted to put in a stronger spring, but I has afraid the internals would fail. Anything more than a recon spring would more than likely need internal reinforcment, though the power variance mech would probably be hard to reinforce, so I just stayed on the safe side. The internals design seems to keep it quote rigid and sturdy, but too much power could destroy some parts of it.

Internal pics will be provided.

Also, I like that turret idea. I'll see about that when I get home.
  • 0

#11 Icespartan 1114

Icespartan 1114

    Do NOT buy/sell with me

  • DO NOT TRADE
  • 934 posts

Posted 24 July 2009 - 07:05 PM

Very very nice writeup. Looks like a great blaster. I need to order one of these.
  • 0
QUOTE(Zaxbys @ Mar 2 2009, 02:08 PM) View Post
I won't be there til about 1-2...

Church... gotta soak up that Jesus!


NERFSTRONG #51

#12 Darken

Darken

    Member

  • Members
  • 166 posts

Posted 24 July 2009 - 10:19 PM

Ok, pictures of the internals will be posted tomorrow, my camera battery died.

Also, I took another look at the internals and saw it would be very easy to reinforce, as the whole system is very efficient of using weaker materials in a way that makes them hard to break. Reinforcing them will make it very good at resisting some beefy spring power. I'll show you the system along with the internal pics tomorrow, and I'll probably get some reinforcments done and more spring power and check the results.
  • 0

#13 Darken

Darken

    Member

  • Members
  • 166 posts

Posted 25 July 2009 - 04:26 PM

Sorry for the double post but I had an update.

Internal pics:
Posted Image

The catch system:
Posted Image
Posted Image
Posted Image
Posted Image

The catch is that little piece poking into the plunger rod, and as you pull the rod back it catches on the tracked bits, giving you power control and an extremely reliable catch. even so, I reinforced it:
Posted Image

Then you got the piece that connects from the pump handle to the plunger rod, which seemed like the most likely thing to give under extreme stress, so it too was reinforced:
Posted Image
Posted Image

And there you have it. I'll be trying more spring power to test the strength of the reinforcement, and just to see how much power can be reasonably shoved into it.
  • 0

#14 Greed

Greed

    Member

  • Members
  • 28 posts

Posted 05 August 2009 - 10:35 PM

I have a recon spring too, but no reinforcement materials, would hot glue be semi-acceptable...?
  • 0
1. Now owns and wears a speedo.
2. Operates under 17 layers of psychological subterfuge/warfare/guile.
3. Is a master at rock-paper-scissors.
4. Hates everything. Just ask.
5. Likes his Gengar.

#15 Hi Yah

Hi Yah

    Member

  • Members
  • 294 posts

Posted 06 August 2009 - 06:08 AM

I have a recon spring too, but no reinforcement materials, would hot glue be semi-acceptable...?

Hot glue won't work for reinforcements, try epoxy puddy.
  • 0
The yellow balls are also slightly smaller in diameter than the green ones.

#16 Liam

Liam

    Member

  • Members
  • 207 posts

Posted 06 August 2009 - 03:09 PM

Awesome looking gun, pretty clean and looks very functional.
  • 0
The chances of one person taking a bomb on a plane are one in a million. The chances of two people taking a bomb on a plane are one in a trillion. So if you're scared of a terrorist attack, bring a bomb on a plane.

#17 sabini999

sabini999

    Member

  • Members
  • 3 posts

Posted 22 February 2010 - 08:24 PM

Im working on my hand cannon as Im typing, and am wondering what size of brass I should use (most likely 9/16 but just making sure).

I got my hand cannon at my local benny's for only 10 bucks :lol:

Edited by sabini999, 22 February 2010 - 08:25 PM.

  • 0


0 user(s) are reading this topic

0 members, 0 guests, 0 anonymous users