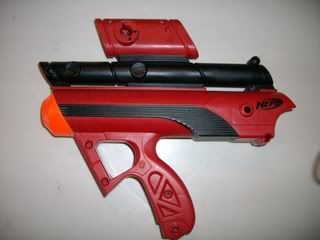
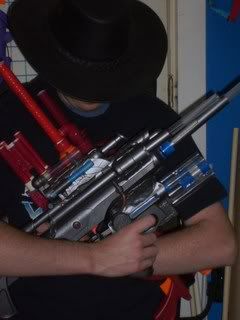
First all the blaster you will need for this:
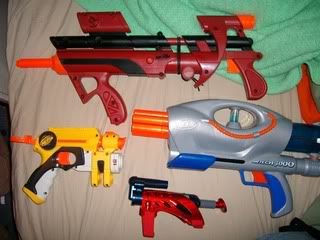
a Big Bad Bow, Air Tech 3000, NiteFinder, Spider-man Wrist Blaster.
I think it would be best to break this mod up into five sections. One for each blaster.
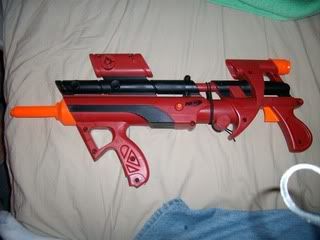
Lets start with the BBB:
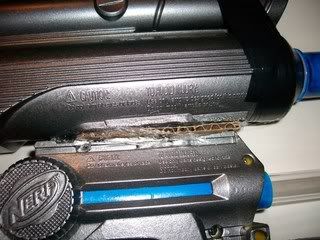
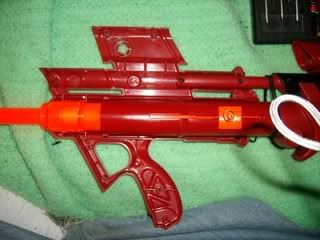
Take out all the screws and remove the first part of the shell.
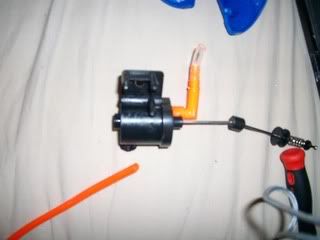
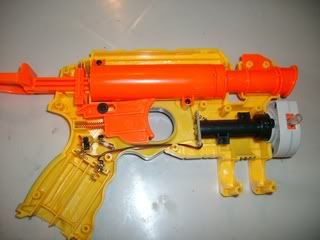
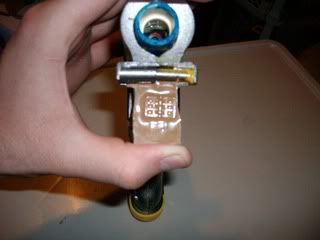
Here are the internals:
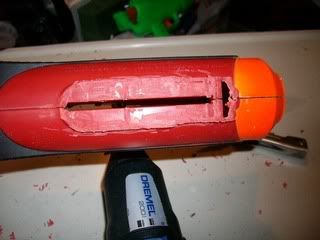
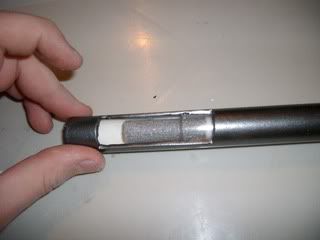
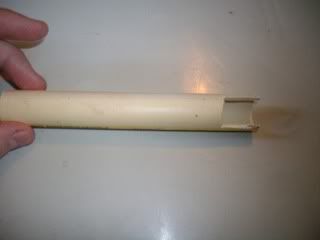
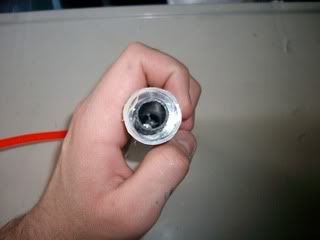
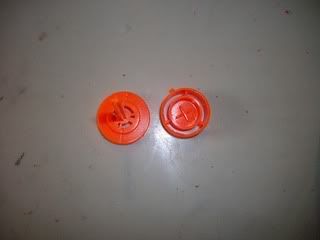
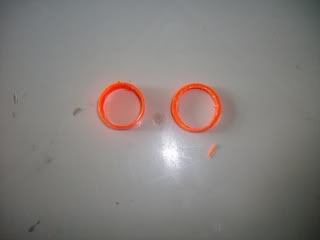
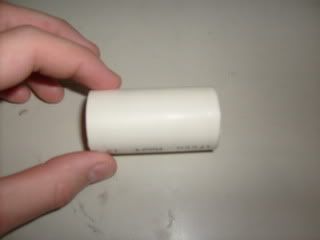
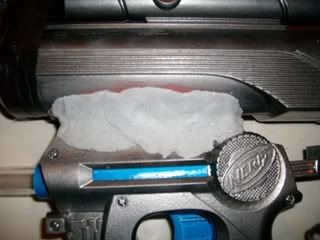
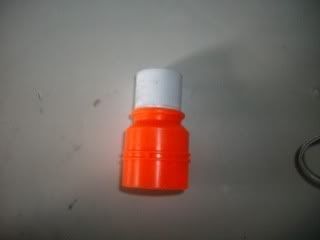
Take off the orange top and cut off the original barrel, you also need to cut a 1/2" PVC coupler in half:

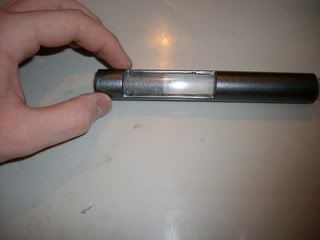
After you cut them, sand them down until there flat. After you do that Epoxy them together.
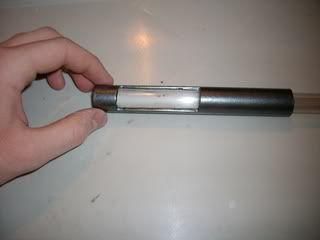
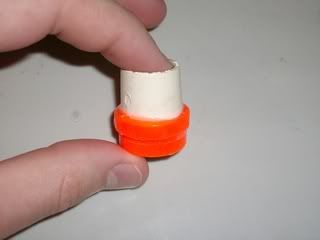
Now after that dries take a one inch piece of 1/2" CPVC and wrap one or two layers of E-tape around it and shove it down where the original barrel used to be.
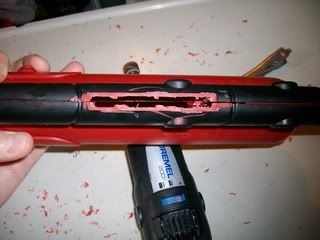
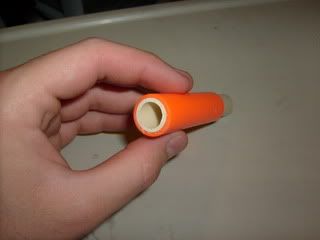
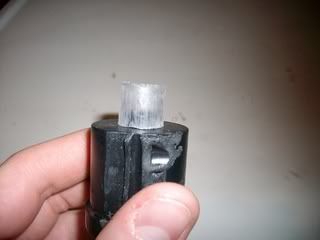
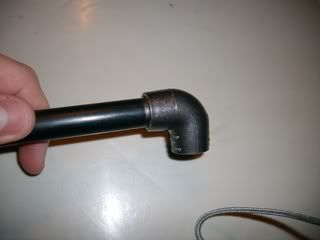
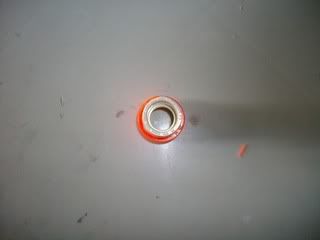
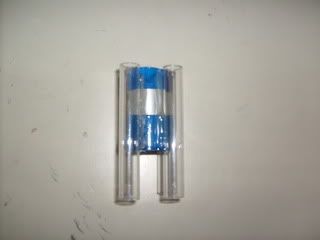
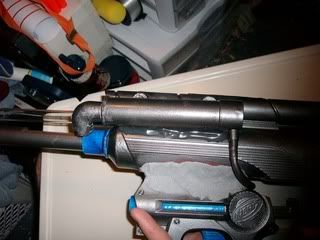
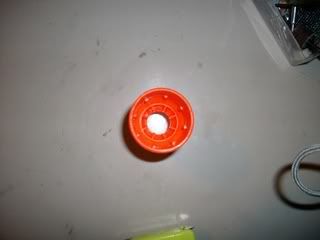
Before the CPVC:
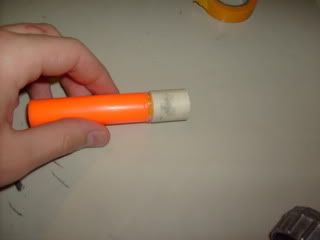
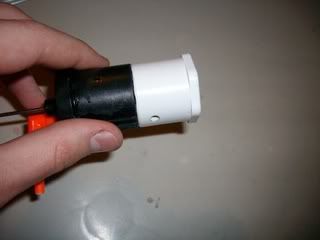
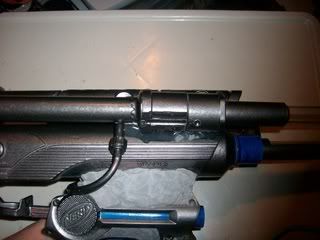
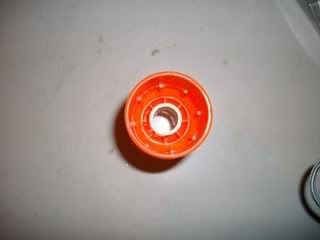
After the CPVC:
Fill it up with hot glue until its almost flush with the CPVC:
Doing this will kill pretty mush all the dead space and there for increasing range.
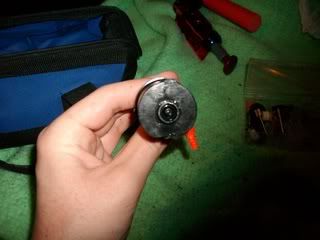
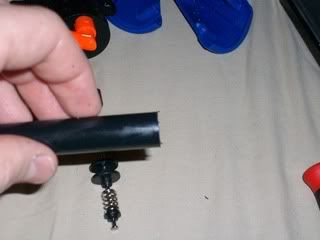
Since that part is done take out the plunger head:
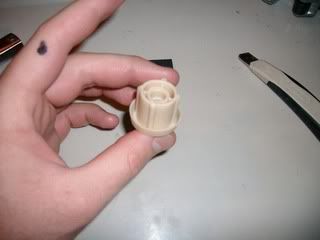
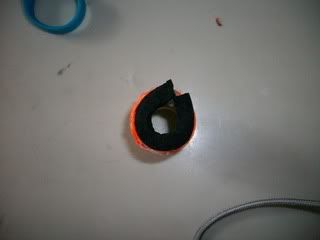
Stuff some foam ( You can use a tank to bowl gasket foam or just some hard foam that won't lose its shape. If you use the Tank To Bowl Gasket you will need to trim the OD just a little bit. ) in the lip of the plunger head:
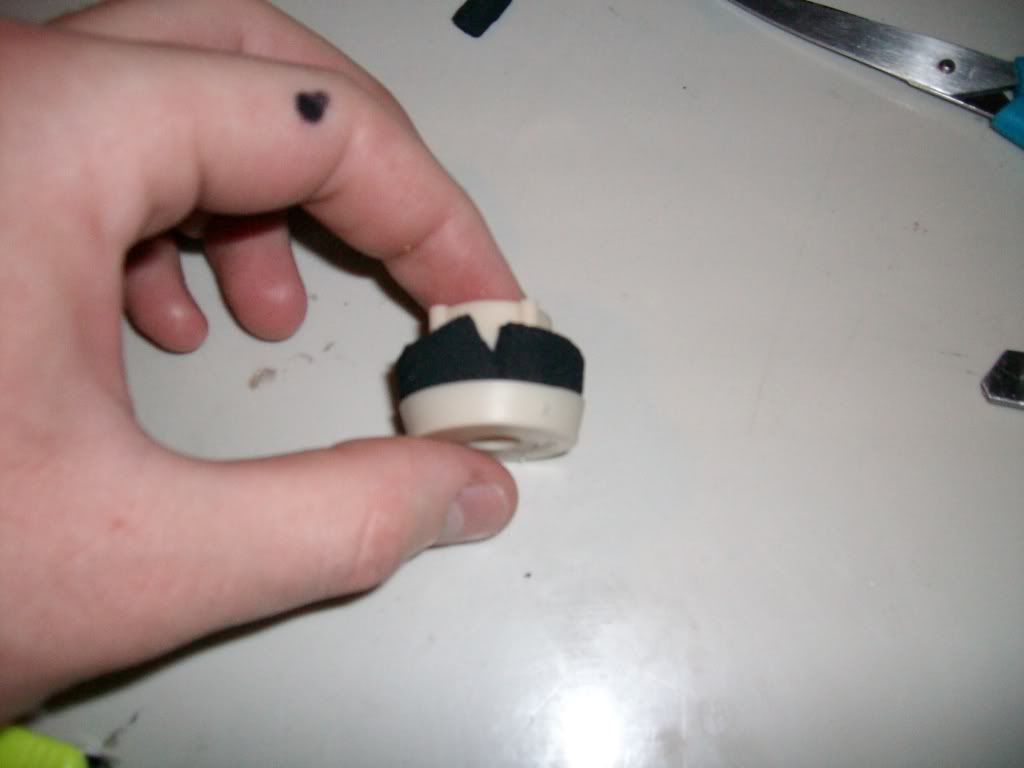
Doing this will make the rubber expand and making a better seal. After you do that take out the white piece that
stops the plunger( I forget the name of it .):
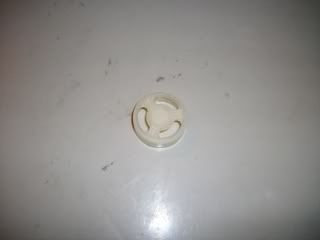
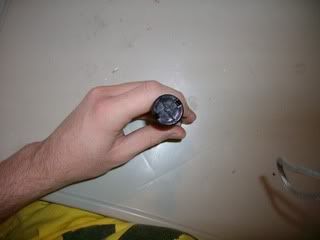
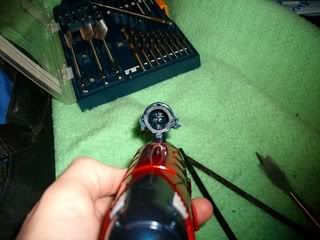
Not really sure if this part helps or not but I did it any way. Cut a circle out of thin plastic ( Like what you get in the SMDT gun. ) and put it in the middle of the white piece:
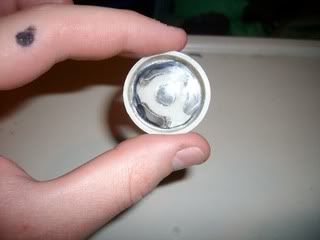
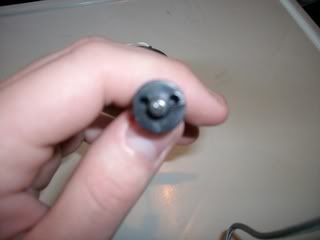
And glue it with some hot glue on the other side:

And then drill a hole in the middle. Like the picture above shows.
Now lets move on to the orange piece that holds back the spring. We need to reinforce this piece if we want it to last after the spring re-placement. Take a metal washer ( I forgot the size but you can take the orange piece to a hardware store and find one that fits. ) and the orange piece and sand them a little bit and Epoxy them together:
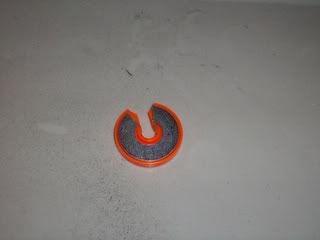
You also need to cut out a section of the wash like in the picture. If you don't then the orange piece won't be able to go back on the plunger rod. Do this to both sides.
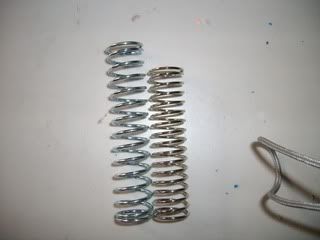
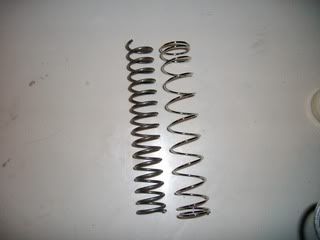
Now on to the spring re-placement. Take a + Bow spring and cut it down to the size of the original BBB spring:
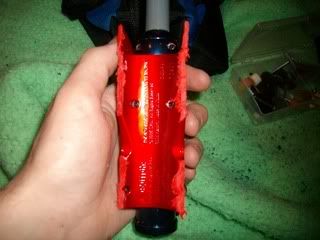
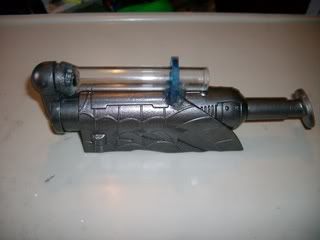
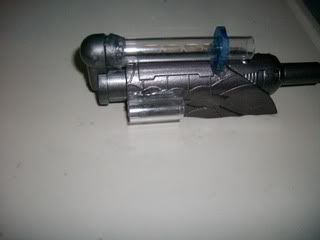
Well thats pretty much all of the internal mods, now lets move onto the external mods. here is the first half of the shell:
Edited by Dayko, 24 July 2009 - 03:00 AM.