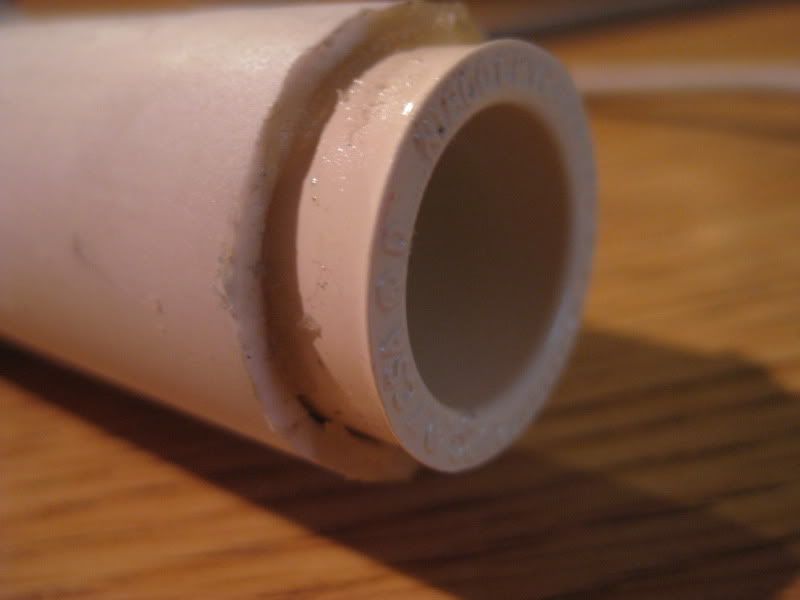
Jump to content


Photo

Tech Target Overhaul


12 replies to this topic

#1 venom213

venom213

    Member

  • Validating
  • 1,294 posts

Posted 16 July 2009 - 03:06 AM

This mod takes some inspiration by something Thaygor did. He never posted a write-up, and I made a great deal of adjustments for my mod, so I consider it to be quite different and not really a direct copy. I also used Koree's idea of cutting a new notch in the plunger rod so I can use a longer compresses spring. Now, the mod:

Materials:
TTG
3/4" Thinwall PVC
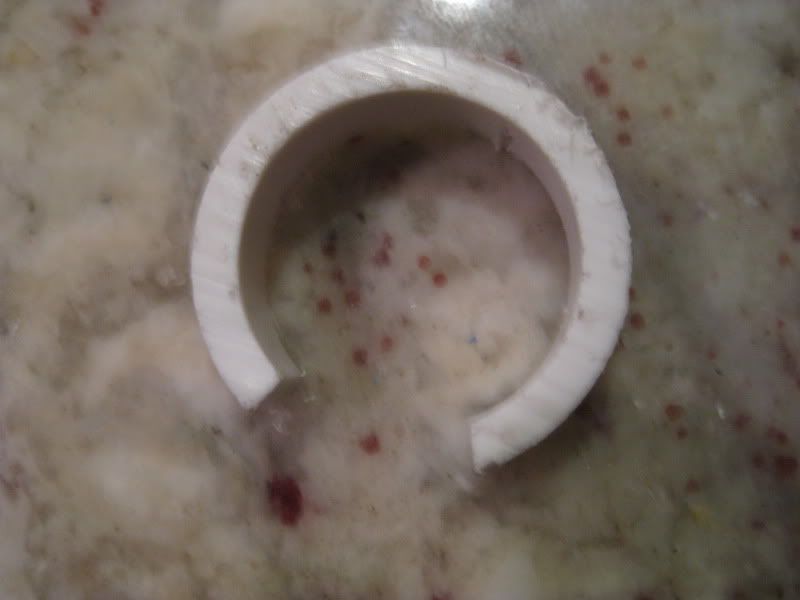
1" Regular (or thick) wall PVC
CPVC coupler
2x 3/4" OD 1/8" ID Metal Washers
1" OD 3/8" ID Rubber Washer
6-32 Washer
8-32 Washer
6-32 screw (not sure if that is the right size, will later be confirmed)
Electrical Tape
Epoxy or other strong adhesive
#62 spring from Ace

Tools:
Drill with drill bit
Dremel or hacksaw
File, sandpaper, or dremel with proper bits
Screwdriver
Scissors or Knife (for cutting E-tape)


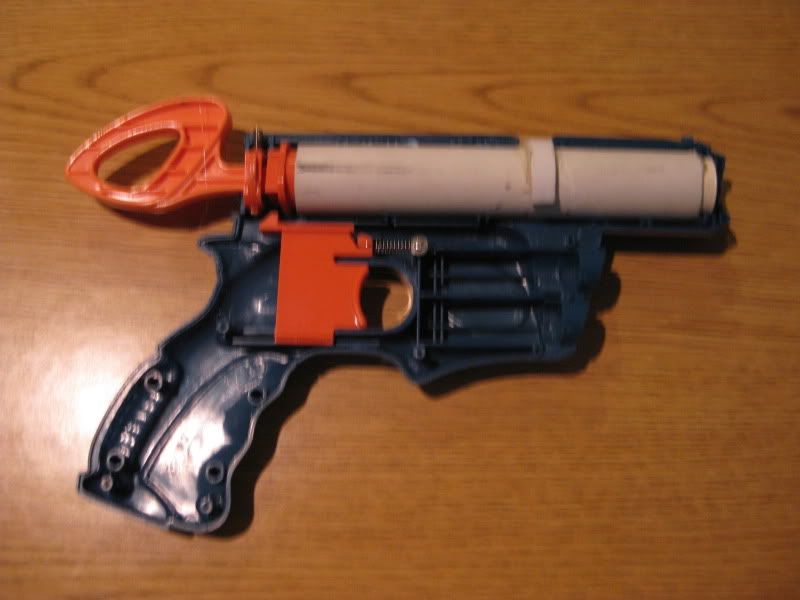
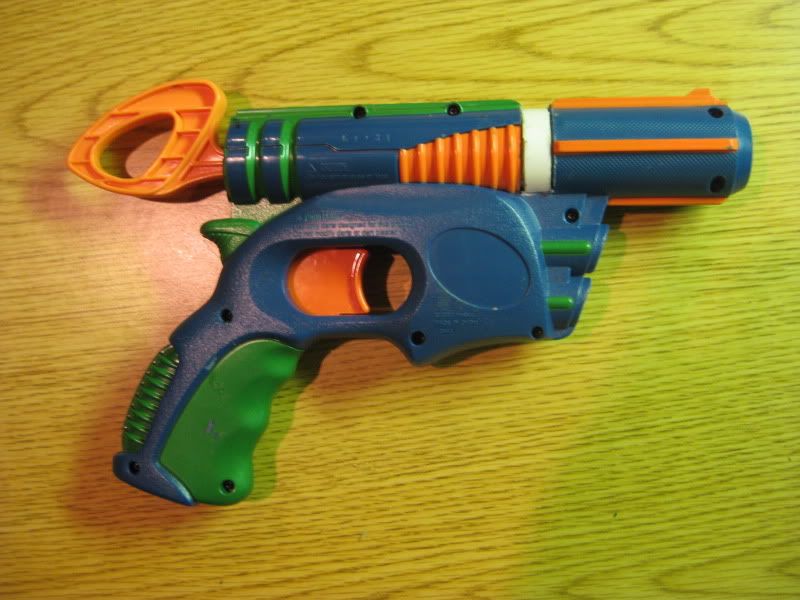
Start with a stock TTG. Unscrew it. Put aside the plunger tube, stock barrel, air restrictor and all that garbage, so all you have is the shell, the trigger, and the plunger rod assembly.

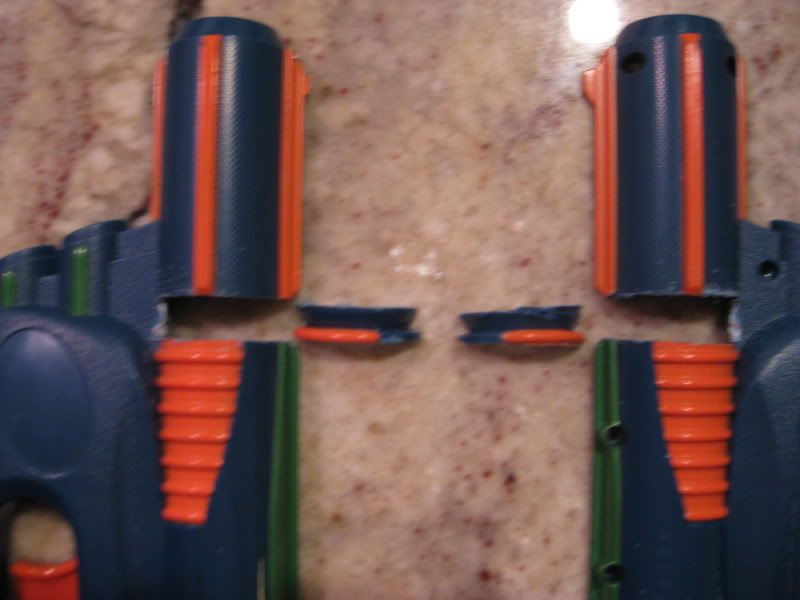
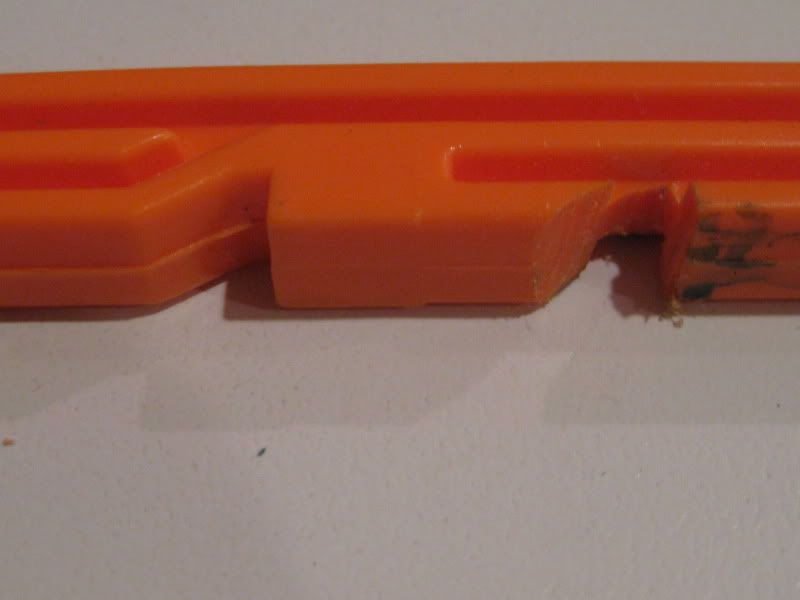
Start by cutting of this part like so, on both shell halves. It should be fairly apparent where to cut, but it should be even with the green part that does not extend out.

Posted Image

Cut this part out also. It should be apparent. This part shrinks way down, farther in than the parts around it.

Posted Image

File these down so both halves are pretty even.

Posted Image

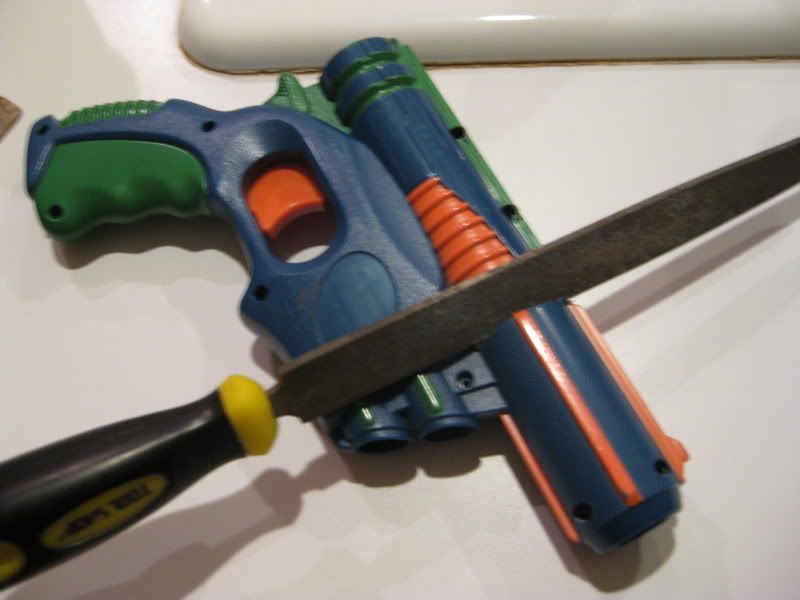
Dremel or file out all of the ridges in the shell that were for holding everything in place. Leave the ridges at the very front intact though.

Posted Image

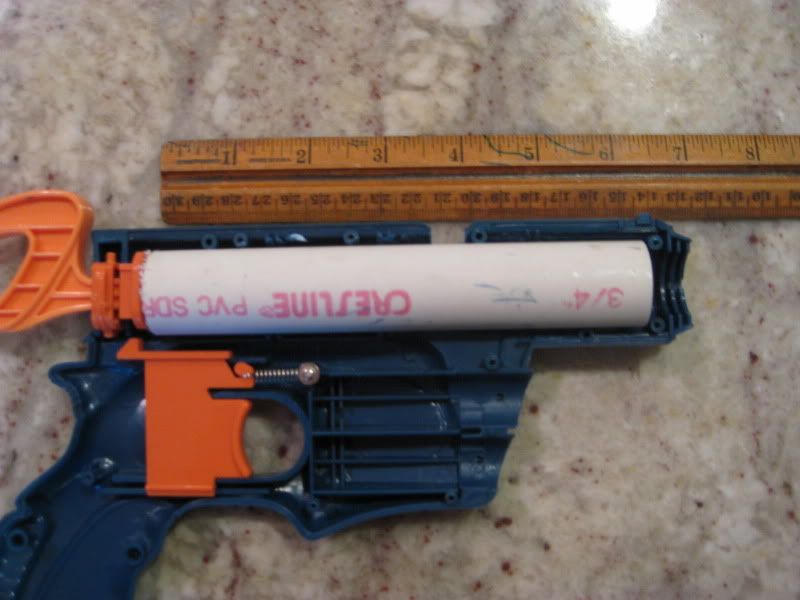
Cut the 3/4" Thinwall PVC so it's just a bit short of fitting tightly in the shell. I think I cut mine to about 6 1/8" long. It is okay if it wiggles back and forth a little bit.

Posted Image

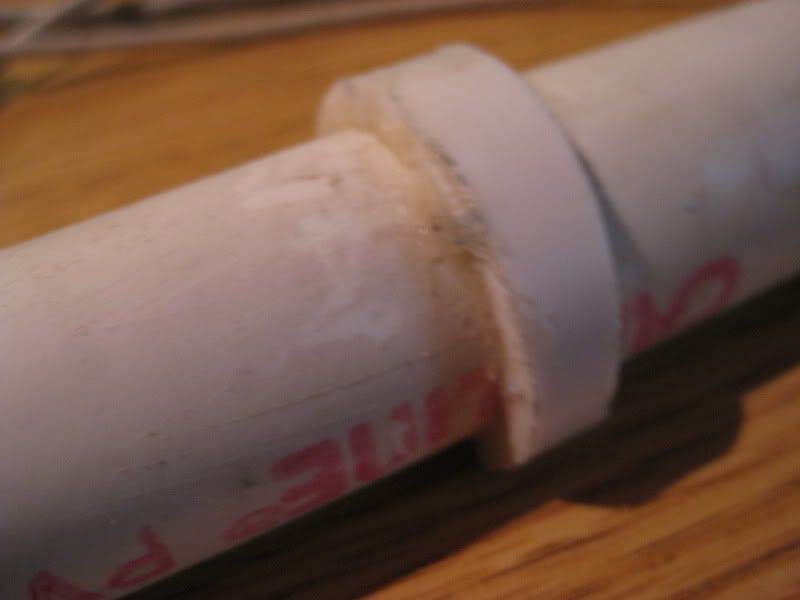
Measure the slot you cut out. Then cut a peice of 1" Regular Walled PVC just a little bit shorter than the measurement.

Posted Image

Posted Image

Once it is cut, test fit it in the slot.

Posted Image

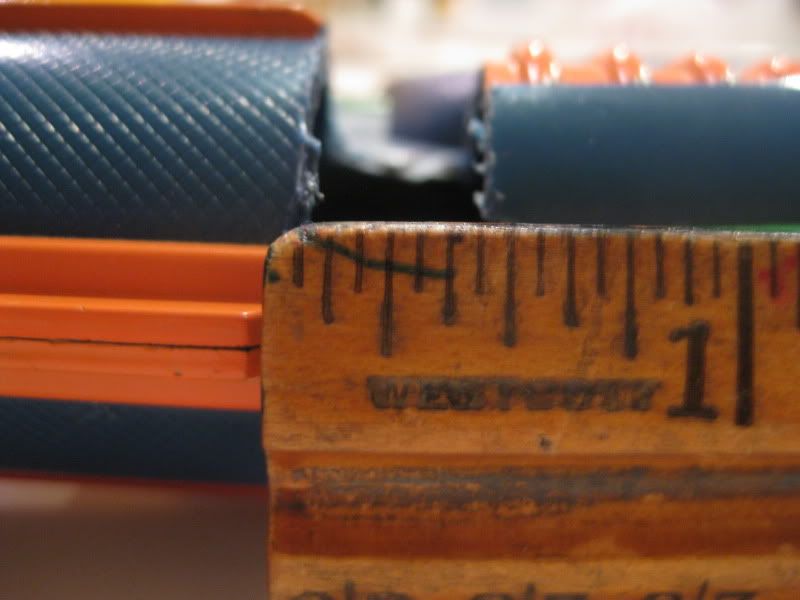
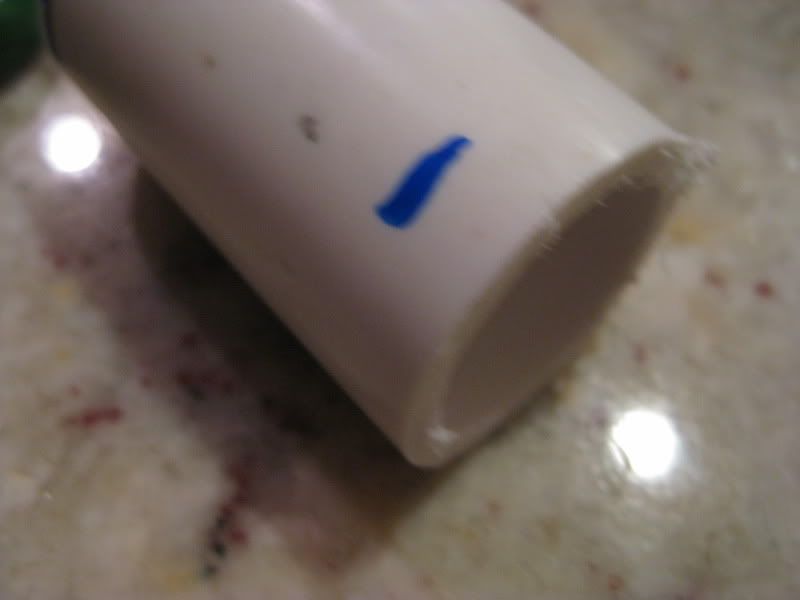
Mark the PVC right at the spot where it extends out of the shell. Do it on both sides.

Posted Image

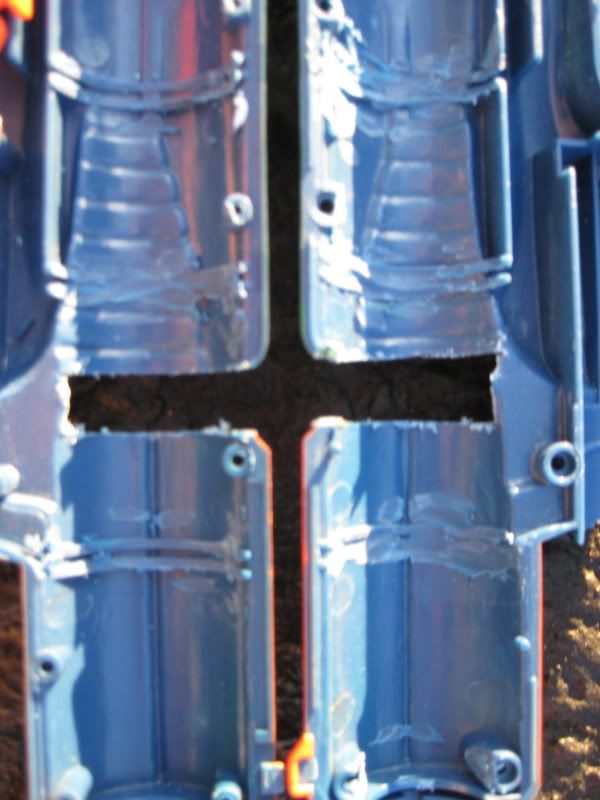
Cut both of the marks you made so you end up with this.

Posted Image

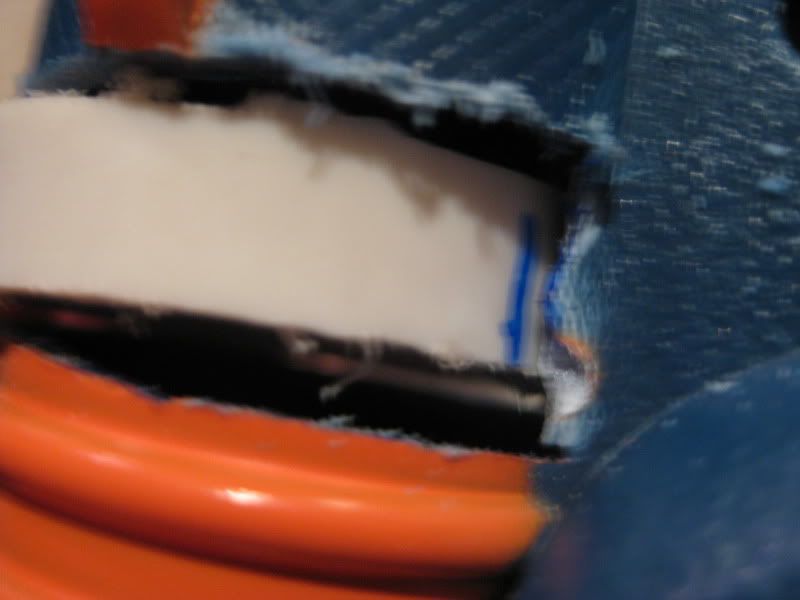
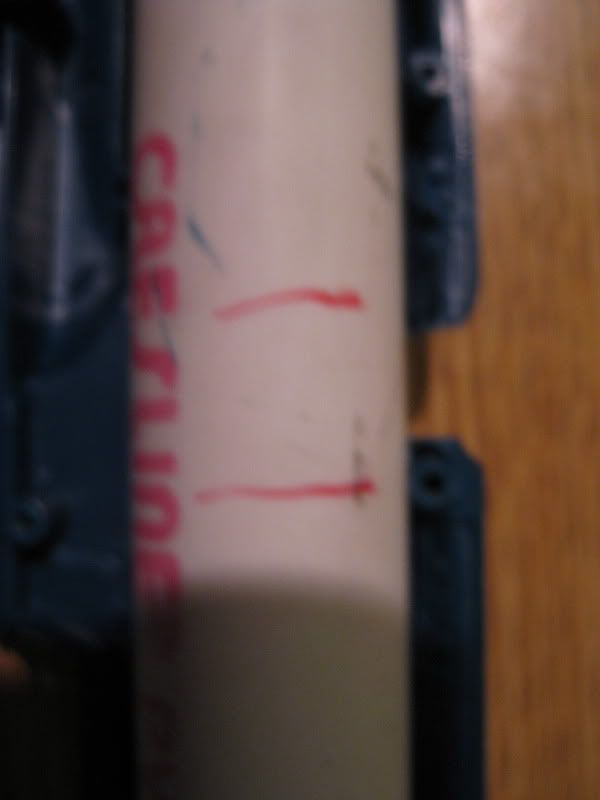
Mark the plunger tube a bit beyond the slot, and roughen up that area.

Posted Image

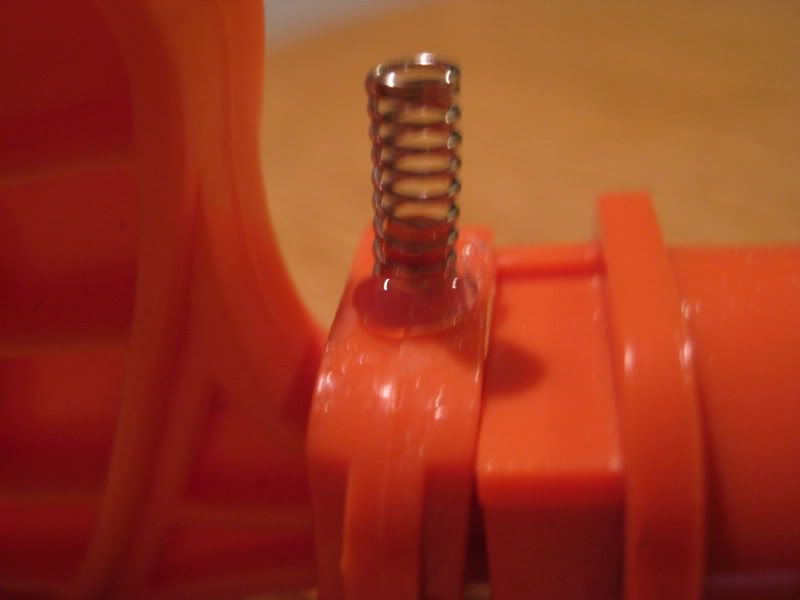
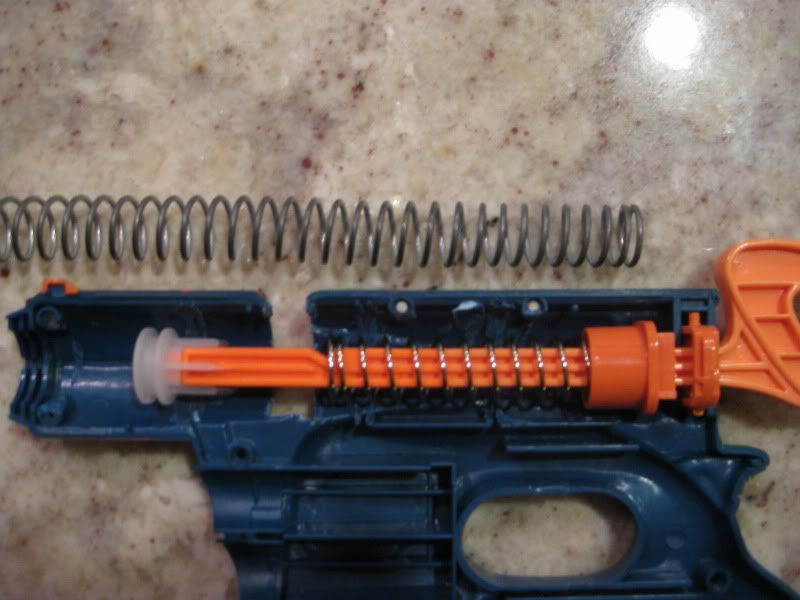
Lay the gun out with the new spring like this. Mark the spring to the point where it could fit into the gun nicely. I cut my spring to about 5 1/4" long.

Posted Image

Now take your drill, and drill a hole down the pre-existing one in the plunger rod. Only drill far enough that the screw goes in as far as it needs to. This hole has to fit the nex screw well.

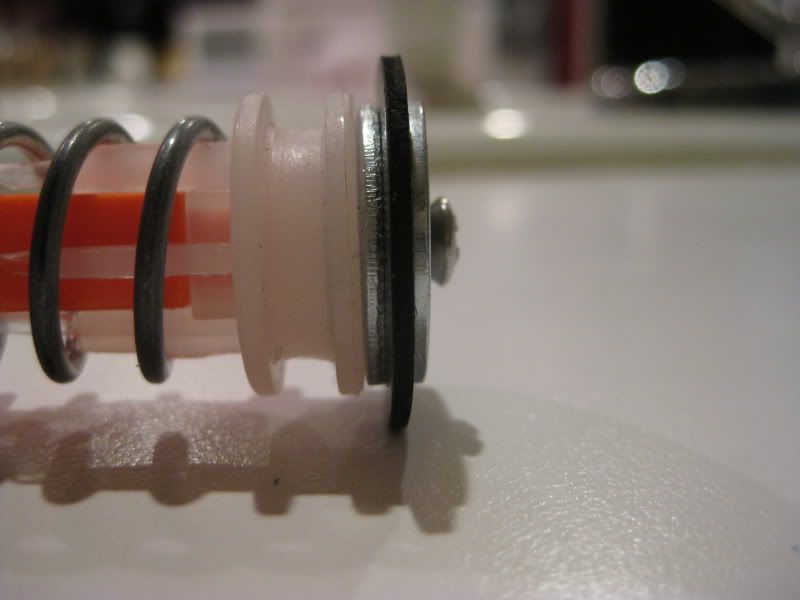
Put the spring on the plunger rod. Now, get your new plunger head ready to assemble like this. It goes from right to left: Screw, 3/4" washer, 1" Rubber Washer, 8-32 Washer, 3/4" washer, 6-32 washer, and stock plunger head (with no O-ring).

Posted Image

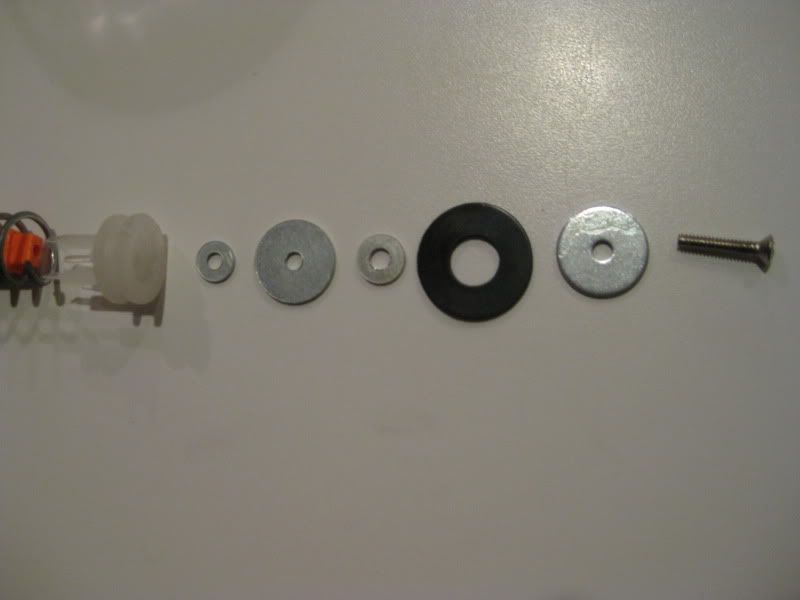
Now put it all together. The 6-32 washer goes inside the indent on the front of the plunger head, and the 8-32 screw goes inside the rubber washer.

Posted Image

Close up the gun (don't need to screw it together, just close it). Pull back on the plunger rod all the way. Mark the rod where it is closest to the slot it is extending out of. It is as far up on the plunger rod that you can possibly mark.

Unscrew the screw, and take everything off the plunger rod. Dremel a slot a bit in front of the mark (no more than 1/4" farther up). Make it like so.

Posted Image

Now, put everything back on the plunger rod and test it.

Edited by venom213, 16 July 2009 - 08:28 PM.

  • 0

#2 venom213

venom213

    Member

  • Validating
  • 1,294 posts

Posted 16 July 2009 - 03:07 AM

If it works, good!.


Now, wrap E-tape on the CPVC coupler until it fits well in the PVC. Then, sand down these screw hole things (only on the top shell half) so that the CPVC coupler can fit there.

Posted Image

If it fits, glue the coupler into the 3/4" PVC with epoxy or something pretty strong. Put it in the shell to make sure it dries in the right position.

Posted Image

Next, epoxy that little peice of 1" PVC over the 3/4" PVC in the slot. Close the gun to make sure it is lined up. It will look like this:

Posted Image

Posted Image

Glue the catch spring onto the peg. It will make your life much easier.

Posted Image

Wait for the epoxy to dry then lube the inside of the 3/4" PVC. Use spray silicon lube.

Posted Image

Now put the gun back together, and BAM! You got yourself a nice little sidearm.

Posted Image

Ranges: Most darts got over 70 feet. But the overall range is probably 65-85 feet flat.

Edited by venom213, 16 July 2009 - 03:29 PM.

  • 0

#3 venom213

venom213

    Member

  • Validating
  • 1,294 posts

Posted 16 July 2009 - 03:08 AM

Done. You may post now.

Edited by venom213, 16 July 2009 - 03:20 AM.

  • 0

#4 CaliforniaPants

CaliforniaPants

    Futtbrustrated

  • Moderators
  • 459 posts

Posted 16 July 2009 - 03:33 AM

I've already told you, but I like it a lot. Looks like it boosts the power without making it unwieldy. Good job.
  • 0

trans as shit because fuck you


#5 Coop

Coop

    #sogoodmuchtacticswowinit2winit360noscopehax0rleetbeastmodeactiv

  • Members
  • 775 posts

Posted 16 July 2009 - 04:08 AM

That looks great, very clean too!

So the piece of 1" PVC that is around the 3/4" plunger tube acts as a stabilizer so the plunger tube doesn't move around when you're firing, right?

Edit: Hehe, I can't read sizes...

Edited by Coop, 16 July 2009 - 03:05 PM.

  • 0

On the other hand, the guy who posted before me used the word 'fuck' a lot so he probably knows what he's talking about.


#6 tack66

tack66

    Member

  • Members
  • 62 posts

Posted 16 July 2009 - 06:57 AM

I've got a couple Tech Targets to try this on but I'm wondering how much noise does it make when firing?
  • 0
My Brute

Join now we need new content all things nerf
Come on you know you wanna join.

#7 white moonlight

white moonlight

    Member

  • Members
  • 305 posts

Posted 16 July 2009 - 07:05 AM

I just recently made a tech target and it has been completely failing.

It's nice to know, (if I need to) that there is a way to almost completely redo the internals.

Also it is very, very clean.

Do you have any plans for a paintjob?

Also what is the point of cutting the second notch into the plunger rod.
Possibly a second catch, or something, (similar to a plusbow).

Edited by white moonlight, 16 July 2009 - 12:51 PM.

  • 0
On his trec to Colonfest...
VengefulWaffle BOY, 12 KILLED IN MOUNTAIN PASS BY WILD RACCON, EXPERTS SAY HE ATTEMPTED TO HOLD IT OFF WITH NERF NITEFINDERS
POLICE SAY: ALCOHOL MAY HAVE BEEN INVOLVED
Guess who he was talking about...

#8 Hi Yah

Hi Yah

    Member

  • Members
  • 294 posts

Posted 16 July 2009 - 07:34 AM

Nice job. With a good paint job you'll hardly notice the PVC ring on the shell. Also, what kind of spring did you put inside of the gun?

Edited by Hi Yah!, 16 July 2009 - 09:38 AM.

  • 0
The yellow balls are also slightly smaller in diameter than the green ones.

#9 wingd man

wingd man

    Member

  • Members
  • 514 posts

Posted 16 July 2009 - 08:39 AM

Nice! I lost the plunger tube to mine so I'll definitely try this! If coupled with the mod on the mods page, this thing could be a primary!
  • 0

#10 Nerf Bros

Nerf Bros

    Member

  • Members
  • 309 posts

Posted 16 July 2009 - 09:06 AM

Nicely done! I expect to see this at a MN war or two...
  • 0
We have no sig.

#11 2iko

2iko

    Member

  • Members
  • 80 posts

Posted 16 July 2009 - 11:20 AM

Very clean, I love it. I can't wait for ranges, I also want to know how long the barrel should be. Nicely done.
  • 0

I have no sig so my posts cut off weird so I'm putting this here. XD

#12 venom213

venom213

    Member

  • Validating
  • 1,294 posts

Posted 16 July 2009 - 12:31 PM

Coop: It is 1" PVC, but yes, that is why it is there. Unlike most mods like this, the plunger tube is held in with no glue, but it is still sturdy in place.

Tack: It's kind of loud, but I plan on putting some foam on the plunger head which will silence it some.

white moonlight: I might paint the PVC that sticks out of the gun so it matches the rest of the gun. Or I'll paint the whole gun something new, but not very soon. The new notch is there because the new spring has a longer compressed length than the stock spring, so it doesn't catch in the original notch, therefore I had to add a new one.

Hi Yah: I put a cut down Ace #62 spring (the ones used on SNAPs). It says so in the write-up.

Nerf Bros: I'll definatley be using it in the future. Looking forward to those wars.

2iko: It's probably going to be somewhere between 4" and 6". I'll do some testing and post about my results.
  • 0

#13 Salmon

Salmon

    Member

  • Members
  • 447 posts

Posted 16 July 2009 - 02:37 PM

I'm just going to put this nice and simple:
I am totally doing this mod. Amazing job.
  • 0
Welcome to I-dont-care-isburg, population: me.
We're located in I-Don't-Give-a-Damn County, in scenic Shut-the-Hell-Up-achussets.
Maybe you're familiar with our annual charity drive where we ask for shit, and no one gives any.


0 user(s) are reading this topic

0 members, 0 guests, 0 anonymous users