Necessary equipment
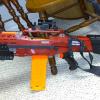
DT3 set, both arrow blaster and underslung sidearm
Screwdriver
Knife
Electrical tape
Plastic safe lubricant
Pipe cutter or hacksaw
Spring for firing mechanism
Hot glue with hot glue gun
OR
Torsion Spring
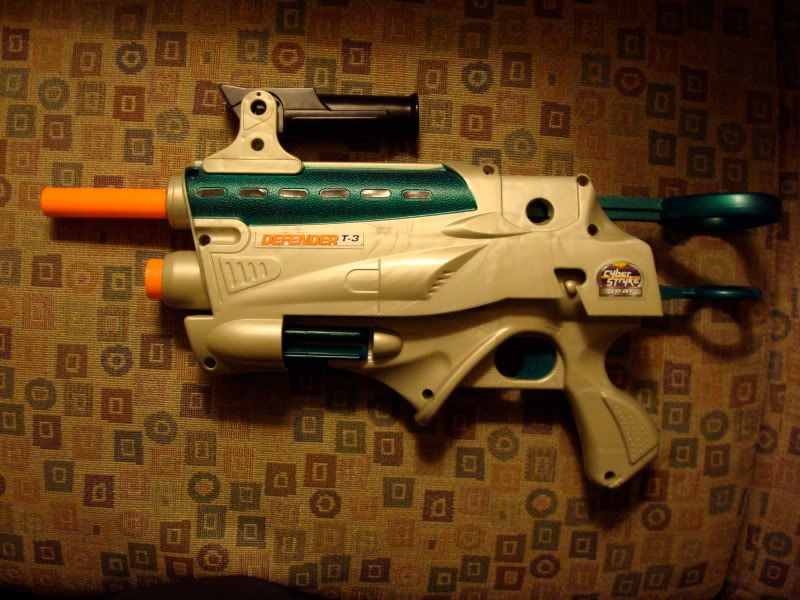
Opening the DT3
Remove the side arm and all the screws. Also, using a knife or any other thin and sturdy object, remove the arrow holder on the top of the blaster.
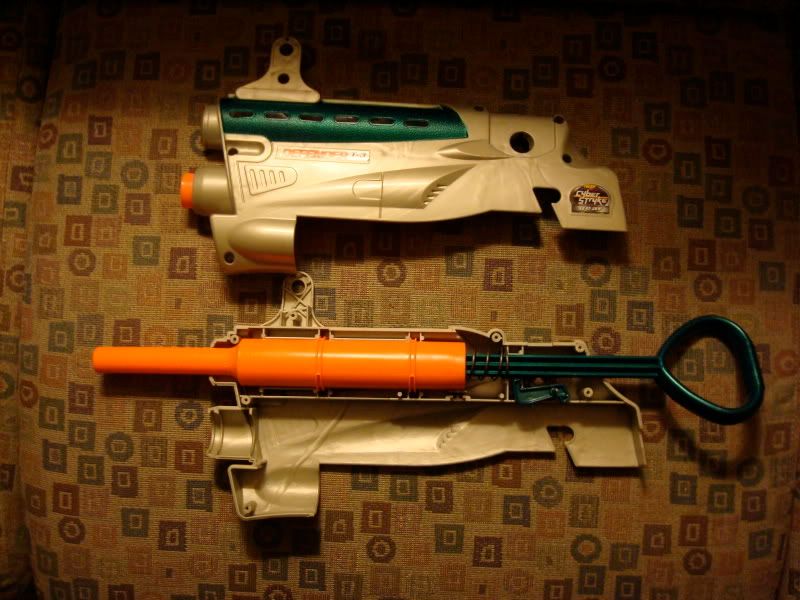
Opened view
Plunger draw extension
When experimenting with the DT3 arrow shooter, one will notice that in it’s stock state, the arrow blaster shoots farther when shot without using the trigger mechanism (by removing the side arm and holding the “scope” handle) This is because by not using the firing mechanism, one can provide more oomf to the arrow by pulling the plunger farther back than where it catches. We can improve the length of the plunger draw by adding another spot on the plunger rode for it to catch. First, remove the plunger from the plunger tube.
[IMG]http://i10.photobucket.com/albums/a104/Koree88/DT3%20Modification/DSC01705.jpg[/IMG
Proceed to disassemble it until all pieces are separated. This can be simply done with a bit of finesse and light tugging.
[img]http://i10.photobucket.com/albums/a104/Koree88/DT3%20Modification/DSC01707.jpg[/img]
Now, take writing utensil such as a sharpie and draw in a catch point an inch closer to where the plunger tube was.
[img]http://i10.photobucket.com/albums/a104/Koree88/DT3%20Modification/DSC01708.jpg[/img]
Now, taking a sharp knife, carefully chisel away at it. This can also be done with a dremel or other power tools, but considering the rarity of this gun, it would be best to simply be careful and take your time. With a good knife, it should only take about 10 minutes.
[img]http://i10.photobucket.com/albums/a104/Koree88/DT3%20Modification/DSC01709.jpg[/img]
If done correctly, this will increase the travel of your plunger rod during firing by one inch.
Improving the plunger seal.
Put your plunger rod back together including the spring. Now it is time to improve the seal of the plunger head.
Take your electrical tape and wind it around the plunger head.
[img]http://i10.photobucket.com/albums/a104/Koree88/DT3%20Modification/DSC01725.jpg[/img]
You should stop when you feel you have a good seal that is not too tight when placed into the plunger tube. Once you are certain you have a good girth for the plunger head, take your plastic safe lubricant and apply it to on top of the electrical tape. It should look like this.
[img]http://i10.photobucket.com/albums/a104/Koree88/DT3%20Modification/DSC01726.jpg[/img]
Improving the trigger mechanism
The stock DT3 firing mechanism for the arrow blaster is very finicky. This is mostly due to how the catch is dependent on the side arm for catching the plunger rod. To alleviate this issue, we can add a spring to the arrow blaster’s firing mechanism, allowing it to catch on it’s own but still allowing the side arm’s trigger pull to fire it. Take a spring a spring like this one:
[img]http://i10.photobucket.com/albums/a104/Koree88/DT3%20Modification/DSC01732.jpg[/img]
Which came from
[img]http://i10.photobucket.com/albums/a104/Koree88/DT3%20Modification/DSC01731.jpg[/img]
and cut off the top 3 turns and hot glue it to the firing mechanism like so:
[img]http://i10.photobucket.com/albums/a104/Koree88/DT3%20Modification/DSC01723.jpg[/img]
Add a dab of hot glue to the other end of the spring and then put the mechanism in it’s place. This will make the plunger catch both on the stock and newly made catch point very securely.
Coupler Addition
First, reassemble the blaster. Now cut the barrel of the arrow launcher so that there is 1.25” left on the original barrel.
[img]http://i10.photobucket.com/albums/a104/Koree88/DT3%20Modification/photo.jpg[/img]
Now take a 1/2” pvc T like this one
[img]http://i10.photobucket.com/albums/a104/Koree88/DT3%20Modification/DSC01724.jpg[/img]
And cut off two branches of it
[img]http://i10.photobucket.com/albums/a104/Koree88/DT3%20Modification/DSC01730.jpg[/img]
Believe it or not, this will slide over the existing barrel and form a perfect seal. Leaving you with a place to place 1/2” pvc on the end of it.
[img]http://i10.photobucket.com/albums/a104/Koree88/DT3%20Modification/photo-1.jpg[/img]
Now place your favorite barrel on it and your done.
[img]http://i10.photobucket.com/albums/a104/Koree88/DT3%20Modification/DSC01727.jpg[/img]
And there you have it, currently it’s pushing 80+ feet. Fortunately, this gun can be upgraded further. I’ll be doing a spring replacement in the near future. (Hopefully before the contest ends.) It should also be noted, that when adding a spring to the firing mechanism, it can be replaced with a torsion spring (home depot didn't have any), possibly even discarding the need for hot glue. Even with the small dabs of hot glue required, this blaster is able to perform very well with very few tools and simple modifications. The blasters are linked on the same trigger on different pull lengths which are very easy to distinguish, leaving the side arm as a great second or counter rush shot. The blaster's stock appearance has been maintained and is extremely comfortable to hold.
Thank you very much reading,
Questions, comments, and criticisms are very welcome.
Edited by koree, 09 July 2009 - 11:28 PM.