
===
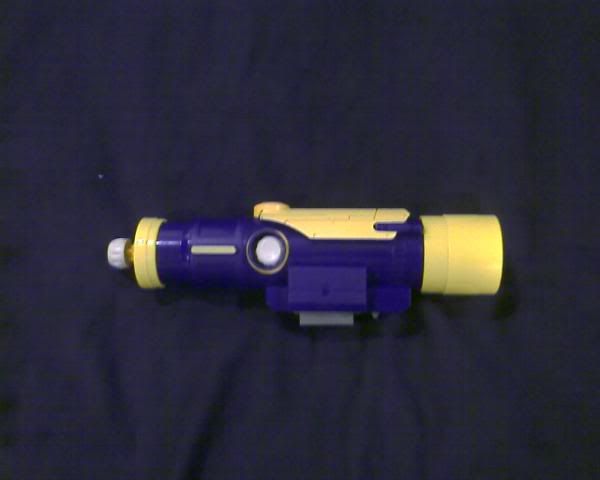
Here's the scope with the Secret Strike trigger and pump handle visible.
===
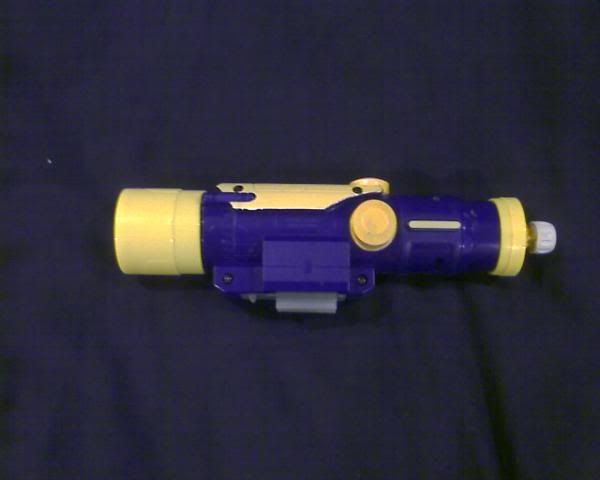
Here's the other side. Everything looks pretty clean.
===
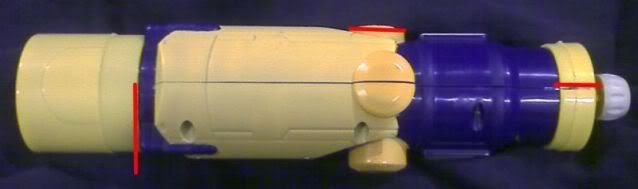
Here's the top view, with lines marked to show where I had to cut the plastic. The yellow rings are glued on, so a little bit of sawing was required. Even after that, a bit of the glue had welded the body by the eyepiece side so some gentle prying was needed to pop the halves off.
===
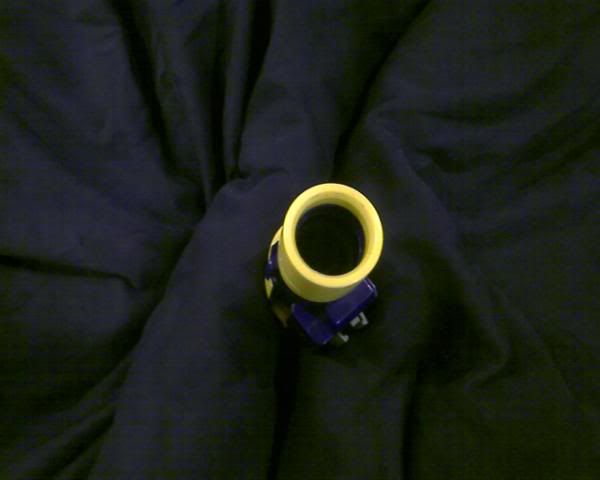
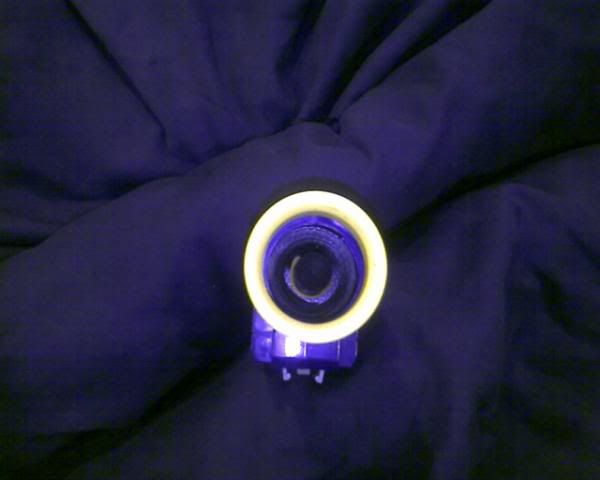
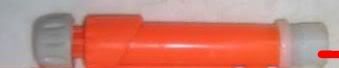
Here's the business end. Nothing to see here, really. The biggest giveaway is that you can't see all the way through. Well, that's the second, if this was a war. The first is, "Why the heck does that Longshot have the stupid scope attached?"
===
Here's the business end with a bit of light. The dart is visible, but only just barely.
===
Okay, let's open her up and go back in time. Like I said, I didn't know if this was going to work, so I didn't take a picture of the steps as I modded the Secret Strike. Here's the final product:
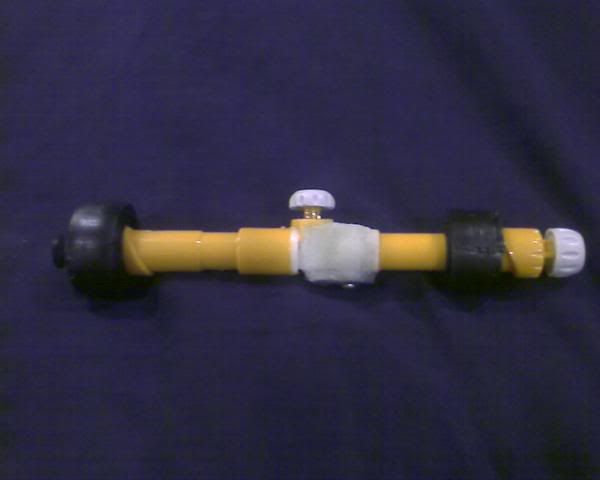
...and here's how it sits in the scope, rotated slightly to show the trigger which would normally be blocked by the Secret Strike's body.

===
Here's the after-the-fact writeup:
Tools and materials needed:
- Hacksaw
- Small Philips-head screwdriver
- Small standard-head screwdriver
- General purpose pliers
- Hammer
- Thick tape, or lots of electrical tape. I used 3/4" 3M Scotch 23 Rubber Splicing Tape
- Epoxy glue, epoxy putty or plastic welder
- A sheet of tissue paper if not using epoxy putty, above
- Drill with 1/8" bit
- 1/8" rivet, 3/16 - 1/4" grip range (or substitute 1/4" long tube of 1/8" diameter)
- Piece of scrap plastic, 1" x 1/2". I used a bit of the Longshot's bolt cover.
- Two screws approximately the size for mounting a hard disk (4-40 x 3/16")
- Rasp or file
===
Cut the scope as indicated above. The flat-bladed screwdriver may be required to pry the halves apart - on mine, a bit of plastic glue holding the eyepiece on had welded the two blue pieces together as well.
===
The rear 'lens' falls free. Its mount ridges will serve later to hold the Secret Strike pump.
The front lens ... that's another story. I ended up drilling it into Swiss cheese, then using the screwdriver and hammer as a mallet and chisel to wrestle it out. It's in the part of the body we left intact, so it needed the most elbow grease of the whole project.
===
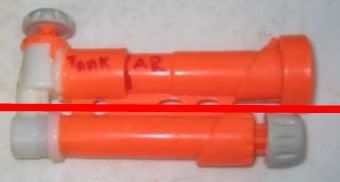
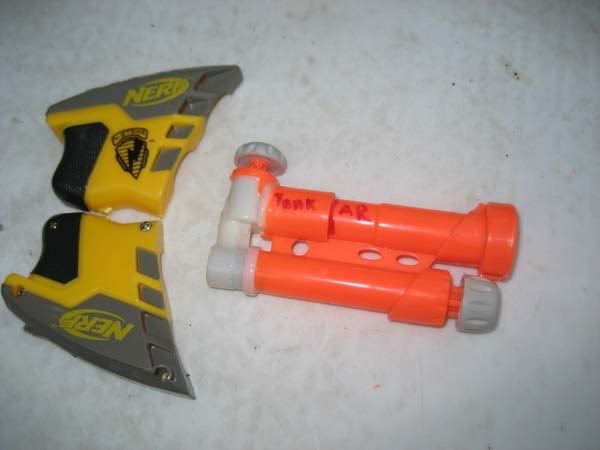
Thanks to NH's own The Official Internals Directory thread's image of a disassembled Secret Strike, I'm able to indicate where to cut it in two:
===
And where to drill:
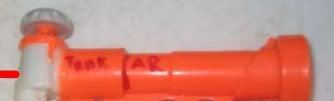
and
File or sand flat the body's cut ends. Also file off the remains of the orange plastic 'webbing' that held the barrel and pump in parallel.
===
We're interested only in the pop rivet's body. If you have another 1/4" length of 1/8" metal tubing, feel free to skip ahead to the next paragraph. Take a hacksaw to the pop rivet's body (not the pull-pin's shaft) at the flange plate and saw away until the flange plate is free. Don't saw through the pull-pin's shaft. Use the pliers to grasp the rivet's body, the lightly tap the body of the pliers with the hammer while the pull-pin is resting point-down on a hard surface. After a few taps, the tube should slide free.
You now have the 1/4" x 1/8" tube. Use it as a dowel between the pump and barrel halves.
===
Note the distance between the two holes on the bottom, the original air channel before the Secret Strike was bifurcated. Drill two 1/8" holes in the scrap plastic that distance apart, then screw the plastic piece to both halves to both seal that air gap and give structure to the body as the epoxy dries.
===
I didn't have any epoxy putty, so I made my own by shredding fine bits of tissue paper into my puddle of mixed epoxy. We need a big block of it to both seal the air gap around the 1/8" tube and to stiffen the body, hence the Kleenex. After it dried for half an hour or so, I added an outer layer of tissue paper to cut down on the tackiness so I could shape it.
Let the epoxy cure the full period. Last thing we want is for a premature test to open up an air gap. When I used a slice of the Longshot's bolt cover, I didn't cut off the bent pieces, so they acted as a set of feet to keep the assembly off the drying surface, avoiding the need to pry/chisel it off later.
===
Wrap the tape around the pump next to the decorative collar, and around the barrel at the widest part of the muzzle. Use enough tape around the pump end so the scope body requires some squeezing to close; the body has two interior ridges perfectly situated to bite into this ring of tape, immobilizing the Secret Strike during pumping.
===
Ranges:
15 - 24' (It's a lemon of a Secret Strike with a leaky tank, what do you expect?)
Edited by taerKitty, 14 June 2009 - 08:47 AM.


