
MATERIALS
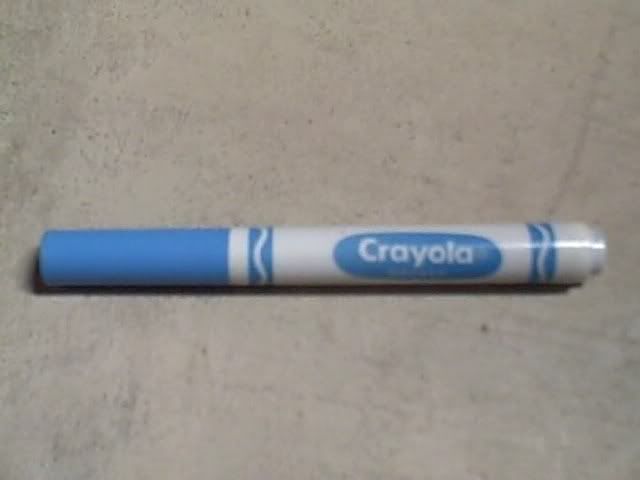
A Crayola Marker.
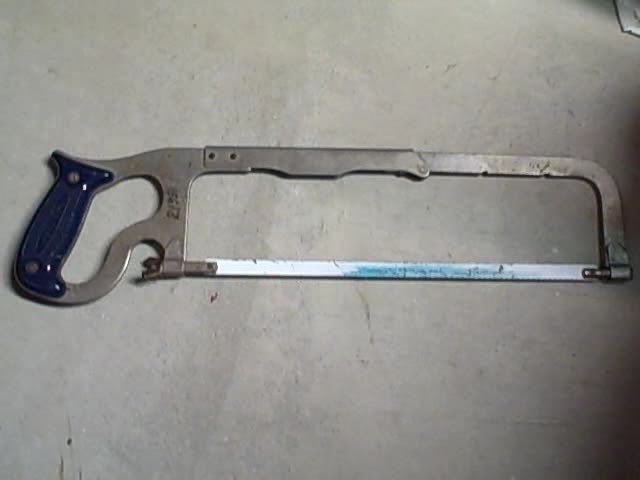
A Hacksaw.
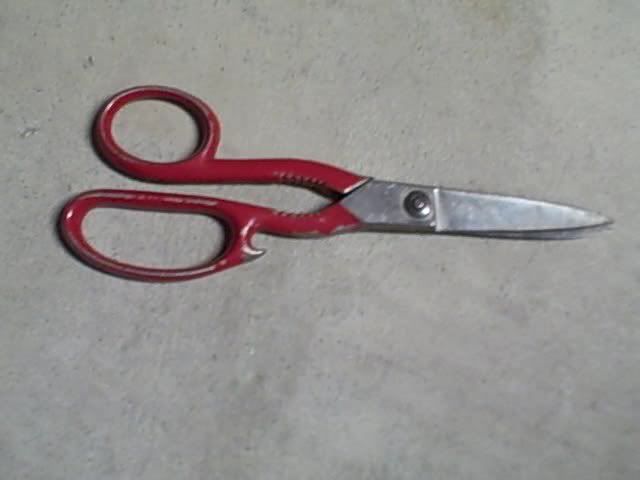
Pliars or a blunt pair of scissors.
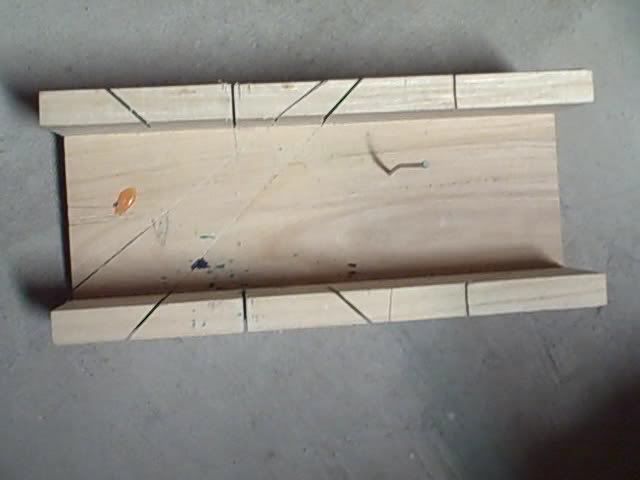
A Mitre Box (Optional, for straight cuts.)
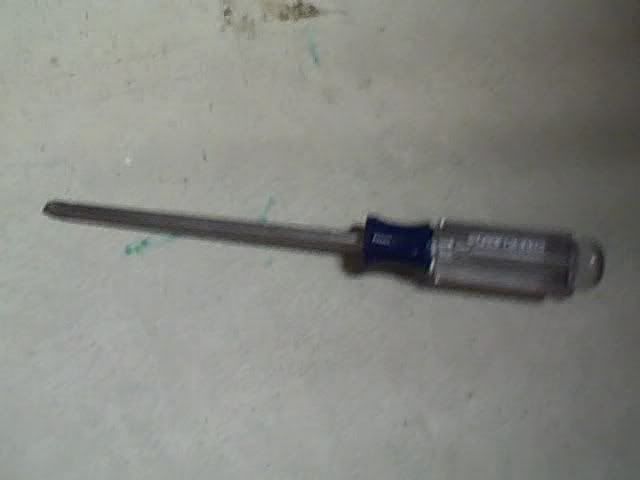
A long screwdriver.
PROCEDURE
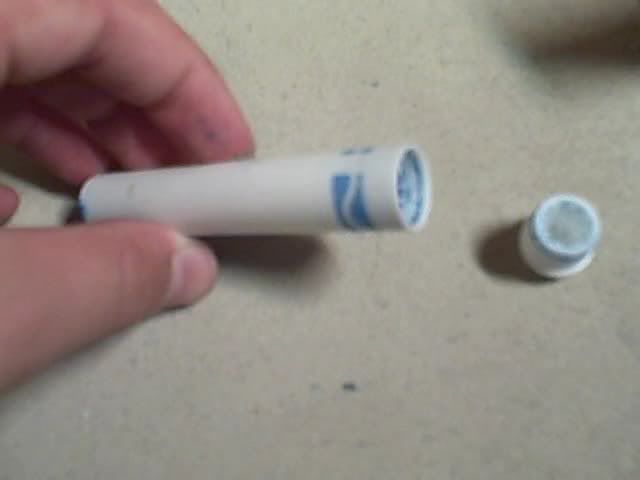
Step 1 - Take the cap off of the marker. This is a HARD STEP. Throw the cap away when finished.
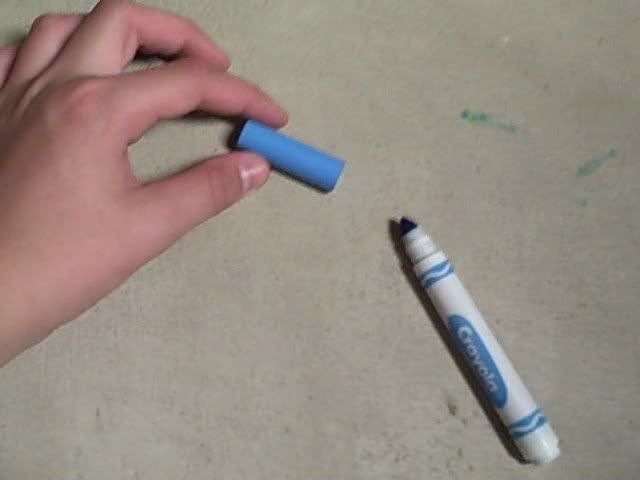
Step 2 - Using your blunt pair of scissors/pair of pliars, yank out that retarded ink tip. Throw it away also.
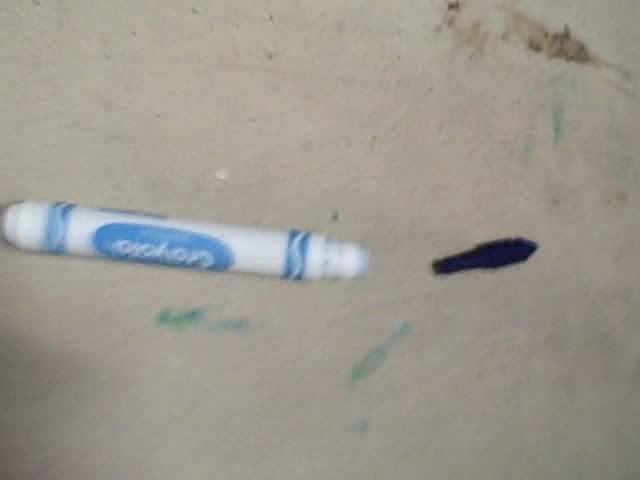
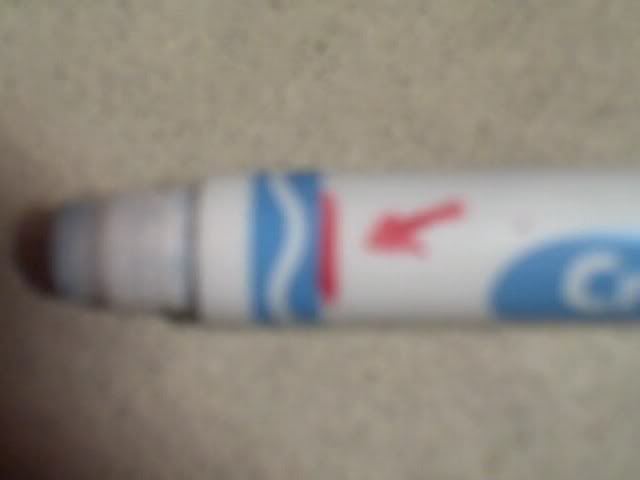
Step 3 - Cut on the line shown with a hacksaw. WARNING - YOUR HACKSAW MIGHT GET A CUTE SHADING OF THE MARKER COLOR YOU CUT. Throw away the piece that comes off (the short piece, obviously..)
Step 4 - Grab one of those fibers or somehow get a grip on the ink cartridge. Pull that out. Throw it away.
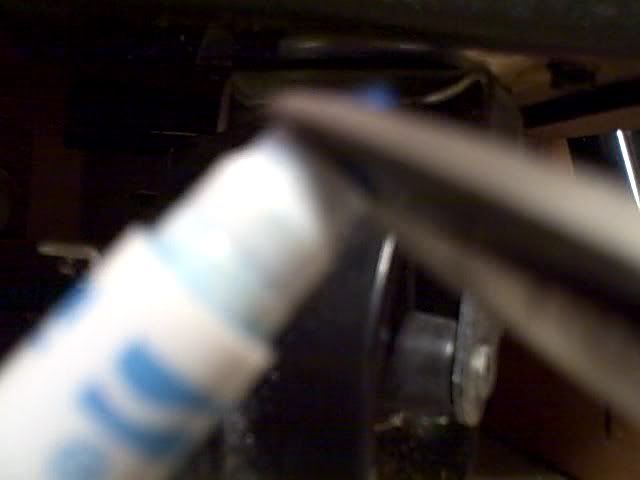
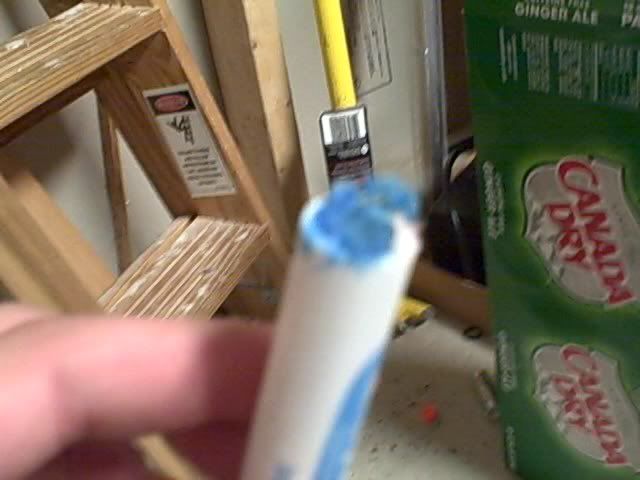
Step 5 - Stick the screwdriver into the hollow part of the marker, as shown -
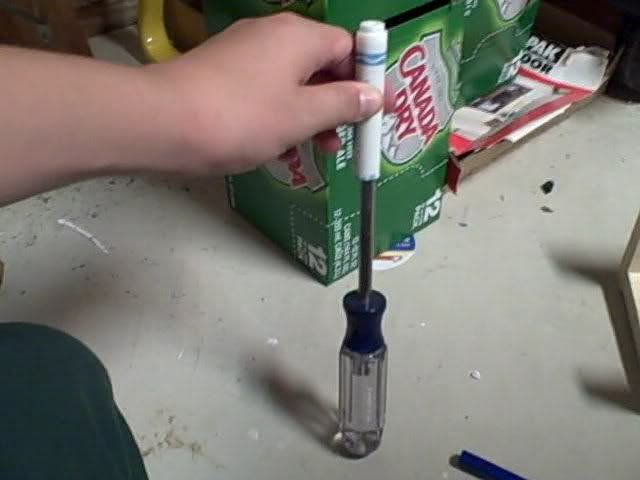
Get a good grip on the marker. DON'T LET YOUR HAND GO LOWER THAN THE END OF THE MARKER! If you do, when you slam it down, you can get a nasty blood-blister. Slam the screwdriver end onto the ground.
Step 6 - Clean up your area/whatever else. When you get the chance, It's a good idea to run some water through this thing to clear up that color.
EXTRA STEP?
If you want to get rid of those 3 ridges on the inside of the barrel, here's how I do it.
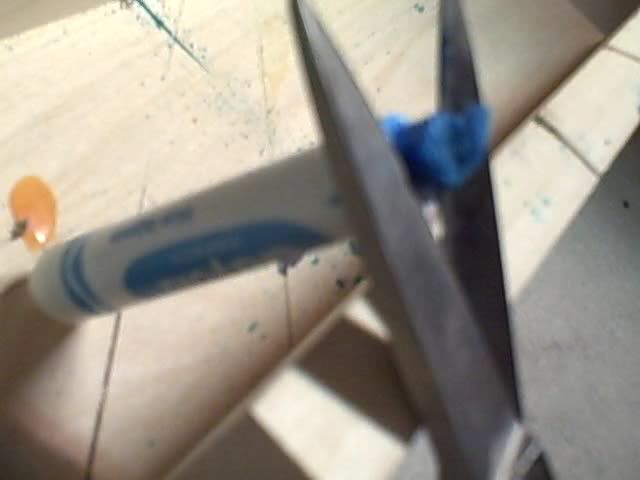
Put a pair of skinny-ish scissors into the ridge-end of the barrel like so -
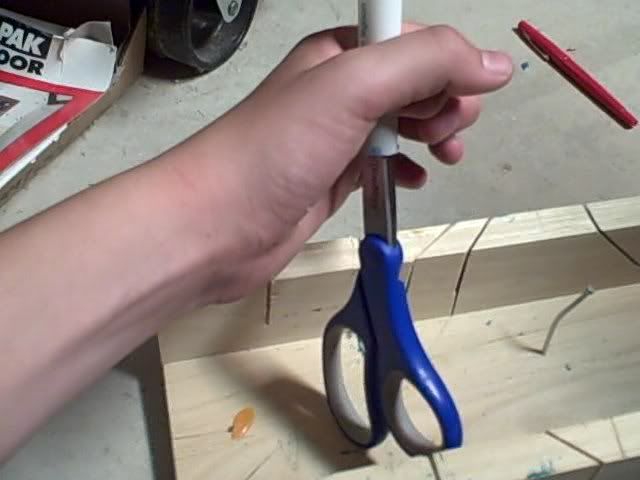
And just twist them both opposite ways several times.
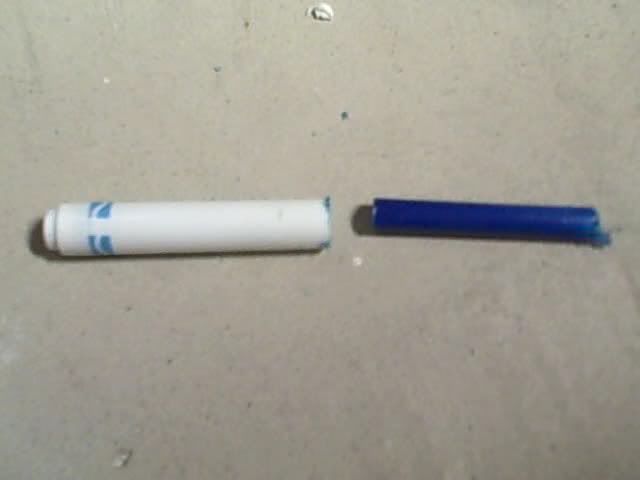
Use the scissors to snip off the little pieces that become unattatched.
It normally takes me 5 minutes to totally de-ridge them. I don't usually, becuase I only do this if it matched the ID of a plunger tube, like on the Tech Target.
You're done!
You now have a very cheap barrel material that works, and fits most batches of Frost King foam almost perfectly!
Edited by ilzot, 22 May 2009 - 12:45 PM.


