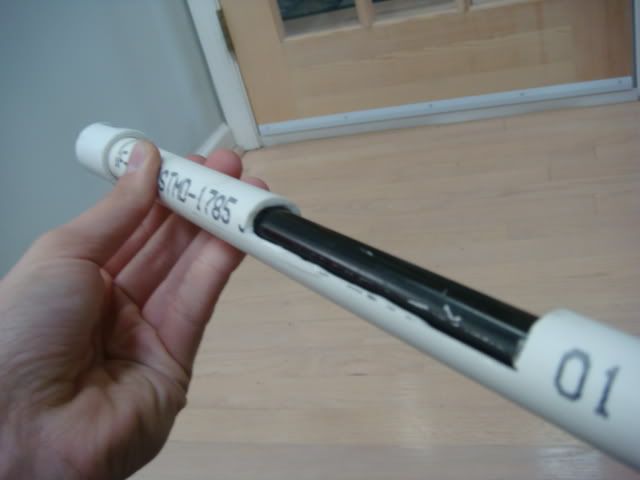
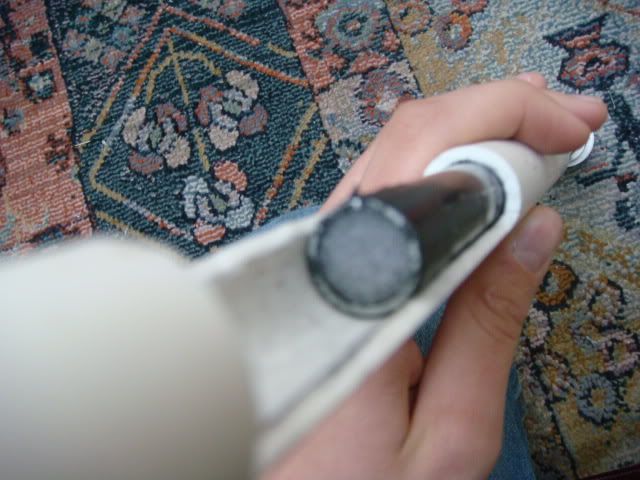
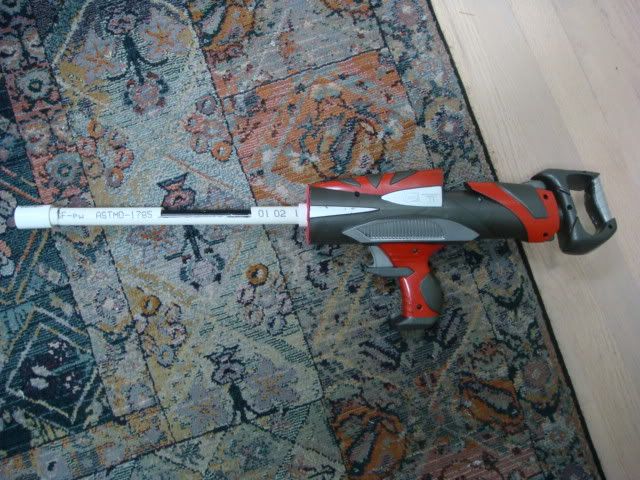
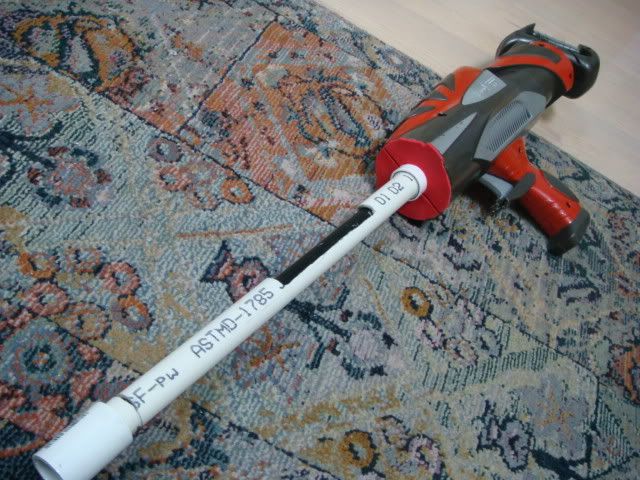
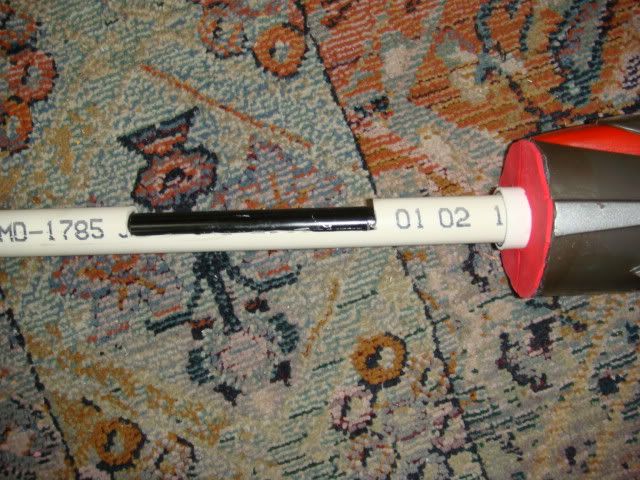
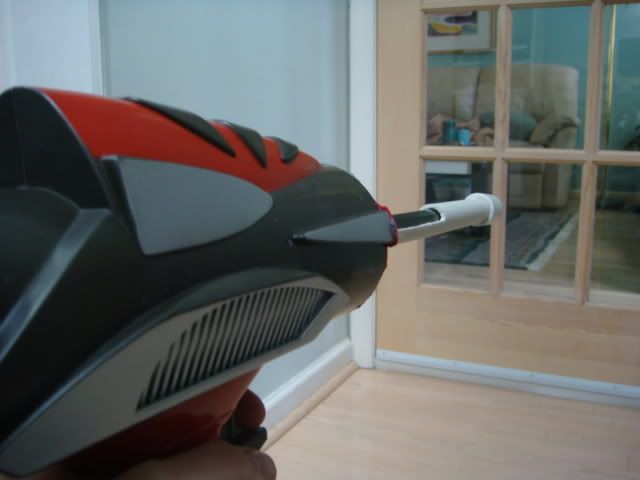
This will be a full instructional guide on how to do the following mods to your LBB.
Materials needed:
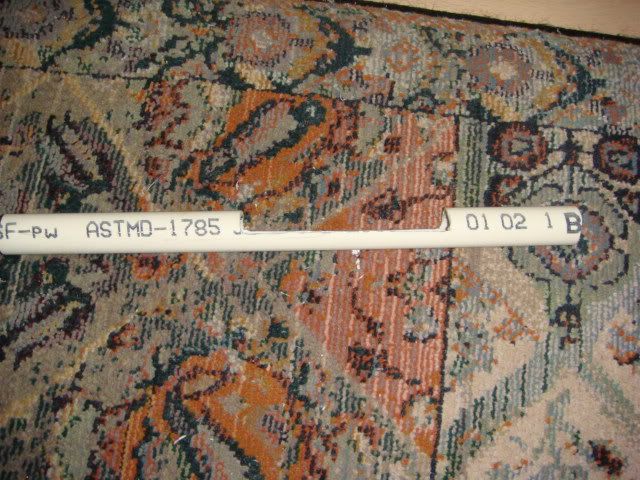
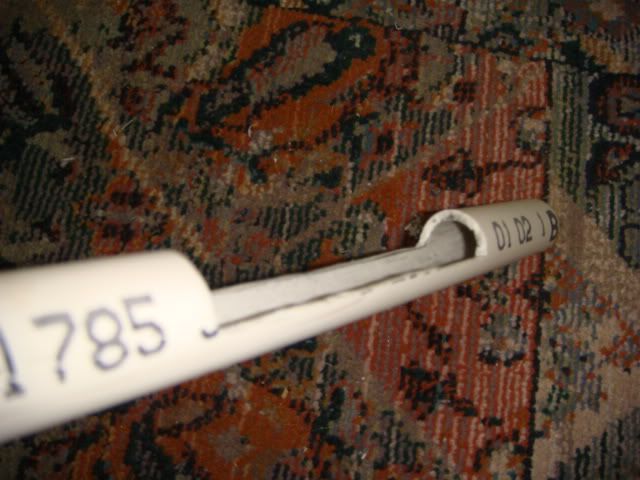
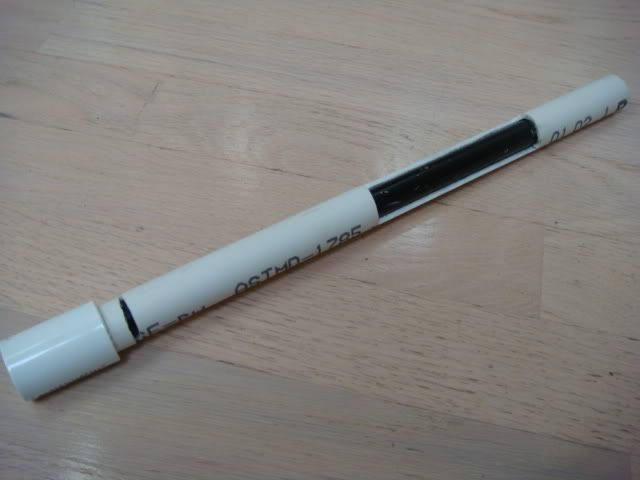
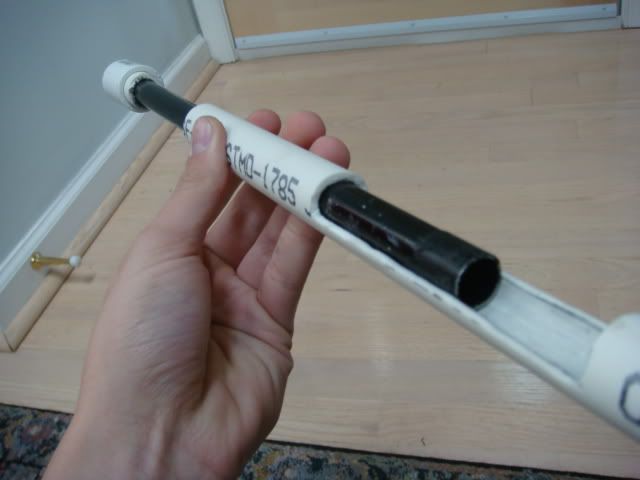
-Aprox. 15in of 1/2in PVC
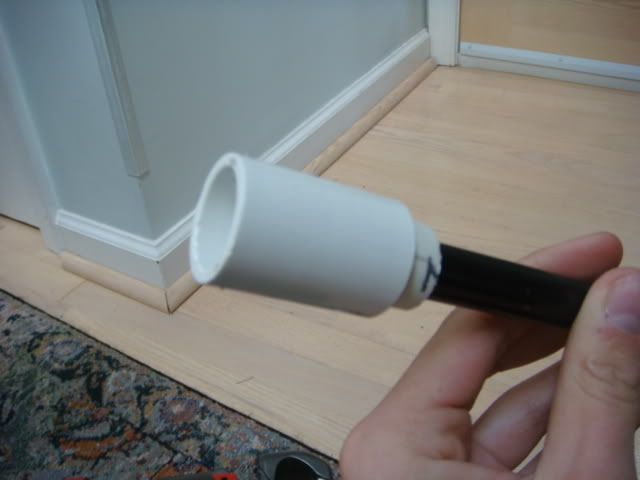
-(2) 1/2 in PVC coupler
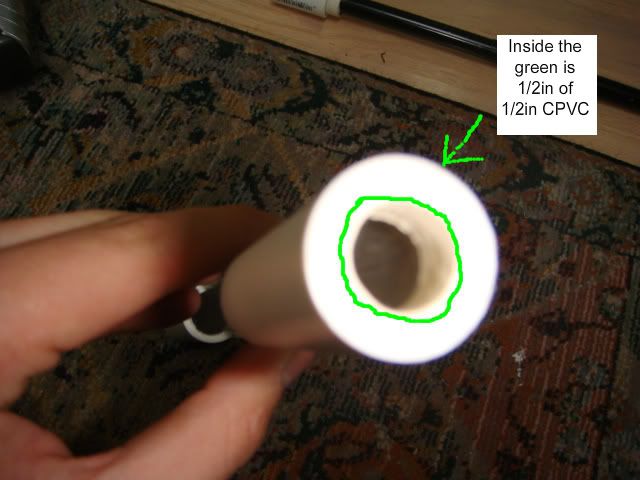
-1/2in of 1/2in CPVC
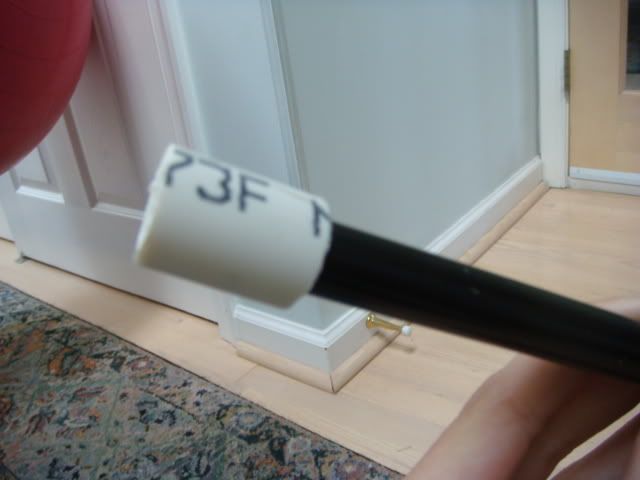
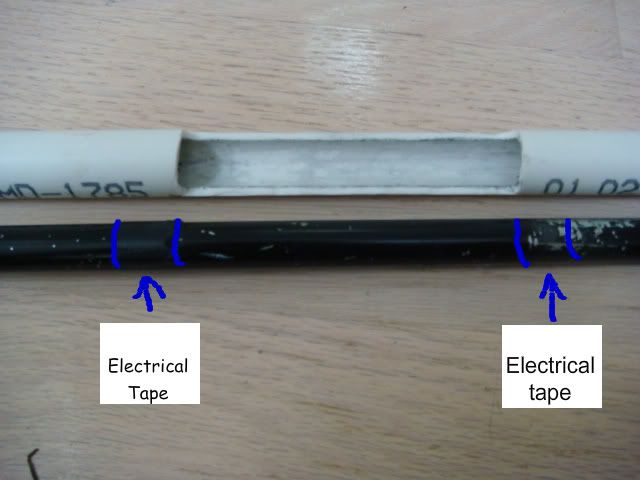
-12 in of brass (or any barrel material that can easily fit inside of 1/2 PVC)
-Hot Glue
-Super Glue
-Any other preferred adhesives
-1/16in foam sheet
-Dremel
-Dremel: Sanding Bit
-Dremel: Cutting wheel bit
-Lanard Blast Bazooka
-Screwdriver
-Electrical Tape
-Rubber Safe (In this cape, e-tape safe) lubricant
That should be all...let's get started. First, buy a LBB. This is the best stock picture I can get you, since I took all of these pictures after modification.
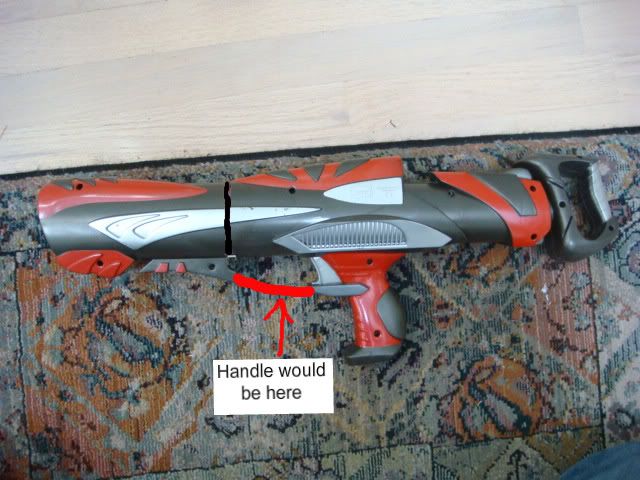
Now I do not have a picture for the next step, but the next step is to open up the gun, and cut off the stock orange barrel about 1/3in away from the lip of the air tank. Now, lets assume that you did this step, and then closed your gun back up.
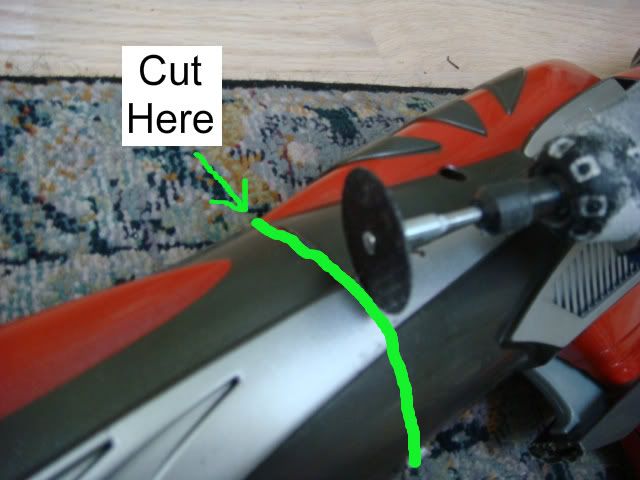
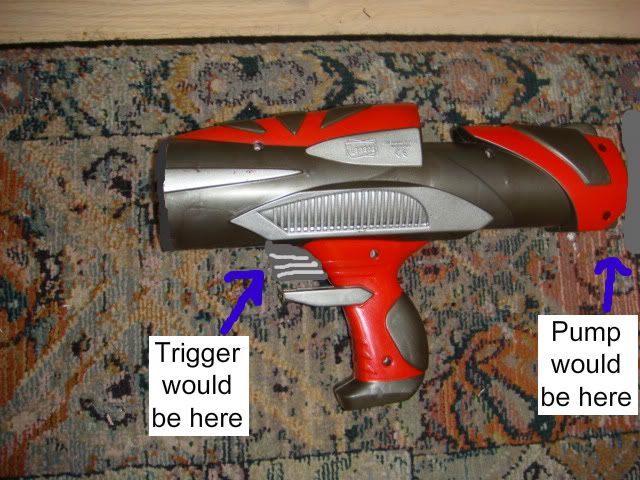
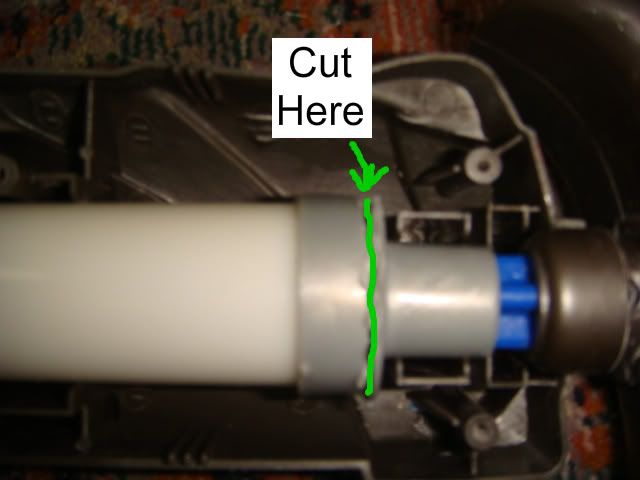
Now, Cut where the line is shown. If you are looking at your gun from the inside, your cut should line up with the wall separating the front empty shell piece, from the section with the internals.
Now, your gun should look like this. (this picture was taken without the internals inside, so don't mind the absence of the pump and the trigger.)
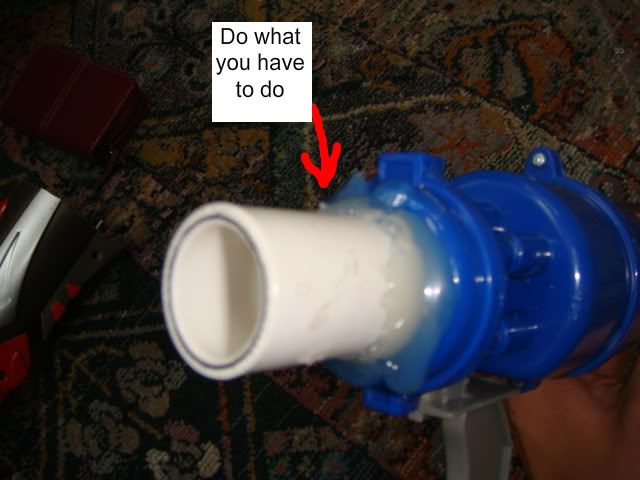
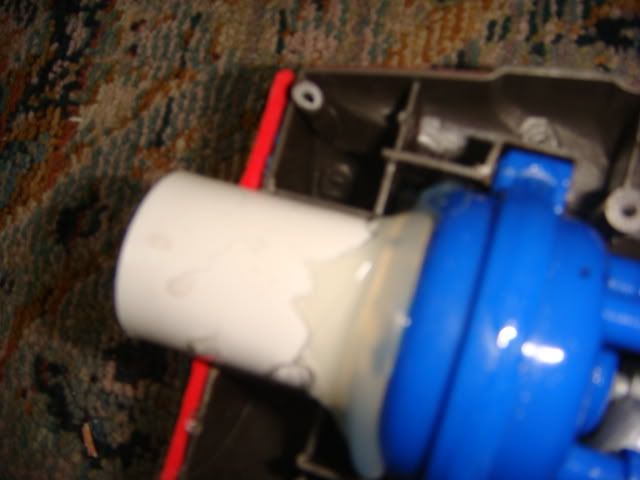
Open your gun back up (if not already opened) and pull out the air tank. It should come out as one piece with the pump and the trigger. Once you have your tank out of the shell, glue a 1/2in PVC coupler to the tank. Center it as best as you can, so that the stub from where you cut off the original barrel, is seen down the center of the coupler. Use hot glue and super glue or whatever the hell you want, until your satisfied that the coupler ain't coming off.
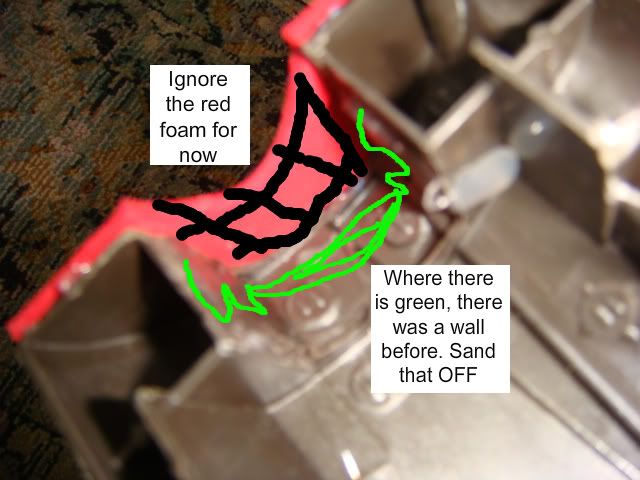
In order to get the internals to fit back into the gun, you have to sand out the center wall on the inside, that used to surround the stock barrel. Do this to both sides.
First half (Ignore the red foam for now)
Second Half (Once again, ignore the red foam for now)
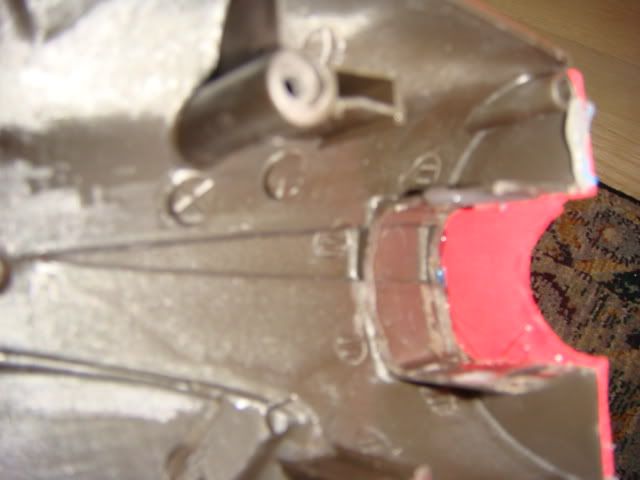
Now, your internals should fit perfectly, and the coupler should sit nice and happy inside the are where you just sanded off the wall.
Now, we move on to plugging the pump. To do this, you must carefully use your dremel to cut off the end of the gray piece that holds the pump in the plunger tube. When you make this cut, make sure that the plunger head is pushed all the way into the plunger tube so that you don't risk cutting into it. This picture should help.
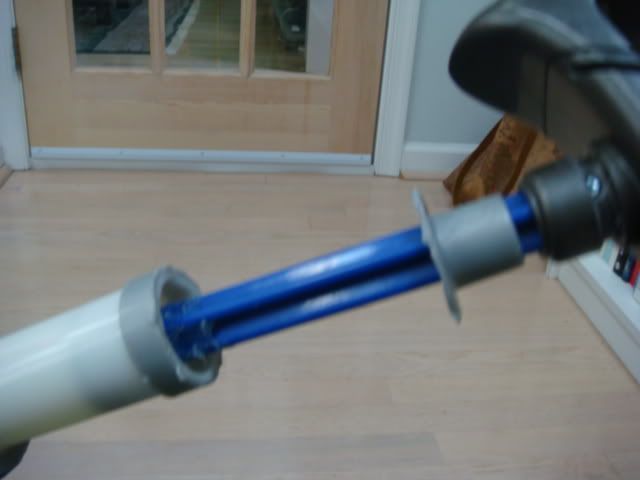
After you make that cut, you should be able to pull the pump all the way out, and get access to the over pressure release valve.
Now, plug the OVP with hotglue. To do this, you must fill the CENTER hole on the plunger head (NOT THE TWO SIDE ONES), and the 4 holes on the side of the shaft.
Front:
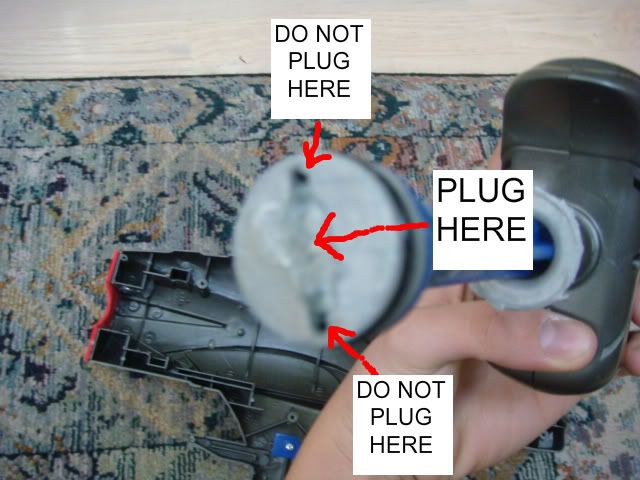
Side:
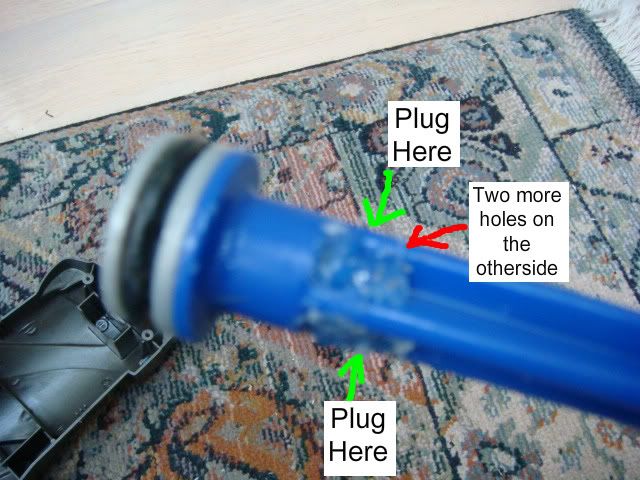
The last internal step, is to glue the trigger to the air tank pin. The lbb is known for its weak trigger, and glueing the trigger to the pin reduces stress on the part of the trigger that frequently breaks, and balances the stress on the entire trigger. MAKE SURE NOT TO GLUE THE PIN OR THE TRIGGER TO THE TANK
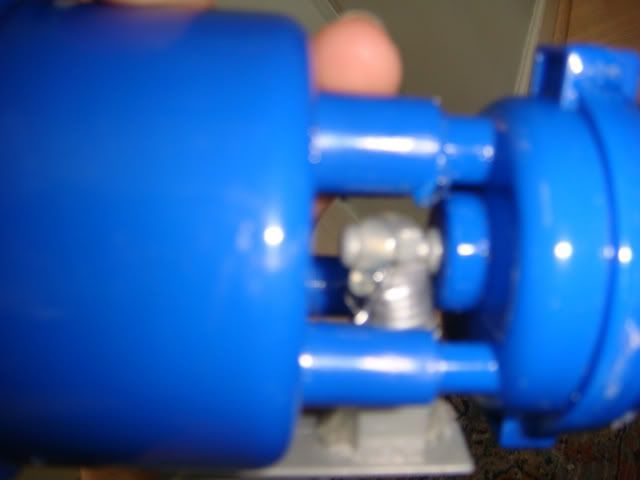
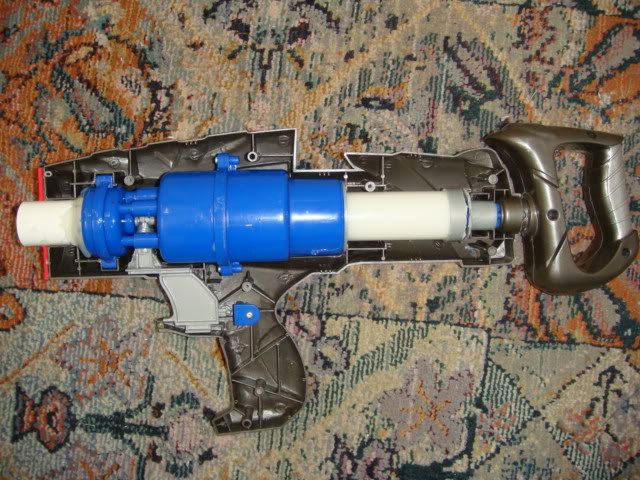
Now your internals should fit nice and cleanly back into place. We are now done with internal mods.
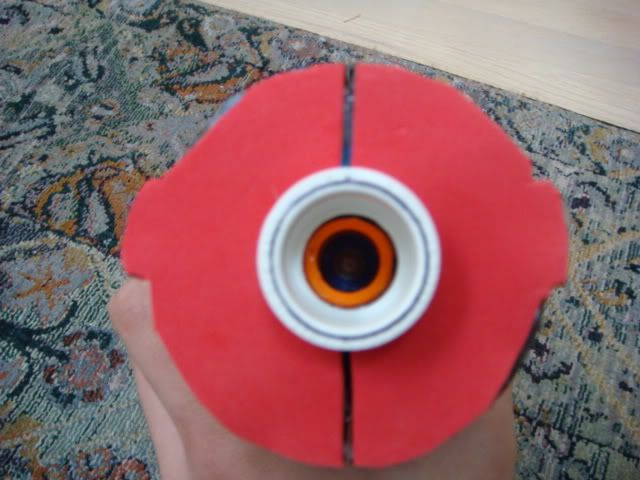
After you close the gun up, their will be a rectangular hole left from where you sanded down the internal wall to fit the coupler in place. To cover up this hole. I cut a piece of 1/8in foam sheet to the shape of the front of the lbb, and simply glued it onto the outer ring of the shell. Then, I cut a slit down the center with an exacto knife so that the gun could be opened without tearing the foam. This picture should explain.
BREECH HALF COMING-----DO NOT POST
Edited by Liam, 08 August 2009 - 01:26 PM.


