#1
Posted 15 August 2008 - 03:36 PM
To do this mod you will need:
hacksaw or dremal for a cleaner cut
hotglue gun and sticks or plumbers goop
Marshmallow shooter
(can be found here
or at other stores)
cpvc
Alright my writeups sucked when I tried something other than the step one step two format so its back to that.
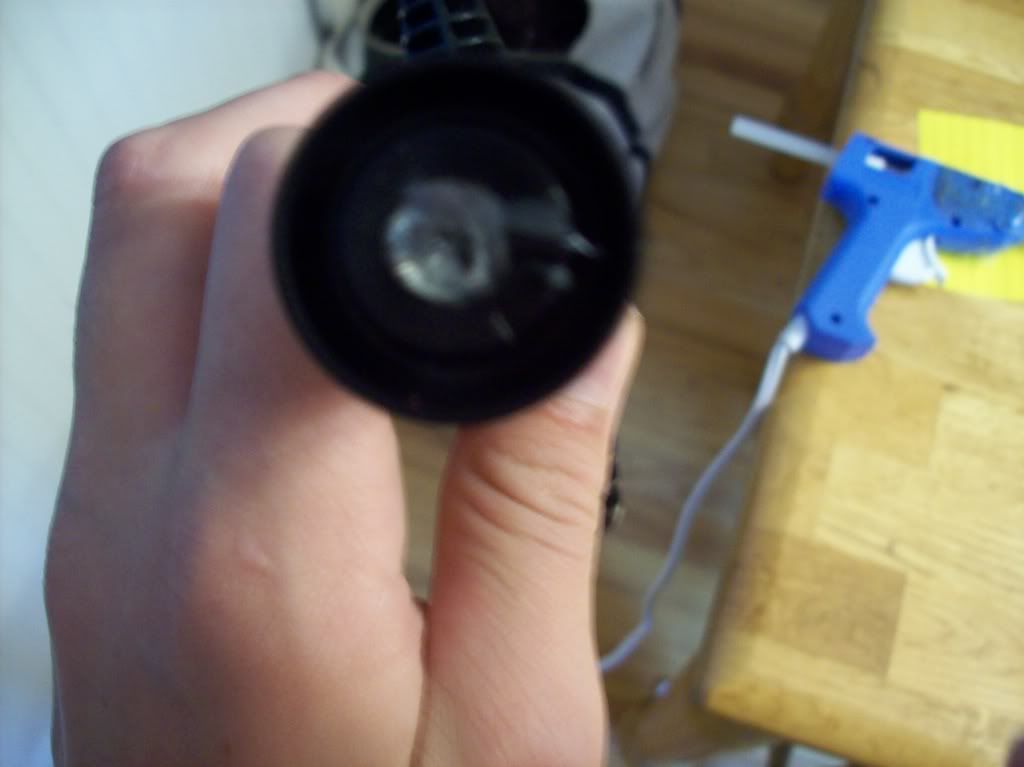
Step one: Remove the front marshmallow breach section by pushing down on black nubs.
Step two: Once this is removed dremal or saw off just behind the front AR grate section.
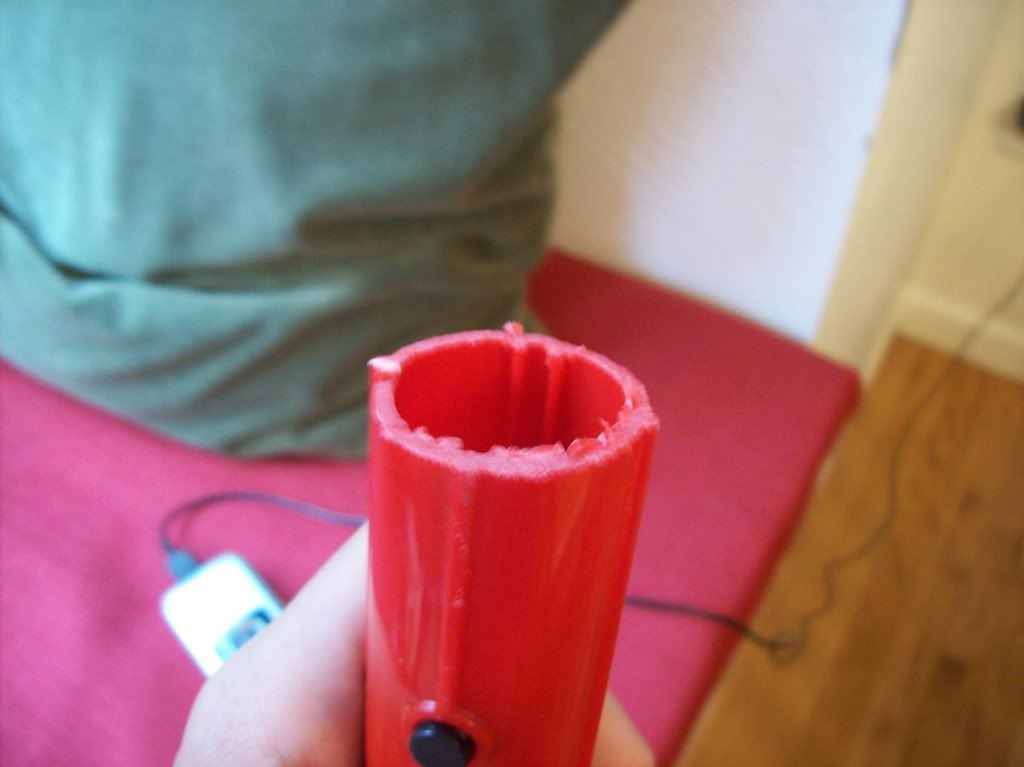
But see that little black thing in there? thats important, leave it there it's part of the valve.
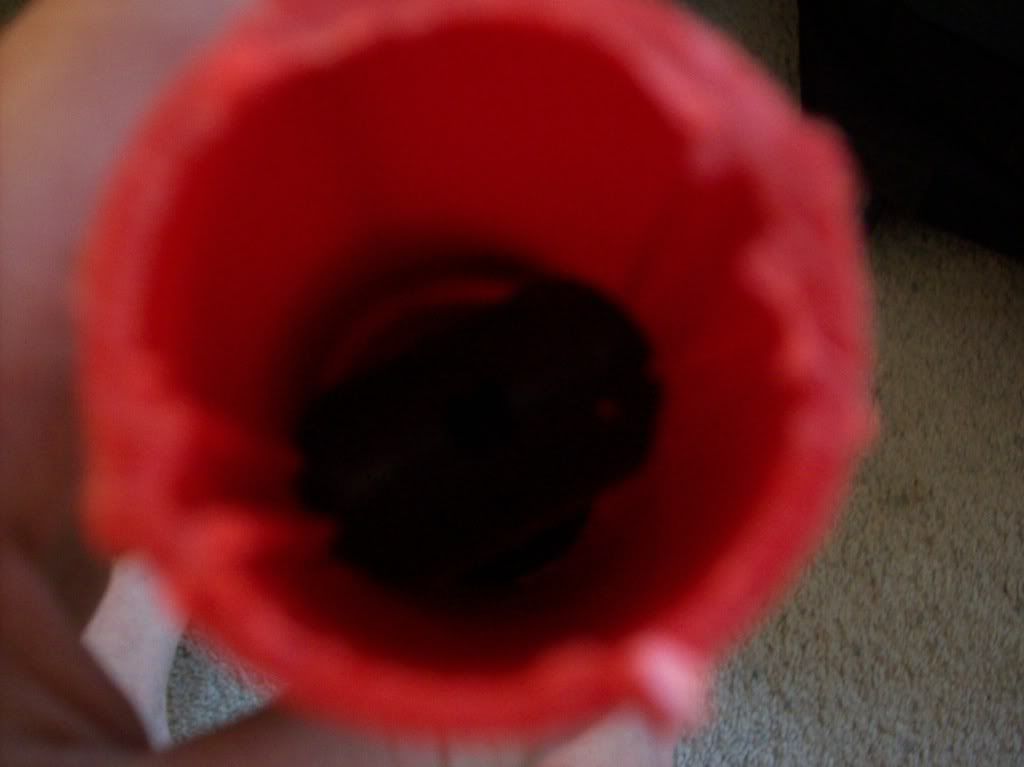
Step three: wrap a barrel length of your choice ( I used a 4 inch barrel because that was all I had left) in enough duct tape to fit snug inside the stock barrel.
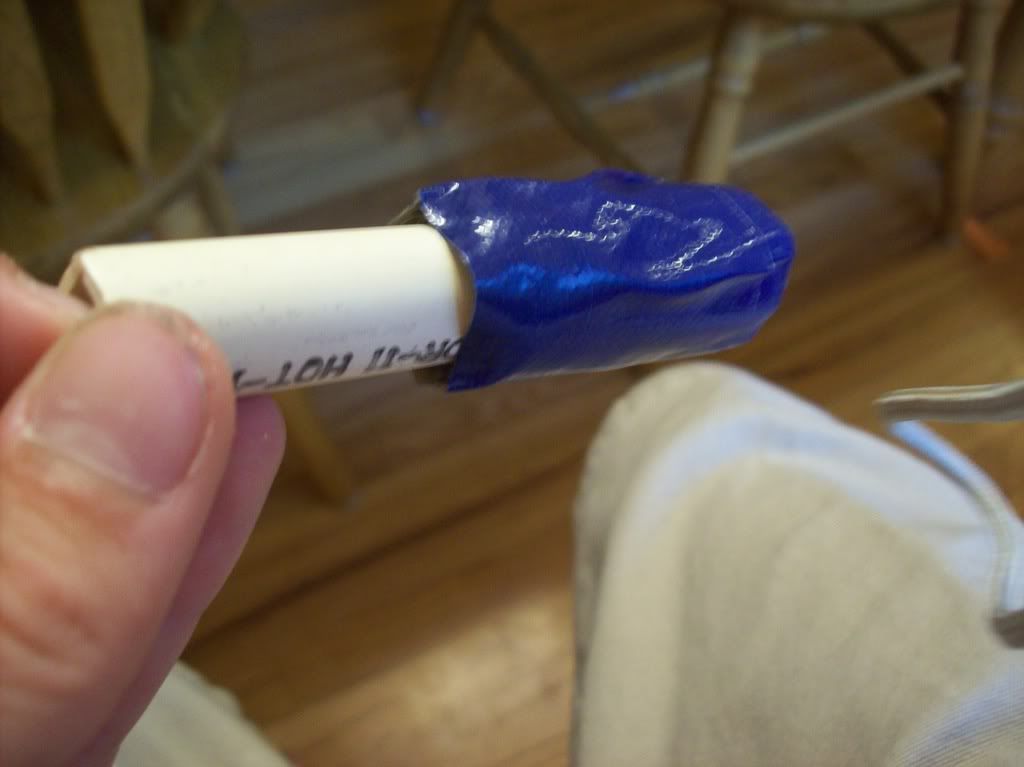
Step four: Put the barrell in the stock barrel.
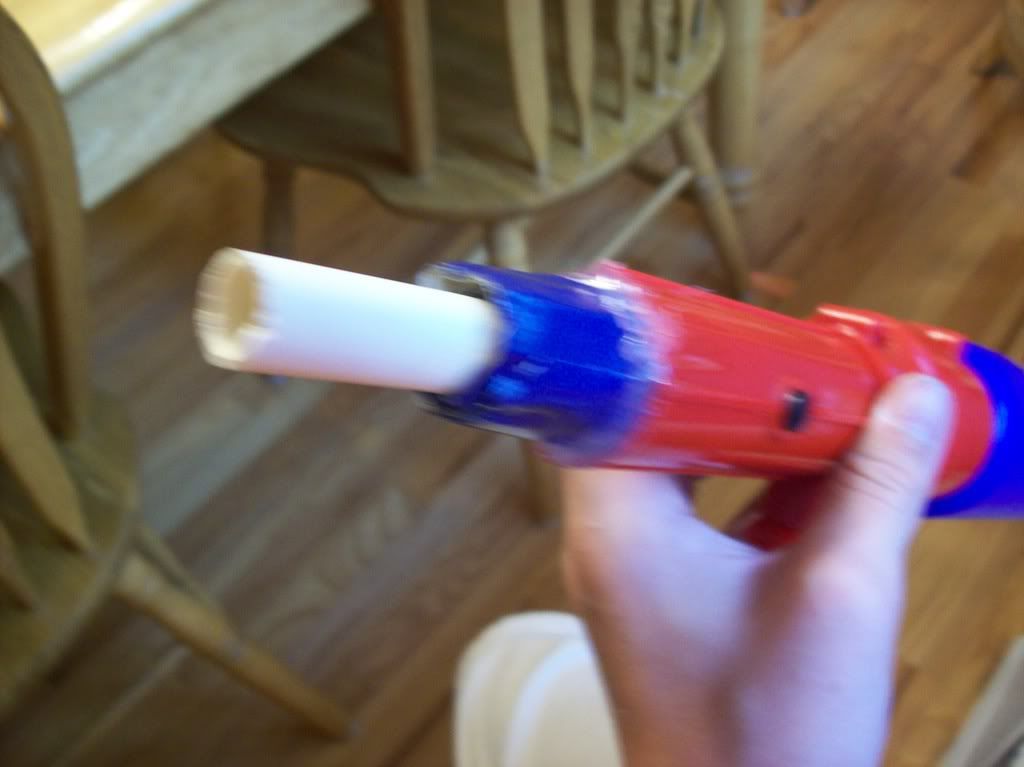
Step five: hot glue or plumbers goop around the edges of the duct tape and cpvc and around the edges of the duct tape and stock barrel.
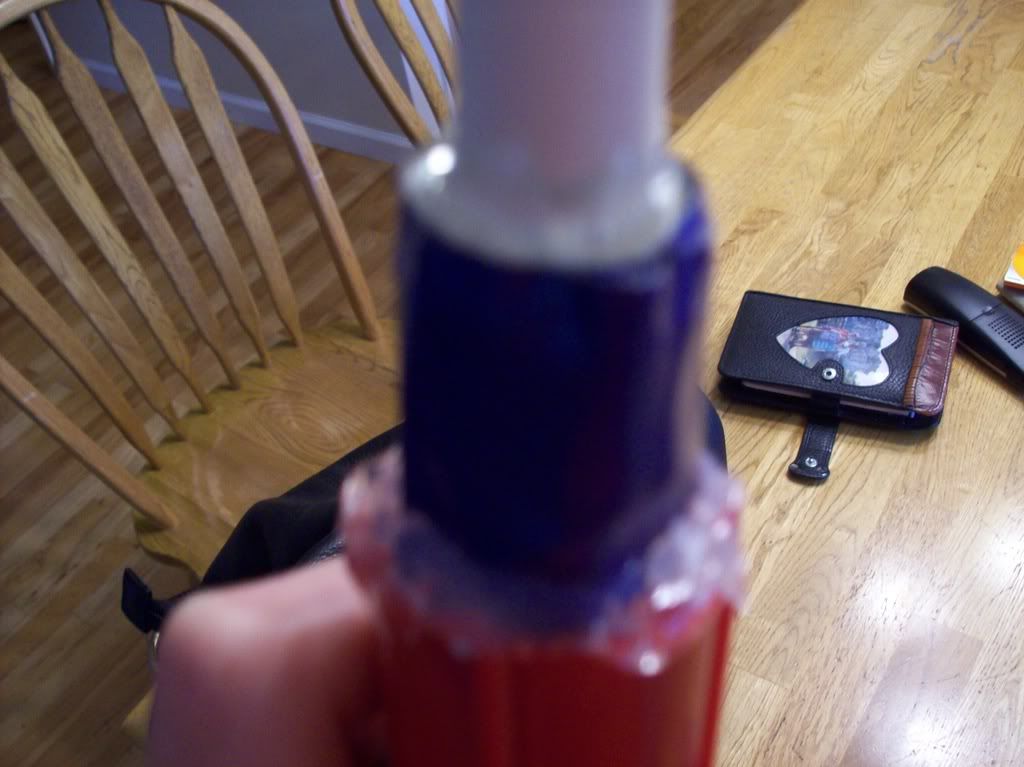
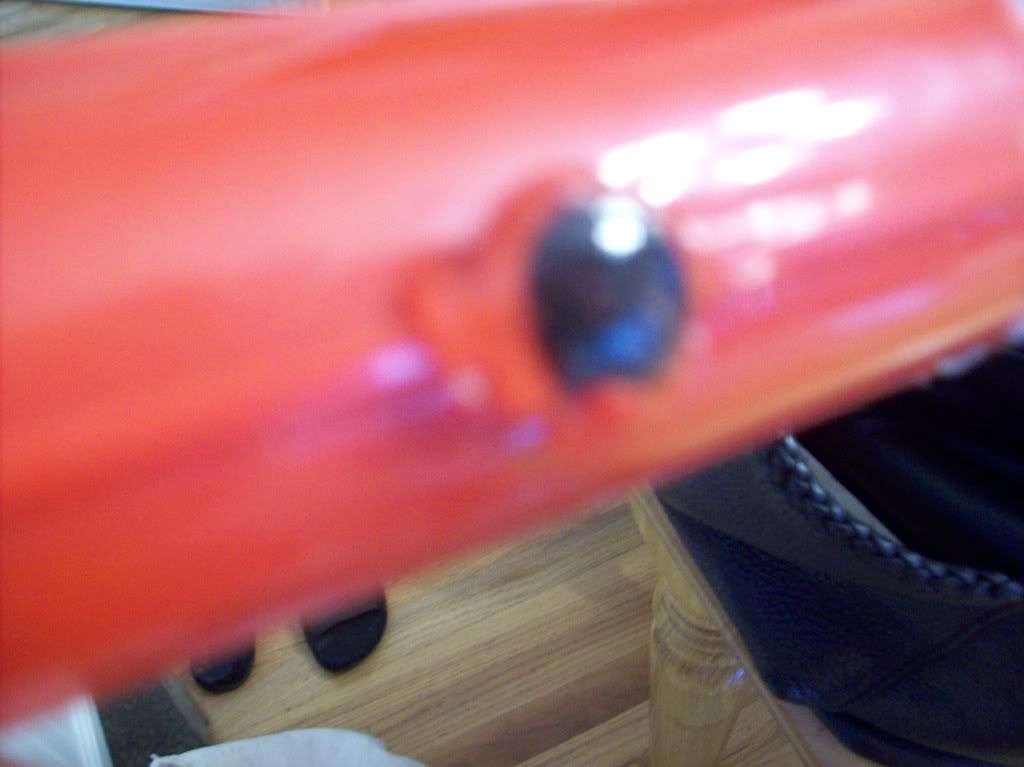
Step six: Hot glue over the black nubs holding the part of the valve i talked about earlier.
Step seven: Now its time to plug the pump. Unscrew the back of your gun as shown.
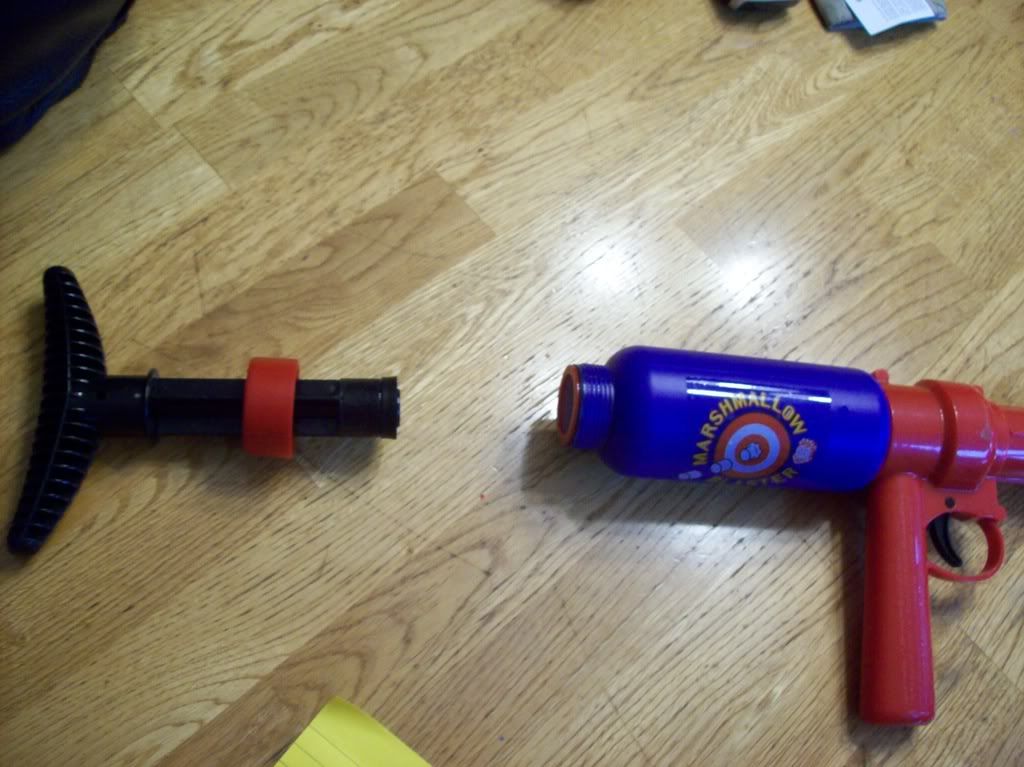
Now simply hot glue over the hole in the plunger head.
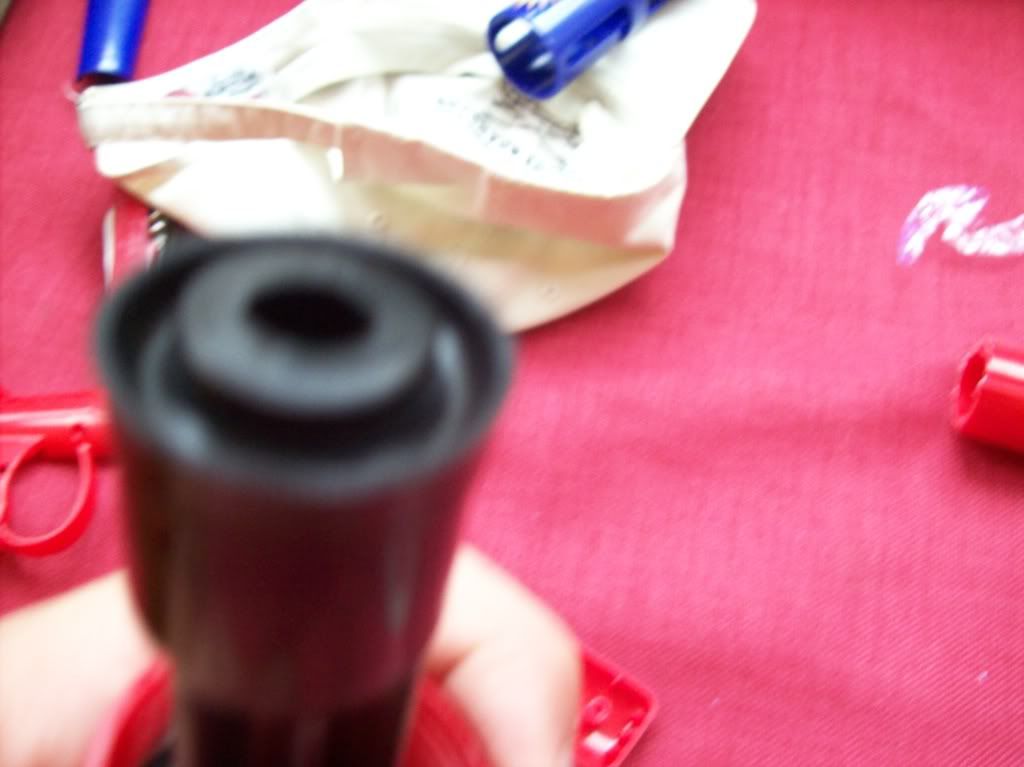
Now your done. No official ranges yet as it is raining heavily right now but I am guessing upwards of 90. I have done the welt test in which it did well.
#2
Posted 15 August 2008 - 03:52 PM
#3
Posted 15 August 2008 - 03:59 PM
And just out of curiosity, how far did it shoot marshmallows, how does the breach system work, and how much was it?
It's not like that. I put lube on it and its the same. Its just stuck. And when I cock it back it goes farther back then usual. Also I push as hard as I can and it wont go back in. I've tried the methods and they wont work. Also pics are up.
#4
Posted 15 August 2008 - 04:02 PM
But anything that hurls a regular-sized marshmallow 40 feet, ought to do quite well with Nerf sized darts and barrel mods.
That's pretty neat. Was it really about 20 bucks, though? Kind of steep as toys go, but heck, now I'm beginning to think of how cool that is.
Range test when you can!
-Piney-
<!--quoteo(post=209846:date=Feb 5 2009, 06:27 PM:name=boom)--><div class='quotetop'>QUOTE(boom @ Feb 5 2009, 06:27 PM) </div><div class='quotemain'><!--quotec-->
It's to bad you live in hawaii I bet there are not many wars there.Wait what am I saying<b> you live in hawaii you lucky bastard.</b>
<!--QuoteEnd--></div><!--QuoteEEnd-->
#5
Posted 15 August 2008 - 04:08 PM
yeah I'm that guy who made that cool thing with the cool paint.
#6
Posted 15 August 2008 - 04:12 PM
I will test ranges when the rain stops.
EDIT: this is the same size as a recon with the stock attatchment.
EDIT2: I pumped it 10 times.
EDIT3: cpvc nested in pvc doesnt fit tight enough.
EDIT4: range tested with sonics since thats all I could find since when I was playing around with this gun I lost my only stefan. I got 80 feet with a sonic whistler.
Edited by g-force, 15 August 2008 - 08:01 PM.
#7
Posted 15 August 2008 - 08:41 PM
#8
Posted 15 August 2008 - 09:48 PM
It's very easy to do.
I don't feel the way I used to do.
I know its bad,
After what we had,
But I’m just not the angel you knew.
#10
Posted 15 August 2008 - 11:53 PM
1. Use a tripod if you have one.The shot always looks clear on the camera screen.
2. Use the zoom feature instead of moving the item really close to the lens. The automatic focus will have considerable difficulty when the item is so close. Especially if you are using a preset that has the focus setup for a set focal range.
3. Sunlight will give you much better results than average indoor lighting will.
4. If your results are still blurry then the auto-focus is having a hard time due to the surface of the material. Place a pen or pencil in the center of the frame while holding down the capture button of the camera half way until auto-focus can see the pencil sharply, then remove then remove the pen/pencil from the frame and press the button down the rest of the way.
Edited by CaptainSlug, 15 August 2008 - 11:54 PM.
#11
Posted 15 August 2008 - 11:55 PM
Thanl you Im not much of a photographer. That would be my brother snapshot.1. Use a tripod if you have one.The shot always looks clear on the camera screen.
2. Use the zoom feature instead of moving the item really close to the lens. The automatic focus will have considerable difficulty when the item is so close. Especially if you are using a preset that has the focus setup for a set focal range.
3. Sunlight will give you much better results than average indoor lighting will.
4. If your results are still blurry then the auto-focus is having a hard time due to the surface of the material. Place a pen or pencil in the center of the frame while holding down the capture button of the camera half way until auto-focus can see the pencil sharply, then remove then remove the pen/pencil from the frame and press the button down the rest of the way.
#12
Posted 16 August 2008 - 12:26 AM
#13
Posted 16 August 2008 - 02:10 AM
#14
Posted 16 August 2008 - 09:58 AM
It was $20.00 for it at Mall of America. And inflate their prices quite a bit. My freind told me he got his at REI and it was only $10, but im not sure if that was true.Nice job but I have to say $20 is too much for me.
1 user(s) are reading this topic
0 members, 1 guests, 0 anonymous users