
I received an my Airtech a while back and felt like doing something different with it. Most airtechs I've seen are turreted and though I have nothing against turreted guns I just don't think they can get as a good a seal as an singled couplered gun. Not mention that since this is my first mod I wanted something relatively simple yet practical.
I also have a bit of a fetish for carbine style rifles and wanted to do something fun over the weekend. So, that being said....
This would be my modification of the Nerf Airtech 3000
Item List
--Tools--
=>Phillips Screwdriver
=>Dremel driver (sandpaper or some sort of other cutting tool could work as well)
=>Wire Cutters
=>Band saw (Or any saw that can cut through PVC Pipe)
--Supplies--
=>Painting Tape (Or any other kind of colored masking type tape)
=>Electrical Tape
=>Epxoy
=>Hot Glue
=>PETG
=>12 or 14 gauge Wire
=>PVC Pipe
=>Matching PVC Coupler
=>Crutch
That should be it.
The first thing I did to the gun was obviously open it up, which may have sounded easy but I had a really hard time getting the screws off. I'm not sure if this is a common problem but the screws were made of what seemed to be a really soft metal that stripped easily. On at least 2 occasions I had to take a drillbit to them and bore them out.
Anyways once you get all the screws off you open up the case and get something that looks like this (with the turret removed of course)
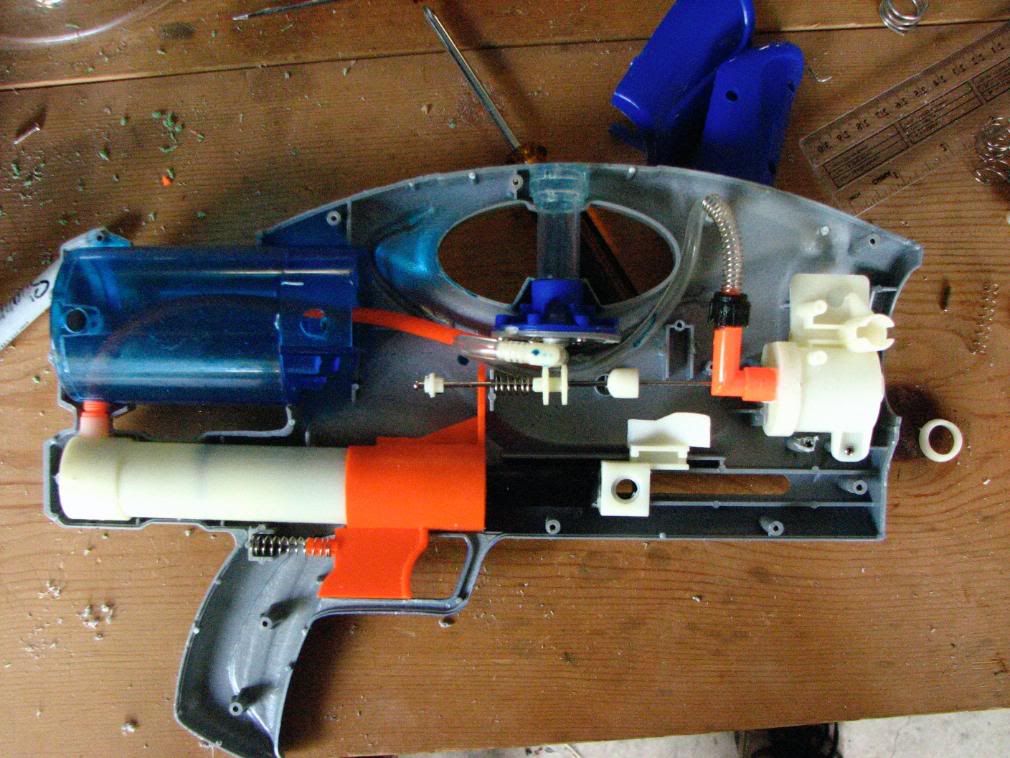
The first thing I did was plug the small hole in the plunger so you can further pressurized the tank. Its difficult to see from the photo but its quite a simple procedure. The small hole in the center of the plunger is simply filled with hot glue and then I flattened it out.
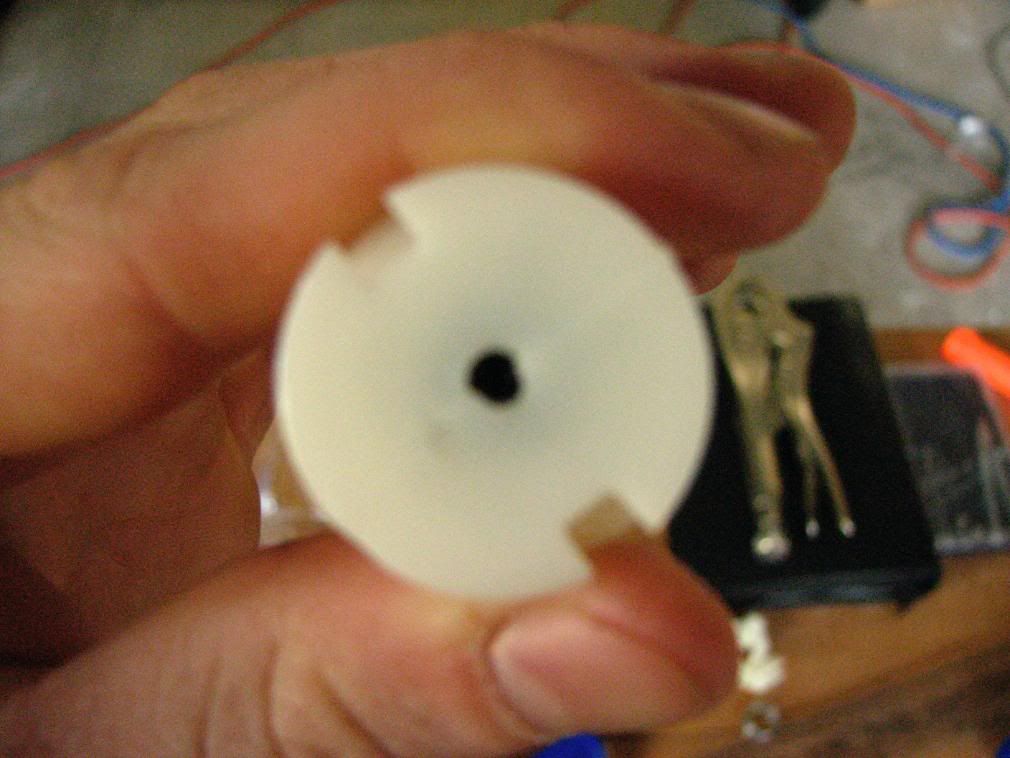
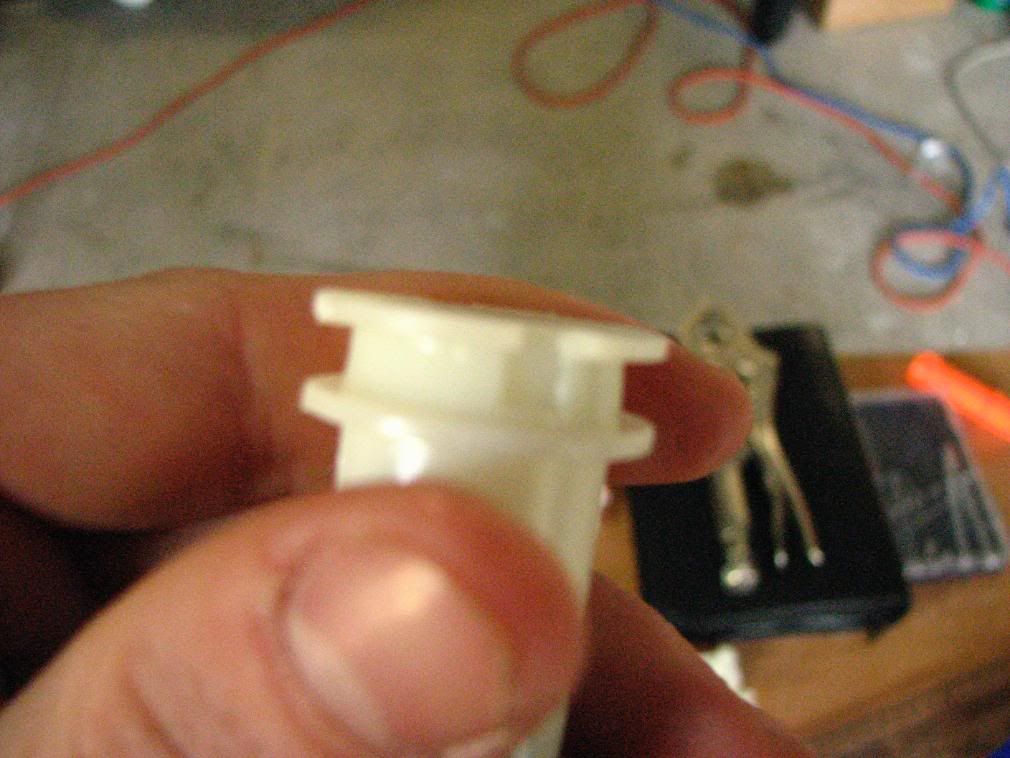
The next thing I did is widen the area that the O-ring sits on. This is done to also help prevent air loss when pumping the gun. This is done by wrapping the ditch at the far end of the plunger tube with tape. I just took a piece of electrical tape about an inch or two long, tore it in half the long way, and wrapped the ditch. The pluger looks like this before the tape is wound.
You'll have to excuse the graininess of the photos I believe the camera had a High ISO setting when these photos were taken.
Anyways....
After the plunger was fixed, I removed all the internals that corresponded to the turret rotation mechanism.
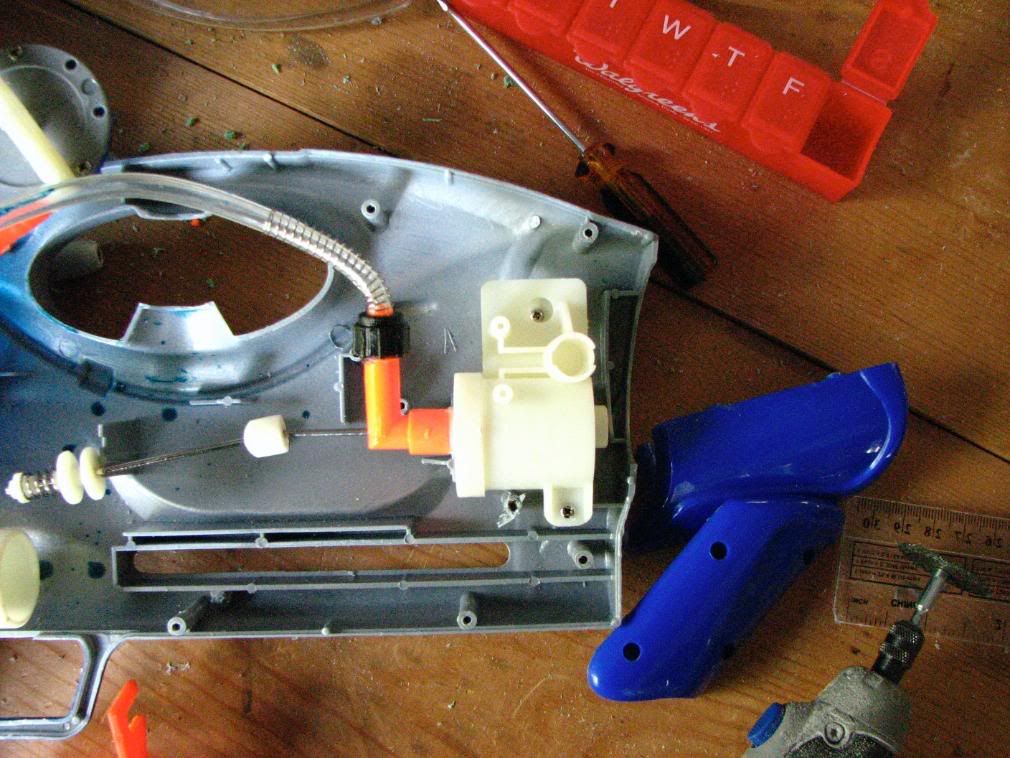
The white piece to the far right of the picture is the valve mechanism where the air is released. This is where the coupler is glued on. I used just standard epoxy and that seemed to work out fine.
While I let that dry I set to work on the stock. I've always liked stocks because in my opinion they're easier to aim. I borrowed the idea of using a crutch as a stock from renegademilita and I'm not sure if he borrowed it from someone else but thats where I saw the original idea. So, crutch, cut the bottom piece off near the plastic rest piece. and measure the top bar to be length away you want it from the gun. Cut the bottom off so when angled it becomes flush with the butt of the gun and the still has enough room to be glued back into the original rest.
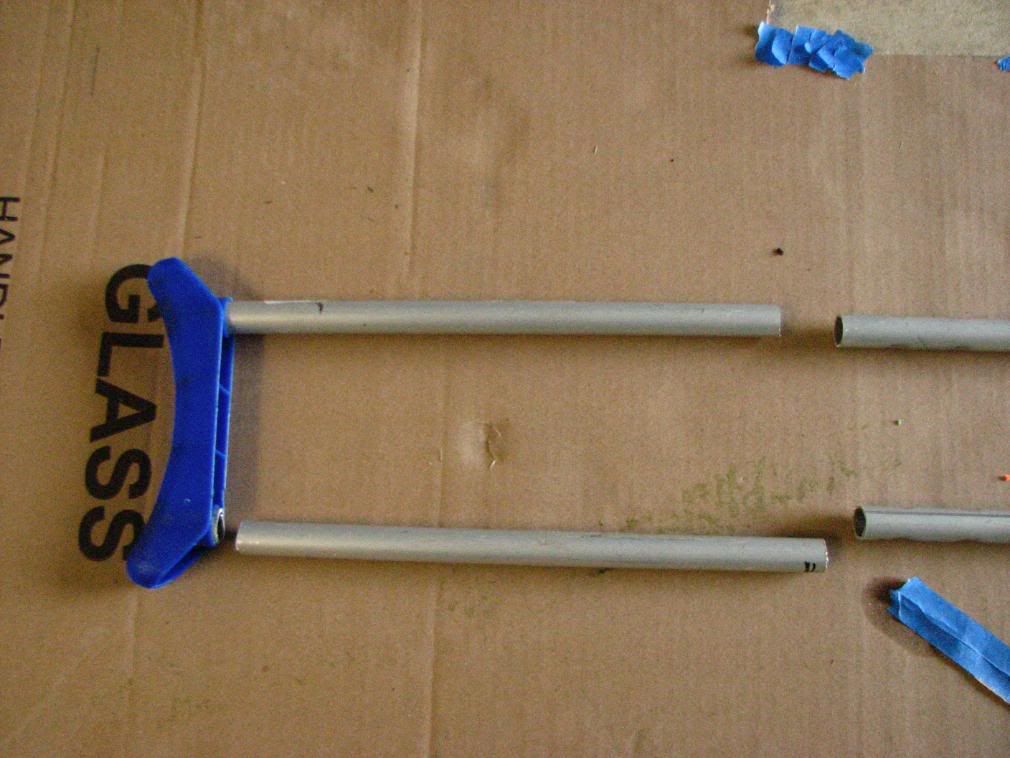
For stability I dremeled out a hole the same or slightly larger diameter than the crutch tubing itself and inset into the gun. This was then glued on and the bottom piece affixed in the same manner.
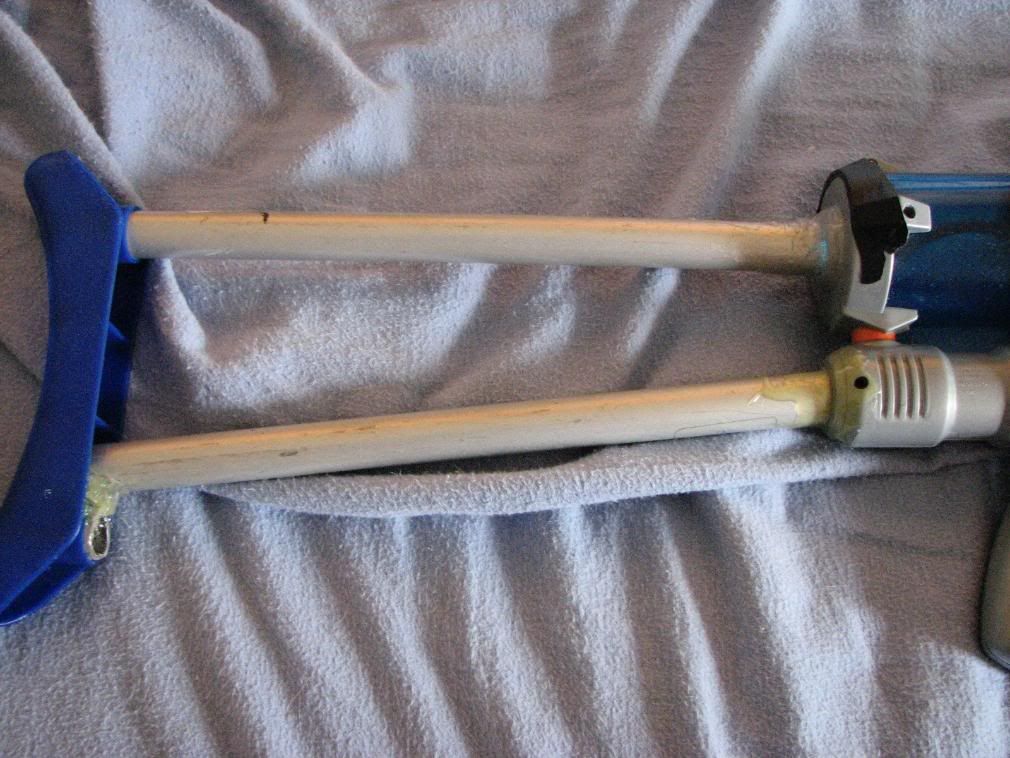
Then I set to work on the barrel, the barrel was a simple design, just PVC with PETG inset inside it. I measured the exact length of PETG to offset by inserting the PVC pipe into the coupler and marking the PETG at the lip so as to cut it off so the PETG sat perfectly flush on the valve stem.
Then as a cosmetic I wrapped it in wire first to give it a rifled look and wrapped that in blue masking tape to match the rest of the gun. Its not pretty but it helps me tell my barrels apart.
The next thing I wanted was a foregrip. This was accomplished by taking a length of the metal pipe from the crutch and glueing it to the front of the gun directly below the barrel. For a grip I just used the the foam that covered the handrest of the crutch. I didn't really like the foam and felt it was to squishy so I wrapped it in 12 gauge wire and taped the wire down to keep it for a better grip surface. This was also done in blue masking tape, partly to match the color scheme of the gun and partly becuase blue masking tape is cheap and has a nice feel for a grip. This was then attached to the pipe and glued in place. The final gun looked something like this
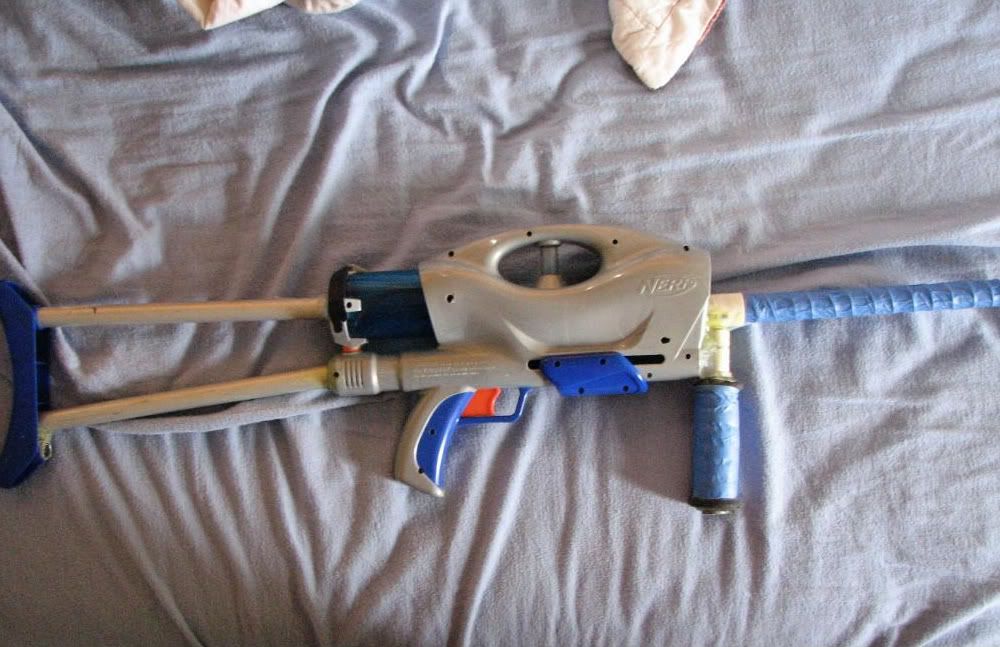
Anyways thats the couplered Airtech 3000
If anyone is interested in ranges it varies depending on the dart. My initial ranges with the gun were the lower to mid 90 range (in feet).
I have recently sprung a leak with a gun that I think is related to the goo guage.
I tested it yesterday and these were the results
92 ft
86 ft
83 ft
avg: 86 ft


