Jump to content


Photo

The Solar Flare

BBB coupler mod

8 replies to this topic

#1 Blacksunshine

Blacksunshine

    Member

  • Members
  • 948 posts

Posted 15 July 2008 - 05:29 PM

My idea here is that I wanted to mod this BBB that I picked up at goodwill. Its a 1st gen so it doesn't have the little white restirctor, or any air restrictors really. At any rate I wanted to change up from what I normally do with the BBB and wanted to make it able to use different barrels and be upgraded more at a later time without having to rip the gun all apart. So that ment a coupler was needed.

Materials used
BBB
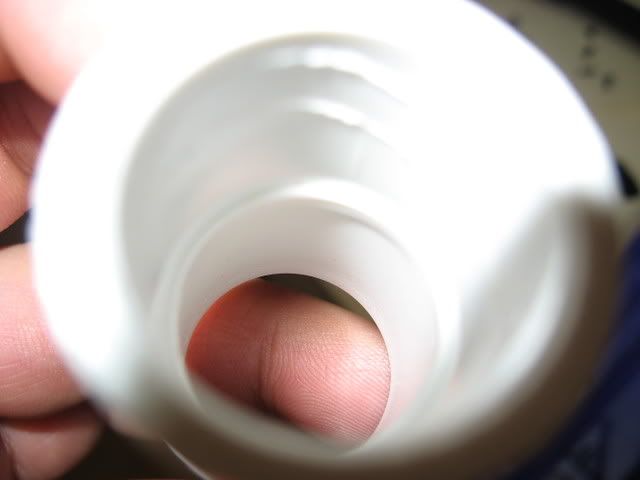
2x 1/2" pipe coupler
8" of 1/2" pvc
8 1/2" petg thick walled
Small tubing roughly 1/2" like barrel tubing. (barrel to Mavrick)

Plastics epoxy
Plumbers goop
Pipe cutter
thin wire (mav AR spring)
Electric tape
Hack saw perhaps.
Util knife
Stepping bit that goes up past 1/2"


As for internals the gun is still pretty much stock. I have relubed the plunger with silicone lube and also sealed the top of the plunger tube to the body of it. No structural reinforcements were done because everything internally was still stock.

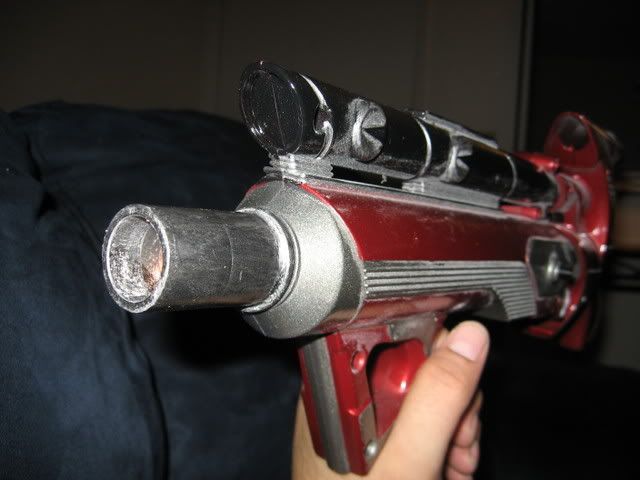
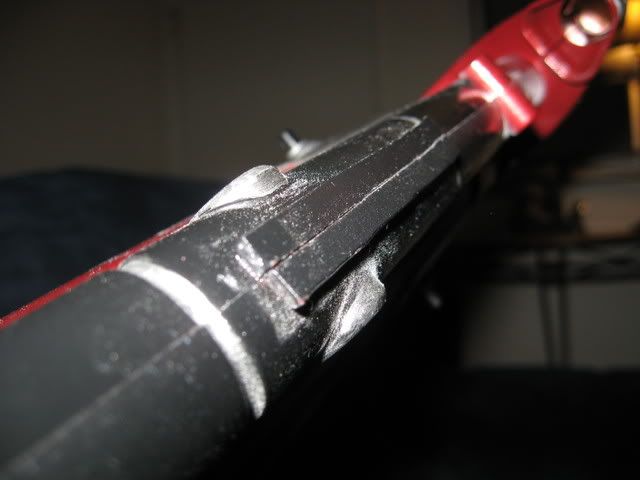
Externally I hacked the front of the plunger tube down to about 2"
Posted Image

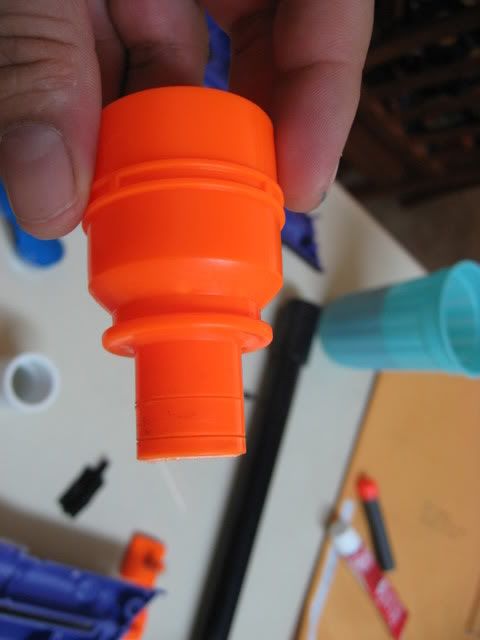
Knowing that I was going to be using epoxy I wanted to give the adhesive some area to grip onto so I used my pipe cutting tool and cut some grooves for epoxy to sit in and get a solid grab.
Posted Image

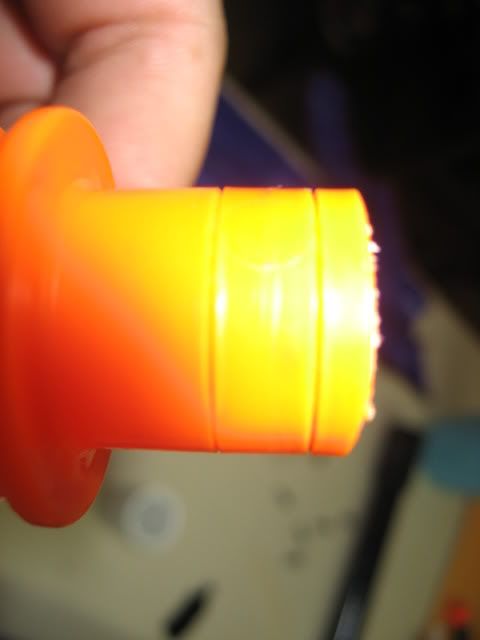
I also scored the hell out of the coupler as well. I wanted to make sure this wasn't EVER going to go anywhere. I've had plumbers goop fail in the warm weather and didn't want to deal with that.
Posted Image


I didn't get a pic of the building of this part but let me discribe what I did.
After a couple test shots I found that the gun liked to suck darts in. So to prevent a dart getting sucked into the plunger tube I made a stopper.
Posted Image


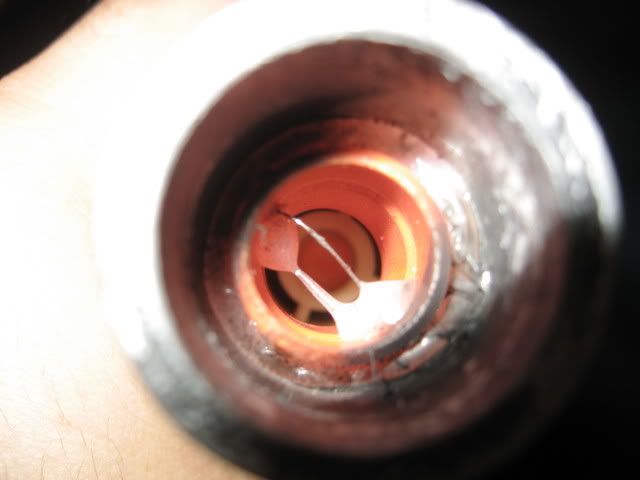
To build this I took the end of a barrel cut from the turret on the mav that I had left over when I went to petg on it. (Yeah I save random parts) I used about 1 1/2" and cur some groves into it. in one of the groves I drilled two small holes and threaded an AR spring from a MAV thru it and wound it tightly around the outside of the tube. I used some hot glue to hold it all in place while I snipped the excess wire. Then I pressed the tube down into the original barrel of the BBB. a little filling of hot glue around the outer lip gave it a firm seat and it isn't going anywhere.


Posted Image

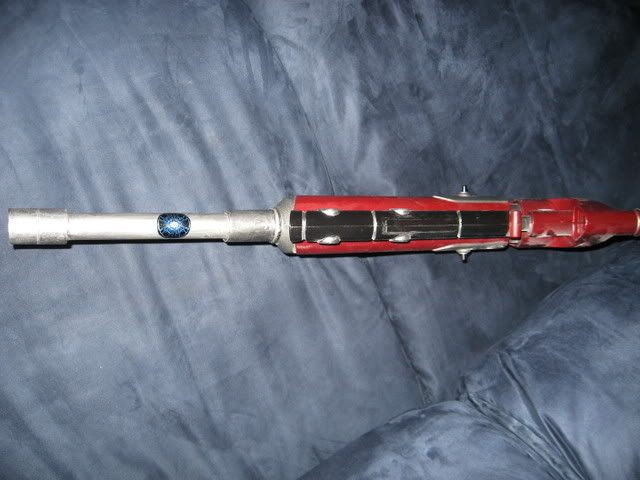
I also didn't get pics of the barrel building but heres a quick how to. Take your 8" piece of PVC and use the stepping bit to the inner diameter of it. drill it out only a little to make a slight slope in the end of the PVC.
Now take the PETG tube and along the length every inch or so wrap a single go round of electrical tape.
Now take a lighter or some heat source and heat one end of the petg you want to flare this out slightly.
Cover the exposed parts of the tube with plumbers goop. Now the side of the PVC that you tapped and the end of the PETG that you flared out is going to be the side of the barrel that you load darts. So slide the petg into the PVC accordingly. I reccomend twisting this as you go so the goop can get a good seal on every side of the petg. this will help strenghten the whole thing and keep the petg from shattering inside the pvc if you hit it on something. It makes the barrel more accurate as well.
When you get the petg slid all the way in you will have some excess goop to deal with. Clean that off without allowing it to fall into the barrel. If you get it in the barrel you are finished.
Posted Image

Now on the other end of the PVC you cna toss a coupler on there for looks as well it will help protect the small about of petg that will most likley be sticking out the end of the barrel.
Posted Image

While I had the shell of the gun open I decided to do a lil by way of cosmetics as well.
I don't like the front sight of the BBB as most people don't. So I hacked that off with a hacksaw. Now I hate he hole that leaves in the gun so I make a panel to cover that.
This part is rather simple. Take some thin acrylic or polycarbonate sheet that you can cut with shears and cut a panel the right size to cover the whole area. and then cut that again right down the middle. Take some plastics cement/Weldon #16 and put a little on the outsides. with the two halfs of the gun shell toghether glue and hold in place till it dries. Then take the gun apart and apply some more cement on the inside edges so that it gets a nice filling. When this dries it is as much a part of the gun as anything ever could be. after it dries you will want to take a hobby knife or utillity knife and clean up the outside edges.
Posted Image

And thats it for the modding. All thats left is paint.
And heres the end results.

Posted Image
Posted Image
Posted Image
Posted Image
Posted Image
Posted Image

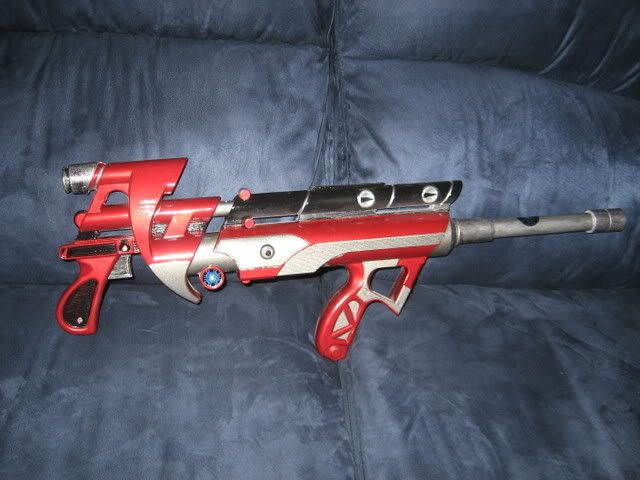
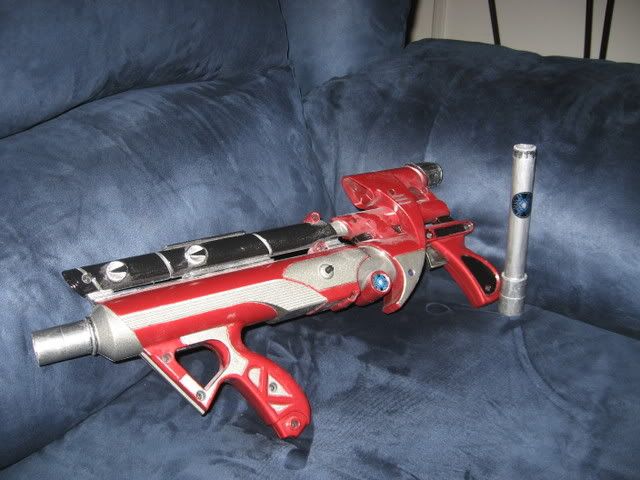
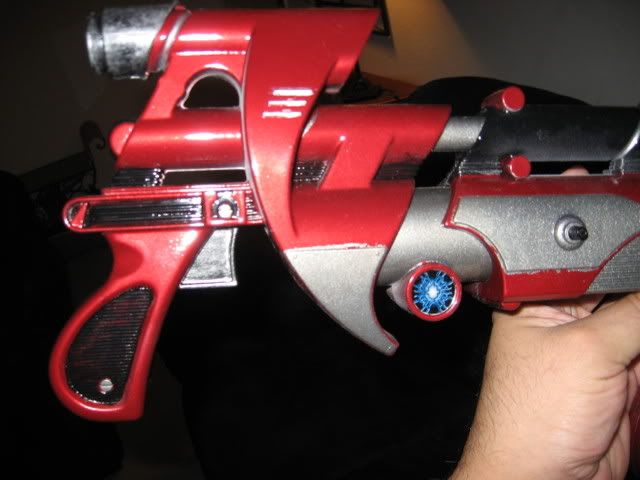
It gets pretty decent ranges. I guesstimate about 70-80'

Edited by Blacksunshine, 16 July 2008 - 02:13 AM.

  • 0
Forgive my spelling and grammar. I post from my cell phone a lot. Sometimes when I'm on the can at work.

#2 Dayko

Dayko

    Member

  • Members
  • 1,037 posts

Posted 15 July 2008 - 05:34 PM

Nice mod. Paint job is awesome.
  • 0

< One foot in death...The other in life. >


#3 Poseidon

Poseidon

    Member

  • Members
  • 214 posts

Posted 15 July 2008 - 05:40 PM

So does the expendable barrel part actually stay on when you fire it? Whenever I've attempted to do something of the sort, it always ends up flying off and hitting the nearest innocent pedestrian...

Edited by Poseidon, 15 July 2008 - 05:40 PM.

  • 0
Faith is a living, daring confidence in God's grace, so sure and certain that a man could stake his life on it a thousand times.
-Martin Luther

In Soviet Russia, Mudkipz liek u.

#4 Split

Split

    Member

  • Members
  • 1,771 posts

Posted 15 July 2008 - 05:45 PM

I like the color scheme. Are those ranges flat? Pretty impressive for a bit of lube and a barrel replacement (oversimplification of course haha).

Pretty interesting idea on the stopper. Did you think about just putting some dabs of hot glue in there?

How loud is it? I thought of this reading the "torch the petg to flare it out" bit. Pretty good idea overall.
  • 0
Teehee.

#5 Blacksunshine

Blacksunshine

    Member

  • Members
  • 948 posts

Posted 15 July 2008 - 06:01 PM

Posiden yes the barrel seems to stay attached just fine. This is another reason I flare the inlet side of my barrels. It helps to direct the force of the air thru the barrel instead of at the lip of the barrel.

Split- I thought of that but I like my mods to be a little more perm. Hot glue can wear with the air pressure that goes thru there and could eventually become a problem of its own if it gets into the plunger tube. So I wanted to avoid any future issues like that. And yes my ranges are always taken flat. And when I say flat I mean flat as in flat. Is this not normal ranges with such mods on the BBB? My blk/silver one gets 90' with a fixed petg barrel and similar mods.
Its not too loud. no louder then any other BBB.

Edited by Blacksunshine, 16 July 2008 - 02:10 AM.

  • 0
Forgive my spelling and grammar. I post from my cell phone a lot. Sometimes when I'm on the can at work.

#6 Bomberman

Bomberman

    Member

  • Members
  • 730 posts

Posted 15 July 2008 - 06:33 PM

I love that barrel. It almost looks like brushed nickel. The Red/Silver color scheme looks amazing. And the mod is great too. Do you ever plan on doing a Handyman 9713 spring replacement?
  • 0
QUOTE(silentsnipe) View Post

It's not like that. I put lube on it and its the same. Its just stuck. And when I cock it back it goes farther back then usual. Also I push as hard as I can and it wont go back in. I've tried the methods and they wont work. Also pics are up.

#7 keef

keef

    Member

  • Members
  • 1,390 posts

Posted 15 July 2008 - 07:42 PM

Never do the spring replacement. It fucked up my old BBB too much. Destroyed it. The stock spring is powerful enough.

I like this mod. Its simple, but with great results. I'm pushing your ranges with brass. I recommend you try a telescoping barrel.

Also, whats the point of the extra coupler?
  • 0
Timothy M-Lick <3

#8 Rogue Warrior

Rogue Warrior

    Member

  • Members
  • 320 posts

Posted 15 July 2008 - 08:43 PM

I'm thinking looks, like a flash supresser. But it's really to protect the lip of PETG.

Edited by Rouge warrior, 15 July 2008 - 08:46 PM.

  • 0
My GT is Spacecowboy9951


#9 Blacksunshine

Blacksunshine

    Member

  • Members
  • 948 posts

Posted 16 July 2008 - 01:16 AM

Yes Rouge got it. It's functional purpose is to protect the PETG lip. But really its just for looks. I've always felt a bare barrel end looks well, unfinished.
On a side feature of the front coupler I made a barrel adapter so that if I wanna quickly shoot stock micros I can do so without swapping the whole barrel out i can just front load them. If I want to get better ranges then I switch to my other barrel with the tighter petg that shoots CDTDs.

i've been thinking about tossing the HM spring in it but that would only MAYBE net me an extra 10 ft. i'm not worried about it destroying the gun I have another that was done with the HM and it never had any issues. But I also take care to reinforce the plunger tube top to take the impact. The other issue is I ran out of replacement springs for the side catches and don't feel like buying another asst pack to get just 2 springs.

But my next mod will probably be adding a brass breech setup similar to Ofallnerf's.

But yeah as of now the gun puts out plenty of power and gets pretty decent ranges.

I'm thinking that this will be my first real modded ebay sales gun. I figure if Ice can get 200 for his NF I should be able to get like 10K for this. lol

Edited by Blacksunshine, 16 July 2008 - 02:16 AM.

  • 0
Forgive my spelling and grammar. I post from my cell phone a lot. Sometimes when I'm on the can at work.


1 user(s) are reading this topic

0 members, 1 guests, 0 anonymous users