Materials:
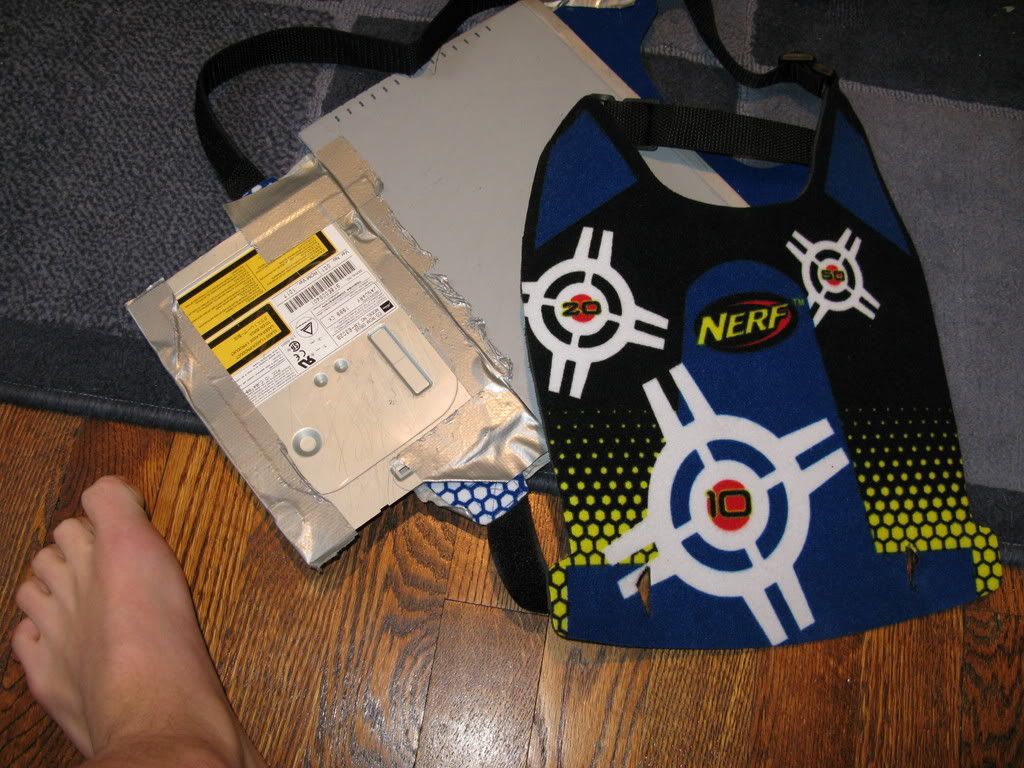
There are three main components to the NWS. First is the vest or backpack portion. For our first one we used a Nerf vest. (the ones with the DTB's and Magstrikes) The newer version uses one of Flamingwindows' old backpacks.
Next is the Metal part. The original time we used random scraps of metal. This time we used an old baking sheet. Basically anything made of steel will work.
The last are the magnets. We used rare earth metal magnets from old hard drives FW had. You can buy them also online. Just make sure they are strong enough to prevent your gun from sliding off.
You also need random other things. We had foam to make our backplate a little more comfortable, and you also need duck tape and hot glue to attach things.
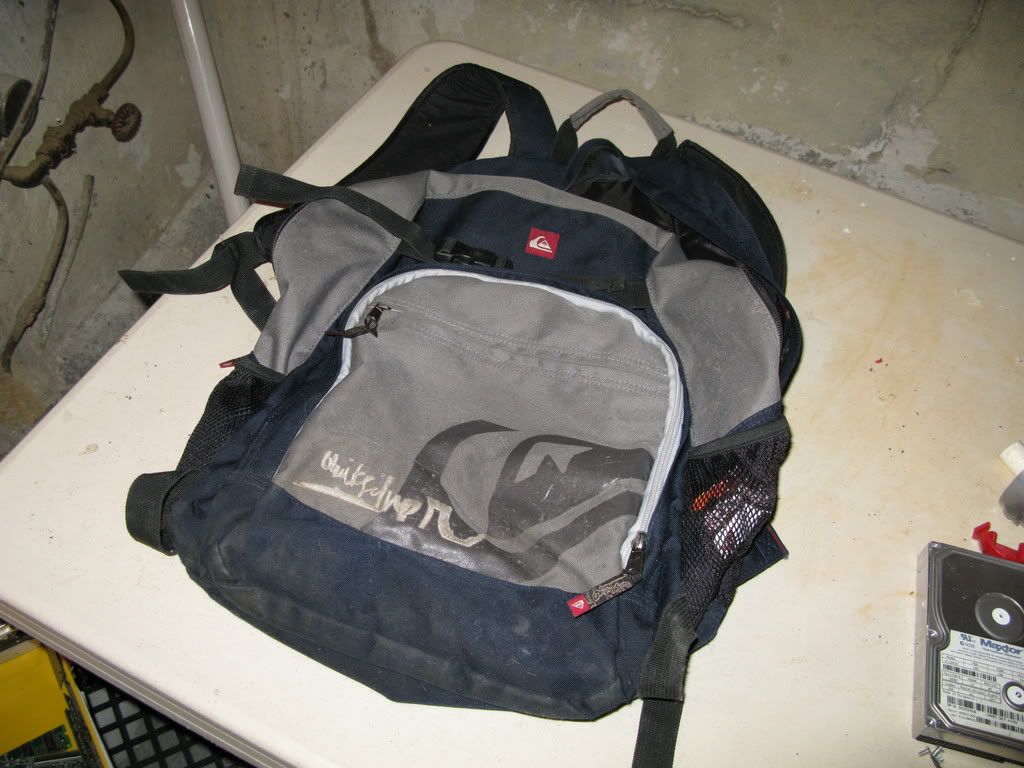
Step 1: Cut the backpack
You need to cut the backpack so that it doesn't have anything but the straps and the back part.
Before
After
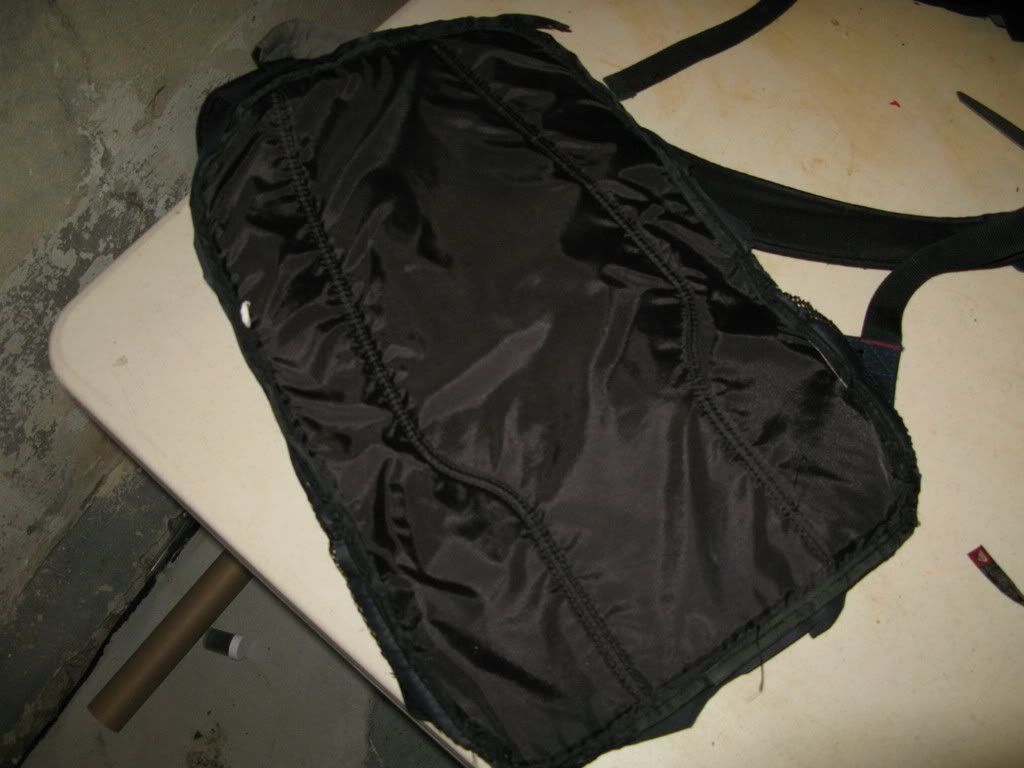
Just like that.
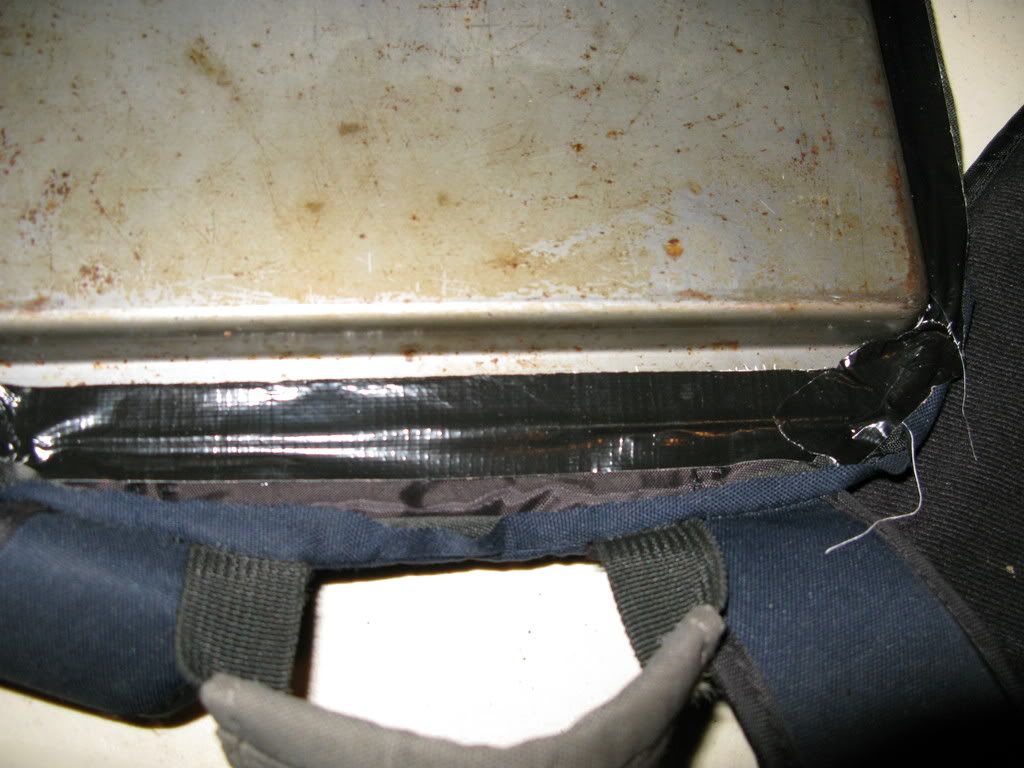
Step 2: Prepare the baking sheet.
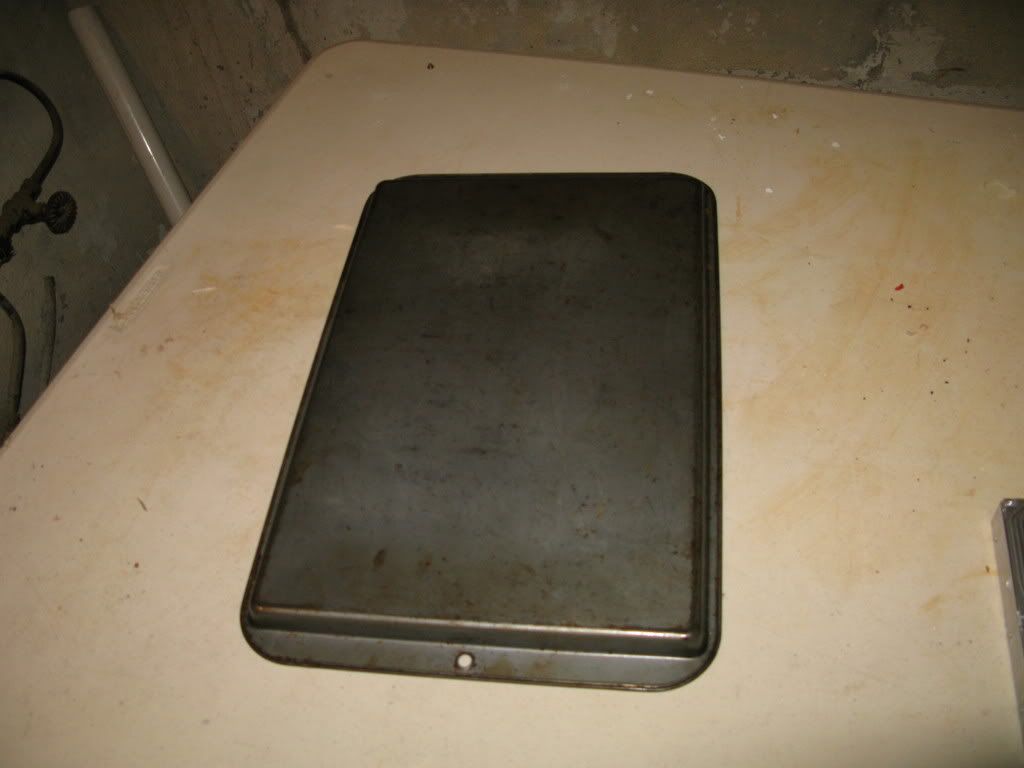
Baking Sheet
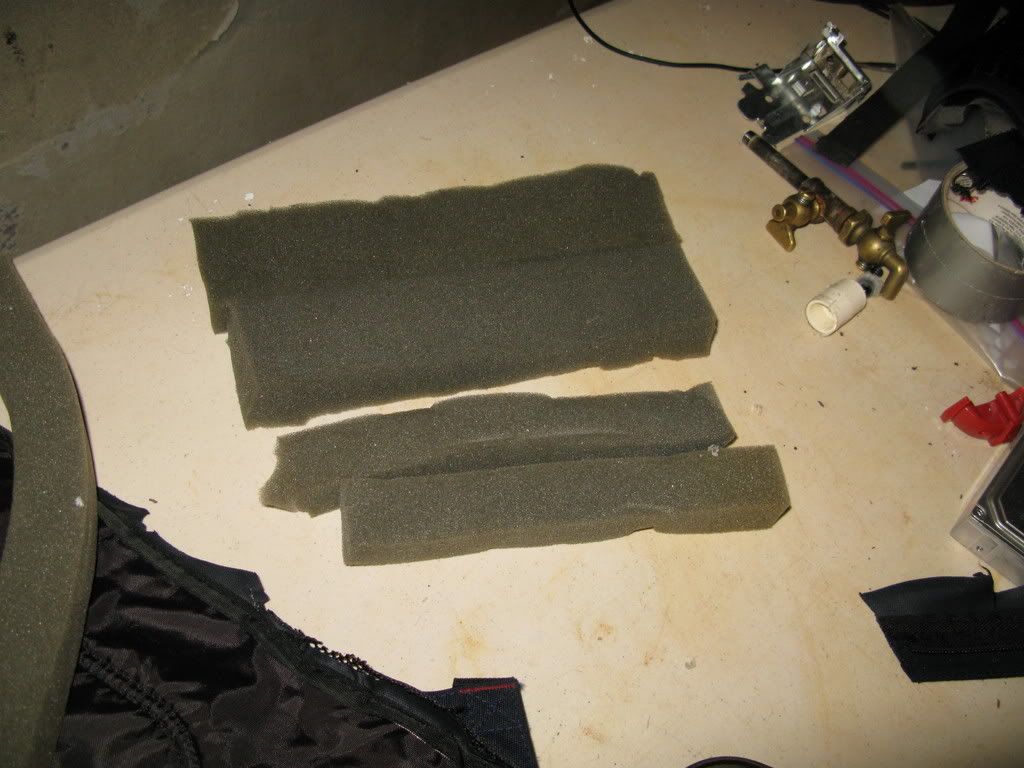
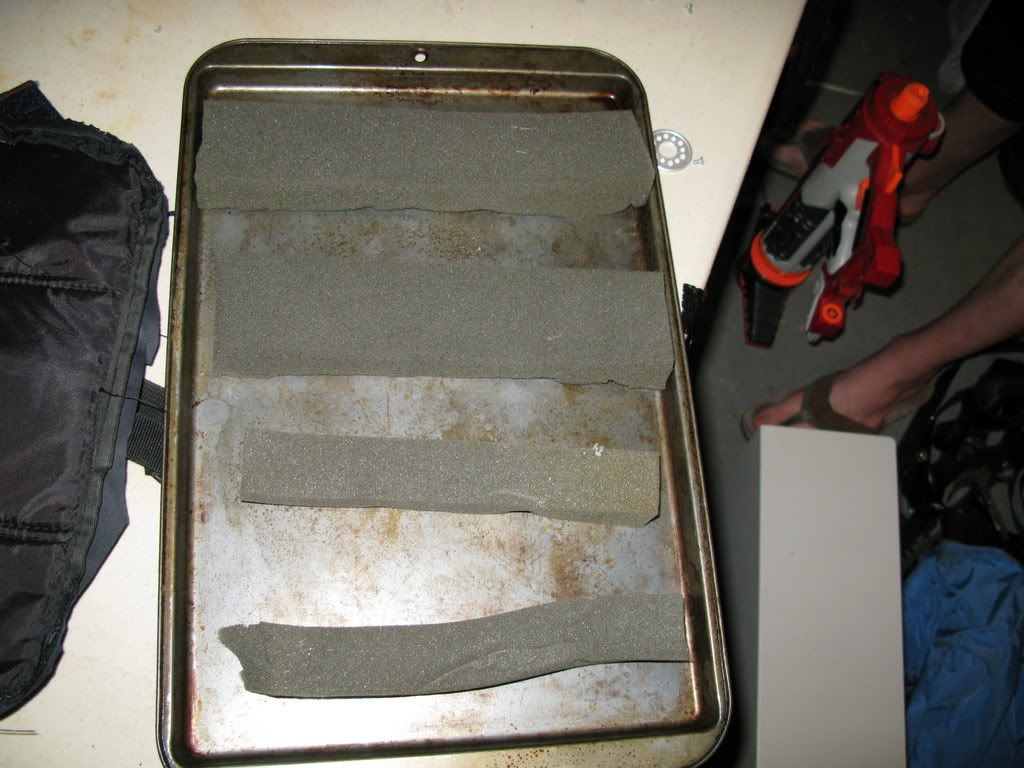
What we did with the baking sheet was attach the foam to the back, so that there is more back support, making it more comfortable. Just cut the foam into strips about as long as the baking sheet is wide.
Then glue them on like this
Step 3: Attach the baking sheet to your backpack. We used glue around the rim, and then taped around the edge.
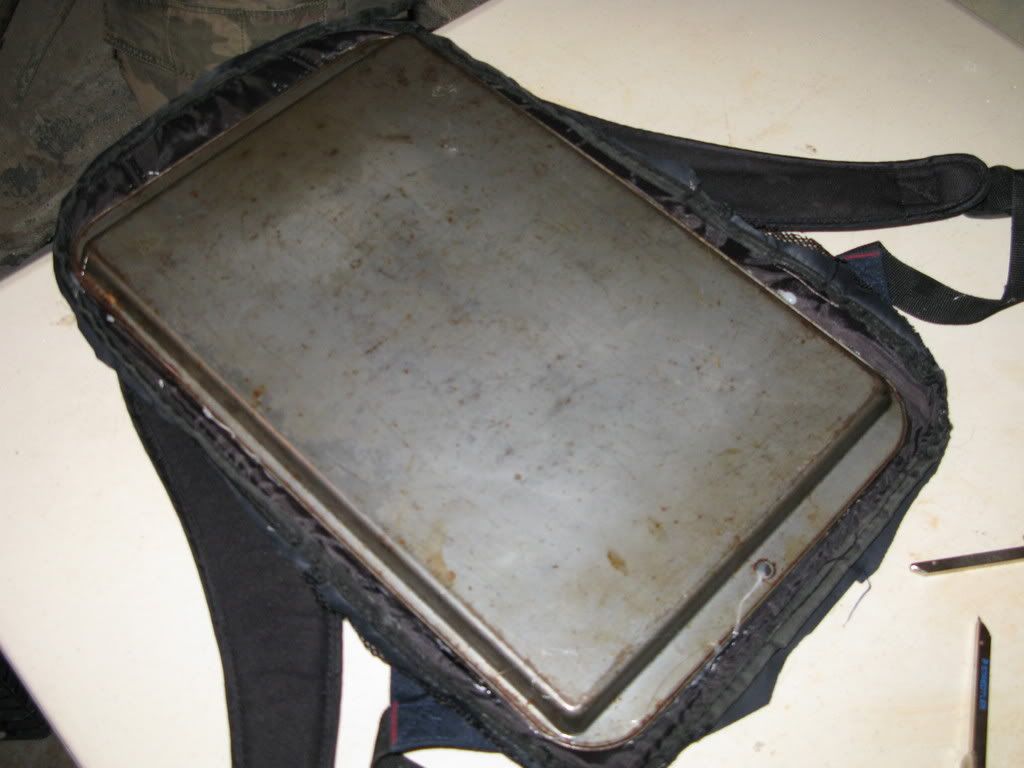
That's pretty much it for the back plate. You can add different things as you see fit (we added a strap around your waist to stabilize it) and ammo holders/barrel holders wouldn't hurt.
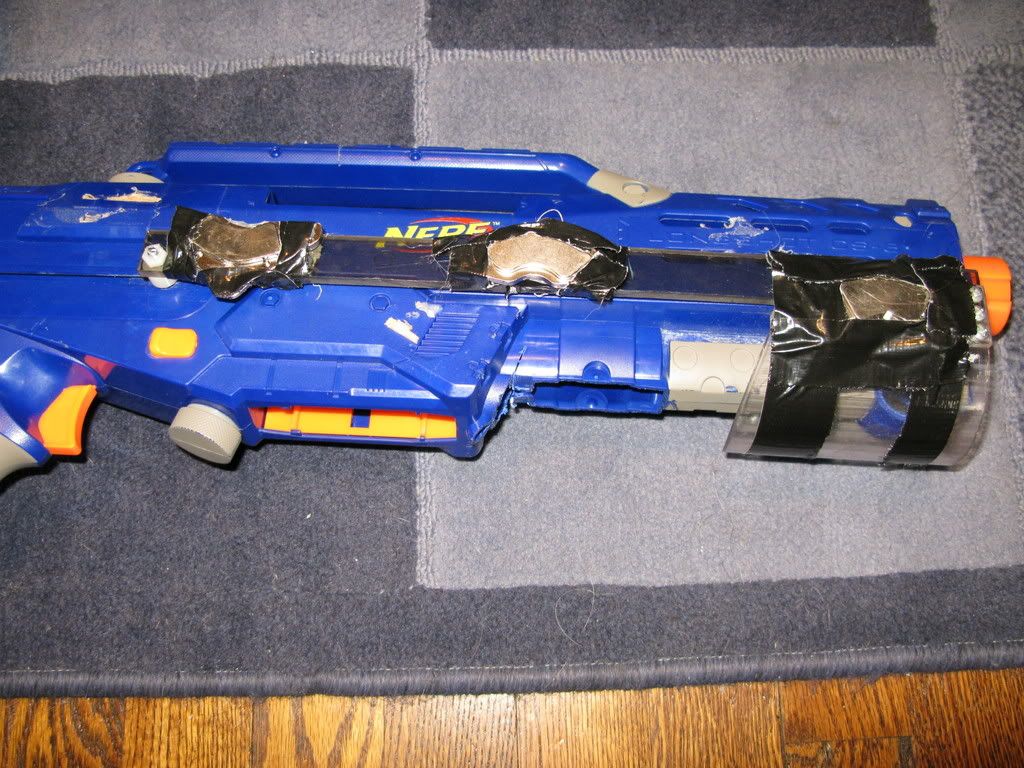
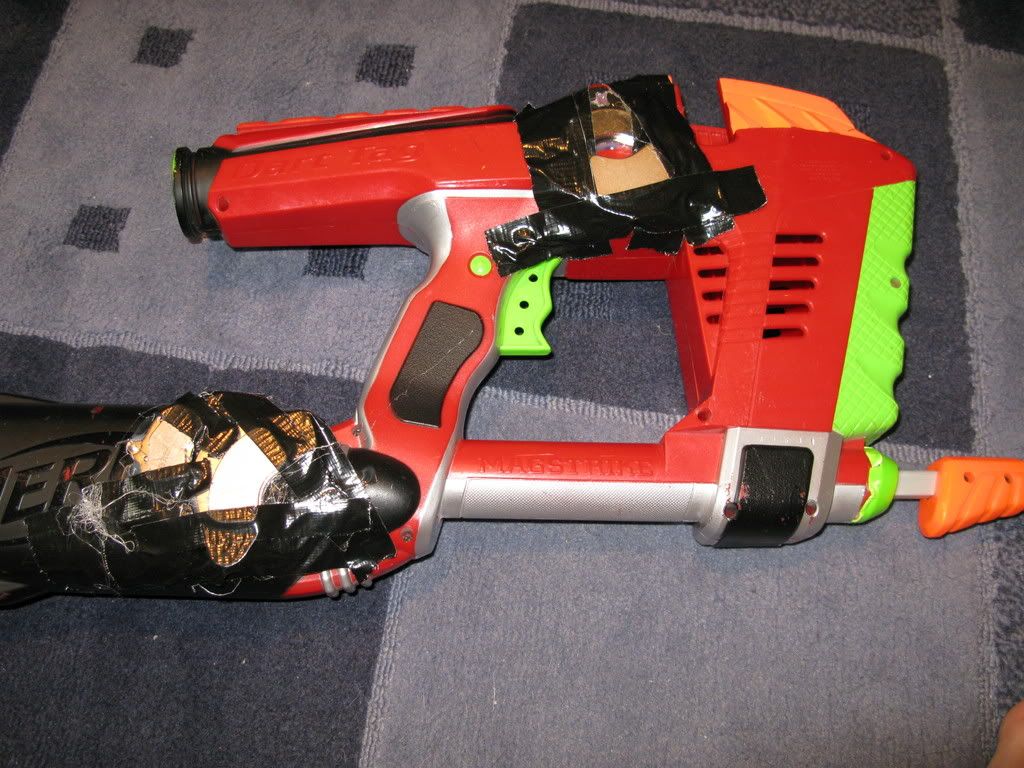
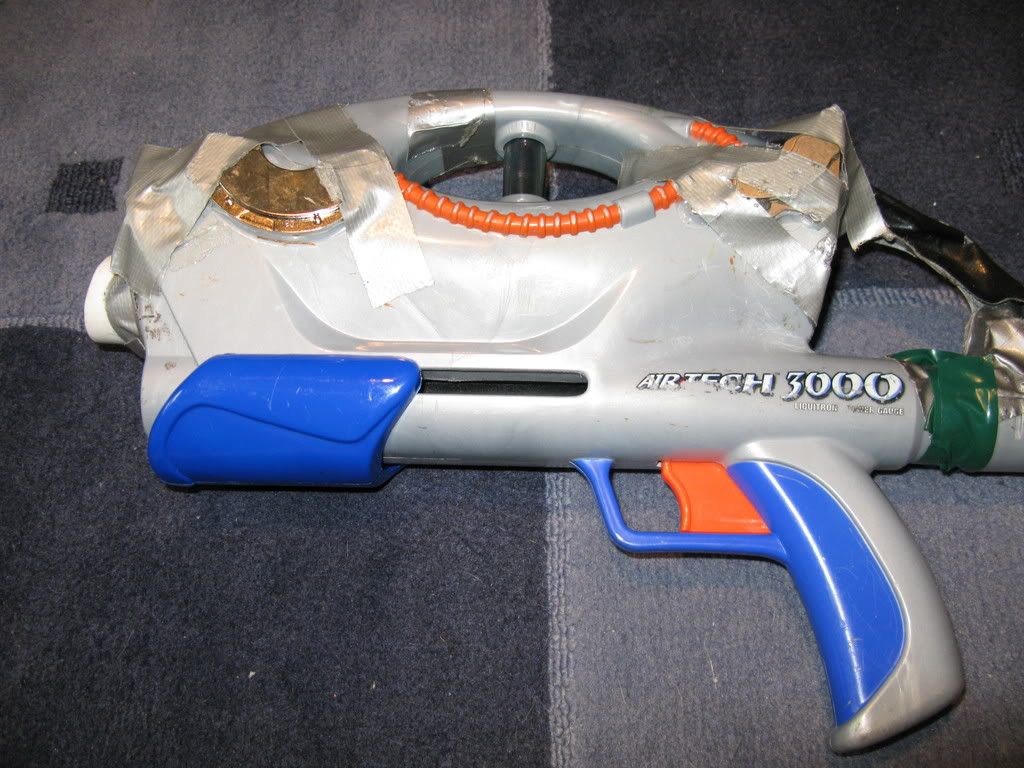
The next part, the guns. Heres how to remove the magnets from the Hard drive.
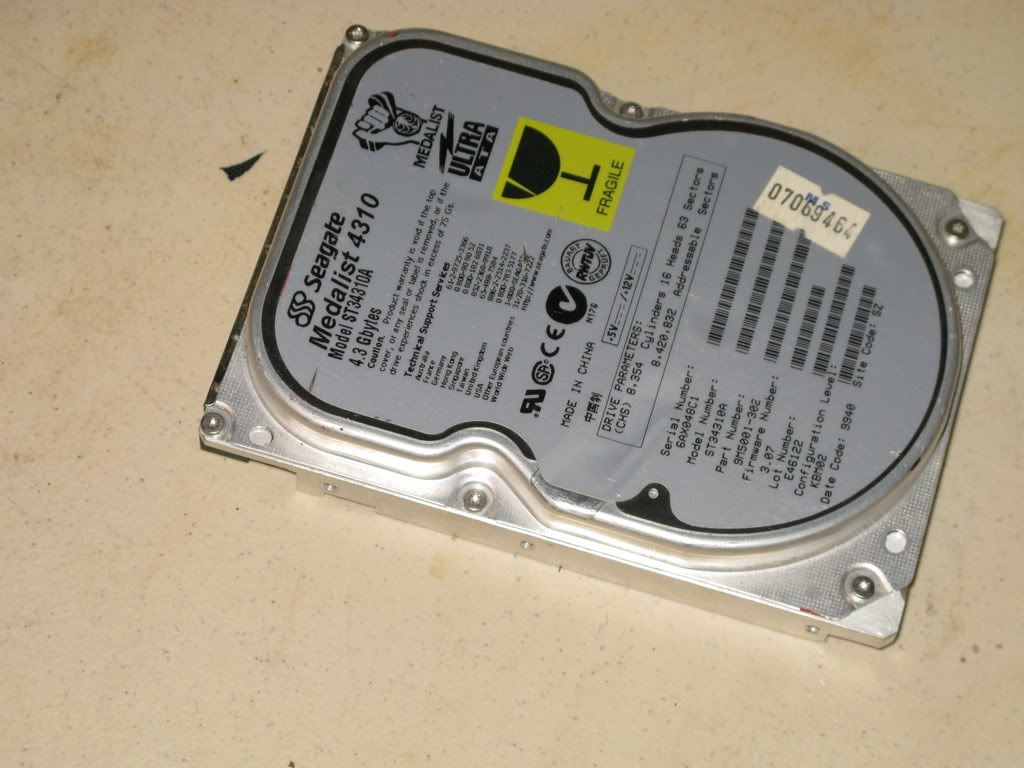
The hard drive
Step one: Unscrew the hard drive. You probably will need a torx screwdriver to open most hard drives. There also might be screws under labels, so if you can't open the HD, that may be why.
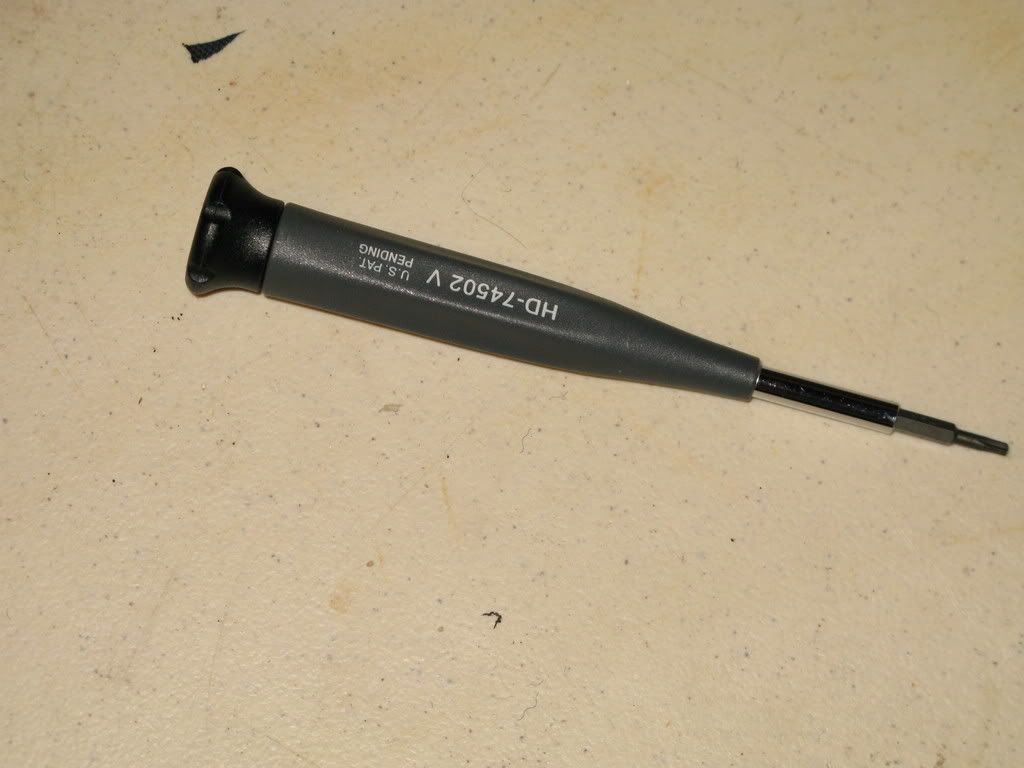
Torx Screwdriver
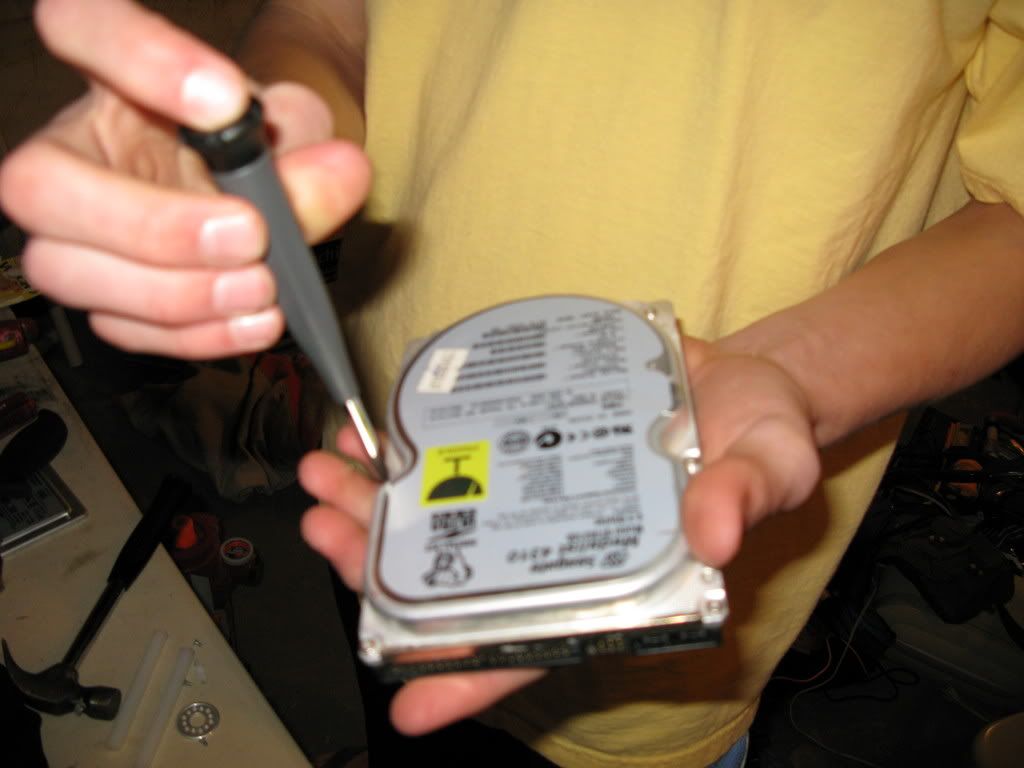
Step two: Take out the magnets. You may need to unscrew some other things first, but they will come out pretty easy.
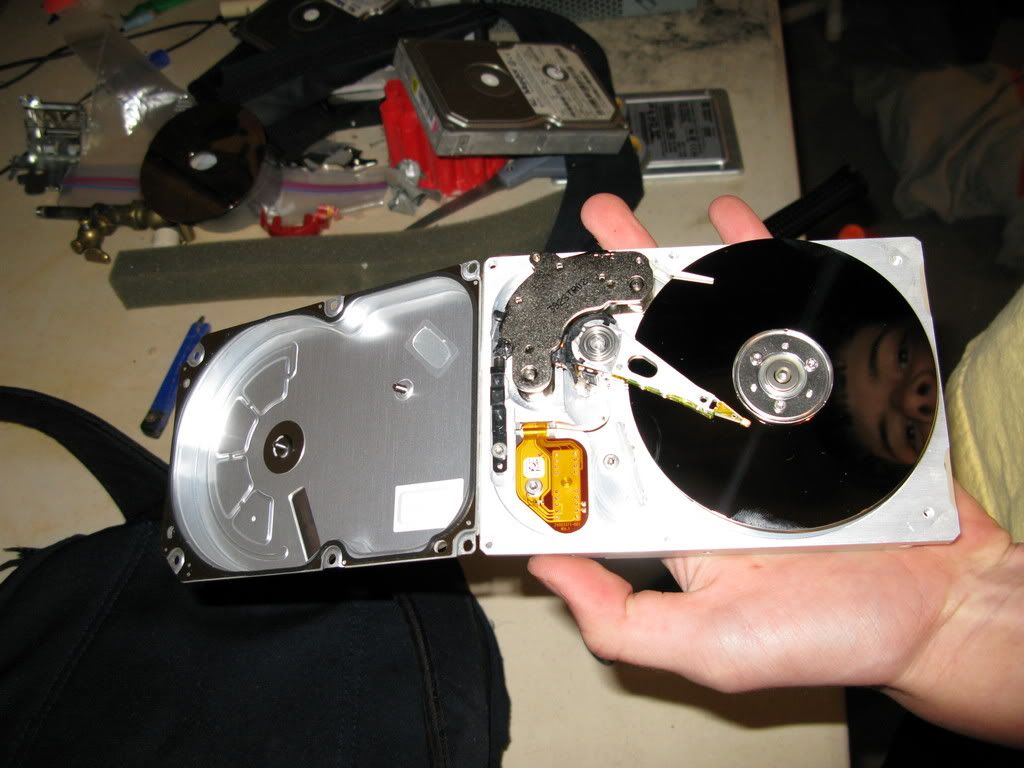
The inside
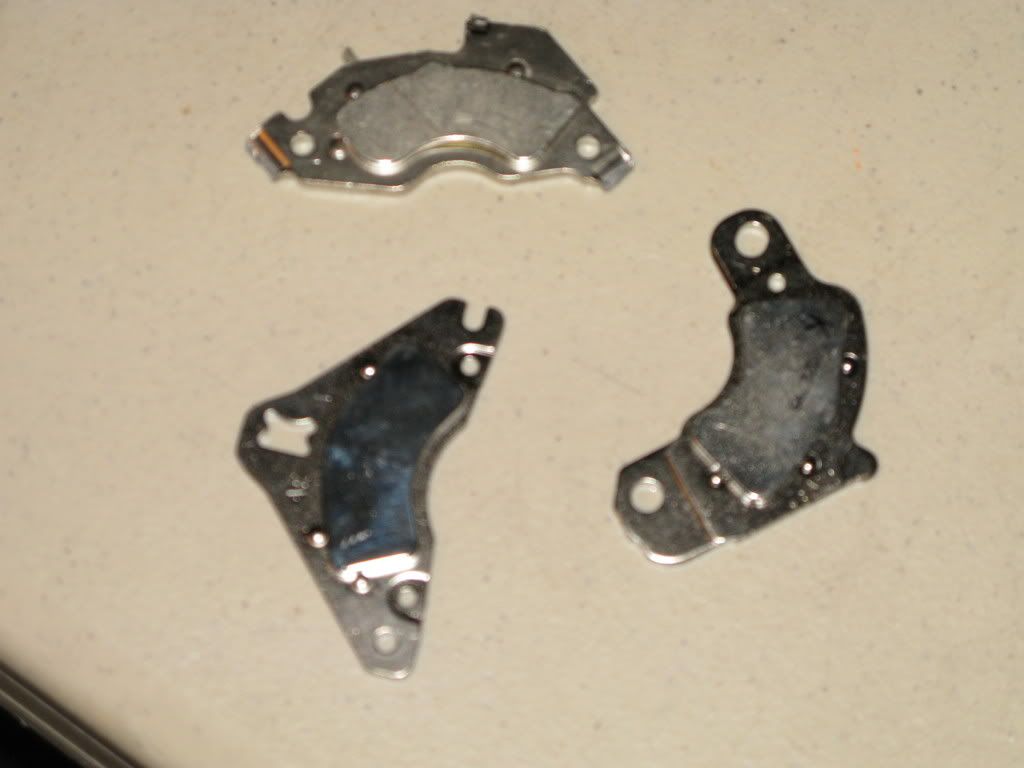
The magnets
Step Three: Take out the pretty, shiny platters. They look really cool, but you don't need them for anything.
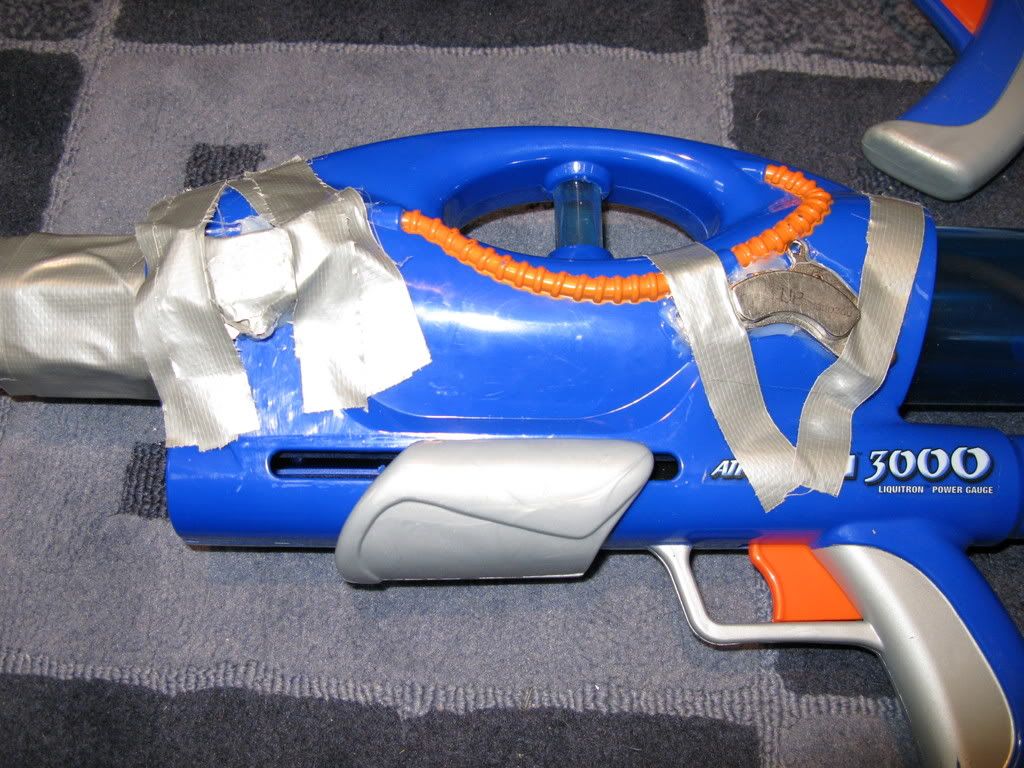
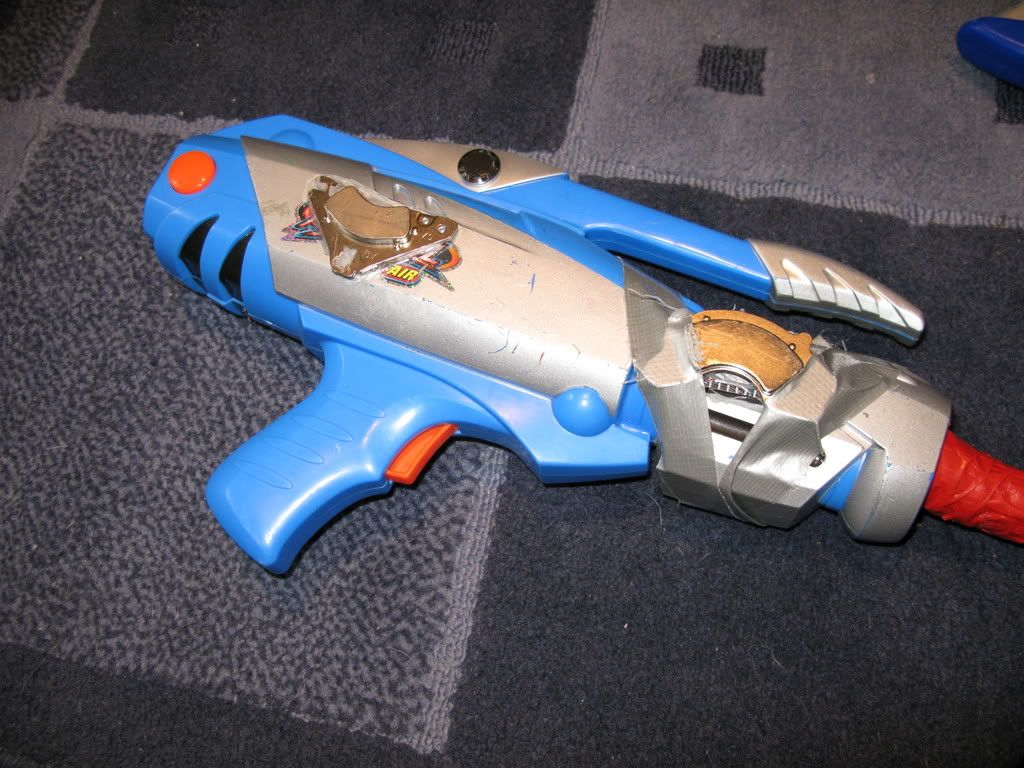
In order to attach them to the guns, you just glue them on, then put tape over the top. Most primaries require two magnets, stuff like the longshot or magstrike need three, and most pistols and sidearms need one. Try to attach the magnets straight to each other, but attaching a ruler to both (if it's not flat, the magnets wont stick as well.
And then have fun. It actually works better if you reach under your arm, rather than over generally when grabbing guns. Two guns is about the limit on our current set up, though if you added a front plate, you could get up to three or four (I don't know why you would, but you could) I am also thinking of making things like holster plates, just a small plate on your hip for a sidearm.
Improvements could be made on this. I would like to find a more constant source of magnets, that would be more consistent. I would also like to find other things to attach to the magnets/metal, such as barrels, other guns or ammo (if you have steel weights, you can actually lightly attach darts to the magnets) Any suggestions, comments, or criticisms would be appreciated.
Edited by z80, 21 April 2008 - 11:44 AM.

 This topic is locked