
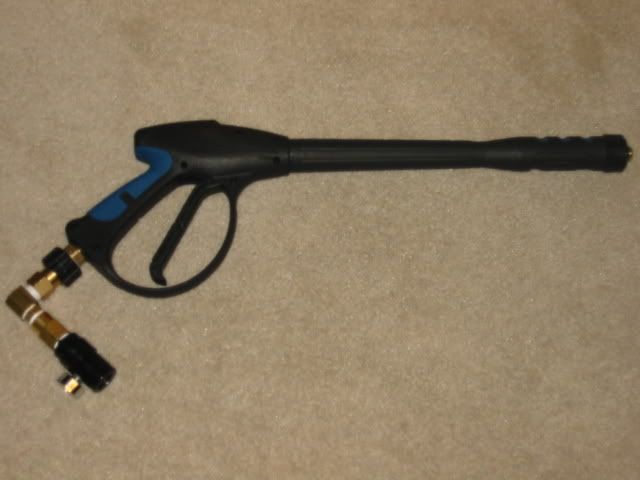
The first picture of it here is just the complete gun...fir the most part.
The second pic is a closeup of the piping I took care of, I'll explain the piping in detail directly beneath the picture.
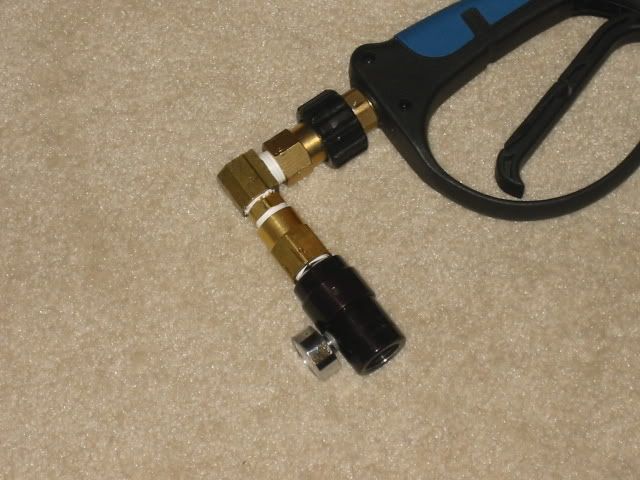
As far as piping goes this gun is really simple...no glues, no mess, etc. The piping can though, believe it or not be a little pricey. Starting from where the piping starts at the handle I have a garden hose adapter they sell with the fittings for pressure washers that's used to connect to the spray gun to the hose. Next I have a 3/8 elbow. connecting to a 3/8 male to male cl nipple. Next up is a 3/8 to 3/8 or 3/8 to 1/2 female to female, I can't remember exactly. Then I screwed my regulator into that. An hpa tank screws into that and then you can regulate the pressure at which you fire, never have to pump, and it allows for higher pressure for creating other sport barrels such as paint ball and airsoft.
The handle and trigger mechanism itself was chosen based on the fact that the valve in most pressure washer handles can handle as much psi level as is in the hpa tank (3000psi). Don't skimp on your valve when working on this project. I tried to regulate and just use a sprinkler valve. Long story short we thought we adjusted the regulator right, then realized the tank wasn't screwed in. Upon screwing the tank in the system over pressurized and a sprinkler valve blew up in my face. No one was hurt and I jumped out of the way of the hunk that flew at me. It did actually blow an entire half off the sprinkler valve. I have a picture somewhere of what it looks like now. I'll post it if I find it. In short be careful!!!
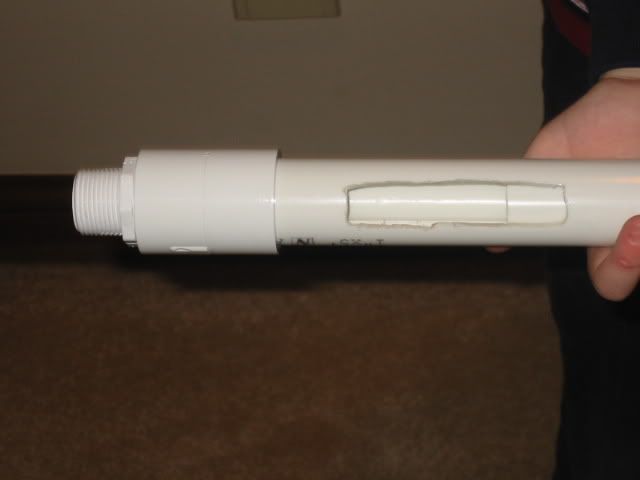
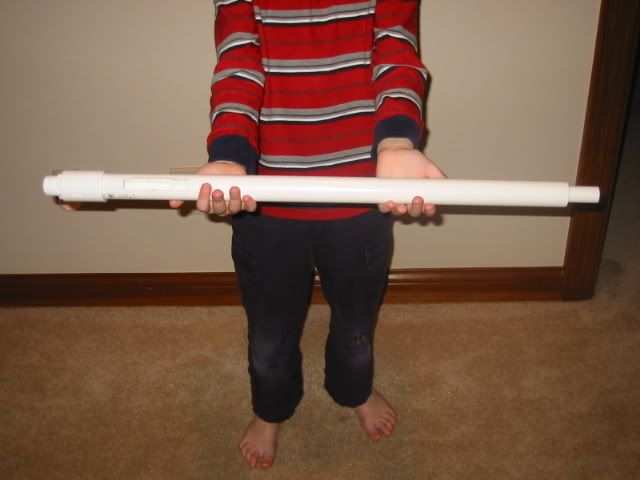
At this point I've made one quick reload barrel of which I'll show below. I have my designs together to create the airsoft and paint ball barrels and now I just need to make them. I also need to add a handle to this barrel.
Anyways, Here's the quick reload pictures.
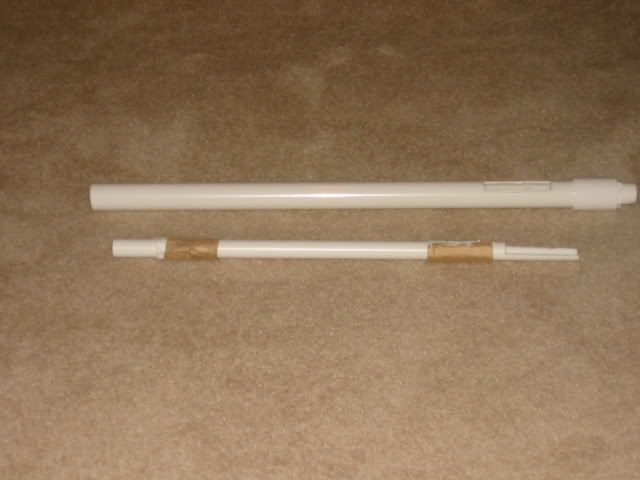
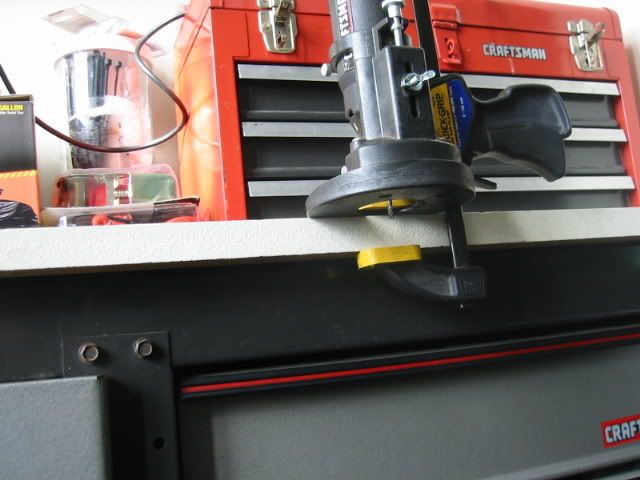
And here's my dremel setup to create all this.
Also, to connect the barrels I'll be screwing a 1/2 cl nipple into a 3/4 to 1/2 adapter and screw the other half of the cl nipple into the end of the spray gun.
At this point I can't put stats and such because when my first valve blew I lost all my air in the tank and haven't got a chance to get it refilled since. I also have a ball barrel not pictured. Any questions You might have I'll answer to the best of my knowledge.
~~Gutzenheim
Edited by Gutzenheim, 08 March 2008 - 09:52 AM.


