
*=not required
Materials:
Hacksaw
Plumbers Goop
Epoxy
Permanent parker
Green Nerf tactical light
AT2K
SCH 40 PVC ½ " diameter or CPVC
Any sort of wire (I used 30 lb framers wire)
Sorry don't understand the information of the connector but here it is PL-3025 Quick Connect Male
Adaptor 3/80D(1/4CTS) X1 14 MIP
Teflon Tape/electrical tape
Scissors
Dremmel
3/16 " drill bit
Drill
Clear 8/32 " Vinyl Tubing
3/32 " drill bit
Hot glue
Hot glue gun
First unscrew the AT2K and what I did was break the part around the pump handle but you can do whatever you want.
Second plug the overpressure valve.
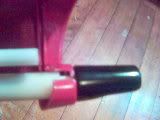
Now cut the desired length of PVC or CPVC.
Next wrap teflon tape around the coupler so it fits snug inside the PVC.*
Then goop/epoxy the pvc to the coupler where you just taped.*
Now for the AT2K, I did DTReaper's improving your AT2K mod but I changed it a bit.
Next do what you want to get the old tube off of the orange part. The ¼" tubing should fit around the part where the old tubing is perfectly. Do not glue it yet.
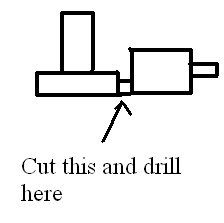
Do everything DTReaper did but instead of cutting the tube strangely just take the 8/32 " drill bit and drill a hole in the part where the pump meets the goo gauge. Now the new tubing should fit in there well then just hot glue/goop/epoxy whatever you want to keep it there.
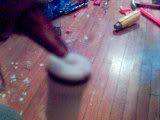
Now unscrew the light and remove all the wiring and cut the wires off of the switch and do whatever you want with the rest, as we won't need it.
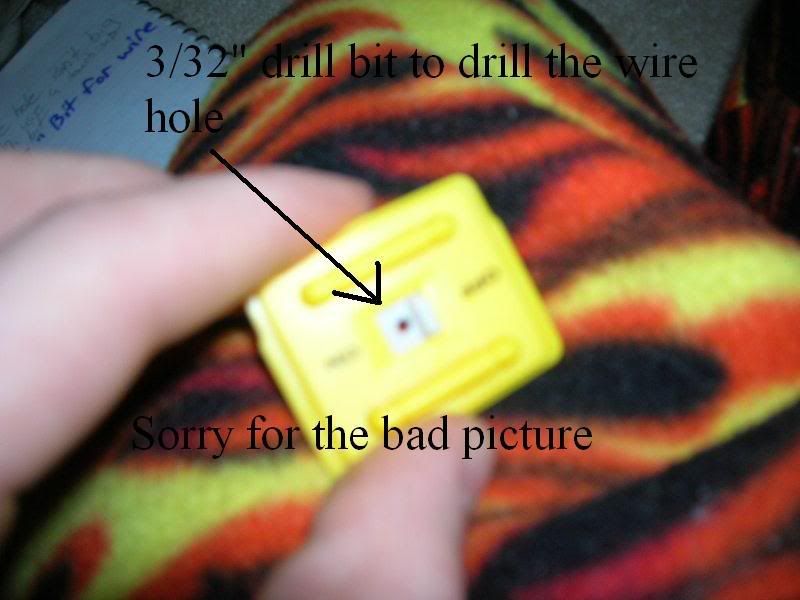
Now drill a hole in the switch and hot glue it if you don't want it sliding around.
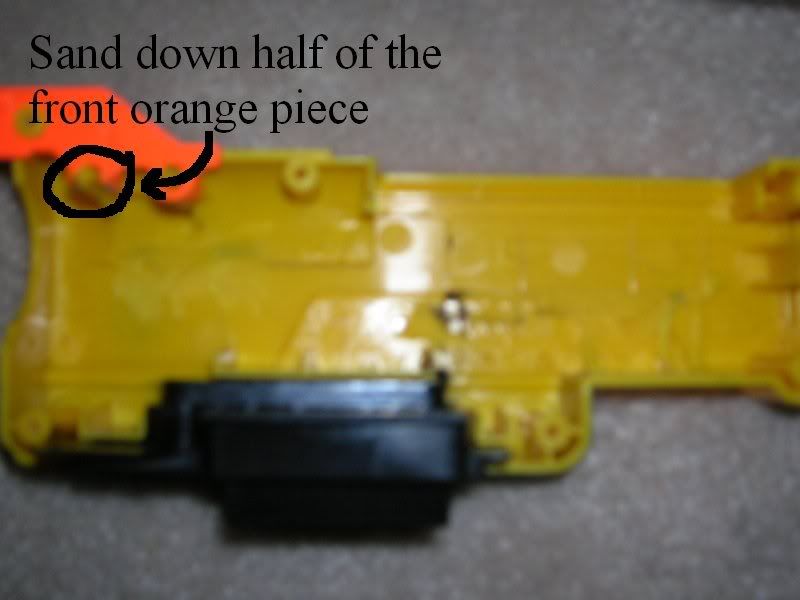
Now dremmel/sand down the marked areas of the case.
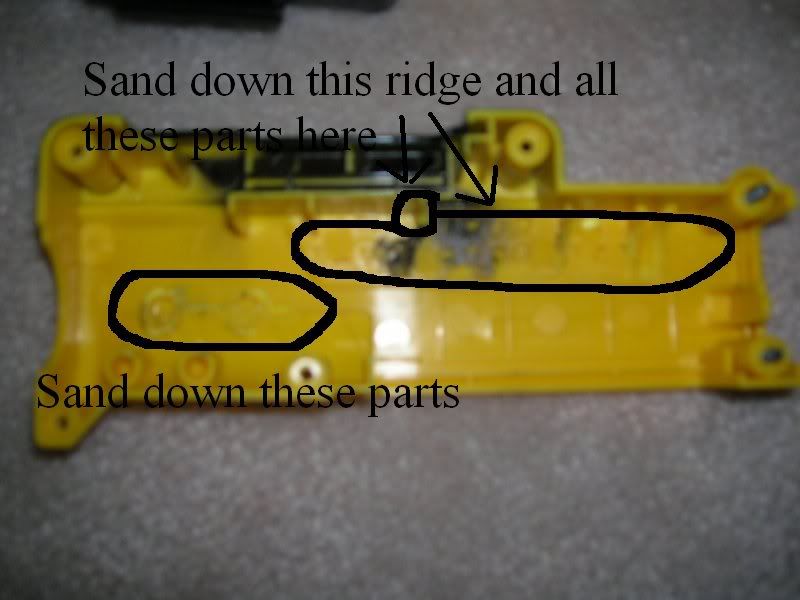
Do the same on the other side and a little bit extra.
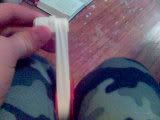
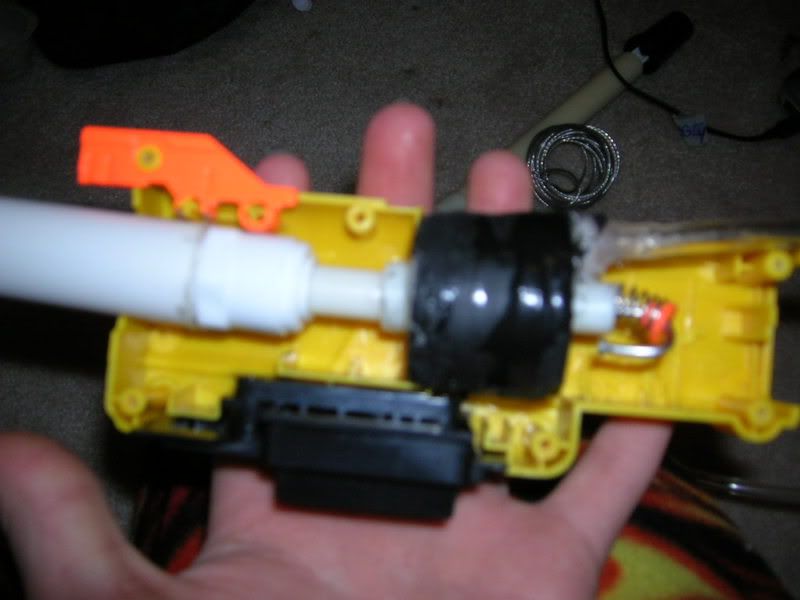
Now put the end of the AT2K tank part in the coupler it should fit unless you got the wrong size if it doesn't fit you could sand down the OD of the AT2K tank. If it is too small just put some tape on it or something. Now with it put in check to see if the tank and barrel fits in the case. Also bend the firing pin and remove some of the spring if not all. (I couldn't get it all of with what I had on hand) [This picture is if you used the coupler to attach it and if you didn't use the coupler do what works.]
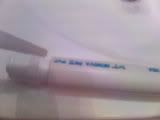
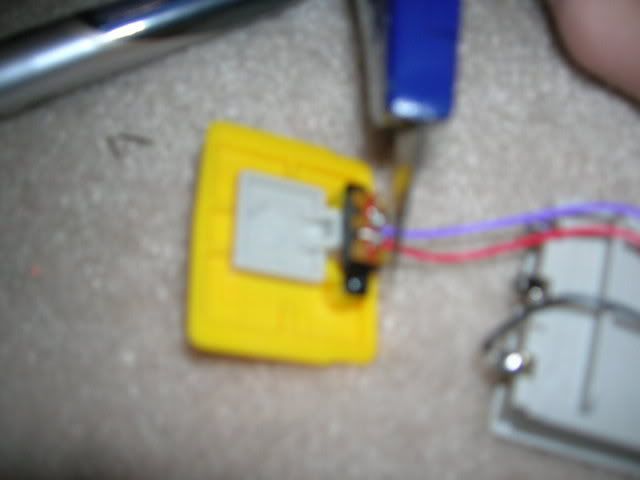
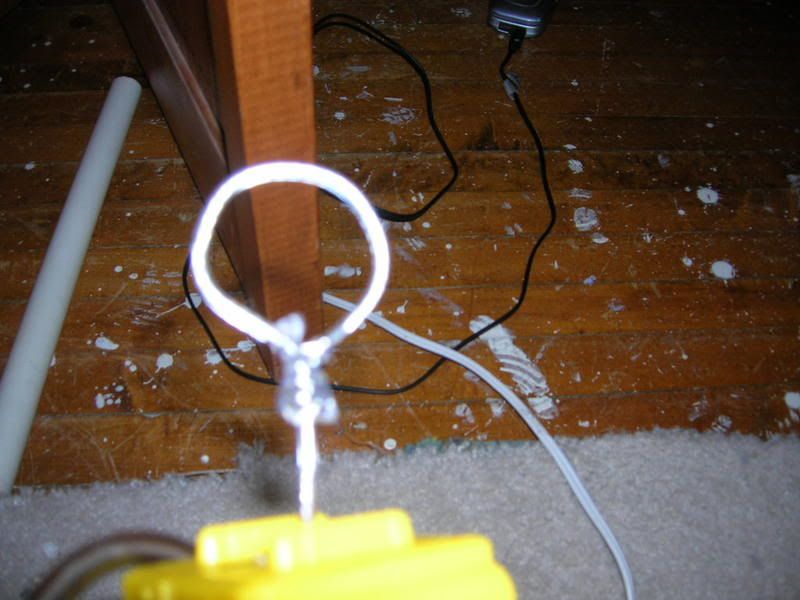
Next attach the wire to the firing pin and through the end switch with a length so that it is comfortable and will pull the pin. When you have the wire nice twist it around to make a loop and put some hot glue on it so it won't move. Or you can use a sort of ring as the loop. (I forgot to buy one)
[
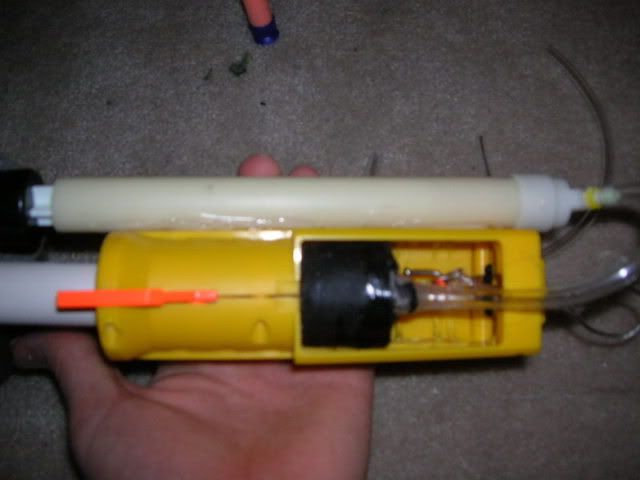
When you have everything set up use some hot glue to hold the tank in place as you close the case back up. Now cut the tubing as you position the pump on the side you wish so that there is enough tubing to reach. When you get this done hot glue everything so that nothing will move or anything.
Now you are finished!
NC
Compliments, flames, improvements and that stuff are welcome[size=1].
Also please don't mind the [./size] thing I don't know how to get rid of it. If you can't see it good.
Edited by NerfCrazy, 19 August 2008 - 12:01 AM.


