Materials Needed:
-12" (ish) section of 1/2" thinwall PETG from visipak. I used the thinwall, which is very loose on streamlines. This is a plus since the seal between the breech and the barrel isn't perfect, but it still adds exponential range over the stock ls barrel.
-x-acto knife
-e-tape
-spray paint of your choice (for marking the petg)
-hot glue
-dremel w/grinding attachment
Procedure:
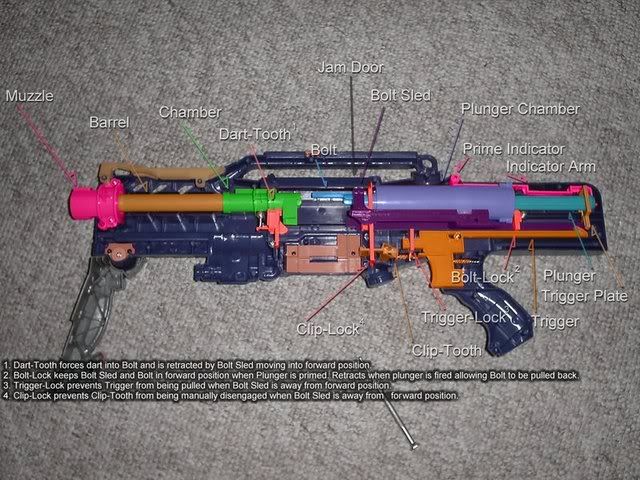
First thing to do is obviously open up your LS. I will refer to CS's internal picture of the LS here throughout the post:
Once the beast is opened up, remove the stock barrel and the muzzle. For this mod, we will be keeping the dart chamber and using that as well as the dart tooth.
Next, take out the plunger chamber/bolt assembly and the dart chamber. Things get a little fuzzy from here.
Now, the next part involves a little bit of trial and error. First, take your petg, place it inside of the dart chamber and slide the bolt up into the dart chamber. This will show you where to position the petg and how much you need to shave down off the bolt. The bolt has to be shaved down a good amount in order for it to smoothly slide over your newly placed petg.
Once you've test-fitted the petg and shaved the bolt to accommodate the new barrel, take the entire assembly (new barrel in dart chamber+bolt/plunger chamber) and put them together as if the bolt were closed with a dart in it. Now, take your spray paint and spray a small amount into the hole where the dart tooth slides into. This will give you the area that you need to cut out with the x-acto knife for the dart tooth to remain functional.
Remove the petg barrel and use the x-acto knife to cut a section about 3-4mm wider than the spray painted area. This is to accommodate for the two prongs on the rear of the dart tooth. Make sure to test fit the barrel and make sure the dart tooth slides in effortlessly.
Now, wrap some e-tape around the petg and slide it in place for yet another test fit. Try sliding the bolt in place over the petg now. Notice something? The e-tape on top has prevented it from sliding in! Well, take your x-acto knife again and cut off about 1/6th of the e-tape (make sure it's wide enough to fit the bolt through) on the top of the petg. Once again, test fit and test assemble to ensure the proper bolt action is preserved.
Finally, place everything together, test fit/test assemble once again, and if you've lined everything up correctly, it's time to hot glue it in place. I used a nice ring of hot glue around the front of the dart chamber to ensure that the petg stays put. Place the front end through the muzzle, wrap it in some e-tape so it stays centrally located, and replace everything.
Now, before you go pumping/firing quickly, make sure that the darts move into the petg barrel effortlessly. Once I had mine assembled I had to sand down the front tip of the bolt so it slid over the petg easier. But, if everything looks good, load up a dart, cock it (slowly) and fire. You should notice a hefty increase in accuracy, and a little range due to the improved seal.
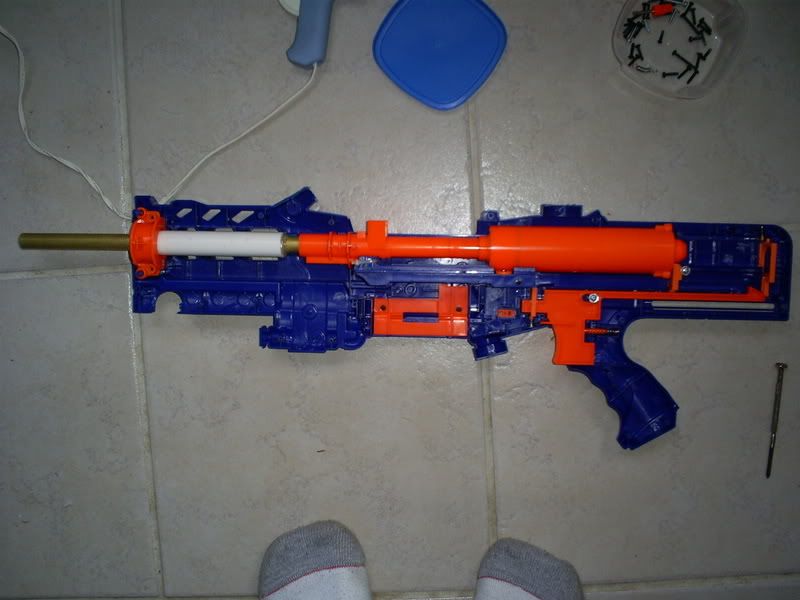
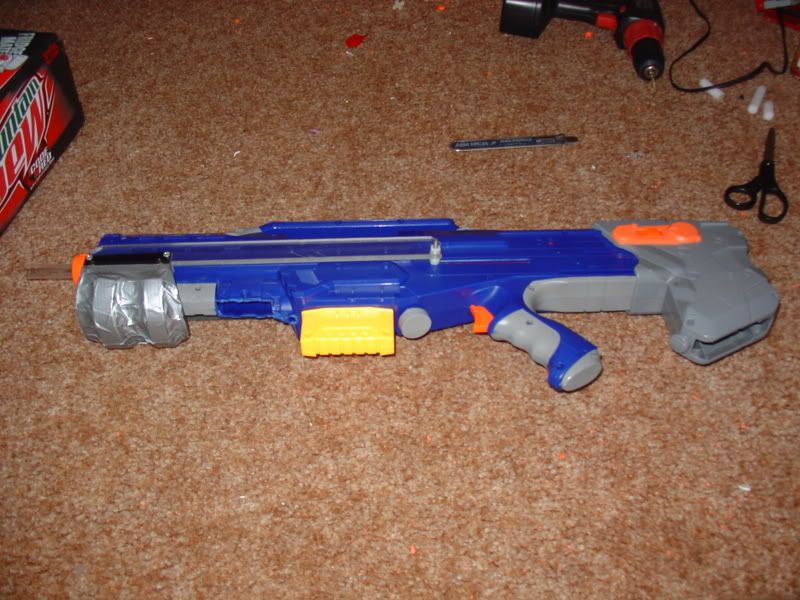
Pictures of it assembled:
Side:
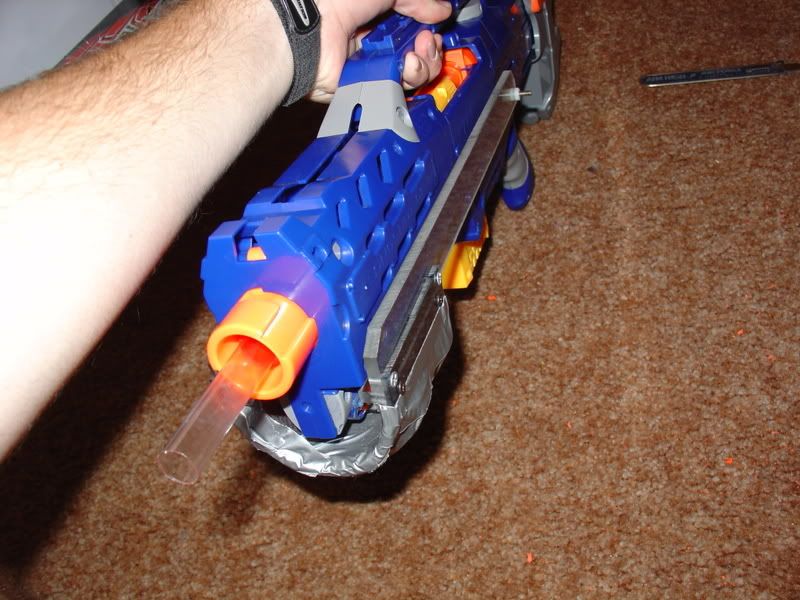
Front:
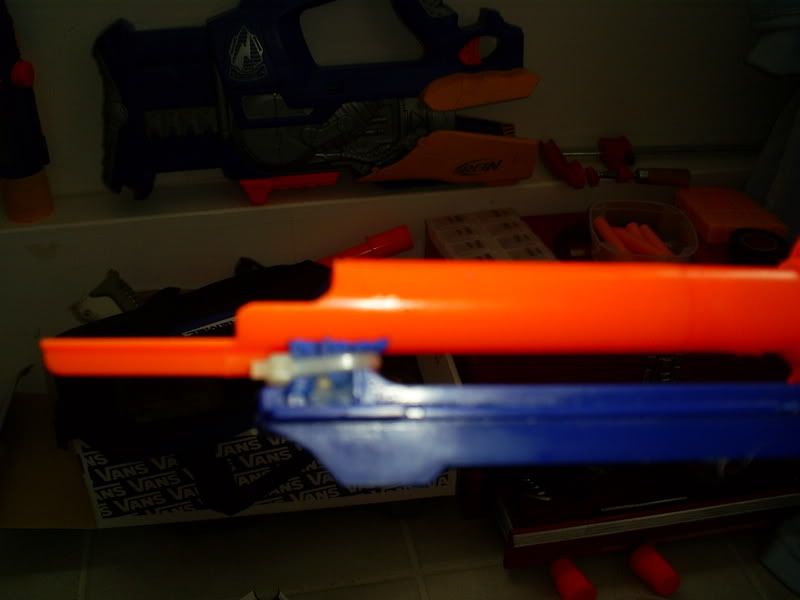
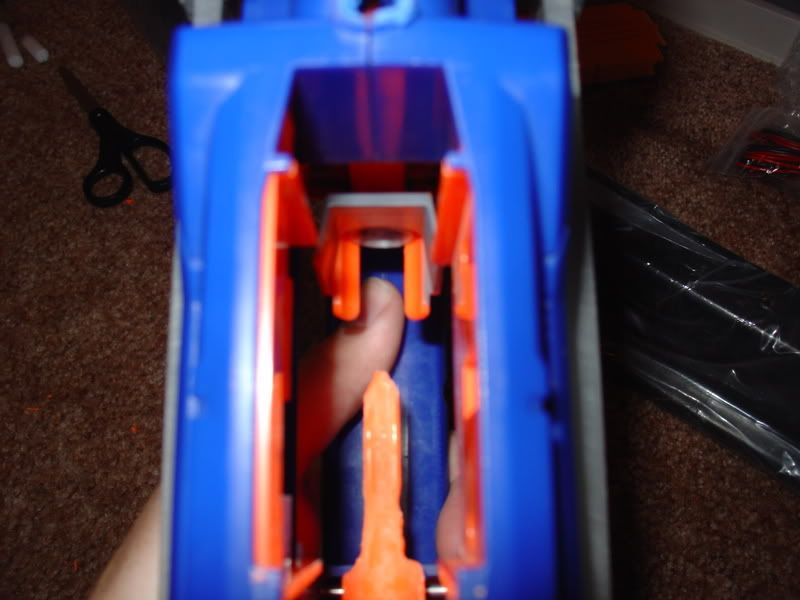
Breech open:
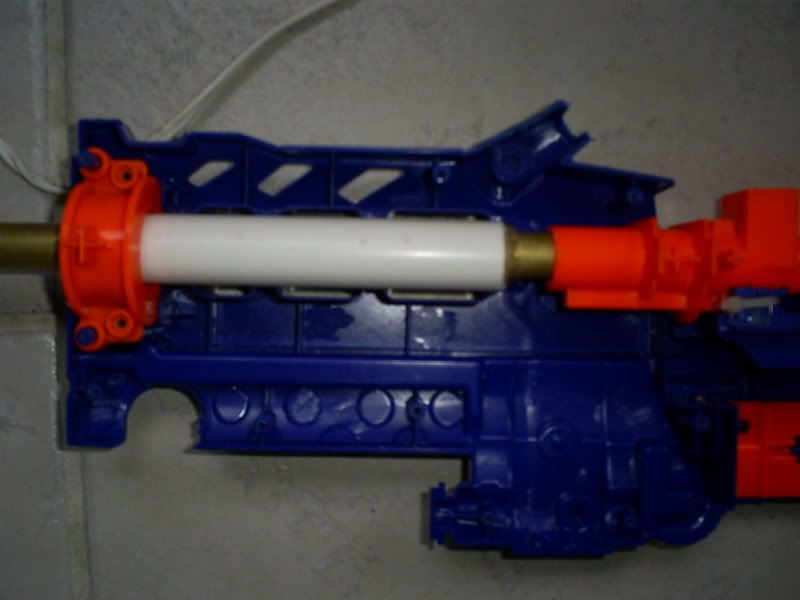
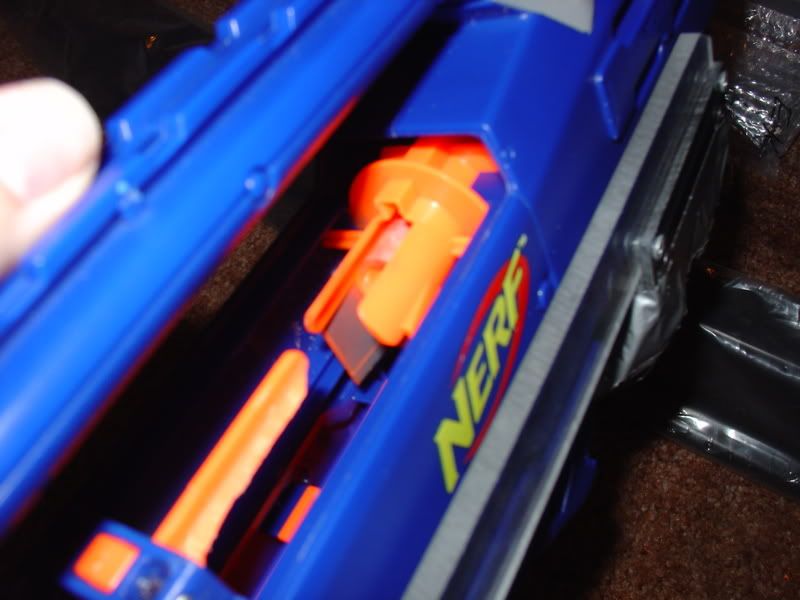
Top view of rear of petg barrel:
Videos:
Before any of you ask, I haven't range tested and probably won't. This is by far my farthest firing, hardest hitting, most accurate weapon that uses stock ammo now. And besides, my two measuring tapes only add up to about 70 feet, which I doubt is enough. If anyone absolutely REALLY needs pictures of the fabrication process, I guess I could try to take it apart again... but it would be a royal pain. Let me know if you guys have any questions.
Edited by bpso86, 11 June 2007 - 08:57 PM.