
I will let you know in advance that this gun will no longer have the ability to fire water when we are done, and will loose the ability to fire semi-auto if you follow this write-up exactly.
Anywho...
Time: about 20 mins.
Materials needed:
Hot glue gun w/ a few sticks
Screwdriver
saw/dremel
Needle nose pliers/wire cutters/scissors
About 6-ish inches of 1/2'' CPVC.
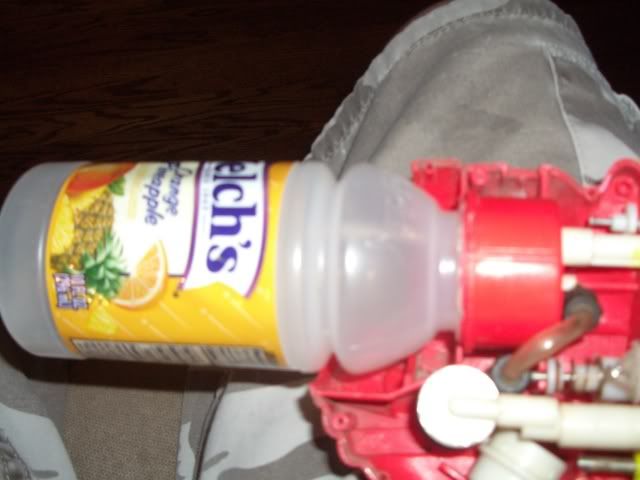
Small welch's bottle or possibly a vitamin water bottle. (This is only if you lost the large bright, yellow airtank)
See what I mean?
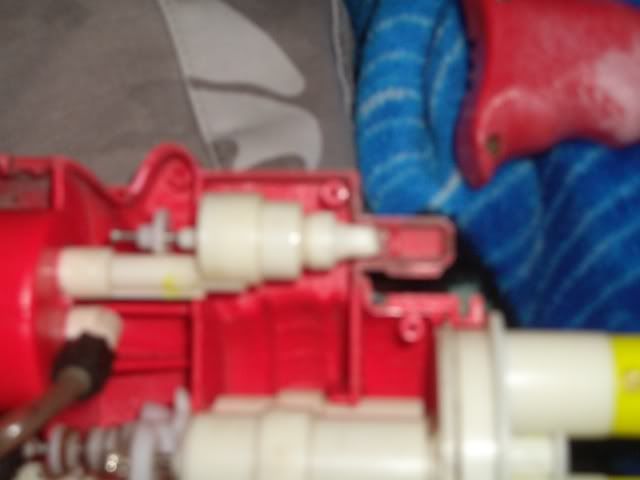
Step 1: get your SSU open. You will need to start with the yellow fire-mode-selector thing. Use the saw/dremel to cut the peice of plastic off between the barrels. Hell, get it off any way you can, because I didn't even want to put it back on. (Do you need a pic?)
Step 2: Trim off some (or all) of the water-intake hose. You might also want to cut the hose leading from the tank to the water barrel: I also cut off the trigger that leads from the main trigger to the water-release valve.
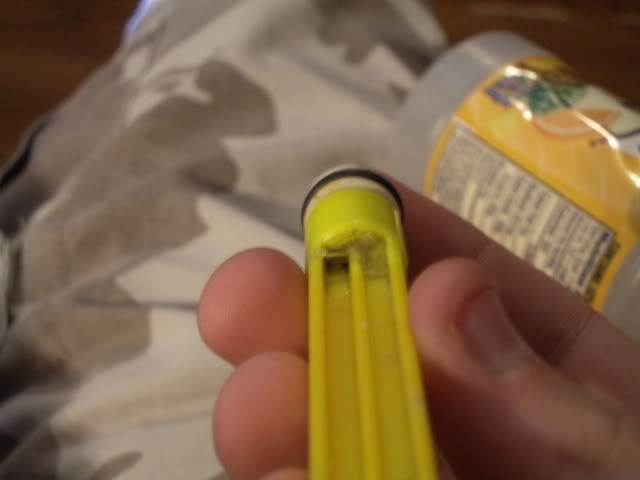
Step 3: Add a ring of hot glue around your replacement air tank, then insert it where the old one was. Here is what mine looks like:
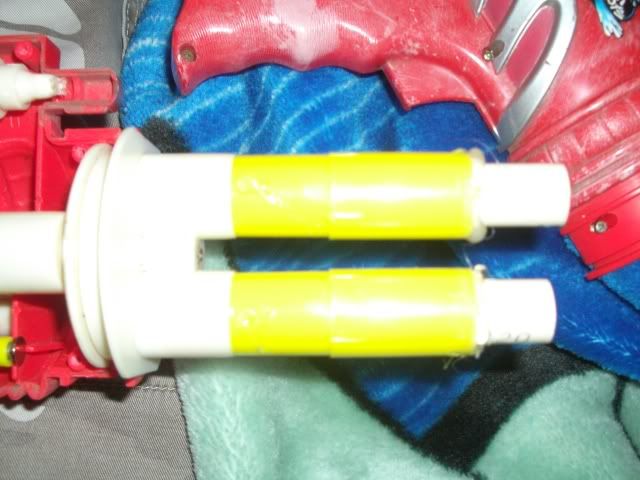
Step 4: First, get the barrel pins out of the barrels. Cut 2 similar peices of 1/2" CPVC. I used 2 of the CPVC barrels that fell off of my DTG, which are about 3.5 inches. I wouldn't use anything longer than 5". Put two rings of hot glue around each barrel, and insert them into the stock barrels. Then, plug the hole in each of the stock barrels. Here is what this should look like:
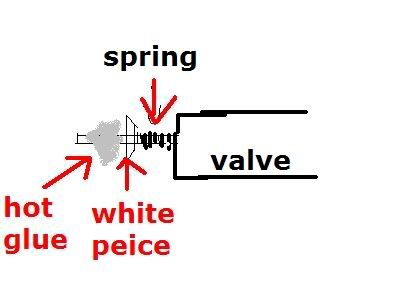
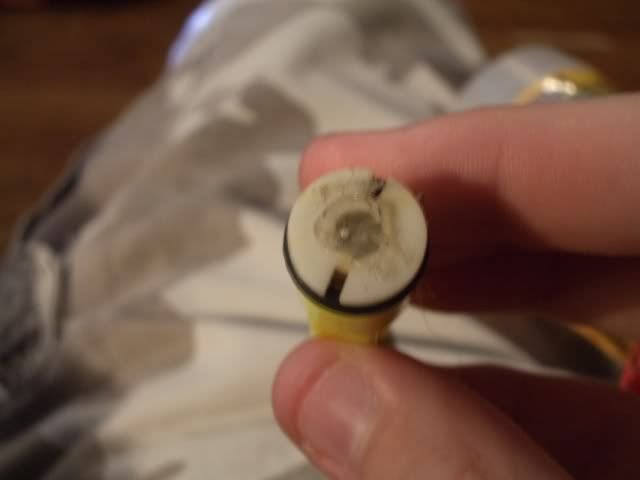
Step 5: This is only if you want to fire both barrels at the same time. DO NOT do this if you want your blaster to fire the same way it does stock. Press the thin white peice of white plastic down. You want the spring totally compressed. This is the peice on the front barrel, if your are looking at it as though the gun were shooting right. Put some hot glue around the valve pin that sticks out. You don't want that white peice to move again. EVER. Here is the pic:

And here is an MS Paint diagram, beacuse my wording sucks:
Step 7: plug the OPRV:
You will also have to plug the two holes in the side of the pump:
(That black spot is just some dirt that was in there.)
Step 8: Attempt to reassemble your blaster. You may have to rim the case or cut out some of the case halves in order to do this. Here is what it looks like before you assemble both halves together again:
(Note: the end of my pump handle broke off long ago. I just covered it with some duct tape.)
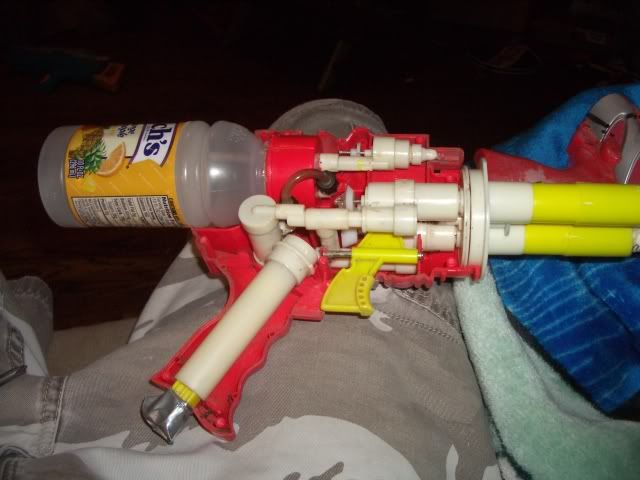
Here is a finished pic with a BBB for size comparison:
Ranges: 40-50 ft (flat) with decent stefans.
In closing:
I like this gun. It's a bit bigger than an AT2K. It shoots 2 darts at a time, and you could easily manage 6 darts total from one shot. I use this almost all the time in my indoor wars, now, because the darts rarely go outside of a 2 foot radius of where I am aiming. And with 6 shots coming at you, who needs accuracy?
Edited by commander erik, 14 May 2007 - 06:52 PM.


