
After a long wait, I finally have all the pictures necessary for you to create your own DIY-1 air blaster! This is what you can expect to build out of my DIY blaster kits, without the need of any power tools. At most, you'll need a hammer to assemble some pieces after applying PVC cement, a handsaw, and either wrenches or pliers for twisting and bending parts as needed.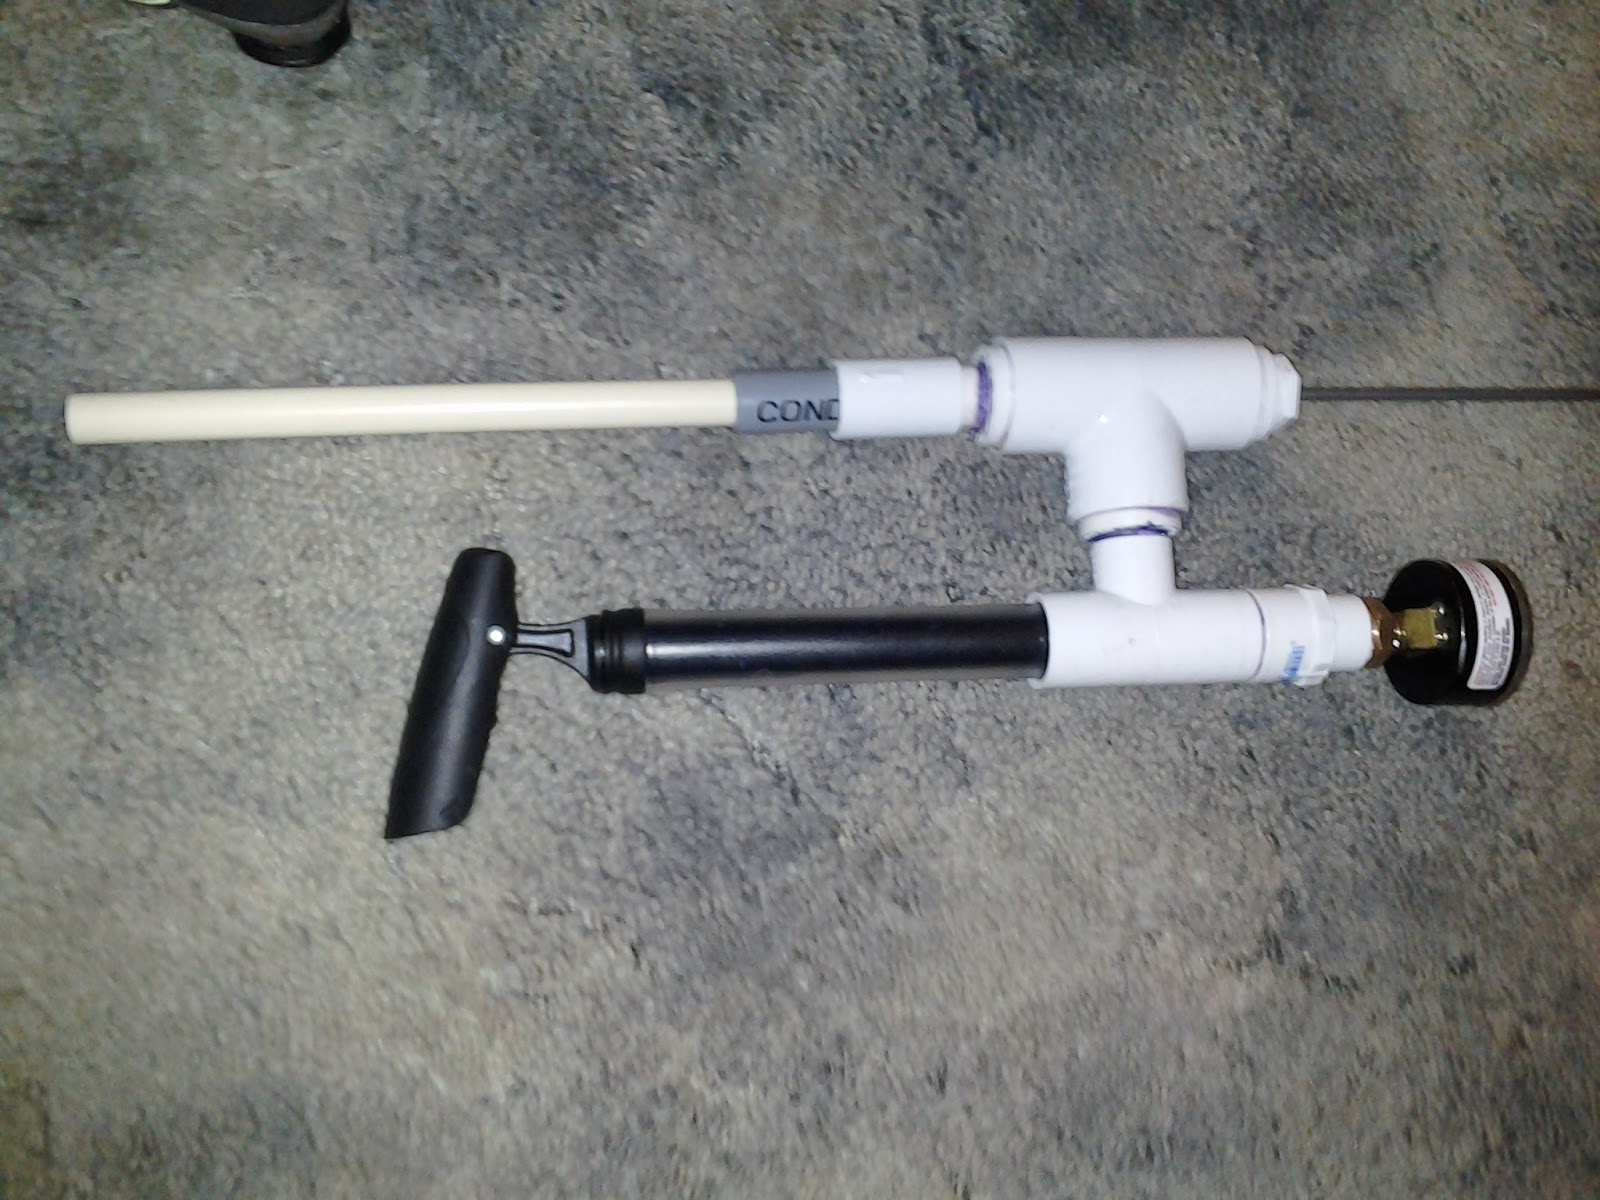
^This is my testing model. It's lovely, but slightly different from the final model.
You will need:
PVC primer and cement
Teflon tape
Silicone grease
Goop or similar high-strength adhesive
Any kind of handheld saw
A few pliers or wrenches
Parts list:
Lengths of 1/2", 3/4" Sch. 40 PVC pipe
1/2" CPVC CTS tubing
1" and 3/4" PVC Tees
1" x 1/2" PVC bushing (spig. x socket)
1" x 3/4" PVC bushing (spig. x socket)
1" x 3/4" PVC bushing (spigot x female)
3/4" male x 1/2" socket PVC adapter
3/4" x 1/2" PVC bushing (spig. x female)
1/2" x 1/4" Galvanized Steel bushing
1/4" male NPT miniature pressure relief valve (made for or set at 30 psi)
Bell Airstrike 300 Dual Action Bike Frame Pump (or 3/4" PVC homemade pump, if you feel adventurous)
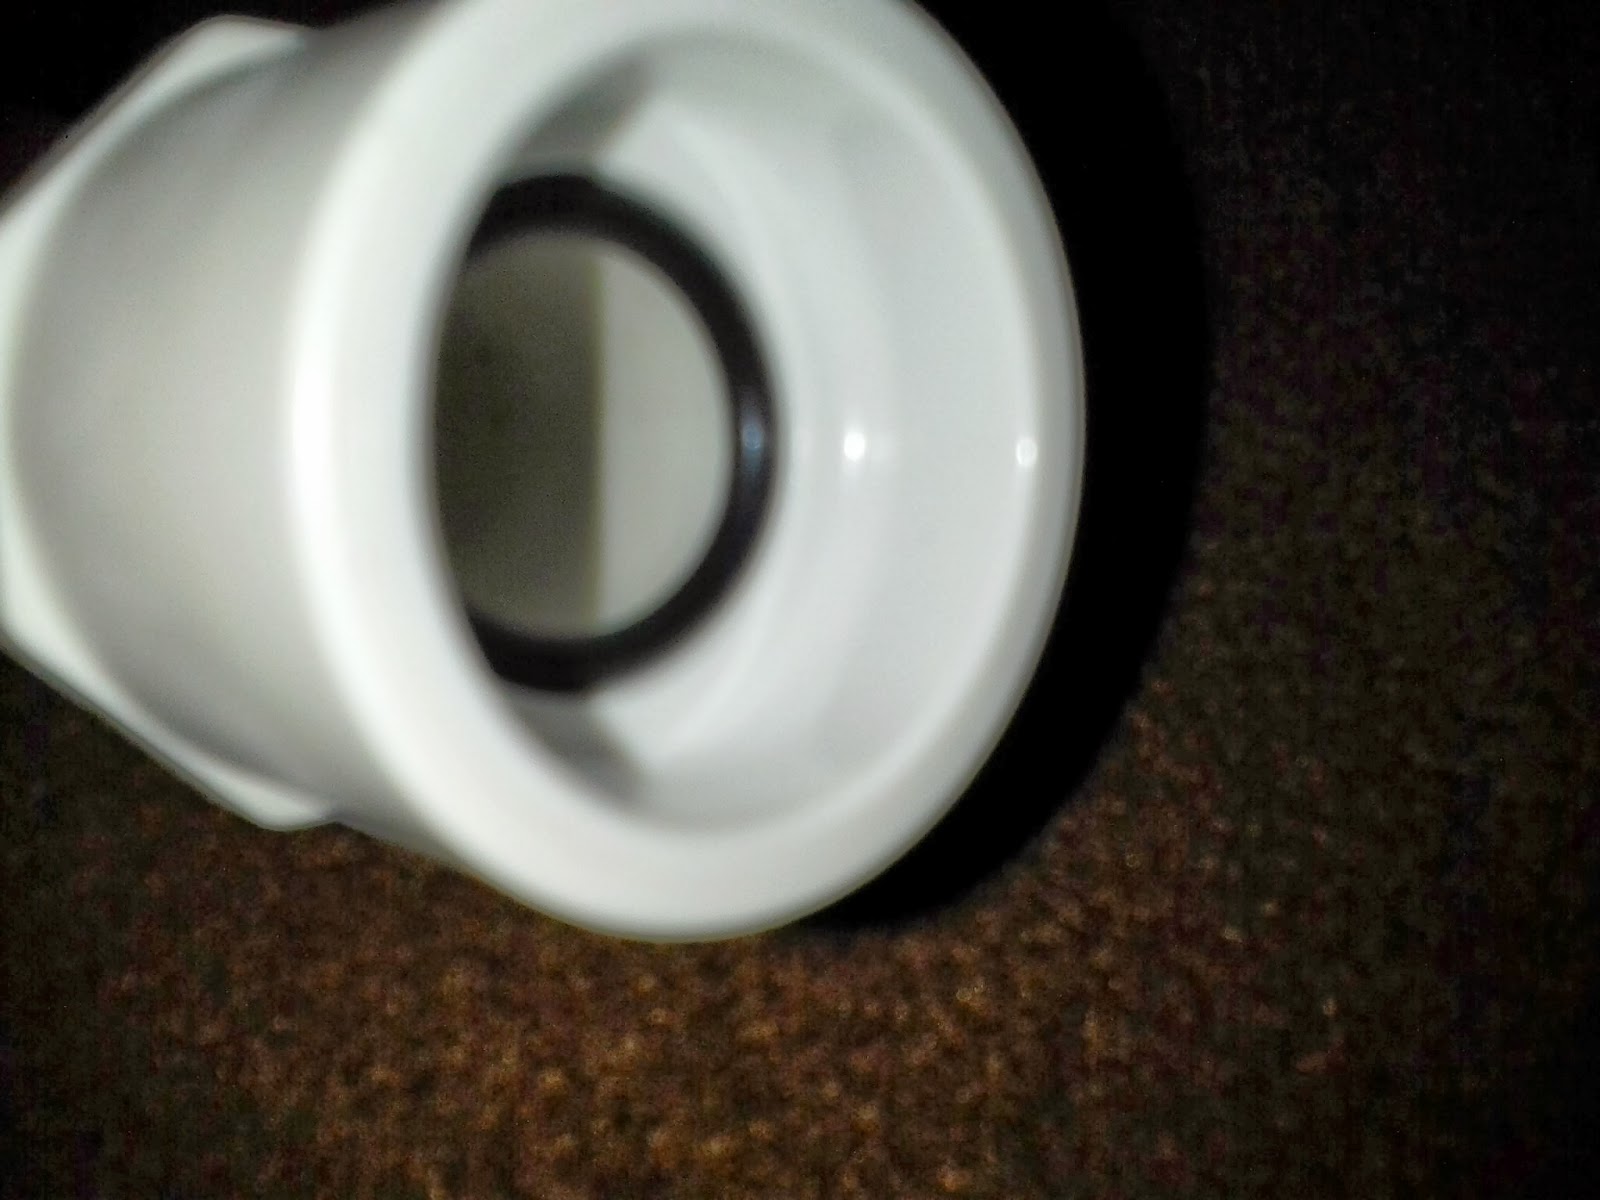
5/8" x 13/16" rubber o-ring
1/2" copper tubing coupler
3/8 trade size flat faucet washer (5/8" OD)
1/2 trade size beveled faucet washer (3/4" OD)
3/16" rod/tubing, steel or aluminum
3/16" Push nut washer
#12 steel flat washers
small spring
Procedural Notes:
For all PVC slip joints, use primer, then cement to properly seal.
For all threaded connections, wrap the male thread with a strip of teflon tape, then twist to assemble an airtight seal. Tighten until turning the parts takes extra effort - tightening too much will break the plastic pieces.
Lower Tank Assembly - Pump and Pressure Relief Valve
Take your 3/4" tee. Twist the 3/4" x 1/2" bushing and the galvanized steel bushing together, and solvent weld into one of the sides. Connect a short length of 3/4" PVC with the top of the tee. Remove the black tip from your pump, and slide it into the remaining arm. It should make a tight fit. Goop in place and let the adhesive cure at least 12 hours (a day is preferable).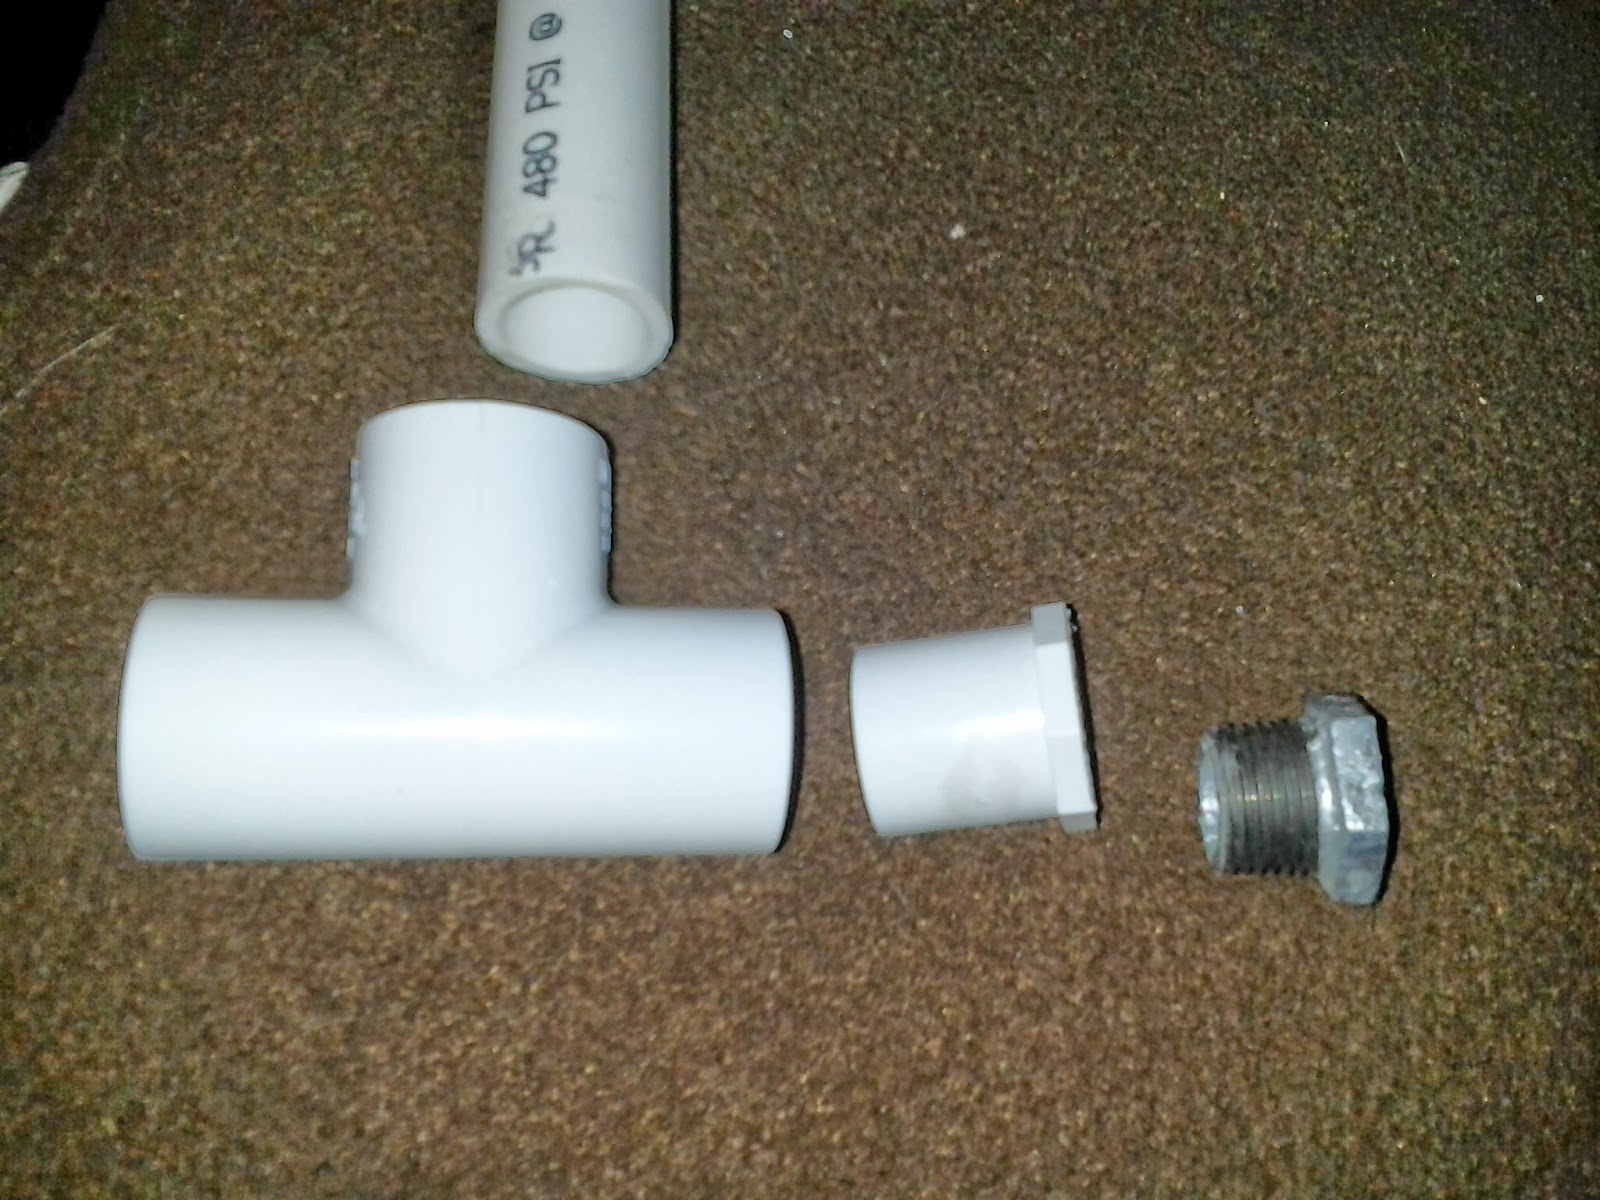
Upper Tank Assembly - Pull Valve and Stock Attachment Point
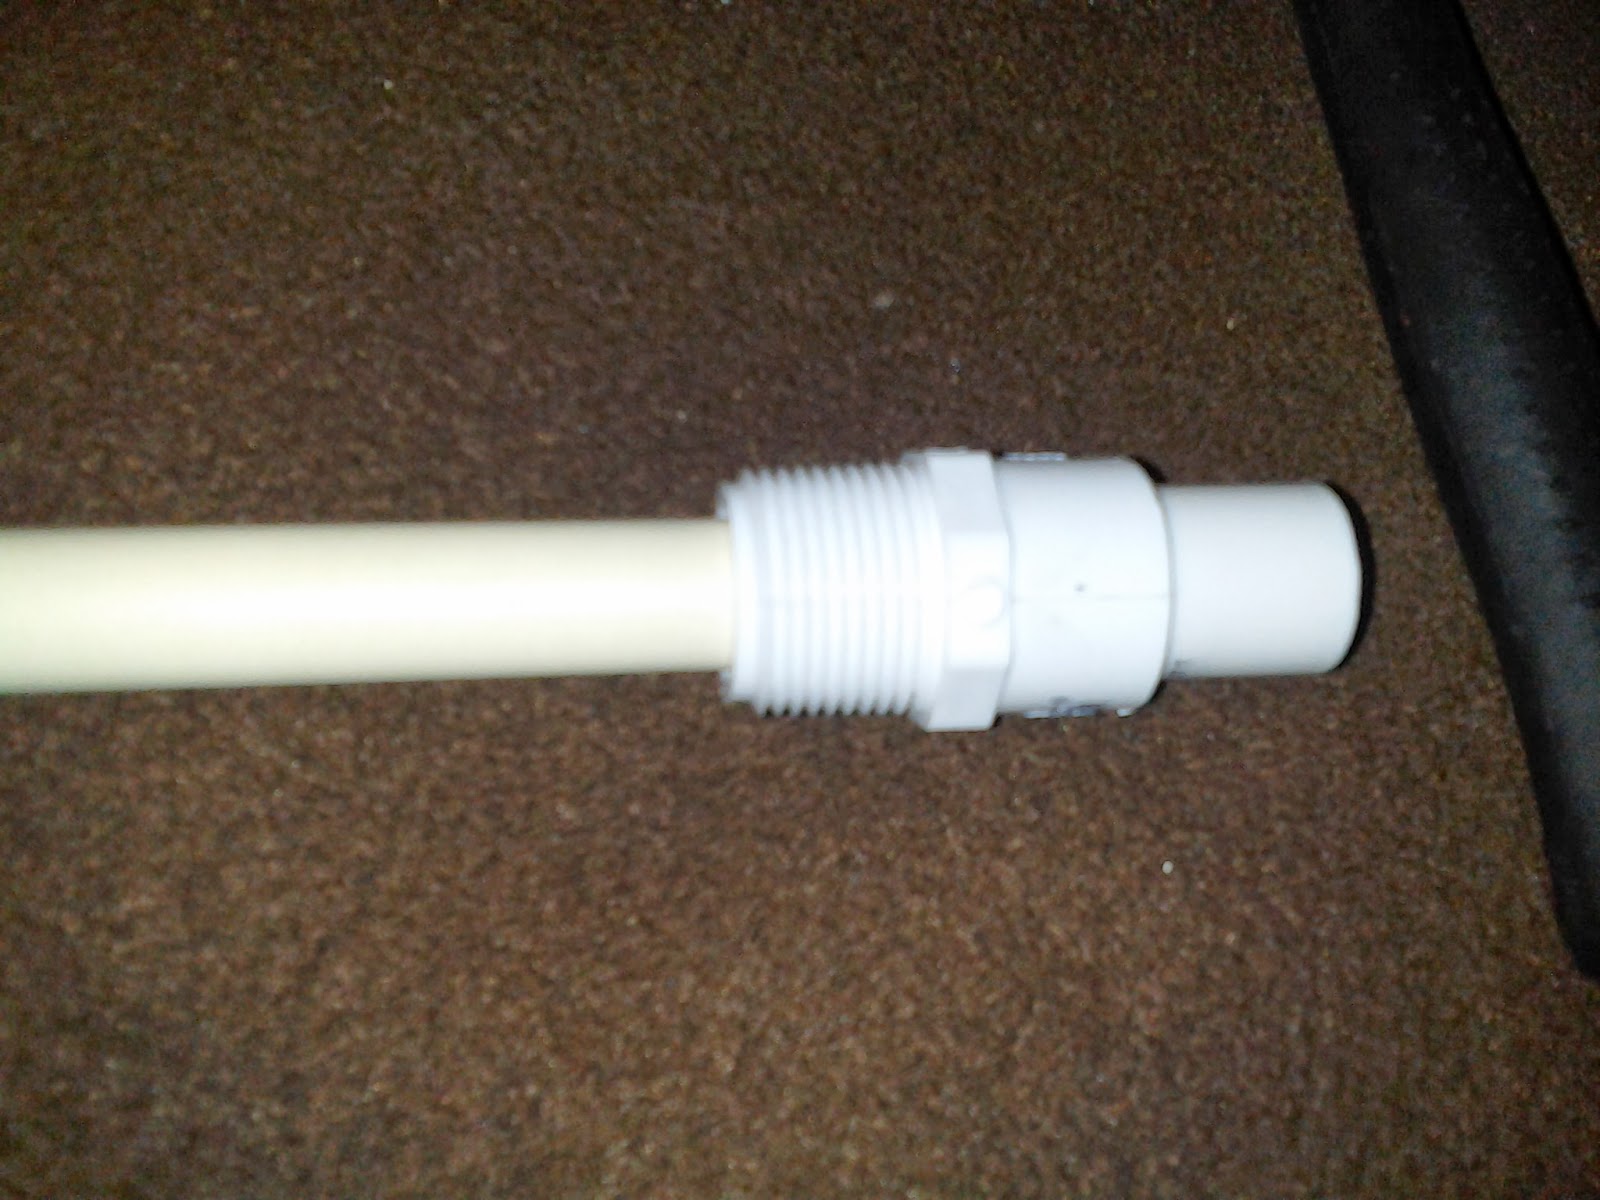
For the front of your tank, put the 1/2" PVC stub and 1" x 1/2" slip bushing together. Then, place your o-ring inside the bushing, behind the pipe. It will be a tight fit, but it will go flat with a little convincing. Place in one of your tee's main arms.
Put your 1" x 3/4" bushing in the side arm of your tee. Finally, put the 1" by 3/4" threaded bushing in the last socket.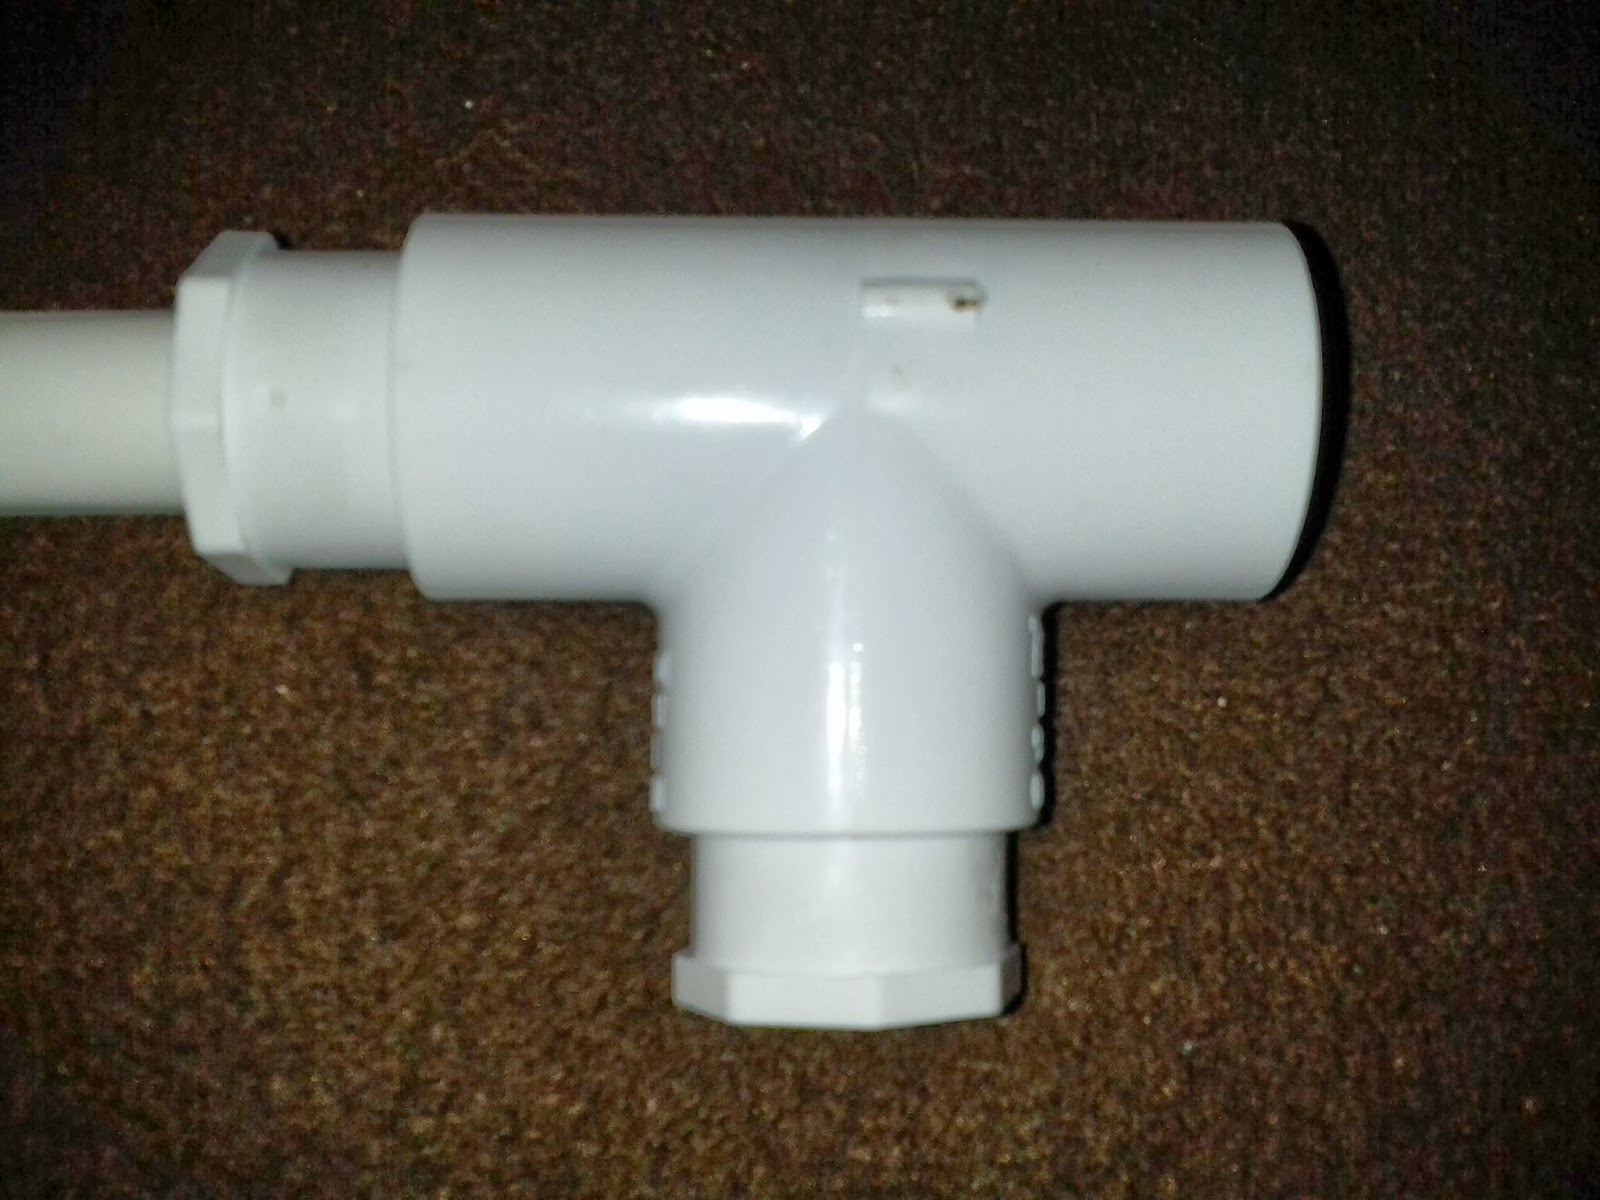
Now for the back of your tank! Hammer some 1/2" CPVC into 1/2" PVC, like you would for a dart barrel. Slide the 3/4" male x 1/2" socket over the CPVC as shown.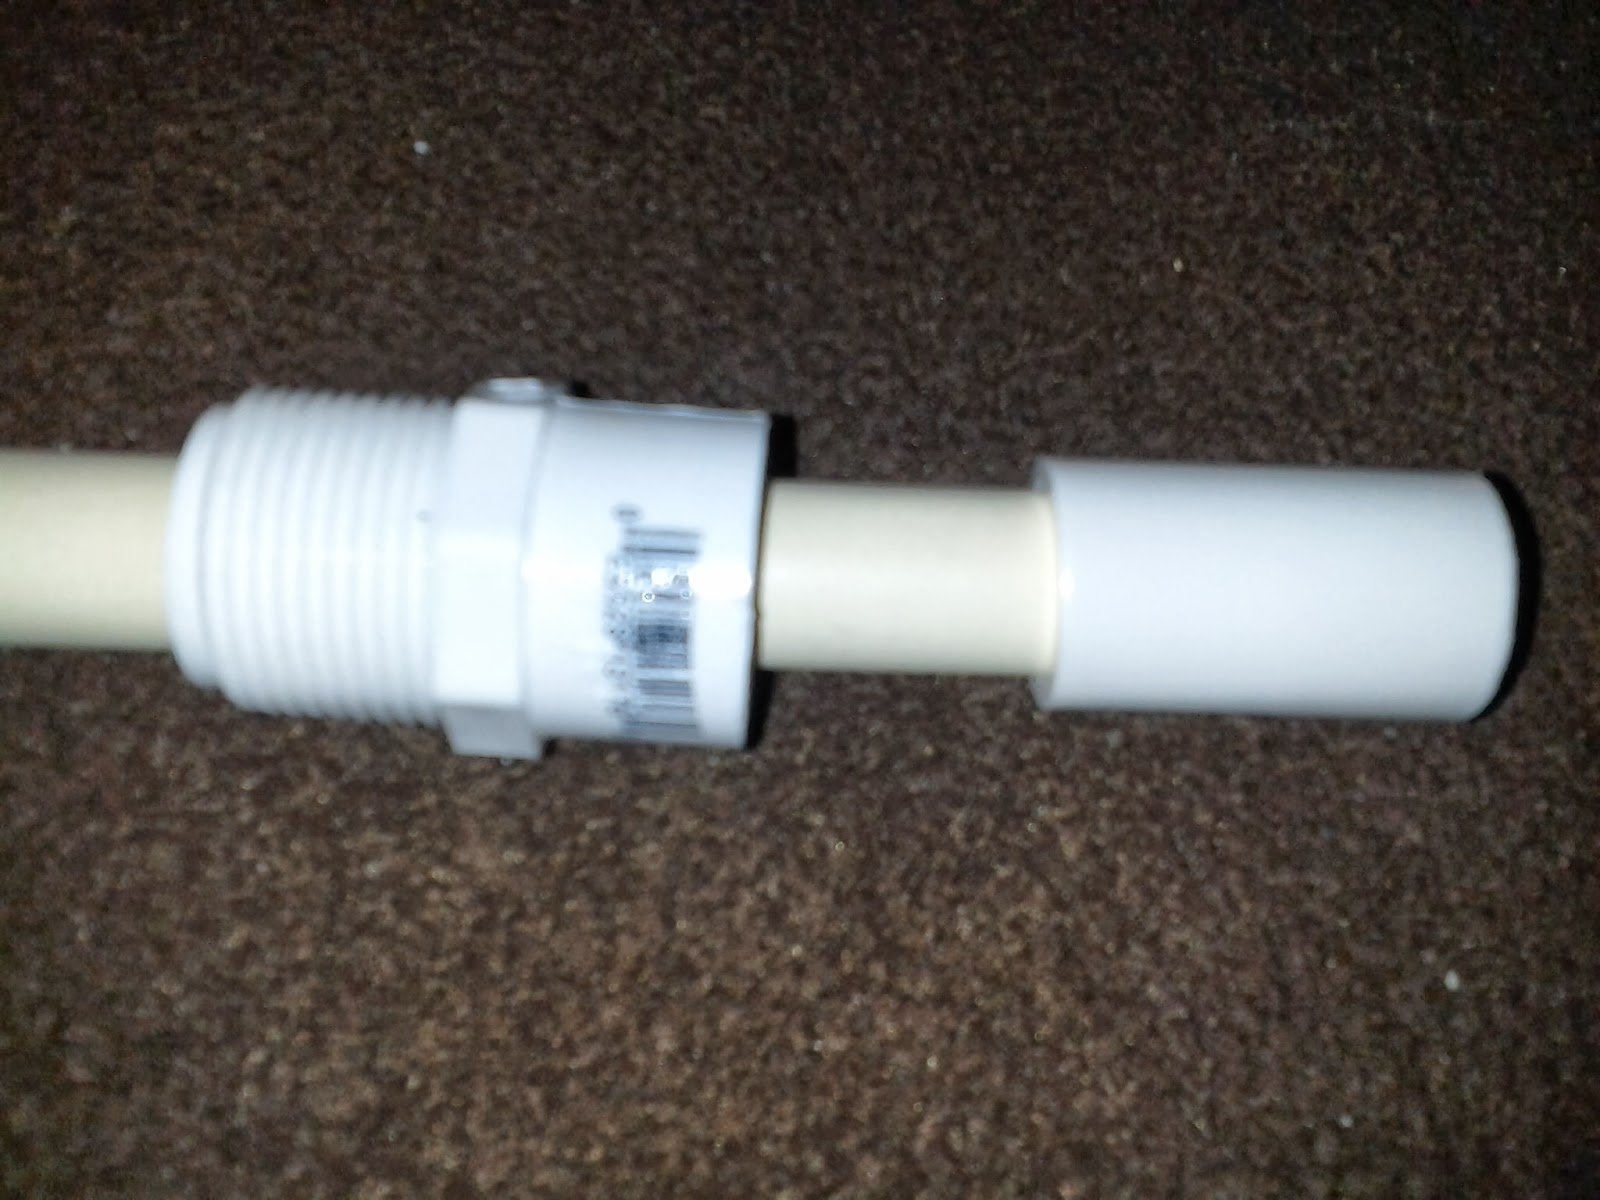
Cut down your CPVC so it will only extend partway into your air tank. Then, slide on your copper tubing coupling - it may take some force, since they typically have a small metal stop in the middle. But don't do it ALL the way. Leave space at the end for gooping in your 5/8" OD flat faucet washer.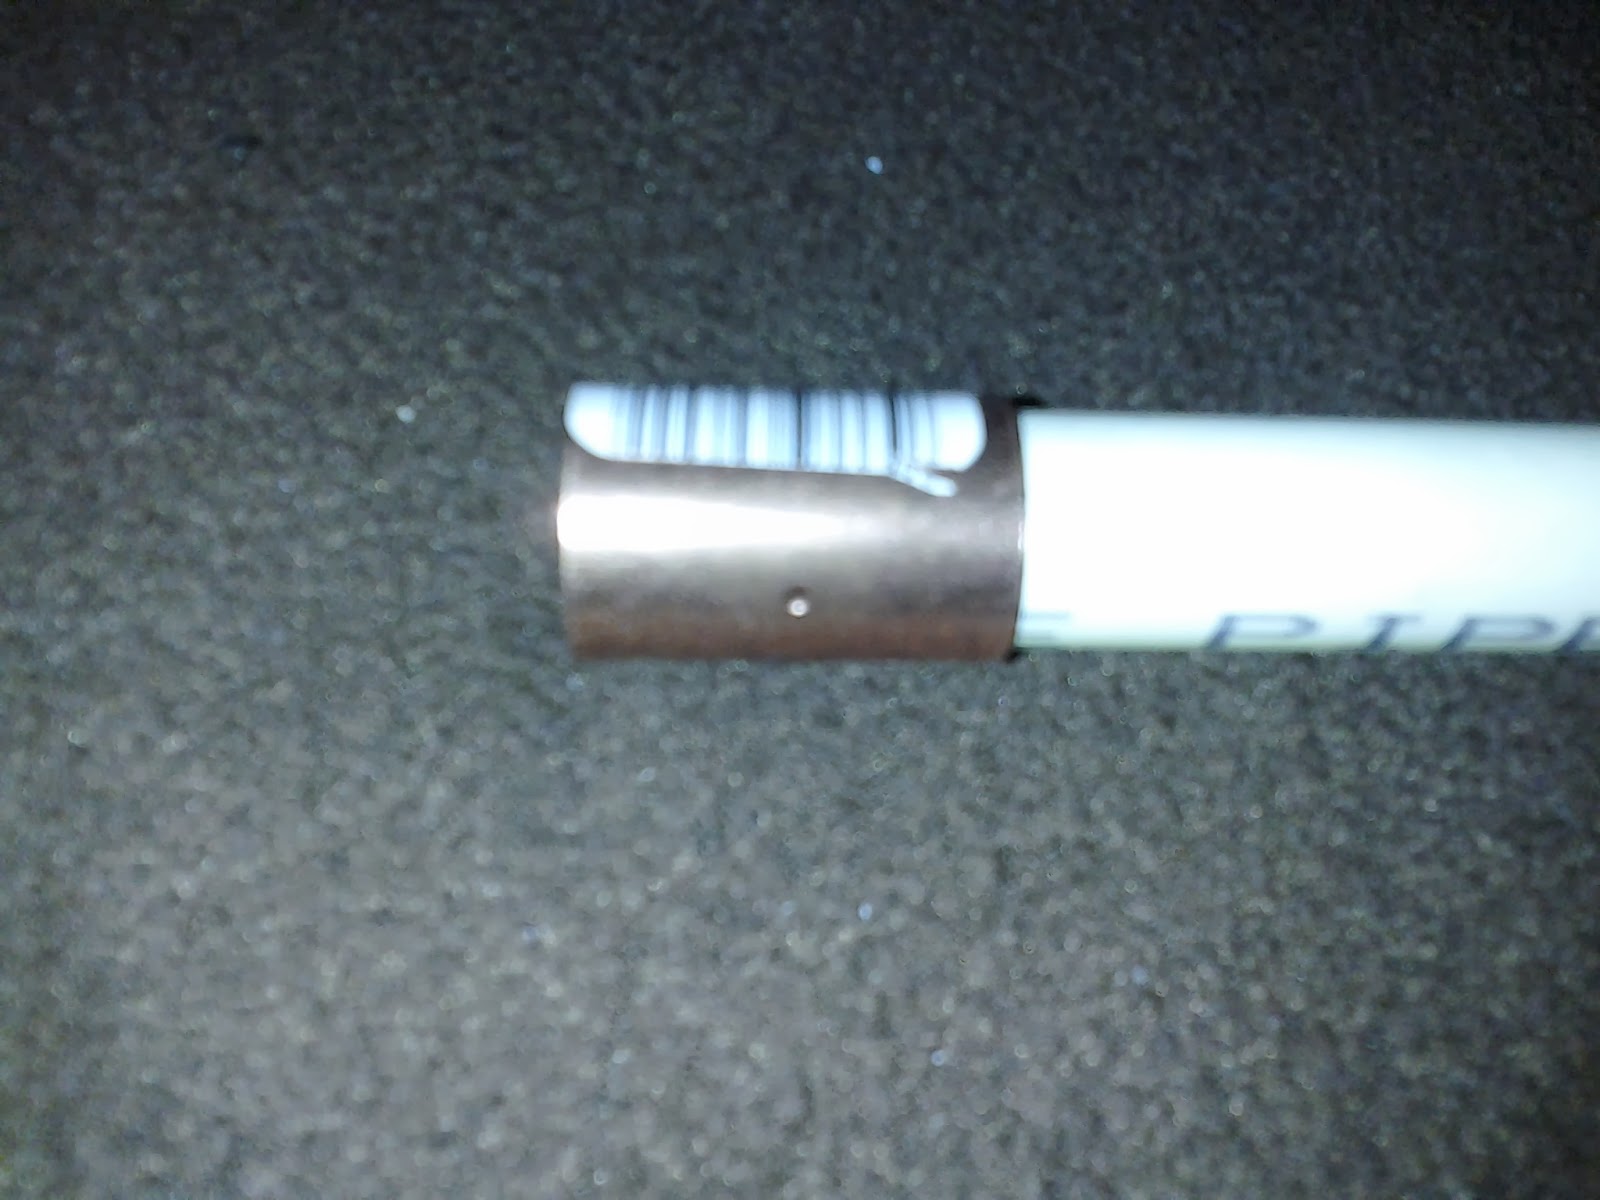
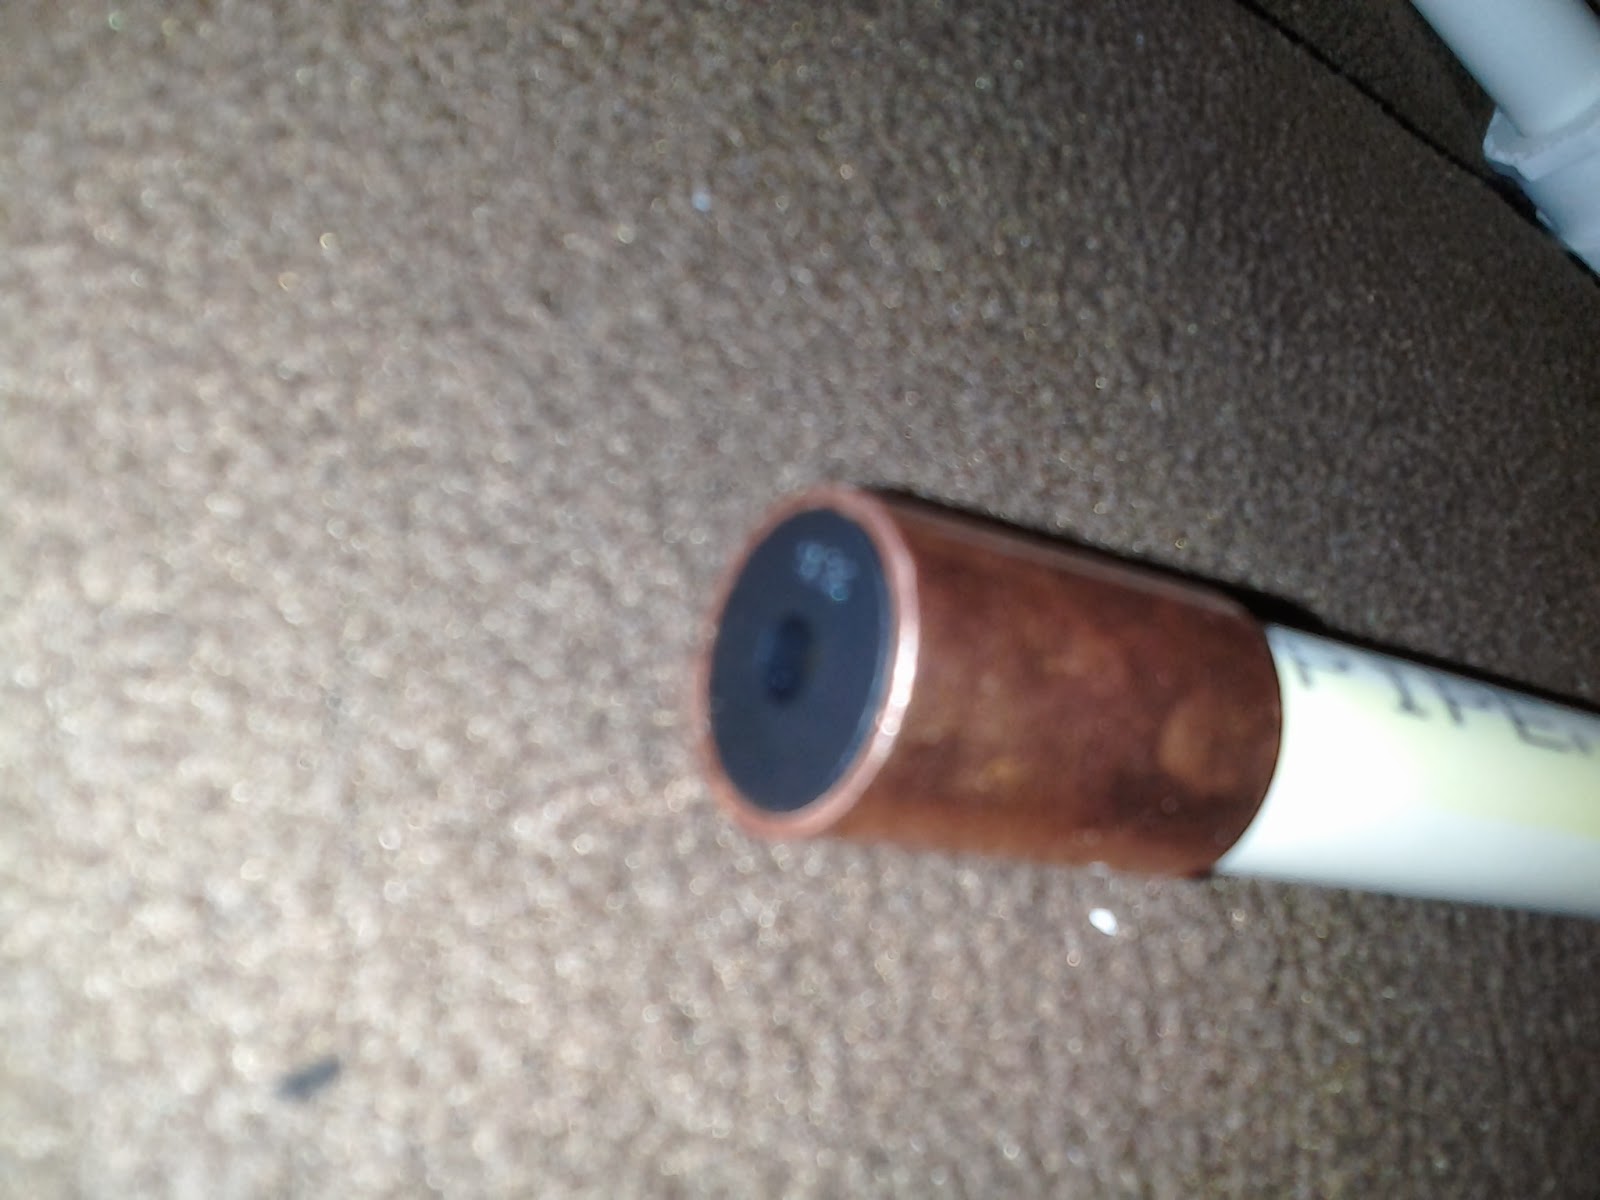
Twist this piece into place, to confirm that you did it correctly. You should be able to remove the pin and all for any maintenance issues that may arise over the life of the blaster - greasing the rubber surfaces, replacing a damaged seal, etc.
Firing Valve Assembly
Constructing the valve is relatively easy. 3/16" rod or tubing slides perfectly within faucet washers, and with a little silicone grease makes for an airtight seal. The parts from my test model are pictured.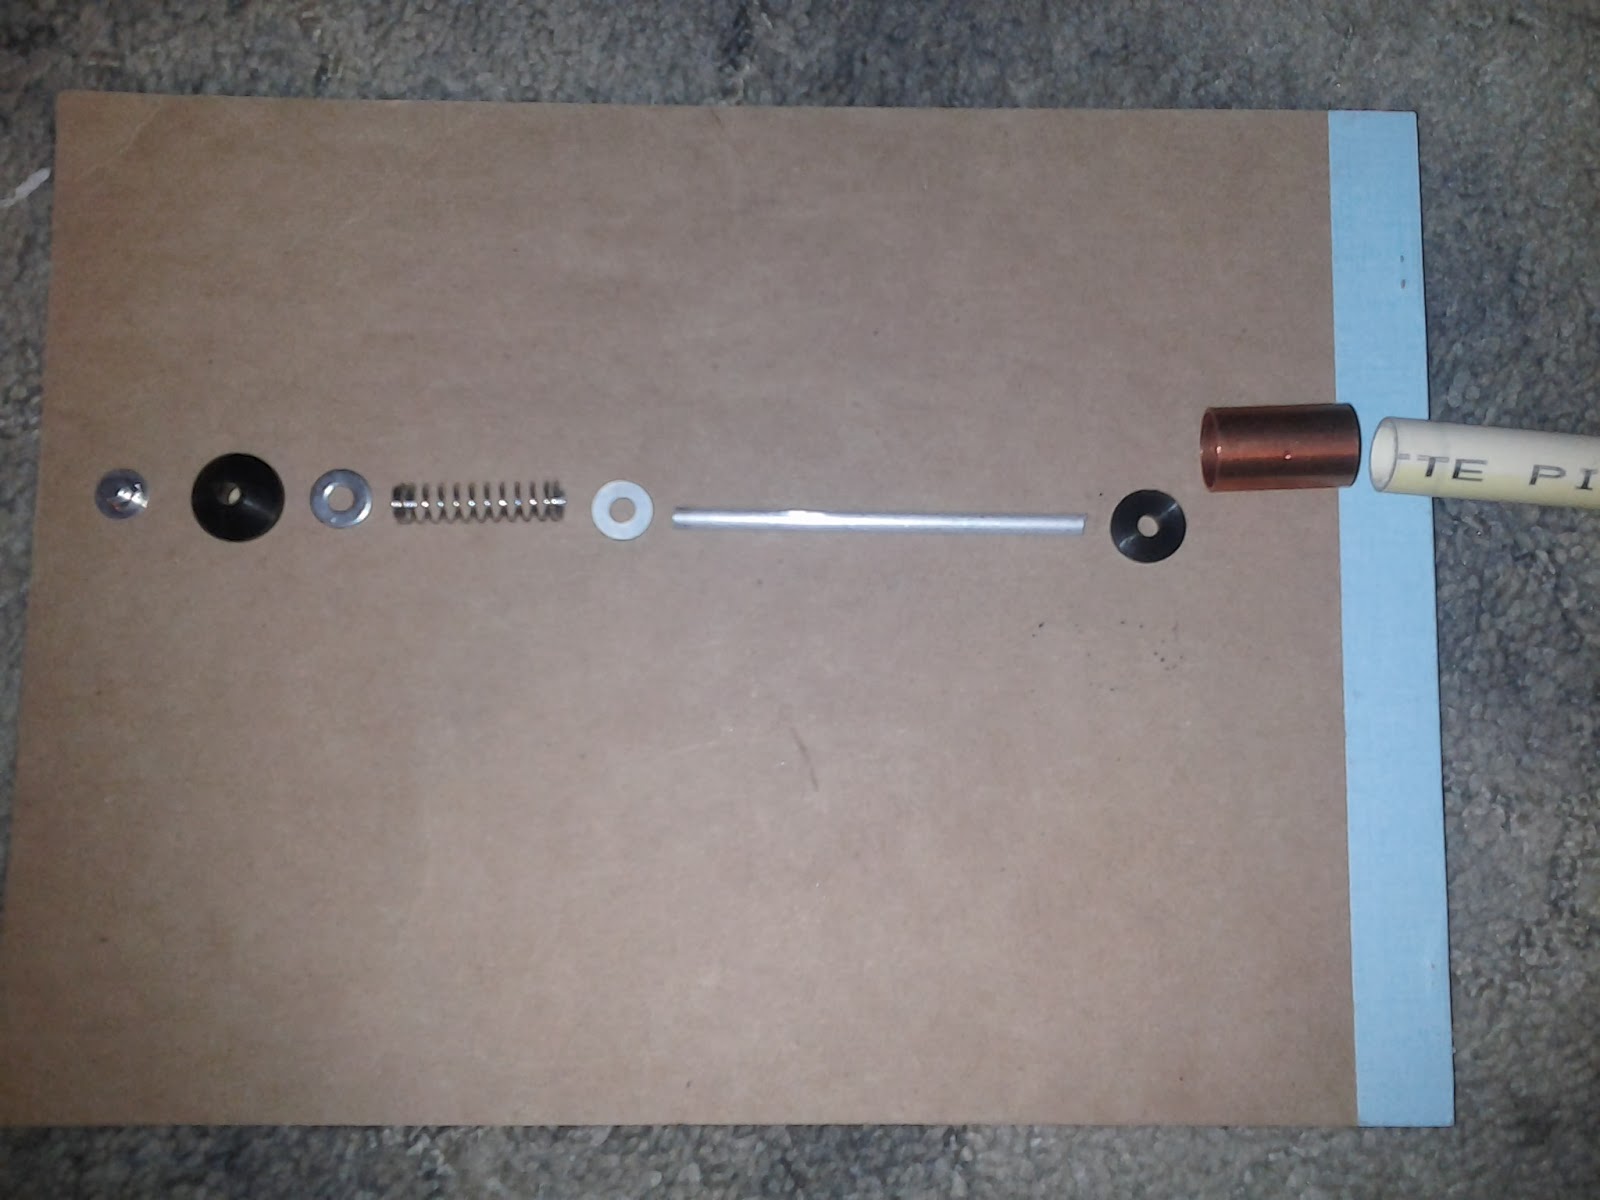
Put your spring between two metal washers. This will help prevent the thin spring wire from deforming the rubber washers when under compression. Make sure the beveled side of the 3/4" OD washer faces the o-ring at the barrel end. Finally, the push nut washer is designed to NOT be removed. Make sure to test your valve's seal before finally capping the rod - there's enough friction to keep the washers in place for a test pull. Note that your spring should return the valve pin to its resting position when you release it. If it does not do this, you'll need to either fill the gap (use a longer piece of CPVC, add spacers to the valve pin, etc) or get a longer spring (or two springs side by side). Once that's taken care of, put everything together and cap the valve pin.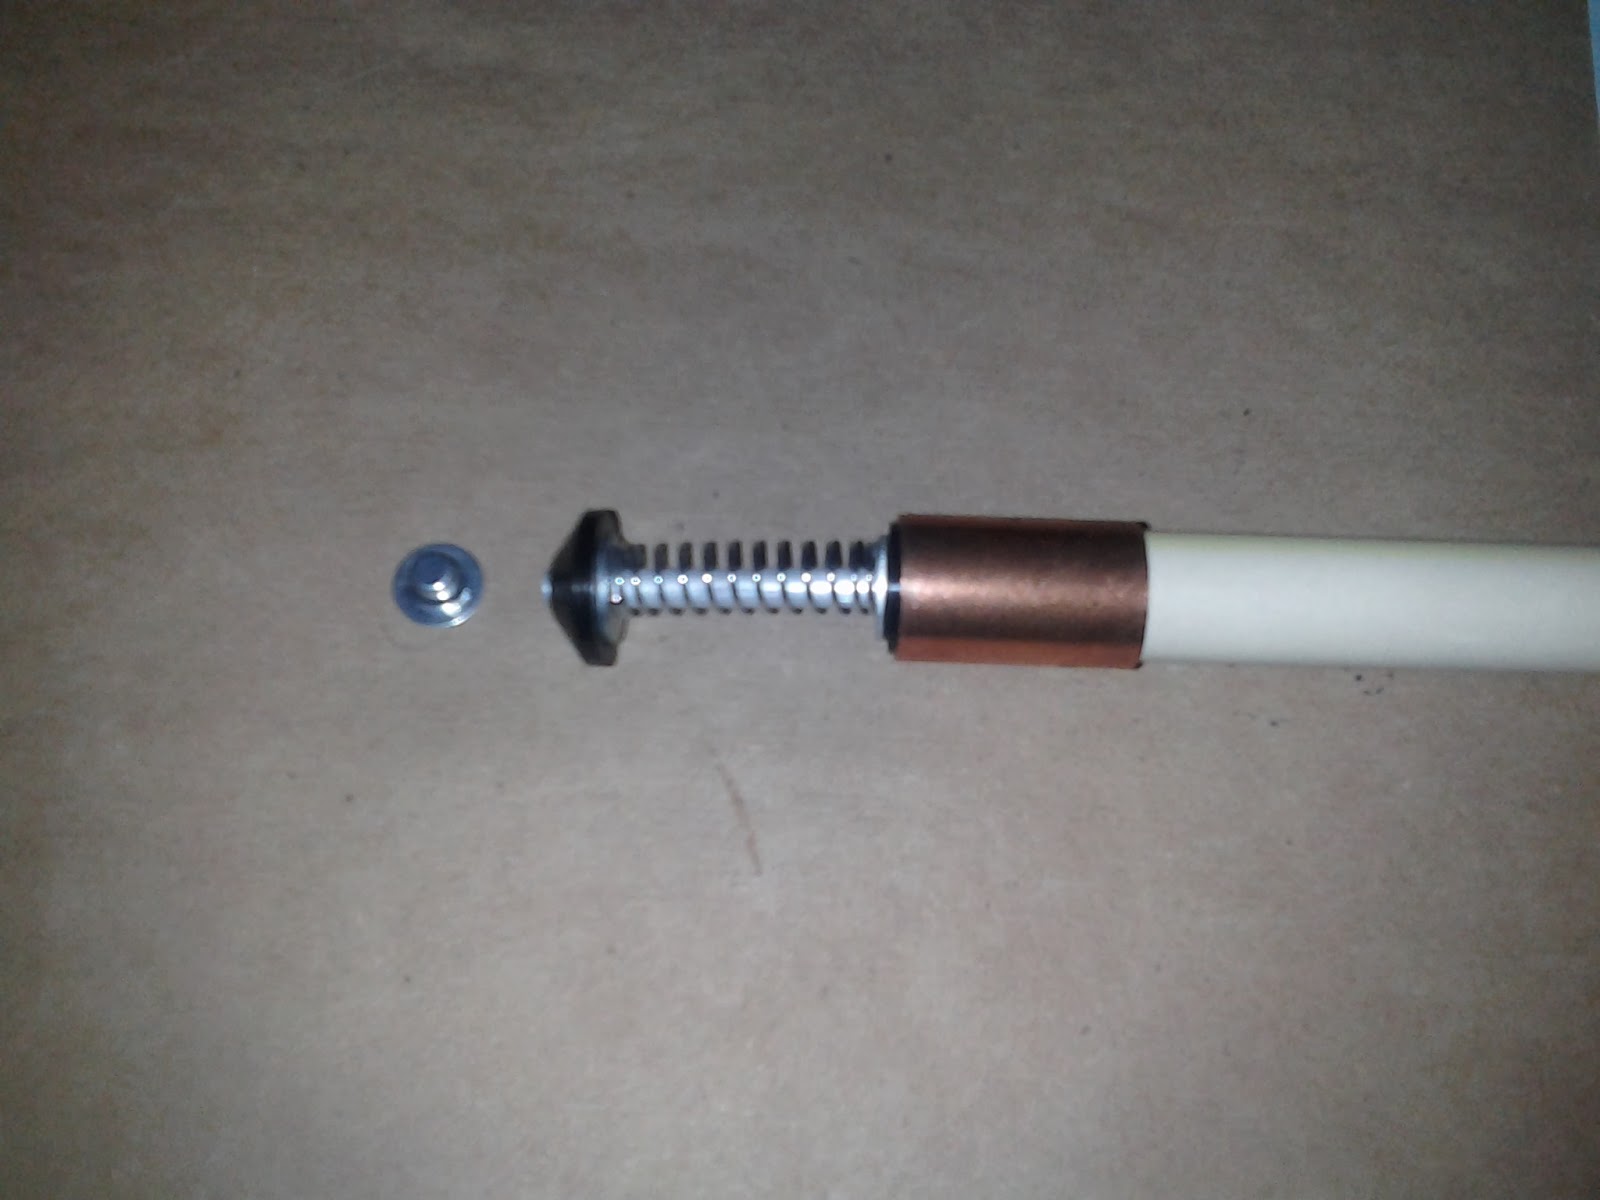
At this point, all that's left is the trigger and stock. Pictured is my test model - due to its construction, it had no place to add a stock and trigger, unlike the current design. However, the concept is still the same! Your 1/2" PVC stock will need a slot cut lengthwise into it. Using a few pliers or monkey wrenches, bend the end of your pin into a 90° curve. Slide the PVC over it and into place. After that, it's up to you how to orient the trigger and where to place any grip you might want. It's simple enough to use a 1/2" PVC tee and more pipe for your grip. I've actually come to like putting the handle/pin to the side that my pump hand is on, and gripping the tank itself.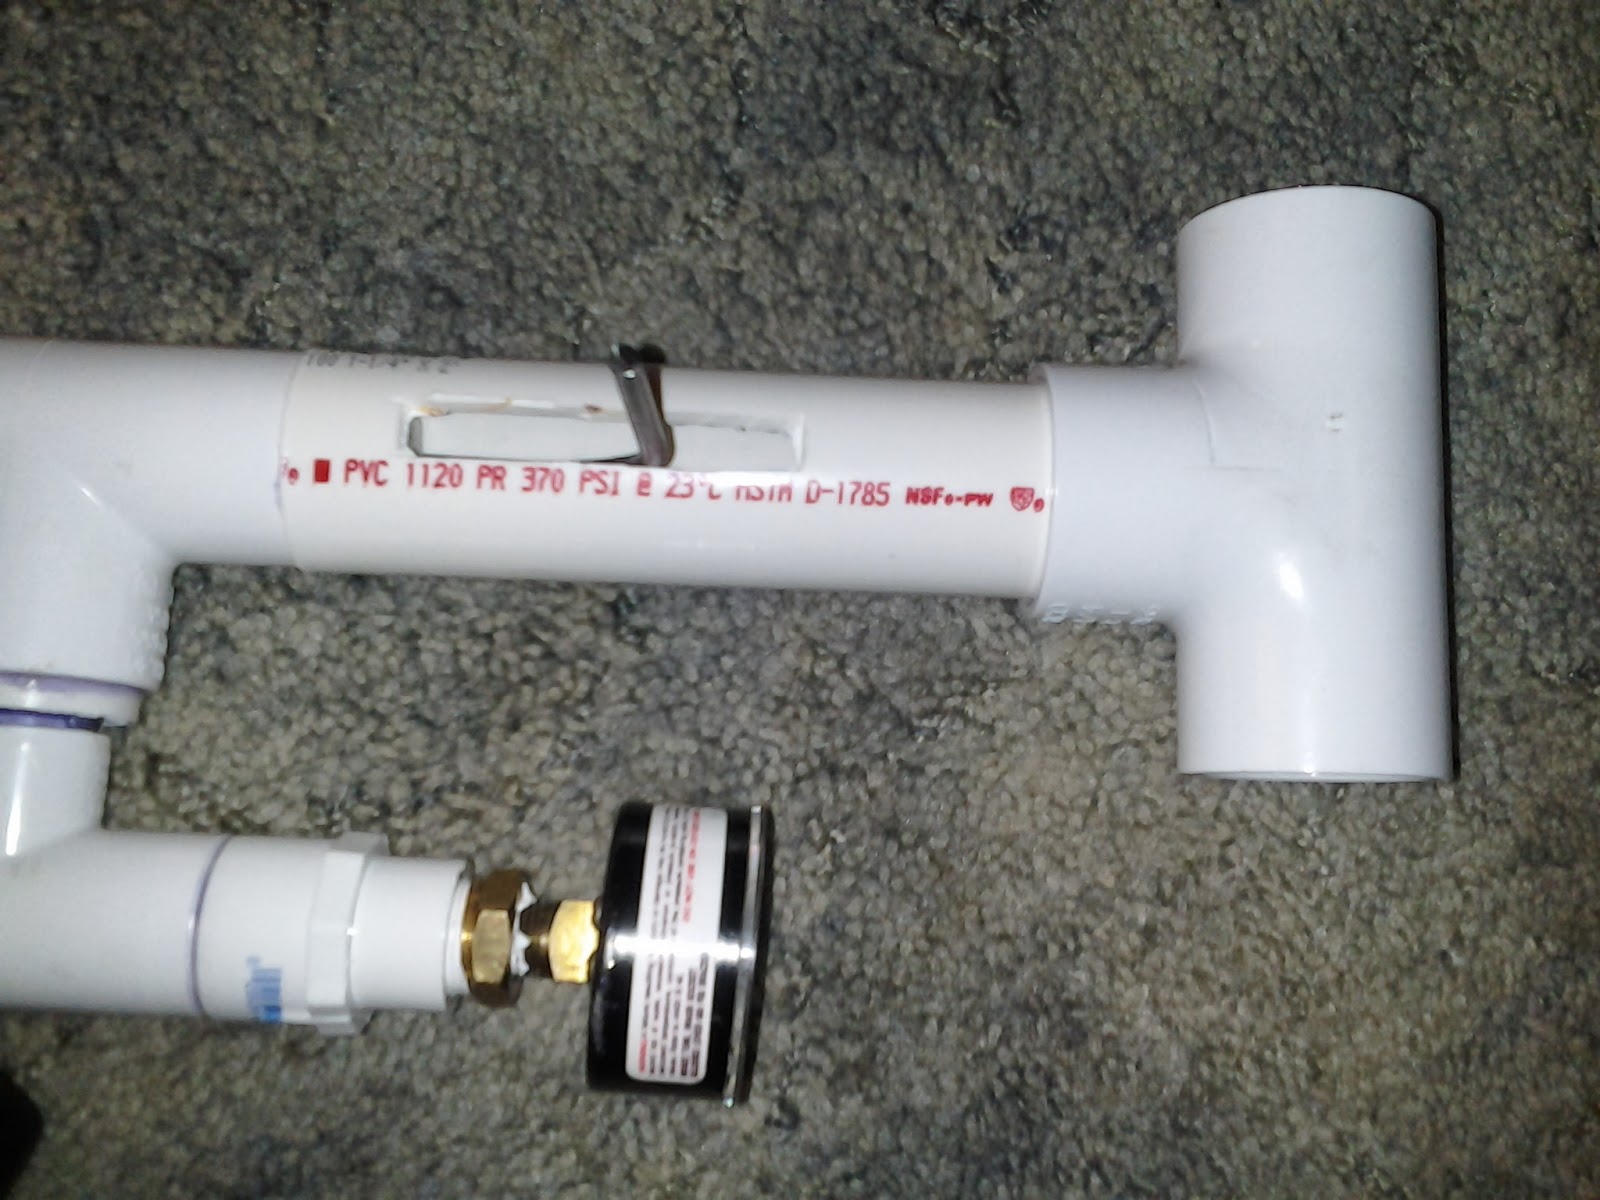
Now you have a complete DIY air blaster! At capacity (requiring only a few pumps), darts easily go 100'+ out of singled barrels, and hit in the 90'-100' range when used with a PVC wye hopper.
If you want to support the effort to make DIY blaster kits, please take a look HERE and feel free to contribute to the campaign! 
Edited by Aeromech, 23 November 2015 - 03:12 AM.


