#1
Posted 31 July 2013 - 10:03 AM
I've never done a powerstock before. I've seen them but this was just my go at it. It works, and it does help.
Materials needed:
1" PVC
1/2" PVC
1/2" PVC Endcap
Dremel w/ Cutting Wheel and a Grinding Drum
Expoy
Hot Glue
Spring (I'll say of your choice, but make sure it can nest in 1/2" PVC)
Thick Washer
Optional items:
Power Drill
1" Spade Bit
OK so here it goes,
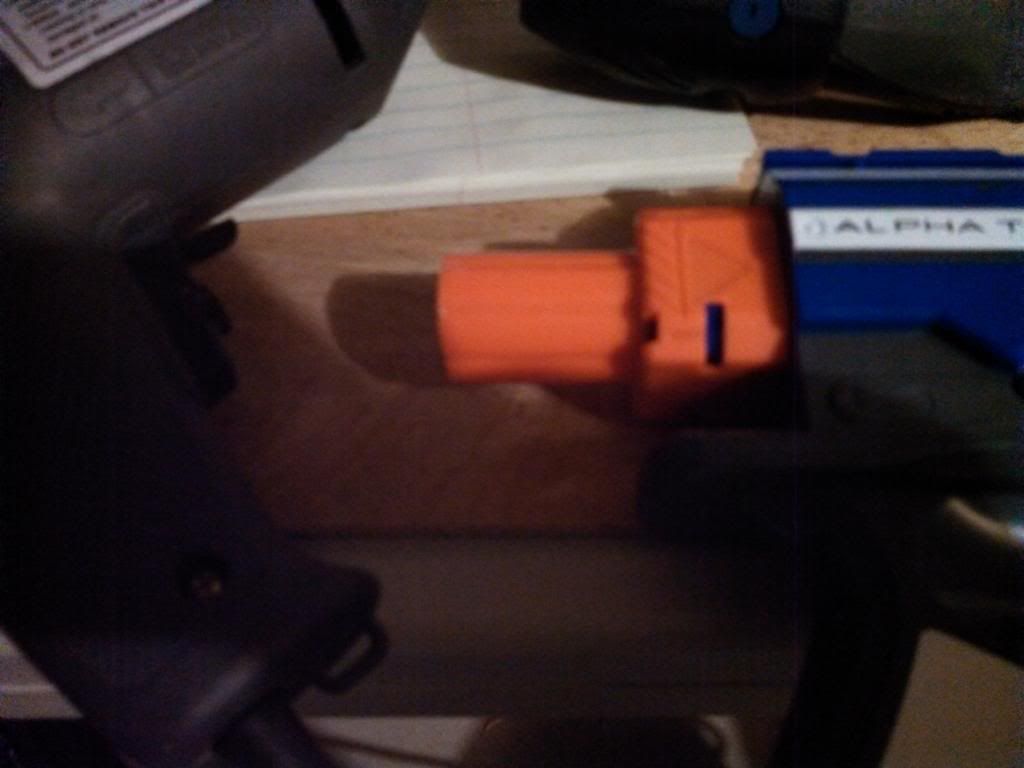
Step 1: Cut the back end of that orange stock connecter off using the cutting wheel of the Dremel. Straightness is not a factor here the main objective is to have an opening for the new spring to connect with the plunger rod. For my Mod you will need something of the tube so do not cut at the base.
Step 2: Take either the Grinding Wheel attached to the Dremel or the Drill and Spade bit and grind out the 1" PVC pipe. What you are looking for here is a fit on one end that will slide over the remains of the Orange piece, the other end enough to hold the Endcap.
Step 2a: I say this is step 2a because the spring I used in this particular mod was premade for me from a friend. (whom if he wishes to come forward and say that is cool, but I will not say who it is without their blessing. Sorry) So this is my assumption on how to replicate this. It is fairly straight forward, but you take the washer, cut it down to fit in the 1" Pipe, or if it small enough no cutting required, but it needs to be big enough with no massive hole in the center to push back against the plunger rod. Hot glue the spring to it and let is set.
Step 3: The way I set my spring is, take a small piece of 1/2" PVC Just enough to either fit into the Endcap or a little over. Fill that up with hot glue and set the spring into the glue. This way the spring won't come loose.
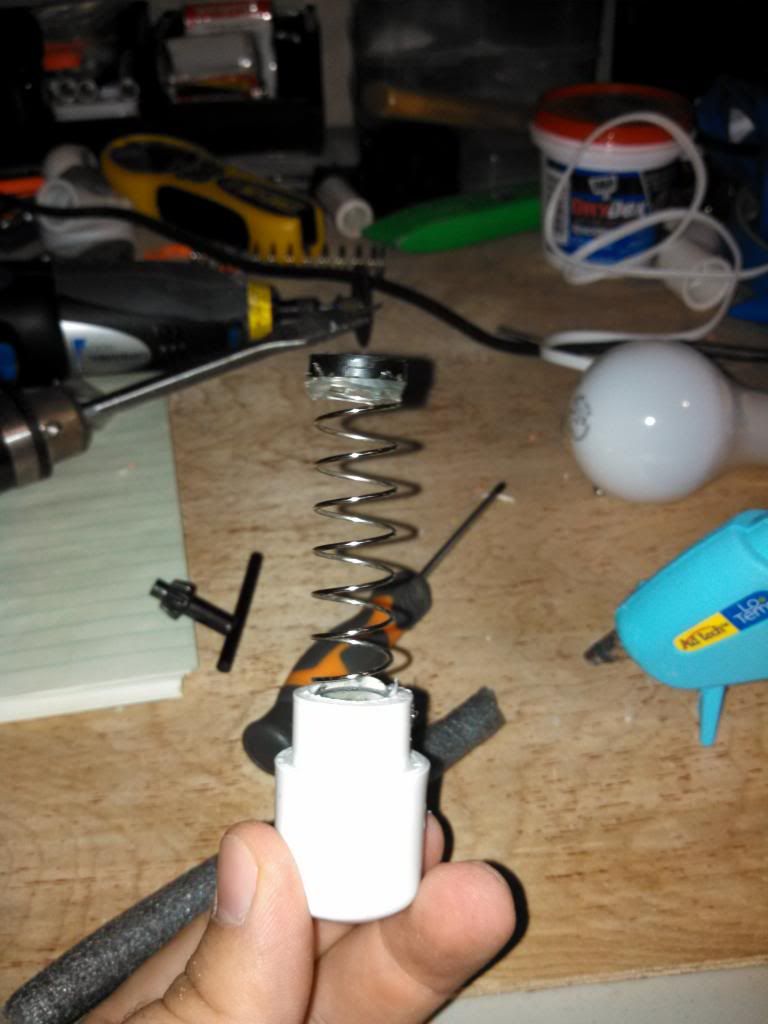
And is should look something like this.
Step 4: Assembly. Mix up some epxoy. I used Loctite (I think) plastic epxoy, only one I had, but it works. Put the epxoy on the orange tube from the Stock Cap. and slide the pipe on.
Then add some epoxy to the other end and fit the Endcap spring combo. Let it sent and then reattach to the blaster. The Pipe I had left enough room for me to be able to actually screw the Stock Cap back on so it is fully removable.
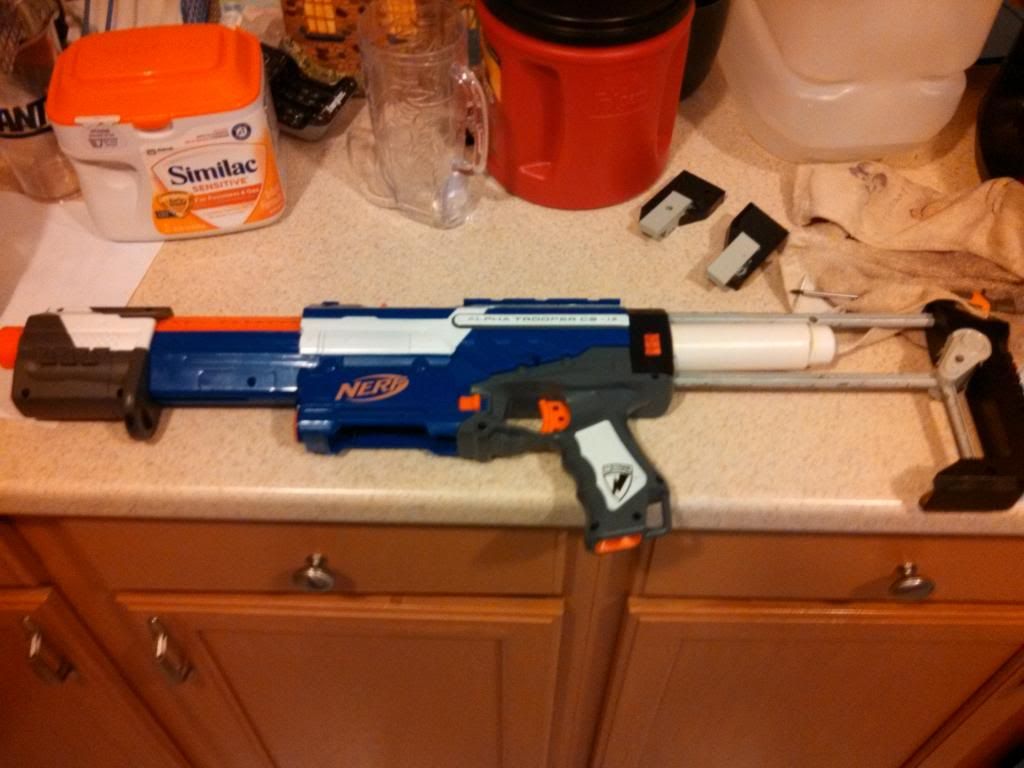
Final Product:
Firing Demo
[I will post a firing demo later as this was actually a commission and my friend is getting this later today]
This is not ranged tested, however I was noticing an increase in velocity in shots when I was testing it after assembly. I would say this probably improved the range by 10 feet, but testing in my garage at my Garage Door 20 feet from where I was. Stock shots were hitting the door and bouncing back 5 or so feet off the door. With the Powerstock attachment, then were bouncing back to me or within 5 feet of me, and some were almost straight shots back.
Questions, Comments, Constructive Criticism.
My Youtube PageGriever 2112 still plays with his alpha trooper quite often despite owning one of the scariest +bows.
#3
Posted 31 July 2013 - 02:55 PM
Griever 2112 has had quite a few problems with finding a replacement spring that won't mess with the functioning of his internals. That's why he went to all this trouble.This seems like a lot of work when you can just add another spring or find a replacement.
#4
Posted 31 July 2013 - 03:20 PM
#5
Posted 31 July 2013 - 03:31 PM
Believe me, I tried the 5kg spring, I could not get it to work to save my life.Omw 5kg retaliator spring if installed correctly works flawlessly
But while it seems like a lot of work. This took me about an hour or so with prep and work to assemble (not counting epoxy curing time)
My Youtube PageGriever 2112 still plays with his alpha trooper quite often despite owning one of the scariest +bows.
#6
Posted 31 July 2013 - 03:40 PM
I haven't always found adding a spring a good idea, sometime they mess with the way a spring compresses.This seems like a lot of work when you can just add another spring or find a replacement.
I've got a 7kg in mine right now, but I'd like to try a power stock in addition to it.
http://nerfscience.blogspot.com/
#7
Posted 31 July 2013 - 06:50 PM
Edited by Slime, 31 July 2013 - 06:52 PM.
#8
Posted 01 August 2013 - 08:02 PM
Believe me, I tried the 5kg spring, I could not get it to work to save my life.
But while it seems like a lot of work. This took me about an hour or so with prep and work to assemble (not counting epoxy curing time)
I've been chatting with Griever about this, he has gone through hell to get these results as, unless you are purchasing a custom spring, there are no springs out there that supply the proper power to the EAT while maintaining functionality and a nice ROF for the slamfire.
Griever, glad you could get something working, is there a specific spring you used that you found that helped you maintain the equilibrium between power and rate of fire? Do you think something around the power of a Tech Target or Nitefinder would supply said ratio?
Also, if you are planning on brassing or brass breaching your EAT, this power stock is the way to go (unless you purchase Nerf Nerd's spring and catch reinforcement combo), as the stock spring does not supply near enough power for the breech.
New Jersey is fuckin weird
#9
Posted 01 August 2013 - 08:26 PM
#10
Posted 01 August 2013 - 10:14 PM
@ Strikefreedom, Yes it will work with a Raider stock. my original concept test was sticking the spring above loose in a Raider stock and even with that I could see the difference. I would have utilized one but I only have the one... and that one is mine.
My Youtube PageGriever 2112 still plays with his alpha trooper quite often despite owning one of the scariest +bows.
1 user(s) are reading this topic
0 members, 1 guests, 0 anonymous users